
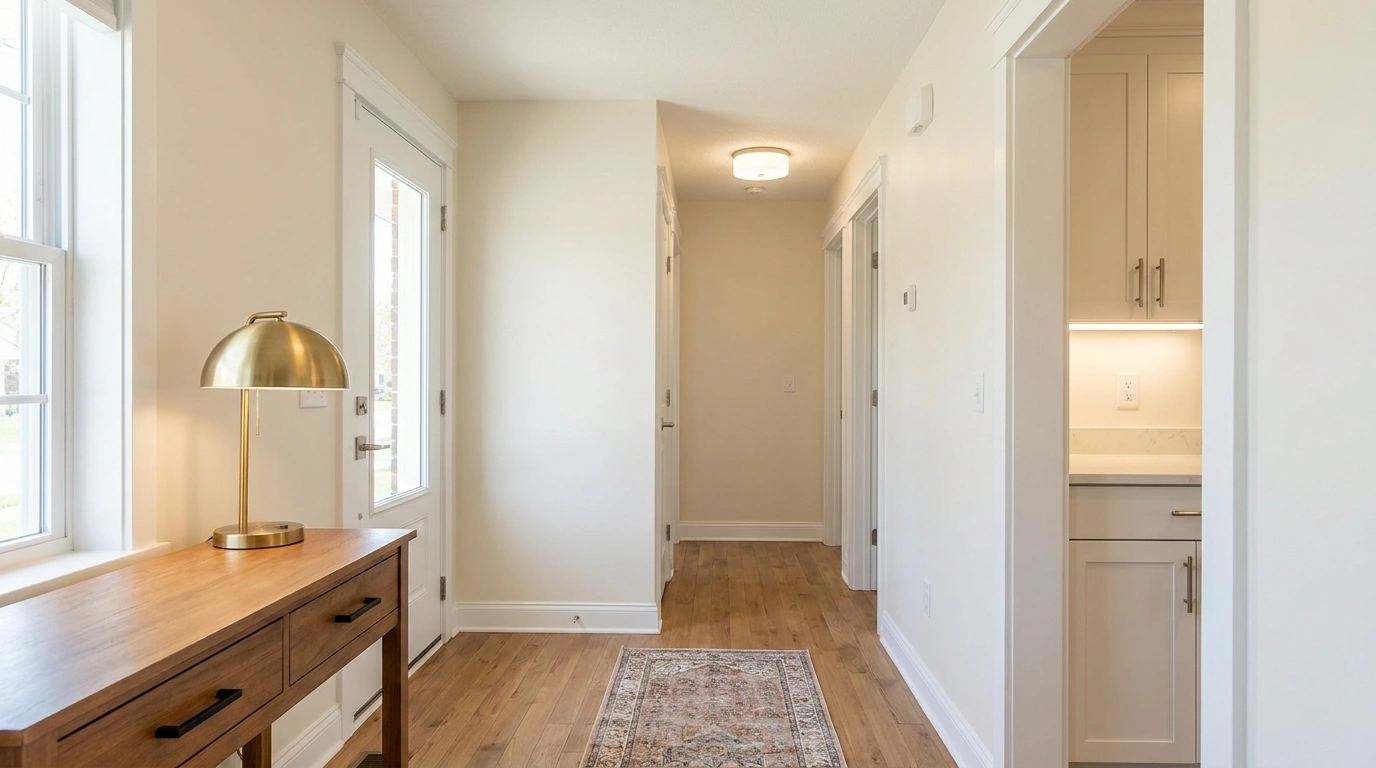
The cabinet door hangs crooked, the front step looks grubby, and the hallway paint has collected years of suitcase marks. Meanwhile, you’re looking at decorative wall panels. The house has submitted its priorities. The shopping algorithm has submitted different ones.
Useful improvements start with the things that make a home look neglected or difficult to use. Straight doors, clean surfaces, sound finishes, and a welcoming entrance give people fewer distractions when they walk through. They also make the place better to live in while you’re still there.
Choosing DIY ideas to raise your home’s value takes more judgment than copying a dramatic before-and-after. A project can improve presentation without producing a measurable increase in the sale price. Your market, the property’s condition, the workmanship, and what you spend all matter.
Start with visible maintenance and modest improvements you can finish well. Keep the house’s style in mind, and ask a local property professional about larger spending if a sale is approaching. A carefully repaired cupboard beats an ambitious makeover that stops halfway through the kitchen.
Practical DIY Improvements Worth Assessing Around Your Home
Repaint a Sound Front Door With a Properly Finished Edge
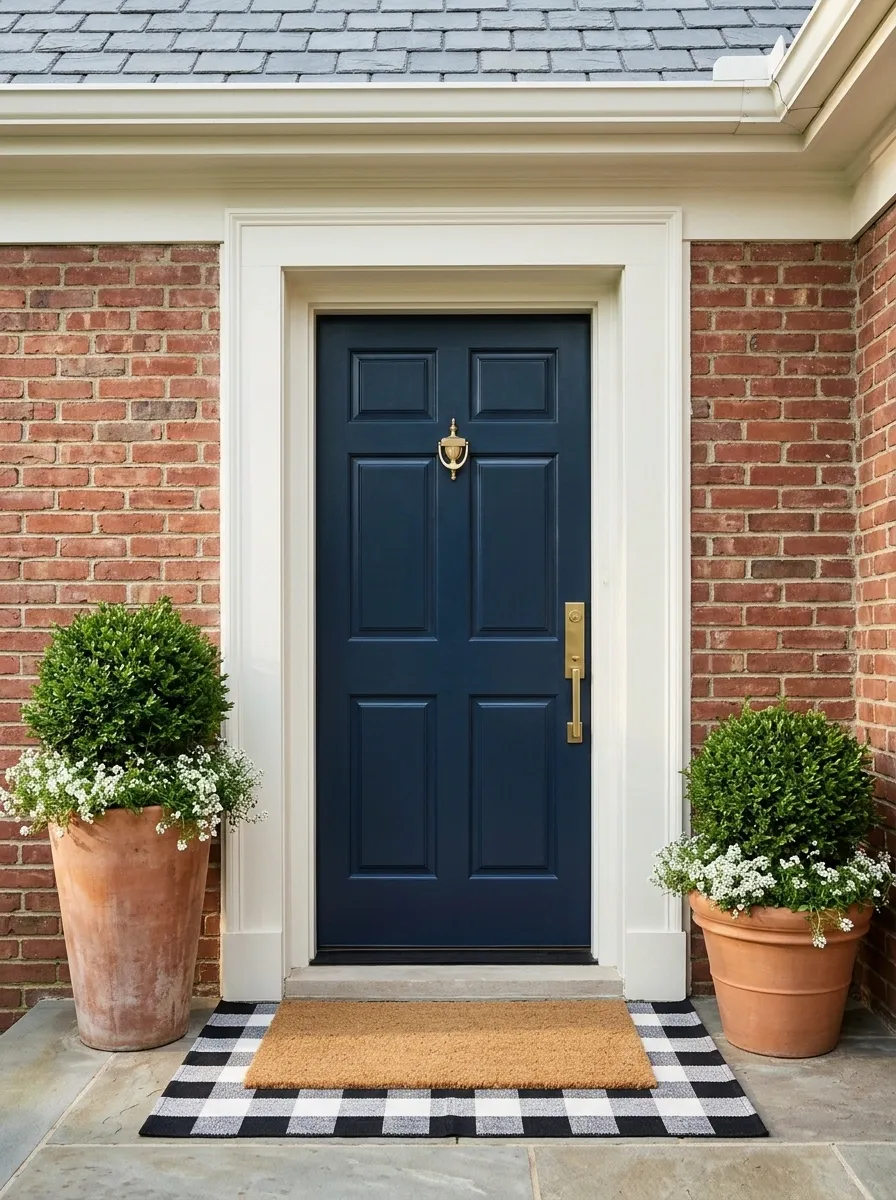
A battered front door gives the house an unfortunate opening line.
Clean it, assess the surface, and choose a preparation and paint system suitable for the material. Check the weather and drying requirements before starting. The door still needs to close and secure properly while the work progresses.
Choose a color that relates to the brick, siding, roof, and trim. Test it outside rather than under shop lighting. Finish the edges and details carefully. Paint on the hinges, a sticky seal, or a rough patch beside the handle undermines the whole improvement.
Identify the existing surface and compatible preparation.
Allow suitable weather, drying time, and normal security.
Keep moving parts, seals, and hardware functioning normally.
Clean and Coordinate the Entrance Hardware
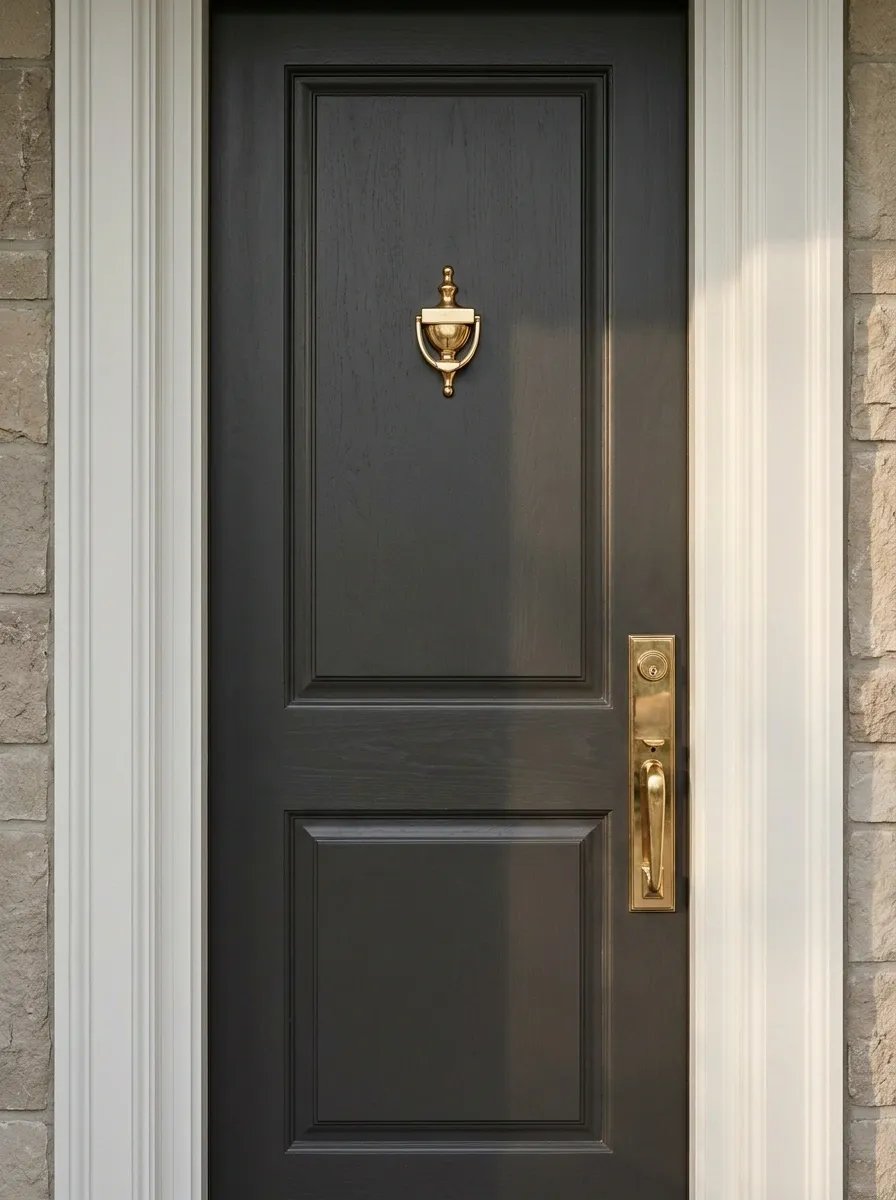
Before replacing every fitting, see what a careful clean reveals.
A dirty knocker or dull handle may need appropriate cleaning rather than replacement. Check the finish first, then assess loose fixings and obvious wear. Replace damaged pieces with compatible hardware that suits the door.
Keep the arrangement coherent without forcing everything to match perfectly. A simple relationship between the handle, knocker, and nearby fittings is enough. Don’t change security hardware casually for appearance alone. Choose a replacement that maintains the door’s requirements and works comfortably in daily use.
- Identify the existing finish.
- Check compatible fixings and operation.
- Preserve appropriate locking and security.
- Test the door fully after any permitted adjustment.
Make the House Number Easy to Find

Visitors shouldn’t need to identify your house by the neighbor’s recycling bin.
Clean or replace tired address numbers and position them where they’re readable from the normal approach. Choose enough contrast against the background and check that planting doesn’t obscure them.
Look at the entrance after dark too. Existing lighting may need cleaning or adjustment within its intended operation. Keep the number’s style consistent with the house, but prioritize legibility. Decorative lettering earns very little admiration from someone standing in the rain trying to work out whether they’ve reached the correct door.
Check contrast, visibility through planting, and the evening view from the path or street.
Keep the installation secure and suited to the wall or mounting surface.
Clean the Front Path Using the Right Method for the Surface

A clear, well-kept path makes arriving at the house feel more straightforward.
Sweep debris, remove suitable weeds, and clean the paving according to its material and condition. Don’t assume aggressive pressure washing suits every surface or joint. Start with a compatible method and protect nearby finishes.
Check for movement, damage, or drainage problems as you work. Those need their own assessment rather than a cosmetic cover. Finish by clearing the edges and leaving the route unobstructed. The improvement should be obvious under ordinary daylight, without requiring a dramatic wet-paving photograph.
Inspect loose sections, damaged joints, and places where water collects. Cleaning improves the view, but those faults need an appropriate repair plan.
Give Existing Garden Beds a Deliberate Outline
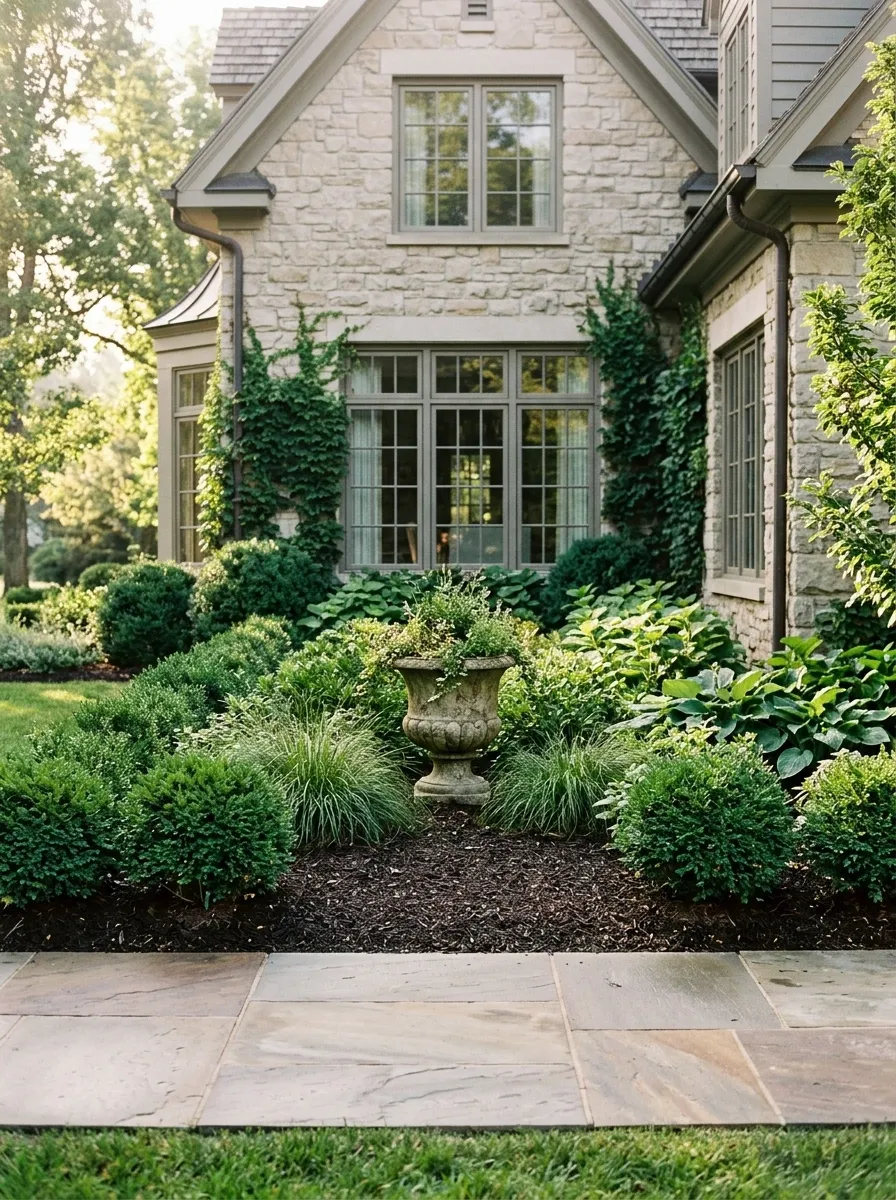
Overgrown edges can make an otherwise tidy exterior look unfinished.
Remove litter and appropriate weeds, then define the boundary between planting and the path or lawn. Work around the plants you’re keeping, and use care methods suited to them. Avoid enthusiastic cutting that ignores species or season.
If mulch suits the bed, apply the appropriate material without burying stems or piling it against the building. Keep the arrangement simple enough to maintain. Restoring a clear outline often gives existing planting more presence than adding another collection of small plants around the edges.
Make the relationship between bed and path clear.
Keep useful planting and remove unrelated clutter.
Choose upkeep appropriate to the plants and season.
Restore the Finish on a Sound Fence or Gate
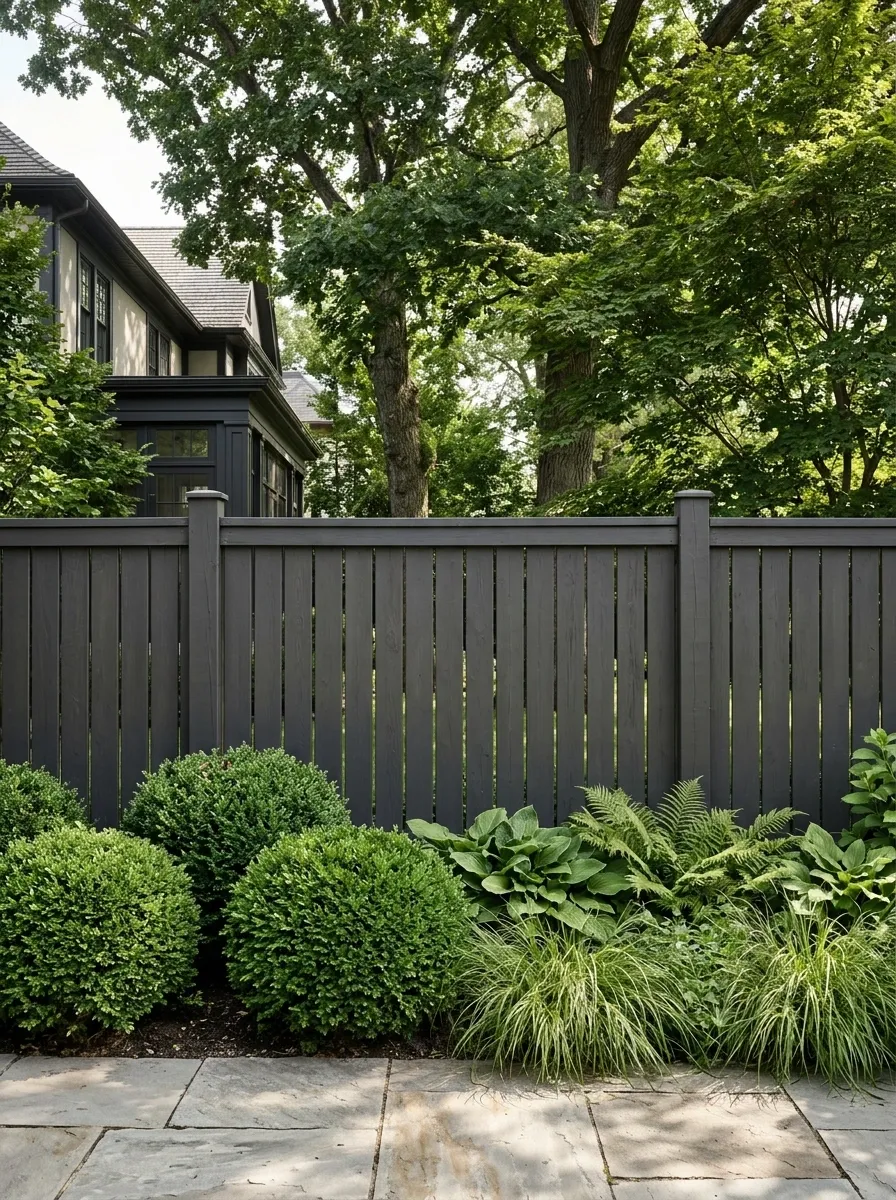
A weathered boundary can make the garden feel neglected even when the planting is healthy.
Check the structure before planning a coating. Rotten sections, unstable posts, or significant movement need more than a paintbrush. For sound material, clean and prepare according to the finish you intend to use.
Choose an exterior product suitable for the surface and conditions. Protect adjacent planting and allow the required drying time. Keep the color related to the house and garden. A restrained, continuous background usually serves the space better than a collection of competing fence-panel experiments.
| Condition | Next decision |
|---|---|
| Sound, worn finish | Assess suitable cleaning and recoating. |
| Decay or instability | Resolve the underlying defect first. |
Repaint the Rooms With the Most Visible Wear
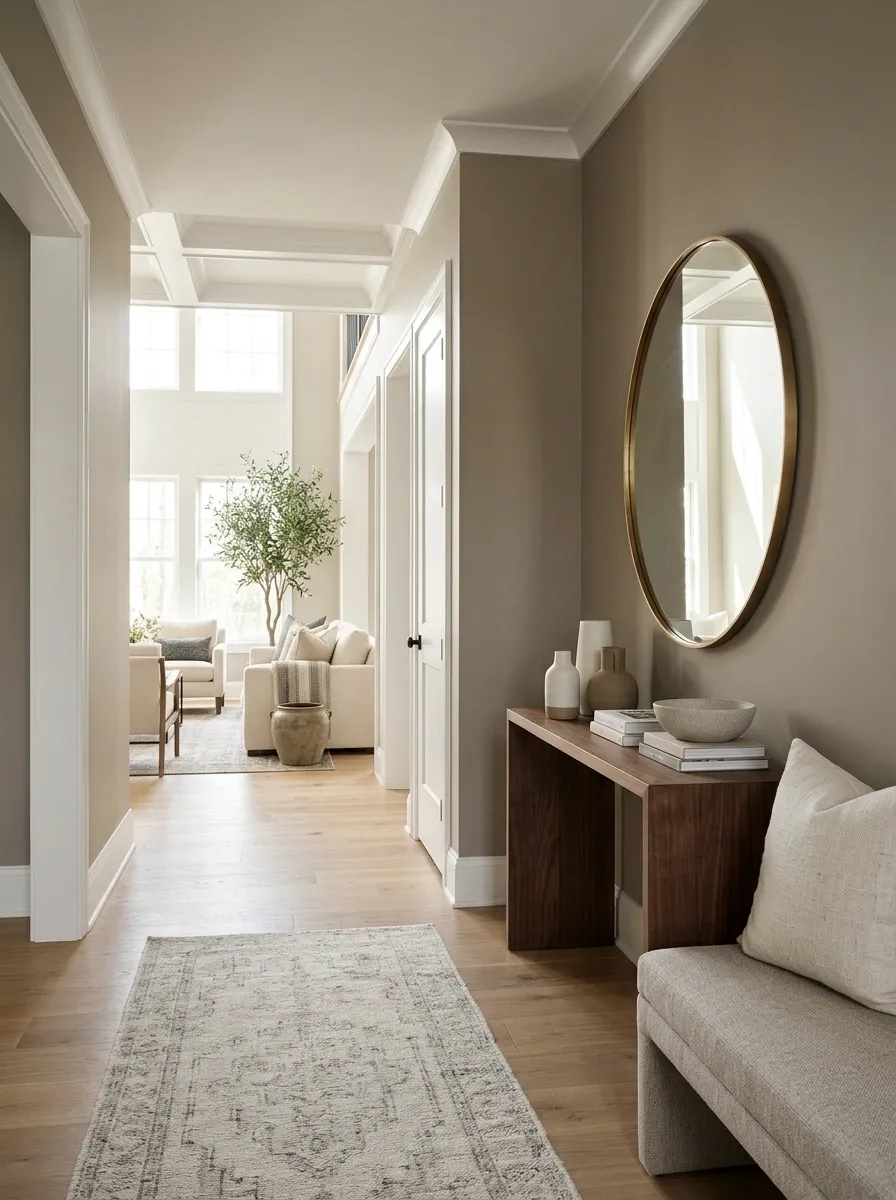
Choose paint projects by condition rather than by how much furniture you feel like moving.
Look at the entrance, main living space, and busy circulation areas. Test colors beside the flooring and fixed finishes you’re keeping. A coordinated palette helps the house feel connected without making every room identical.
Prepare marks and minor surface defects properly, then follow the coating’s requirements. Include enough time for drying and resetting the room. A complete, neat finish in a priority area beats thin paint spread across the whole house because the weekend was running out.
Is the wear obvious from the normal approach?
Can the surface be prepared and finished properly?
Can you return the room to useful service afterward?
Freshen Scuffed Trim Around Doors and Floors
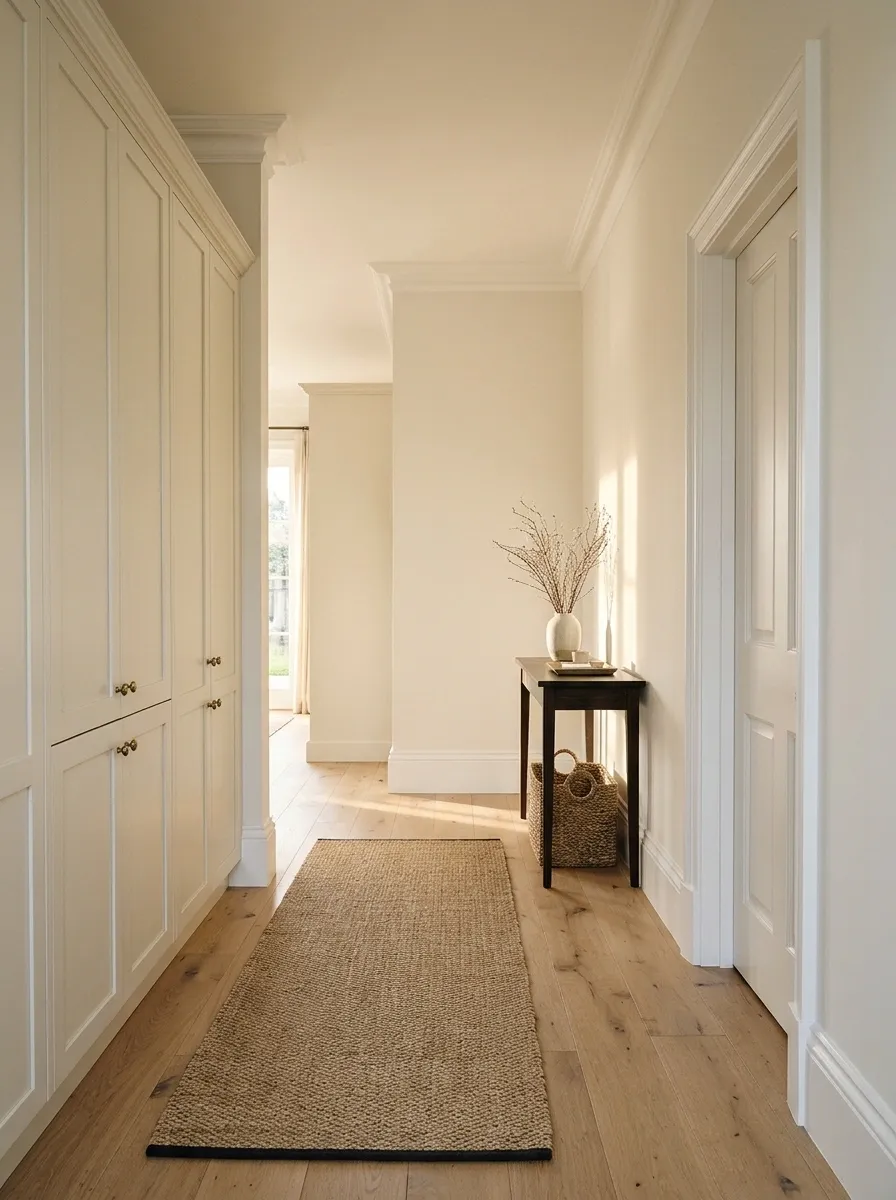
Fresh walls beside battered trim still look like an unfinished decorating job.
Clean skirting boards, door frames, and other accessible trim first. Assess which sections need touch-ups and which need a more complete refinish. Match the appropriate coating and prepare the existing surface.
Work carefully around the floor and hardware. Paint buildup across hinges, seals, or moving parts isn’t a shortcut worth taking. Keep leftover paint labeled by room and finish for later repairs. Those neat edges help the whole room look maintained, particularly in busy areas where knocks and marks accumulate quietly.
Use a method suitable for the finish. Some apparent wear is removable dirt, while damaged coating needs proper preparation before touch-up.
Fix the Interior Door That Never Closes Properly
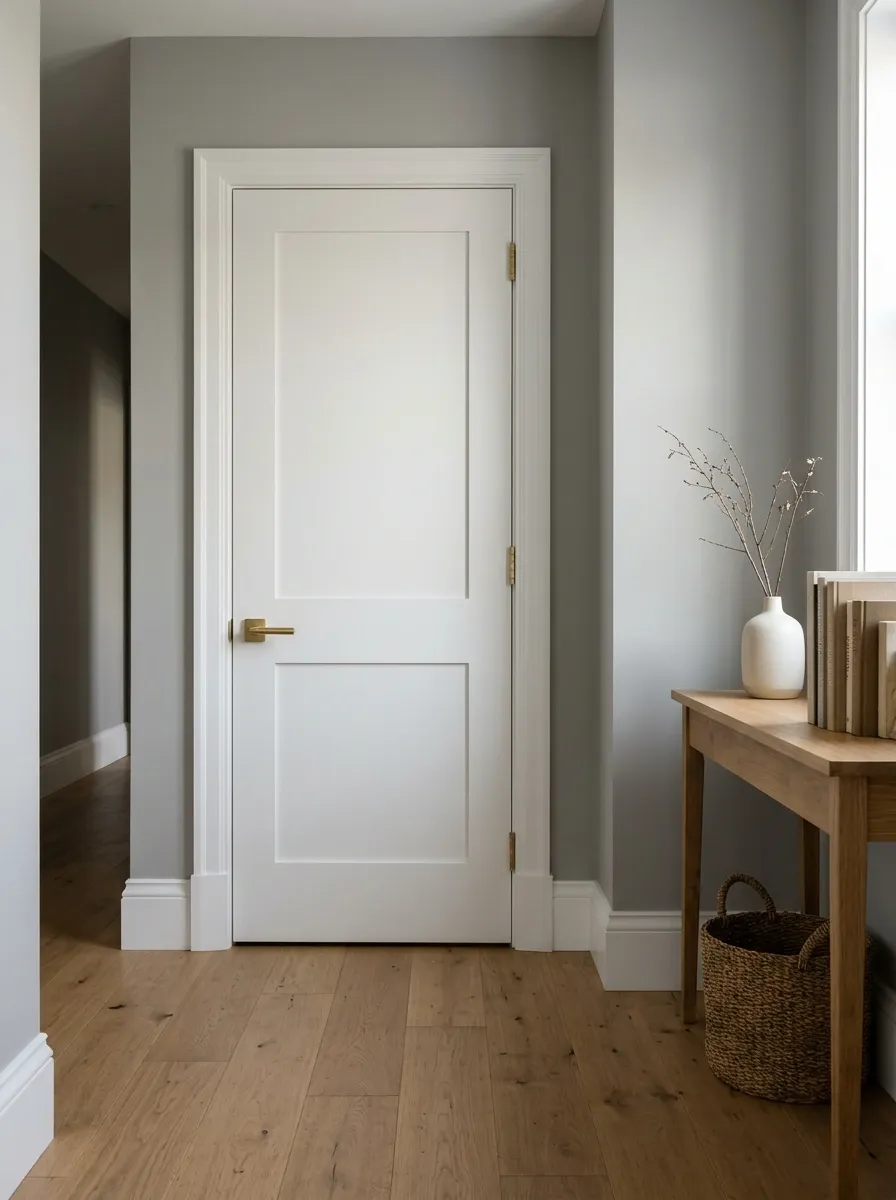
A door that catches the frame makes a surprisingly memorable introduction to a room.
Inspect the operation and identify what’s causing the problem before making adjustments. A suitable loose fixing or compatible hardware issue may be manageable within your skills. Persistent movement or a changing gap needs further assessment.
Check the latch, handle, and doorstop too. Keep the door functioning as intended, especially where it has a protective role. Don’t start cutting material away because that seems faster. The useful improvement is a door that opens and closes normally without hiding an unresolved cause.
Look for catching, rubbing, or unexpected movement.
Check the fit and whether the latch engages normally.
Choose a repair based on the cause and the door’s function.
Remove Dated Wallpaper When You Can Finish the Wall Properly
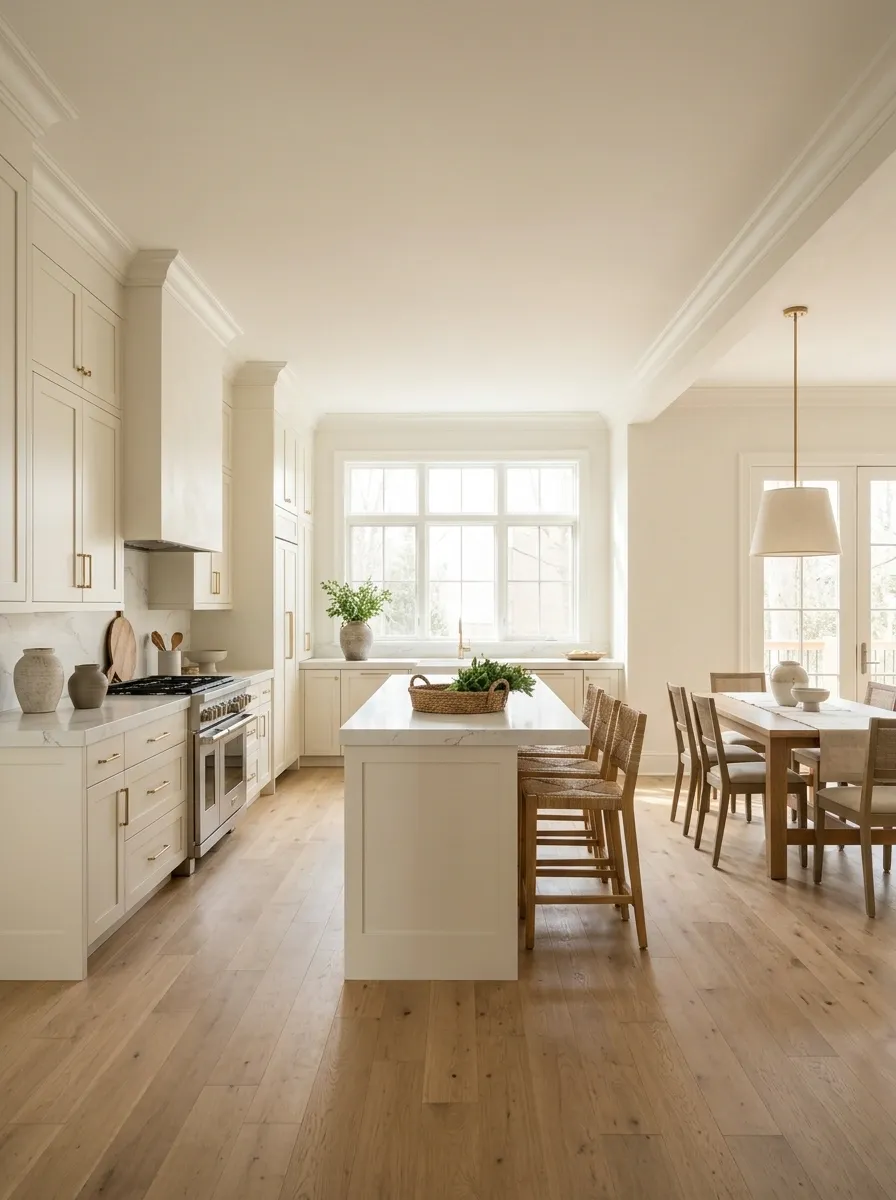
Peeling seams and damaged wallpaper can make a room look overdue for attention.
Assess the wall, existing covering, and removal method before starting. Test a discreet area and plan what the exposed surface will need afterward. Removing the paper is only part of the project.
Keep the scope realistic. A complete room with properly prepared walls is better than several stripped patches waiting indefinitely for the next free weekend. Identify unfamiliar materials before disturbing them, and avoid covering up moisture damage. The final finish should make the wall simpler to maintain and easier to appreciate.
- Test removal without damaging the substrate.
- Assess repairs and preparation.
- Choose the intended final finish.
- Allow time to complete the whole area.
Refinish Kitchen Cabinets That Are Structurally Sound
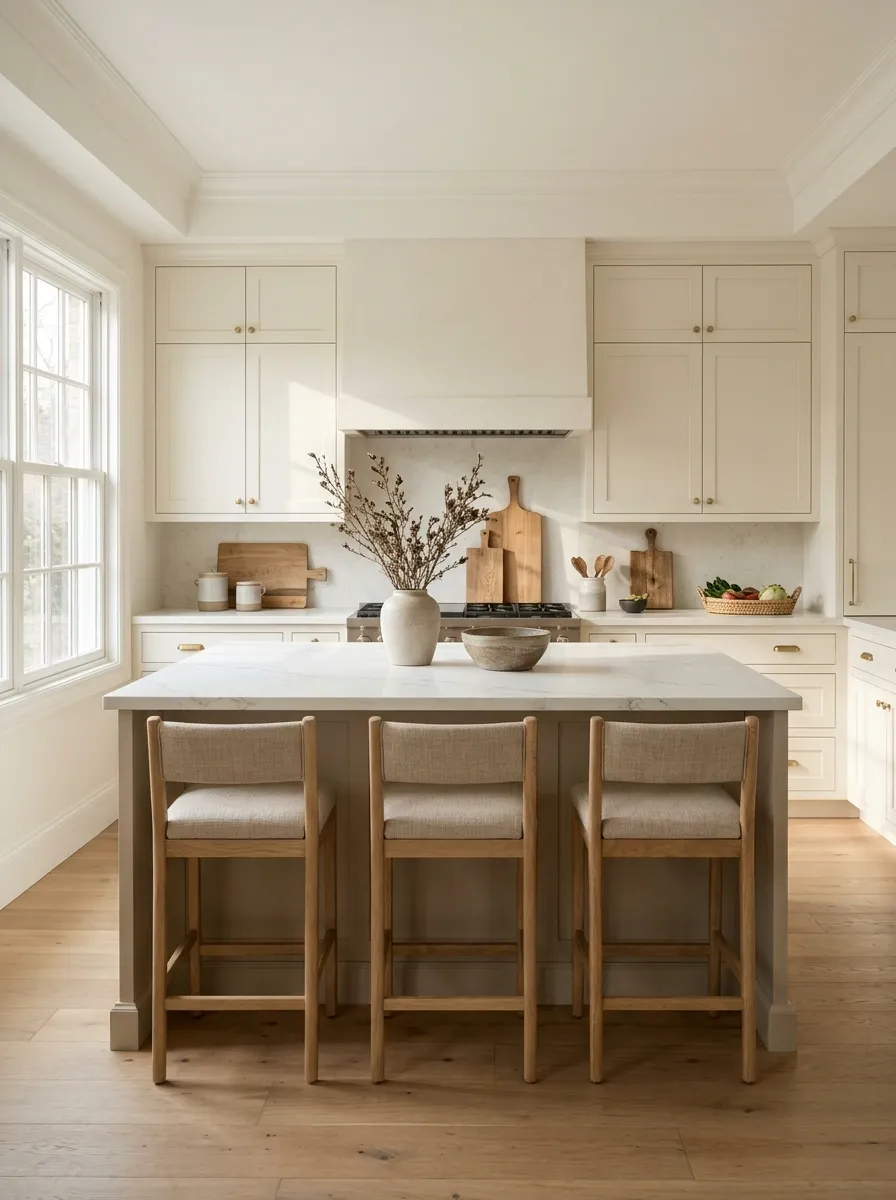
Good cabinet boxes don’t become useless because the color has aged badly.
Check the carcasses, doors, and edges for damage before planning a refinish. Identify the material and choose a compatible preparation and coating system. Remove or protect hardware appropriately and keep track of each door’s position.
Allow the specified curing time before ordinary use. Dry-to-touch paint isn’t necessarily ready for daily knocks and cleaning. Keep the finish consistent across visible edges. This project rewards careful preparation, and it becomes less convincing with every hurried brush mark around a handle.
Stable cabinets with repairable surface wear.
Preparation suited to the actual surface.
Enough preparation, application, drying, and curing.
Replace Cabinet Pulls That Look Worn or Feel Awkward
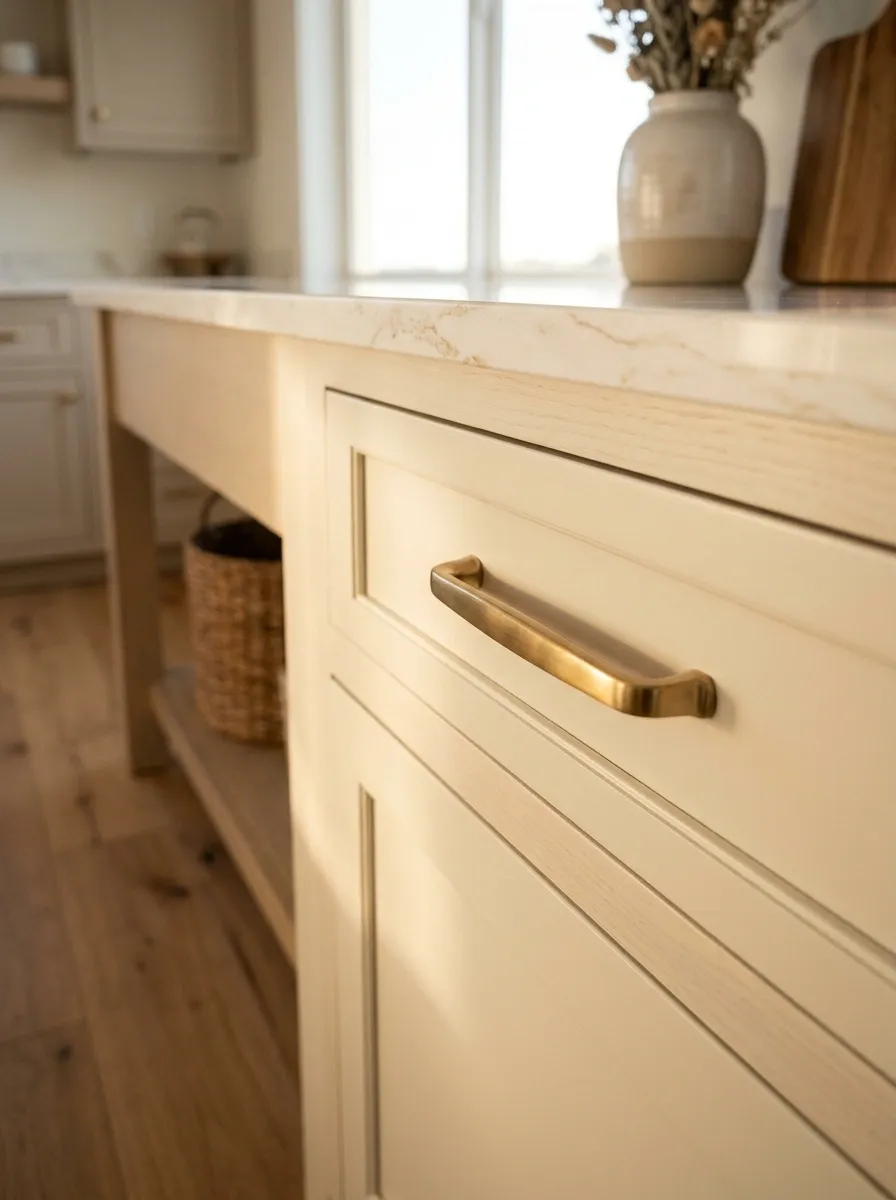
Hardware is worth changing when the existing pieces are damaged, uncomfortable, or visually inconsistent.
Choose replacements that fit the doors and drawers you have. Measure fixing-hole spacing, check screw length, and compare the scale against the full panel. Test one before committing to a complete set.
Keep the finish related to the kitchen’s existing fittings without replacing working plumbing just to achieve absolute agreement. Reusing sound fixing positions keeps the job contained. A practical pull that sits neatly against the door does more for the kitchen than an oversized decorative handle that catches clothing.
| Measure | Why it matters |
|---|---|
| Hole spacing | Keeps replacements compatible with existing positions. |
| Panel thickness | Helps establish suitable fixing length. |
| Projection | Checks grip and clearance beside other doors. |
Adjust Crooked Cabinet Doors Before Styling the Counter
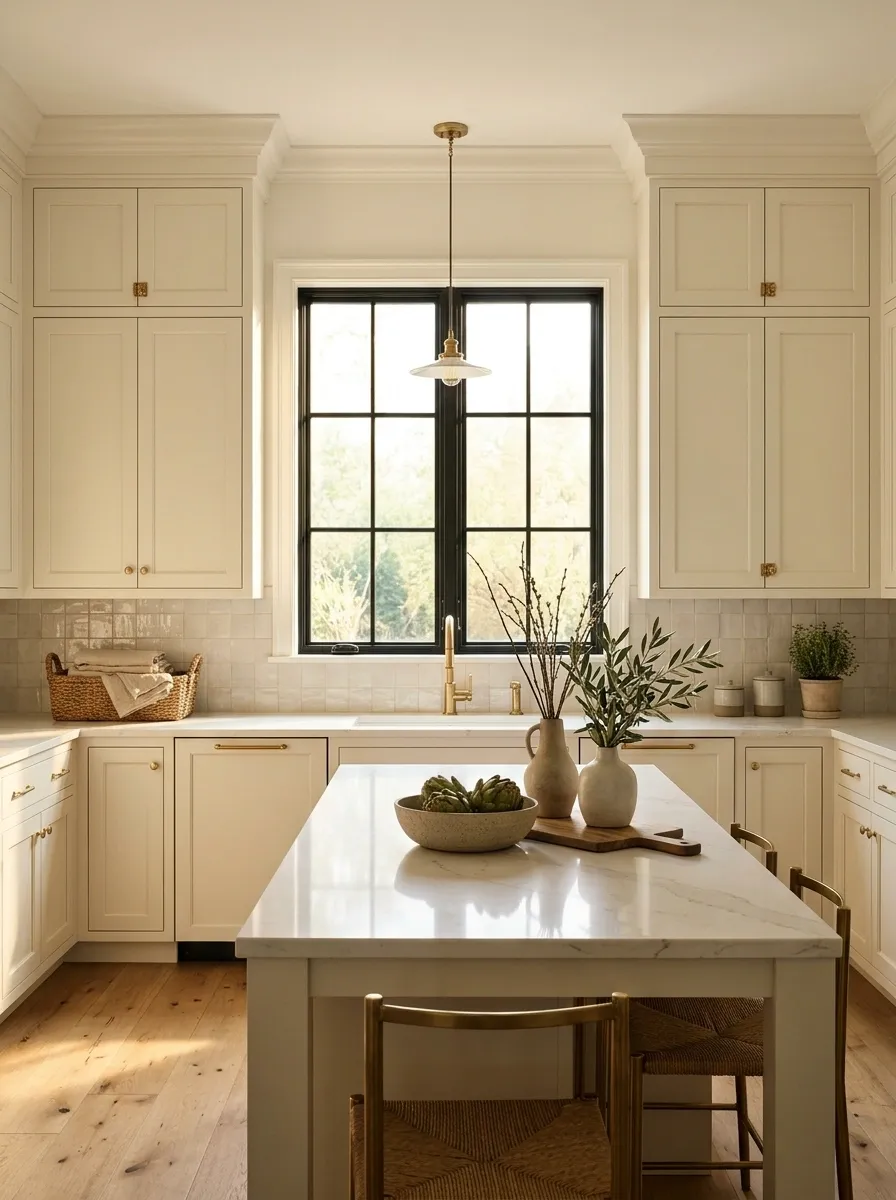
A kitchen can have handsome accessories and still look tired because the door gaps wander everywhere.
Identify the hinge system and follow its adjustment guidance where appropriate. Check for loose fixings, worn components, and damage before assuming alignment alone will solve the problem.
Work on one door at a time and test neighboring doors and drawers afterward. Don’t overtighten fixings or force a damaged hinge to compensate for another fault. Straight, normally operating doors improve the experience of using the kitchen. They also let you see the cabinetry without a constant reminder of unfinished maintenance.
Identify the system and check for damage before adjustment.
Look at gaps, opening movement, and interaction with adjacent doors.
Clean Grout Before Assuming the Tile Needs Replacing
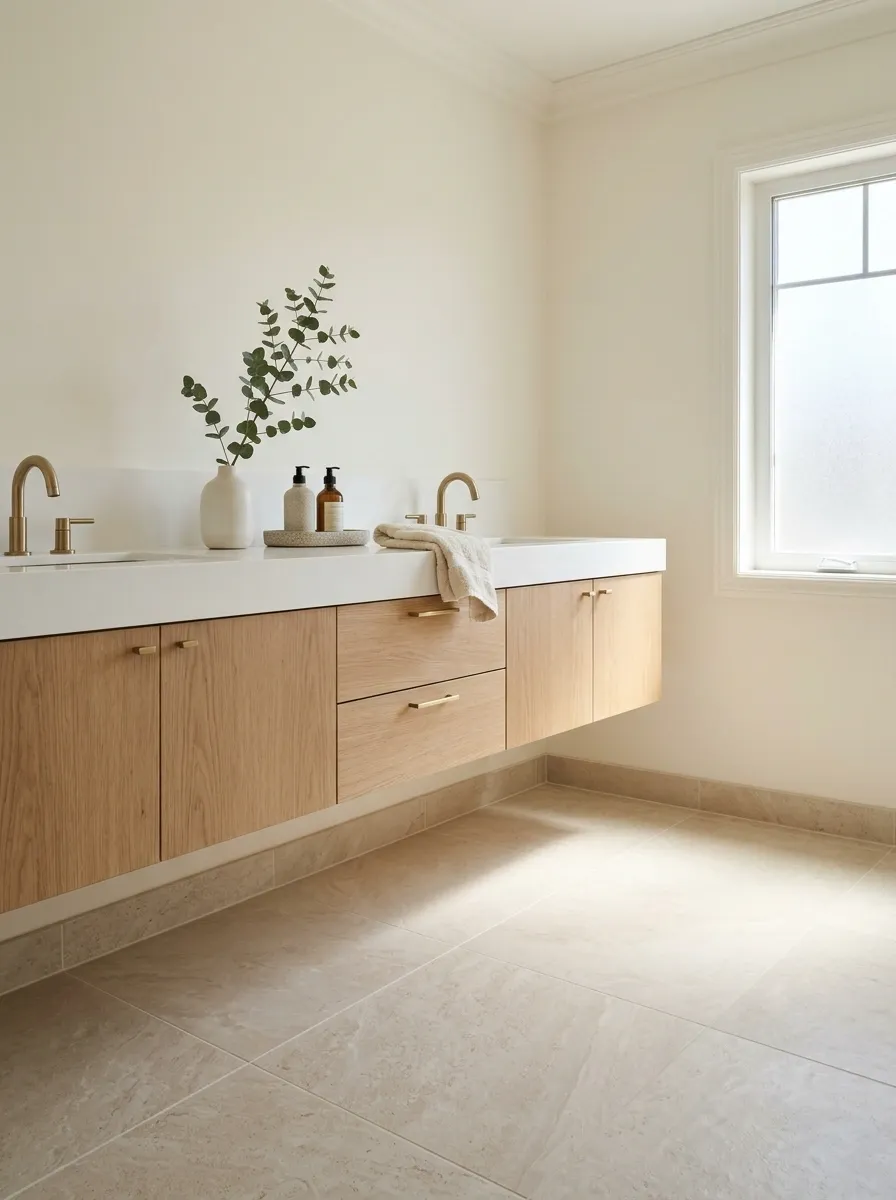
Dirty grout can make perfectly serviceable tile look much older.
Identify the tile, grout, and any existing treatment before choosing a cleaning method. Use compatible products and avoid aggressive mixtures or tools that damage the joints. Work on a manageable area and assess the result.
Cracked or missing grout needs appropriate repair rather than more scrubbing. Investigate movement or recurring moisture problems before treating them as cosmetic wear. If the surface cleans up well, you may be able to keep the existing tile and direct the budget toward a more pressing problem elsewhere.
Choose products for the actual tile and grout. Natural stone, coatings, and different joint materials can require different care.
Replace Failed Sealant After Resolving the Cause
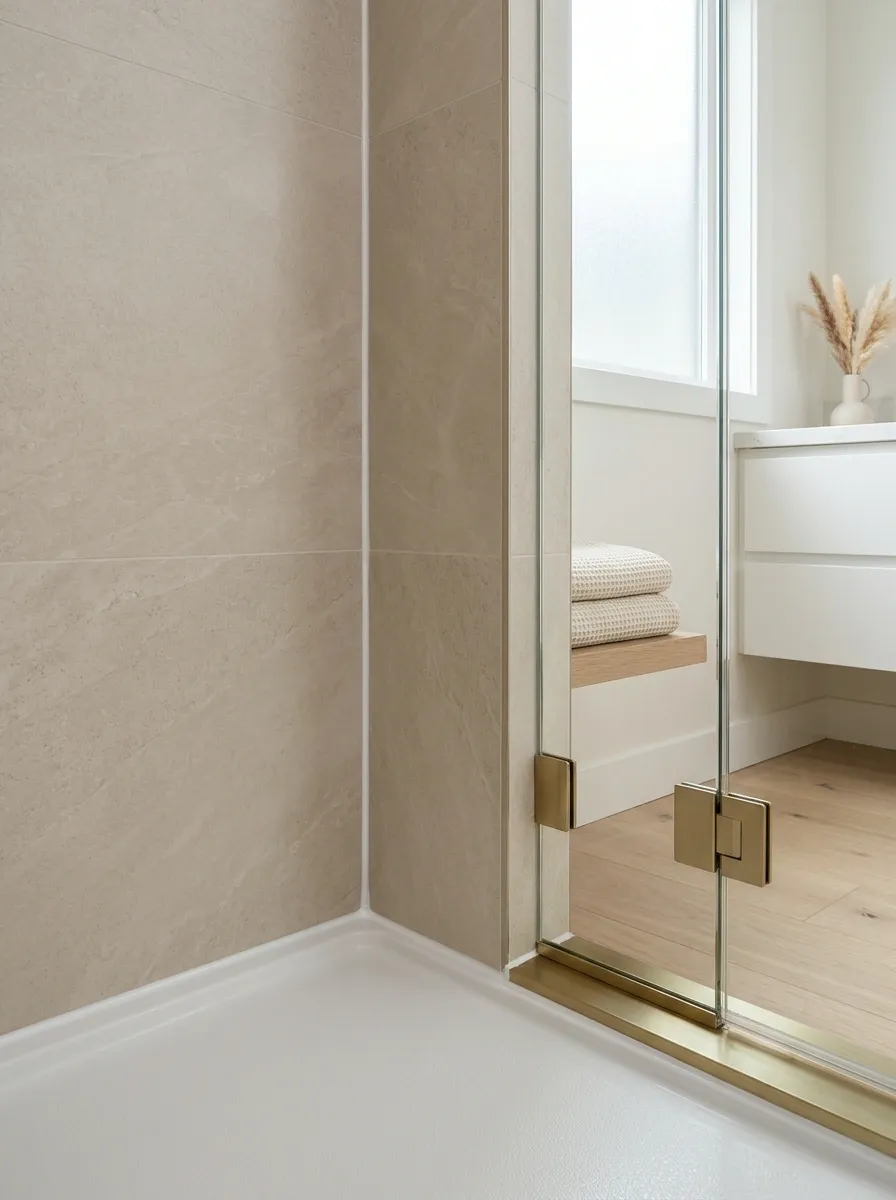
Split, loose, or deteriorating sealant makes a bathroom look poorly maintained.
Inspect the joint and surrounding area first. Resolve leaks, movement, or other underlying faults before replacing the sealant with a suitable product. Follow the required removal, cleaning, drying, and application instructions.
Keep the finished joint neat and allow its full curing time before water exposure. Don’t smear a fresh layer over failing material and call the project finished. This is a maintenance job with a visible benefit, and the quality depends on what happens before the attractive final line appears.
Assess what made the existing joint fail.
Remove and prepare as the product requires.
Allow curing before returning the area to use.
Replace a Damaged Toilet Seat With a Compatible One
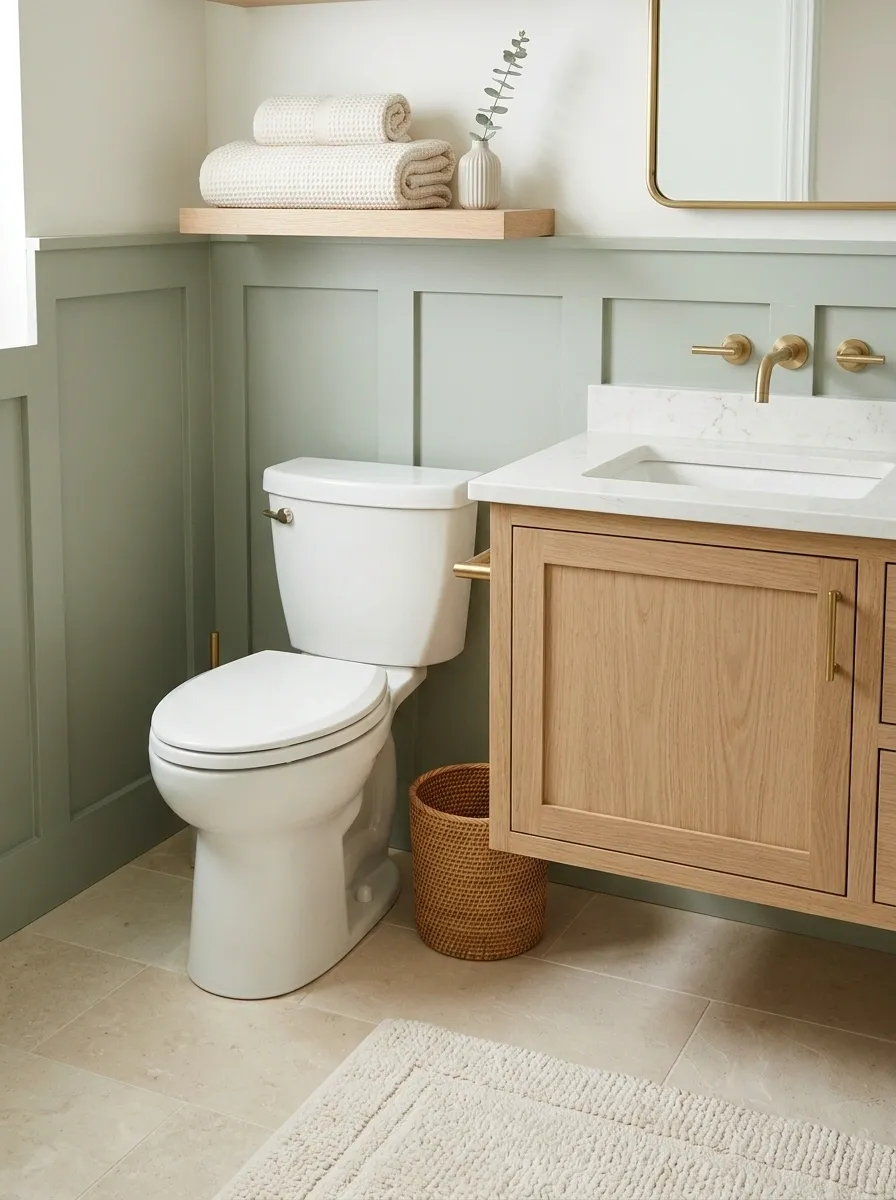
It’s a modest purchase, but a chipped or shifting seat makes a clean bathroom feel neglected.
Measure the bowl and fixing positions, then choose a compatible seat with a practical hinge arrangement. Check whether the fixings are accessed from above or below before buying.
Follow the installation instructions and test alignment and stability afterward. Keep cleaning access in mind. This isn’t an excuse to replace a working bathroom suite for appearance alone. It’s a contained improvement that deals with a specific, visible defect and makes the room more pleasant to use immediately.
- Bowl shape and dimensions.
- Fixing-hole spacing and adjustment range.
- Access for installation and cleaning.
- Stable operation once fitted.
Finish a Plain Mirror Without Crowding the Vanity
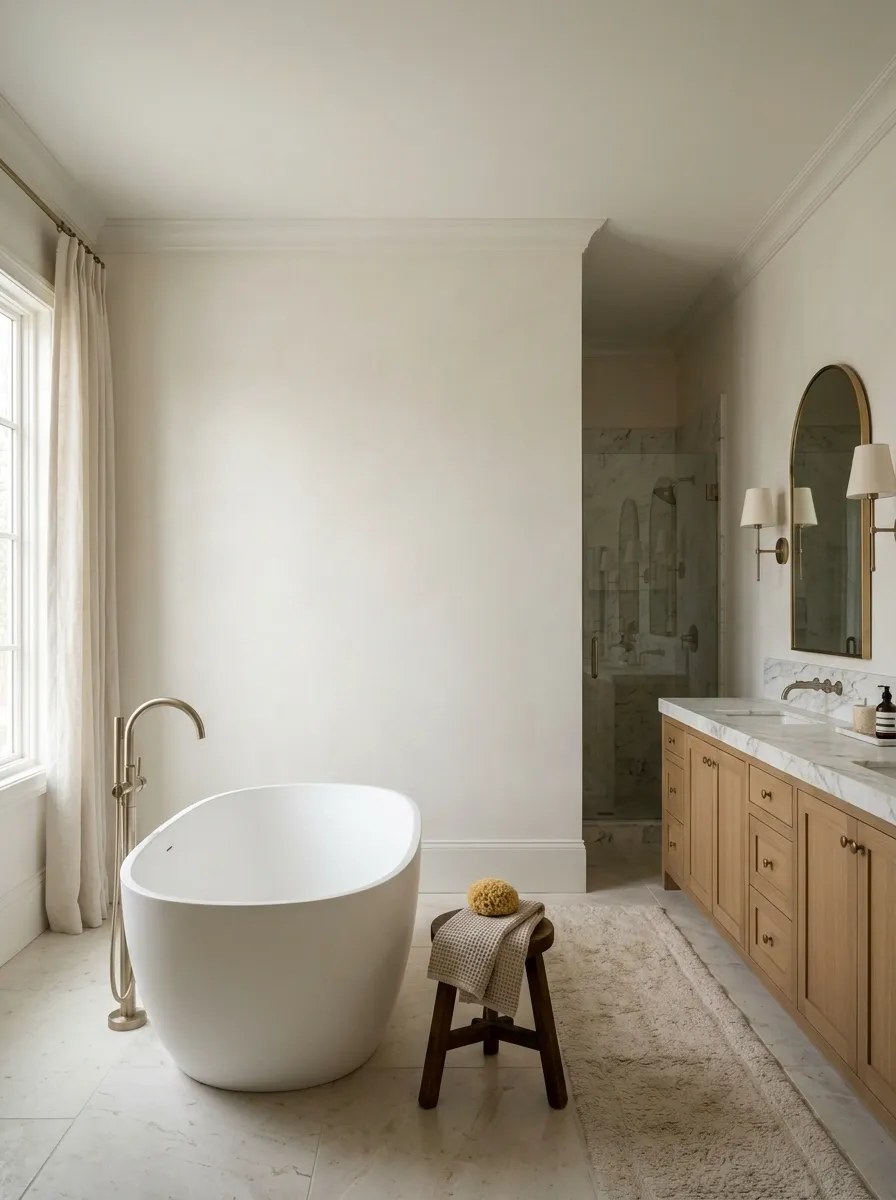
A sound mirror with an unfinished-looking edge may benefit from a suitable frame.
Check mounting clips, nearby switches, cabinet doors, and the mirror’s condition before choosing a system. Use materials and installation methods appropriate to the location. A slim frame often leaves more room for the mirror to do its useful work.
Don’t add trim to disguise damage that needs assessment. Keep the frame’s scale related to the vanity rather than choosing the most elaborate profile available. The goal is a complete-looking fitting with normal access around it, not a ballroom fragment above the toothbrushes.
Existing clips and the mirror’s mounting arrangement.
Nearby doors, drawers, and daily reach.
Moisture and the suitability of the materials.
Secure Loose Bathroom Accessories Properly
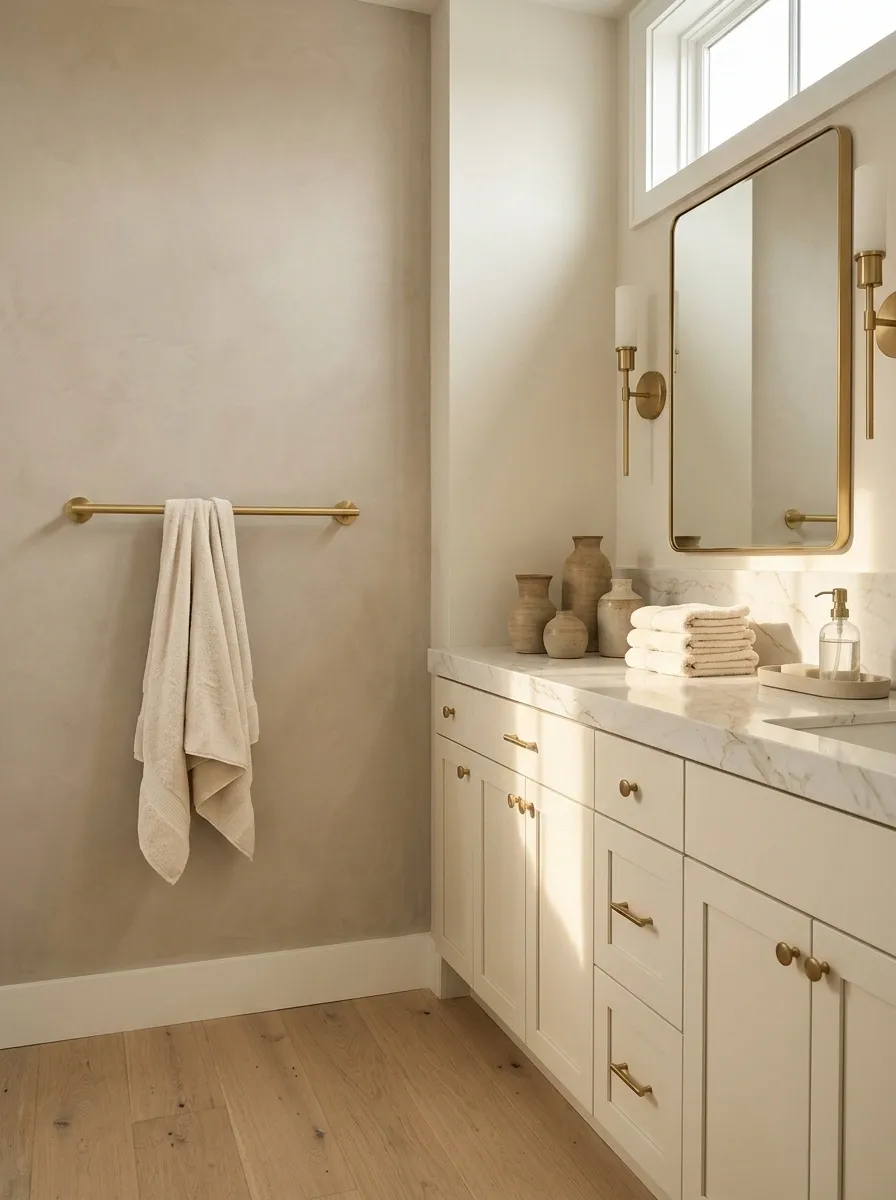
A towel rail that shifts in your hand makes the room feel less dependable.
Inspect the fixing and wall condition before attempting a repair. Choose a suitable method for the wall and expected use, and identify concealed services before making new holes. Damaged substrate may need attention beyond tightening a screw.
Check the position while you’re working. A rail should be convenient without interfering with the door or other fittings. Finish with a careful operational check. Small accessories deserve sound installation, particularly when people use them automatically without thinking about how much pressure they apply.
A damaged wall or unsuitable fixing needs an appropriate solution. Check the cause before repeatedly tightening a fitting that keeps coming loose.
Clean Light Fittings and Make the Bulbs Consistent

Mismatched bulbs and dusty shades can make finished rooms look strangely uneven.
Clean accessible fittings according to their instructions, with power handled appropriately, and replace failed bulbs with compatible ones. Check the color of the light across each room so one fitting doesn’t look yellow beside another that looks cold.
Judge the result after dark as well as during the day. Keep useful task lighting where people need it. This project improves how the existing rooms are seen, without pretending that changing bulbs adds a new feature to the property.
Clean, sound, and used with compatible bulbs.
Enough useful light where people read or work.
A consistent, comfortable overall appearance.
Clean Accessible Windows and Restore Their Clear Surroundings
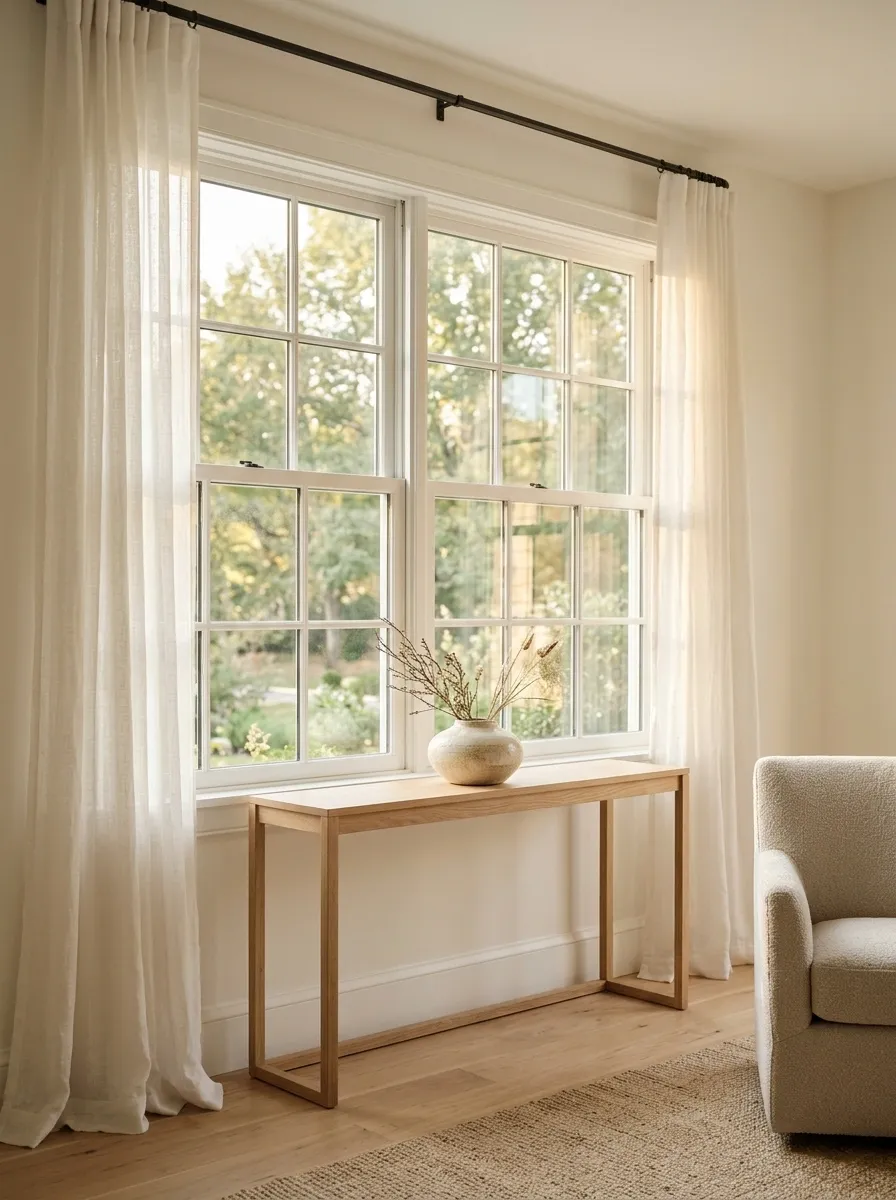
Daylight has a harder job when the glass is dirty and the sill is crowded.
Clean accessible glazing and frames with methods suitable for their materials. Keep high or awkward work for someone with the right equipment. Clear unnecessary objects from the sill and allow window treatments to open properly.
Check normal operation and note damaged seals, moisture, or other defects for assessment. A clean window doesn’t resolve those issues. The useful result is a brighter-looking room with the existing opening visible and usable, rather than hidden behind a collection of objects and half-drawn curtains.
- Glass and compatible frame cleaning.
- Clear handles and normal opening movement.
- Window treatments that operate properly.
- Visible faults recorded for appropriate repair.
Repair Closet Storage So Its Capacity Is Obvious
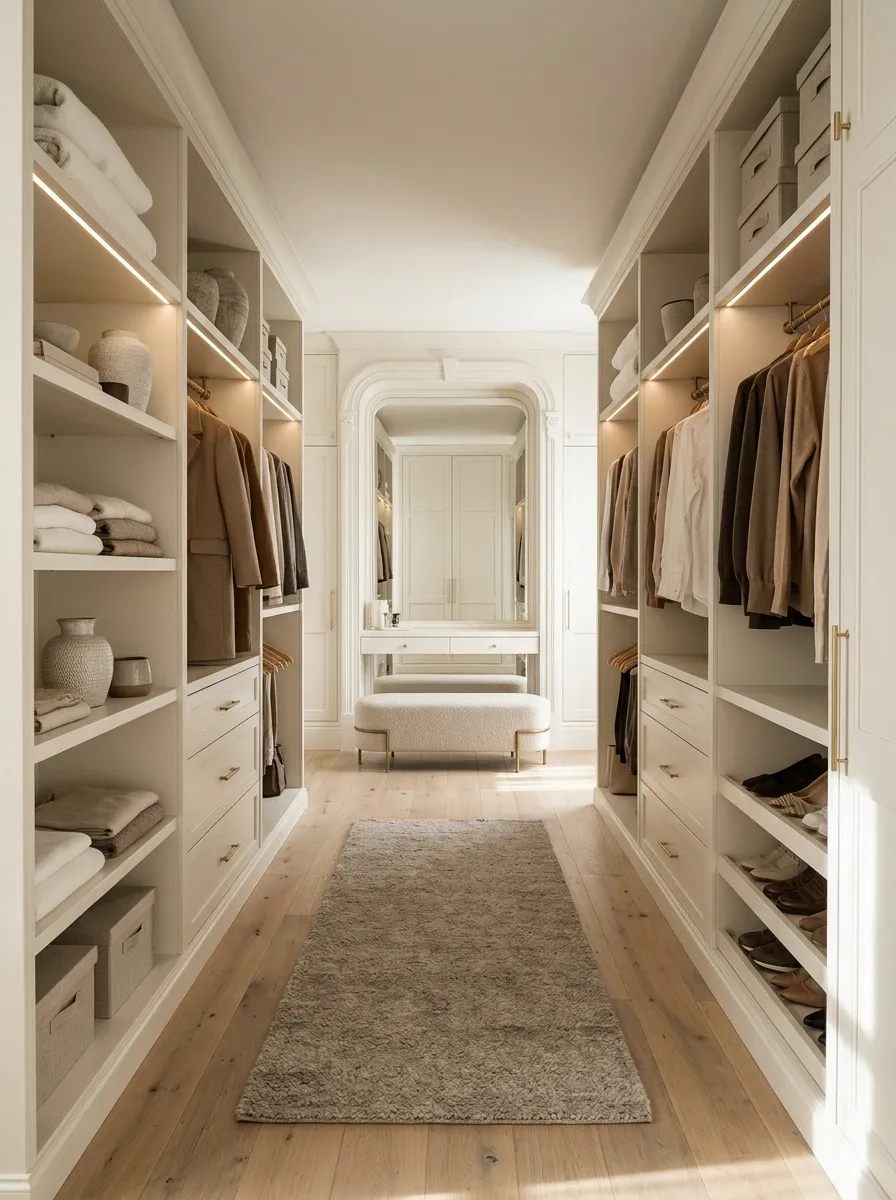
A closet with a sagging shelf or awkward hanging rail can make useful storage feel inadequate.
Assess the fittings and load requirements, then repair or replace compatible components within your skills. Keep regularly used sections accessible. Don’t fill the cupboard with organizers before checking what actually needs to fit.
Remove unrelated overflow long enough to evaluate the storage honestly. A clear, functioning closet lets you see its proportions and use it properly. It doesn’t create extra floor area, but it does stop a useful feature from looking like an unresolved household problem.
Sound components and appropriate load limits.
Contents can be reached without unloading everything.
The usable space remains easy to understand.
Add Suitable Storage to an Awkward Laundry Area
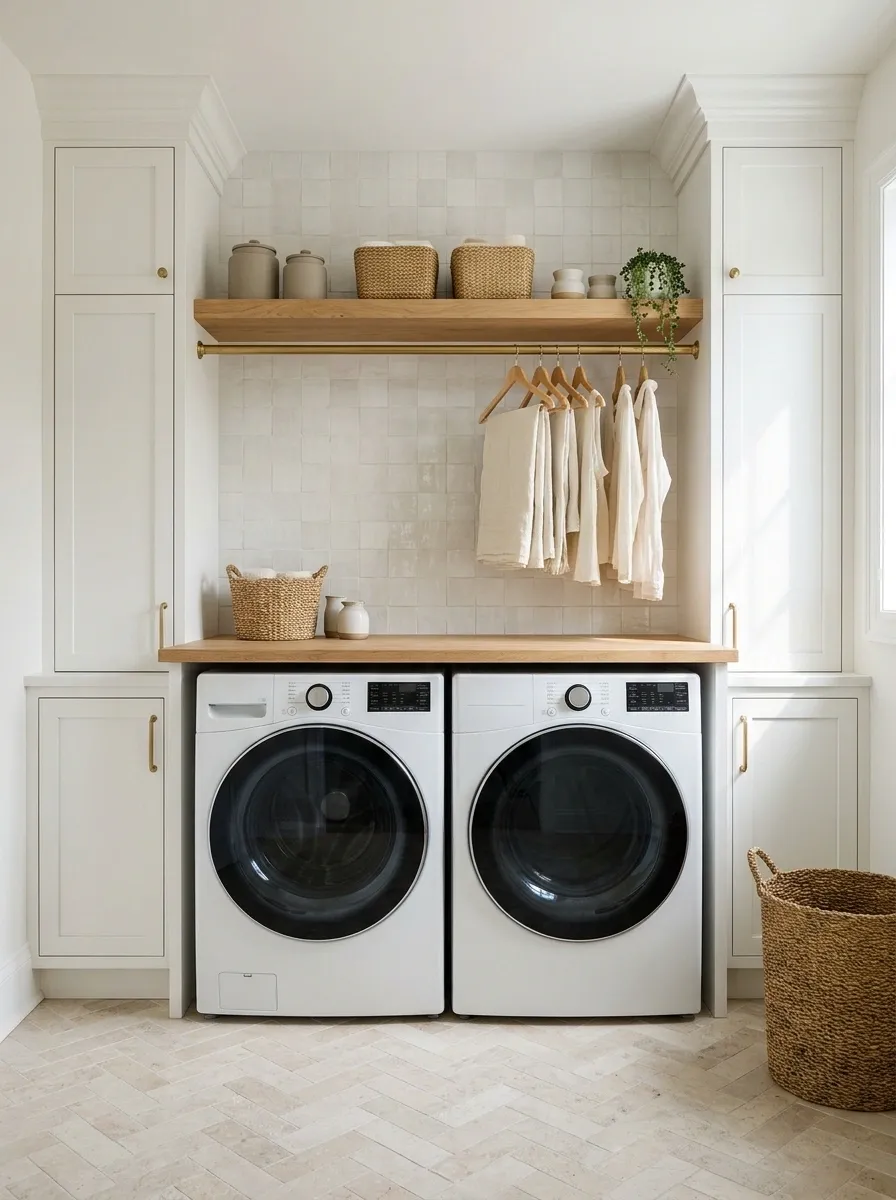
A laundry corner becomes more useful when supplies have somewhere to live.
Choose a storage arrangement based on the room, appliances, and clearances they require. A suitable shelf or freestanding unit can help, provided it’s installed or positioned safely and doesn’t block connections, ventilation, or servicing.
Keep products stored appropriately for your household. Measure doors and controls in their working positions before committing. The improvement should make laundry easier without creating a maintenance obstacle behind an attractive container. A practical utility area is more convincing when its appliances remain accessible and the floor stays clear.
Check doors, drawers, controls, required ventilation, and service access before adding storage around the machine.
Treat Floor Wear According to the Actual Material
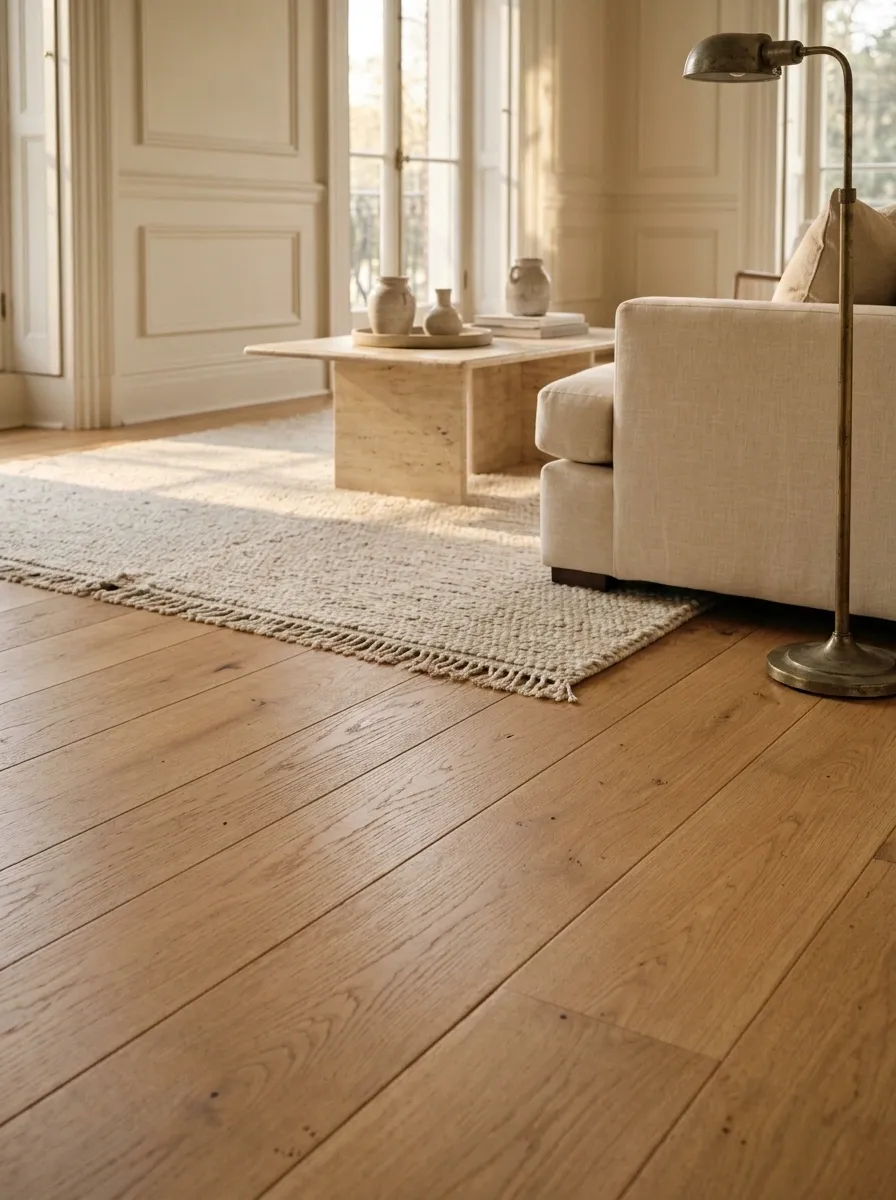
A scuffed floor deserves an informed repair, rather than a product chosen because its label says “restore.”
Identify the flooring and existing finish. Clean it appropriately, then assess which marks are superficial and which need specialist attention. Use compatible touch-up methods and test discreetly where required.
Don’t sand thin material or coat a surface without understanding the consequences. Keep the job proportionate to the damage. A carefully maintained existing floor can serve the house well, while an unsuitable treatment may turn a contained problem into a full-room replacement decision.
What is the floor actually made from?
Which coating or treatment is already present?
Is this cleaning, a local repair, or a larger assessment?
Give Garage Storage a Clear, Safe Arrangement

A garage looks more useful when its floor and access routes are visible.
Sort what belongs there and choose storage suitable for the contents and the building. Secure units as required and respect shelf loads. Keep equipment, doors, controls, and service points accessible.
Don’t turn the cleanup into a casual conversion project. Maintain the space’s intended function and deal with unrelated alterations separately. Even simple sorting and sound storage can make the area easier to use. The practical benefit comes from being able to retrieve things and move around, rather than creating a photographic wall of identical boxes.
Plan storage around the door’s operation, building services, equipment requirements, and the routes you need to use regularly.
Make an Existing Patio Look Ready to Use

A patio covered in broken pots and tired furniture hides a useful part of the property.
Clean the surface appropriately, assess visible faults, and remove things that no longer belong there. Repair sound furniture within your skills or take damaged pieces out of use. Arrange a simple seating area that leaves movement clear.
Keep the setup appropriate to the space rather than squeezing in a large dining set. This is about showing and improving an existing outdoor feature. Decorative furniture remains a furnishing choice, so don’t confuse the price of the accessories with an increase in the property’s value.
Clean, assessed, and clear of unrelated clutter.
Sound pieces arranged for a believable activity.
Access remains comfortable when seats are occupied.
Spend Where the House Already Needs Attention
Walk through with a notebook before you buy anything. Write down the sticking door, the damaged finish, and the entrance that looks neglected. Finish those jobs properly, then decide whether the decorative project still deserves the budget.
The strongest DIY ideas to raise your home’s value begin with the property’s actual condition. Keep spending proportionate, retain records of improvements, and get local advice before larger sale-focused work. Good workmanship matters more than an impressive project title.
Save this list on Pinterest before your next hardware-store trip. Bring the measurements, and leave the speculative resale promises behind.