
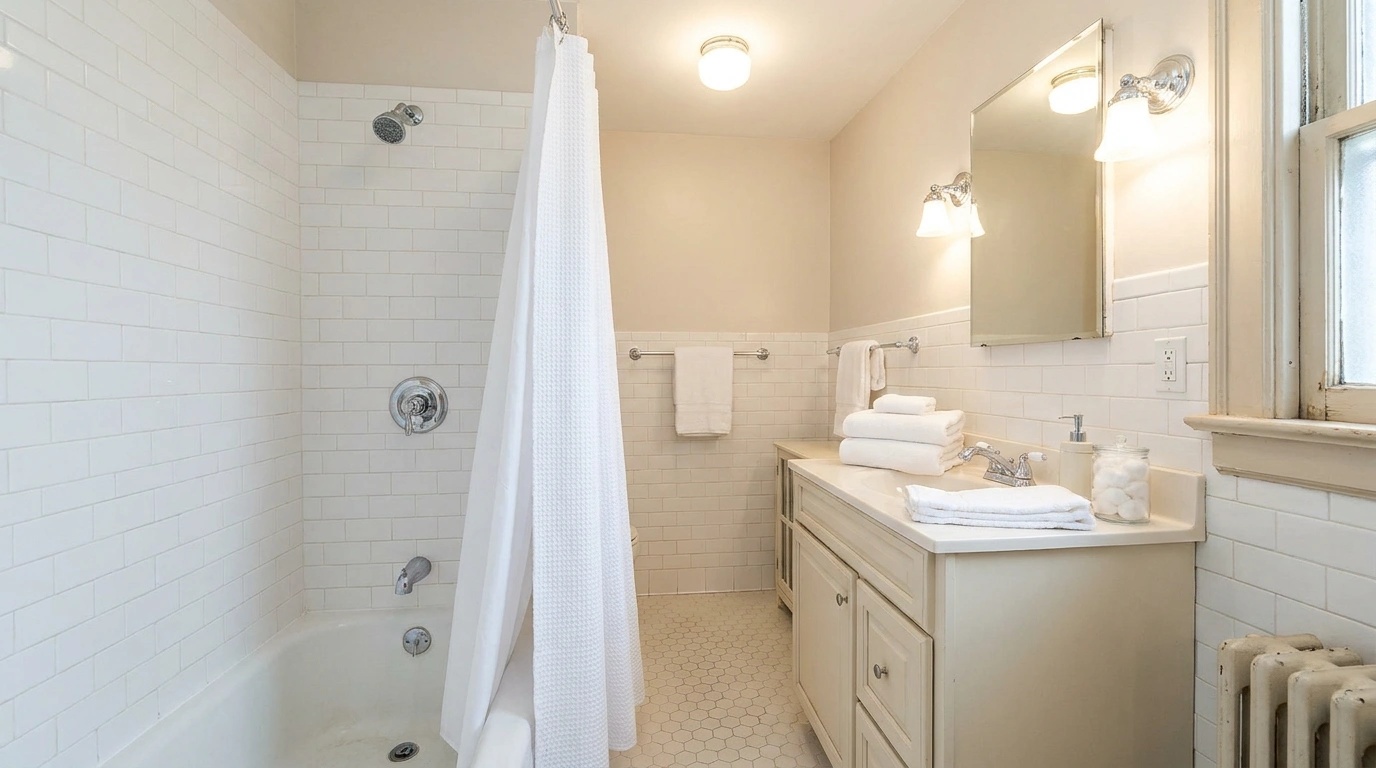
The bathroom has been scrubbed, but the mirror still looks cloudy around the edges, the shower curtain has seen better years, and the grout seems determined to retain its original personality. Meanwhile, the new soap dispenser is standing there looking unreasonably pleased with itself.
Old bathrooms collect several kinds of wear at once. There’s ordinary dirt, product buildup, mineral deposits, faded finishes, and damage that cleaning won’t remove. Treating all of them with another round of scrubbing wastes time and can make delicate surfaces worse.
Learning how to make an old bathroom look cleaner starts with separating those problems. Clean what’s dirty. Repair what’s deteriorating. Remove the clutter that makes every surface harder to maintain. Then improve the details that affect the whole room, including the light, textiles, and visible edges.
You can keep useful tile, cabinets, and fittings while making the room feel much better cared for. Start with the most noticeable problem rather than the easiest accessory to buy. The grout has seniority over the soap dispenser.
Find Out What’s Making the Bathroom Look Tired
Separate Surface Buildup From Permanent Wear

Soap residue, dust, water marks, and grime need different attention from chipped finishes or deteriorating sealant. Look closely before choosing a product or tool.
Identify the surface and follow suitable care guidance. A cleaner that works on one material can damage another, especially where coatings, natural stone, or older finishes are involved. Start with the least aggressive appropriate method. Once the surface is clean and dry, assess what remains. That gives you a more honest picture of which areas need maintenance rather than another cleaning session.
Look at the Room From the Doorway
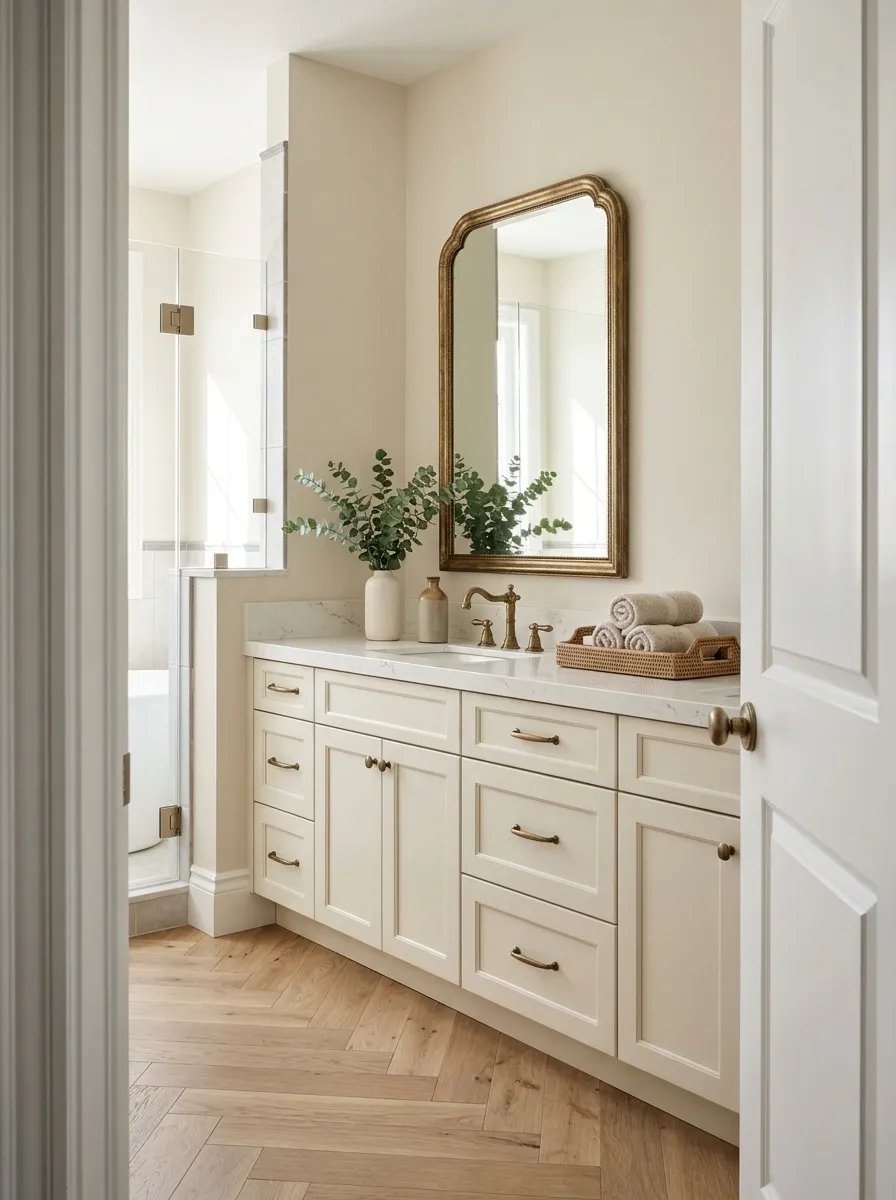
Stand back before focusing on individual stains. Notice the curtain, mirror, towels, floor edges, and counter. Those larger areas often determine whether the bathroom feels cared for.
A small mark behind a cabinet may be less noticeable than a permanently damp mat beside the bath. Work through the room by visual impact and practical use. Clear the surfaces first, then clean and assess them. That order keeps you from spending an afternoon polishing around objects that should have been put away at the beginning.
Practical Ways to Make an Old Bathroom Look Cleaner
Empty the Sink Surround Before Cleaning It
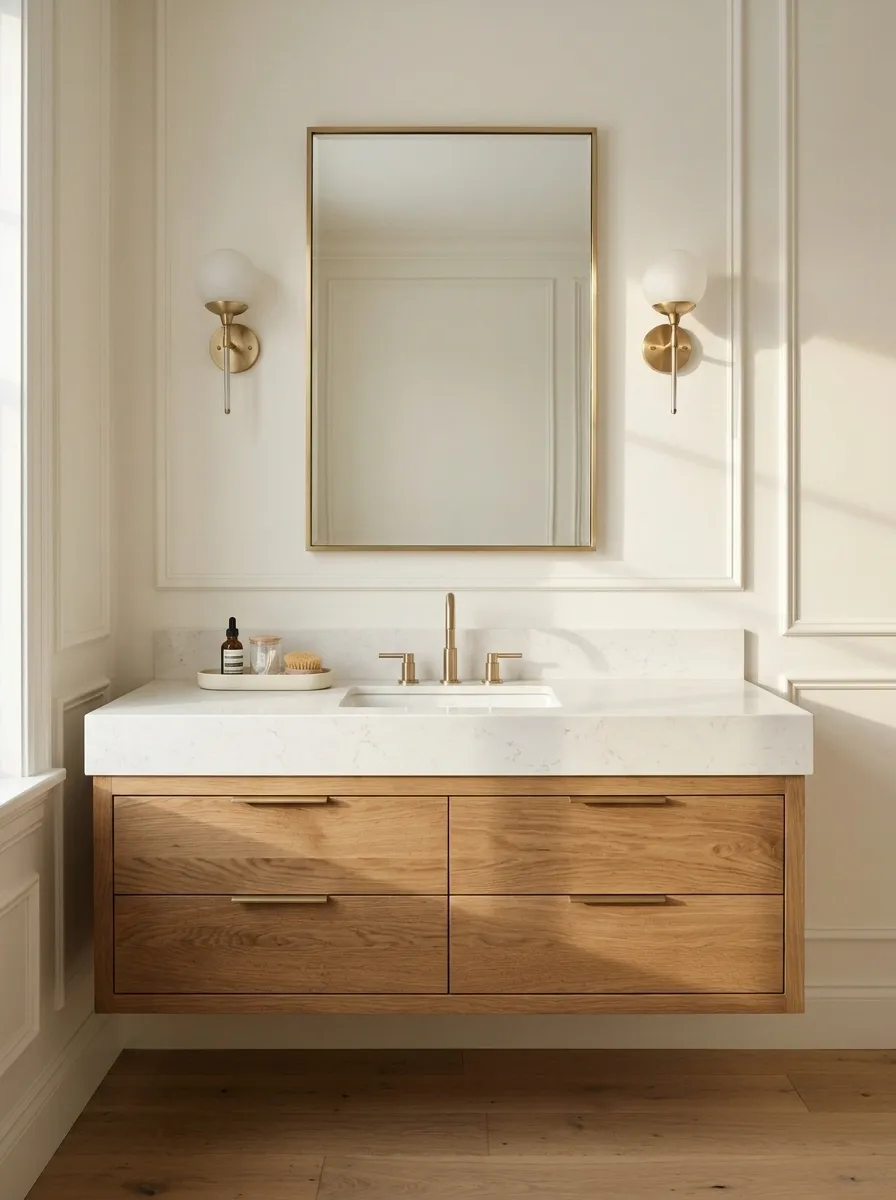
The basin can look crowded even when every bottle is technically useful.
Remove everything, clean the exposed surface appropriately, and return only the products used there daily. Put backups and occasional items in suitable storage. Keep important product information and original packaging where required.
Leave a dry landing spot. Glasses, a watch, or a contact lens case need somewhere to sit temporarily. That clear patch makes the vanity easier to use and reveals more of the surface beneath the objects. You’ll also be able to wipe it without performing a small relocation operation.
Keep the essentials convenient and easy to lift.
Group backups so they don’t spread across the counter.
Reserve a useful dry patch away from splashes.
Choose Cleaning Products for the Actual Surfaces
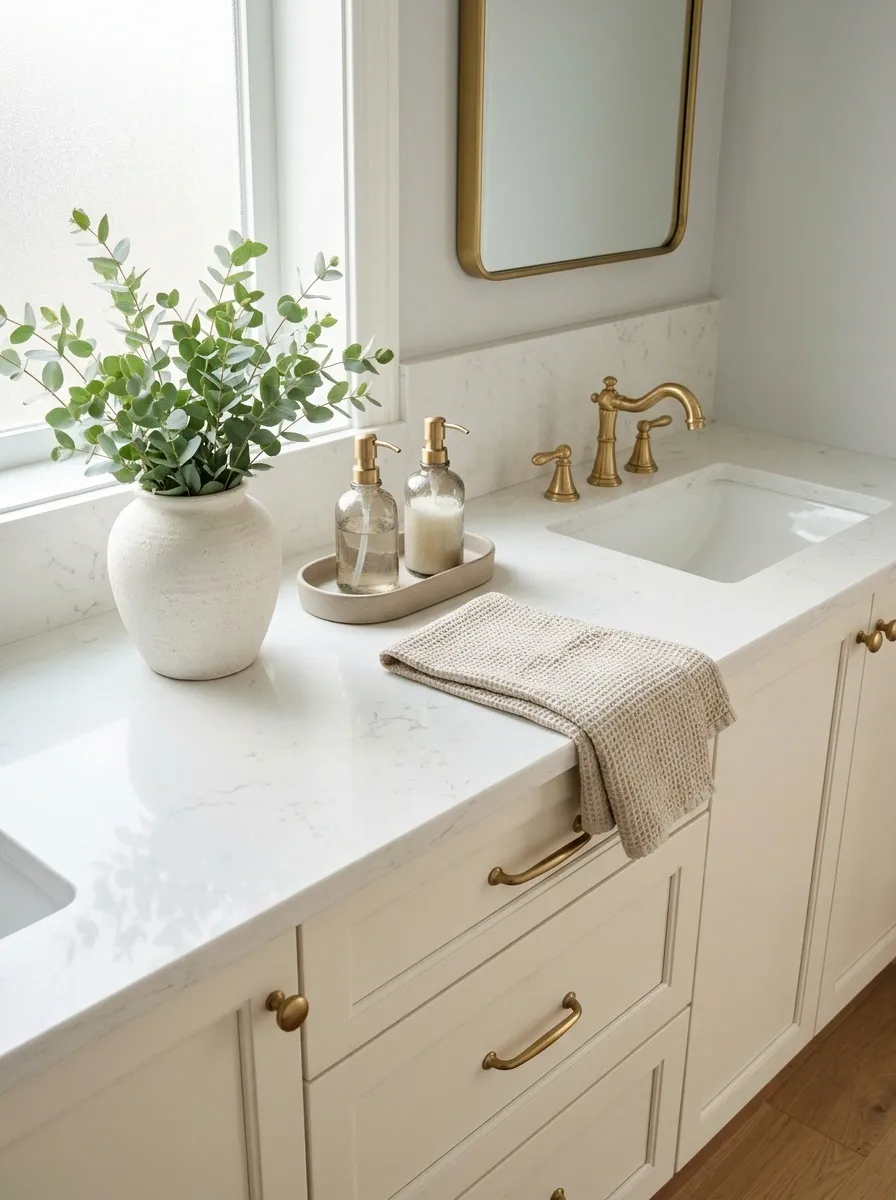
An old bathroom may contain several materials that look similar but need different care.
Identify the tile, basin, tap finish, mirror treatment, and countertop before choosing products. Use cleaners labeled as suitable for those surfaces, and test discreetly where the guidance calls for it. Keep abrasive tools away from finishes they can scratch.
Read the instructions instead of improvising a stronger mixture. Don’t mix cleaning products. A compatible product used properly is a better starting point than a cupboard full of aggressive bottles deployed in frustration because the bathroom refused to cooperate.
Note the material and finish before shopping. Keep the relevant care instructions with your cleaning supplies so the right method is easy to repeat.
Give the Cleaner Time to Work as Directed

Immediate scrubbing can turn a straightforward job into unnecessary effort.
Apply a suitable product according to its instructions, including any required contact time, rinsing, and ventilation. Work in manageable sections so the cleaner doesn’t dry where it shouldn’t. Use the recommended tools rather than escalating the abrasion.
Pay attention to the order of the job. Clear the area, apply correctly, clean, rinse where required, and finish as directed. That complete process often matters more than how hard you scrub. The bathroom doesn’t award extra credit for exhausting yourself against the same patch of residue.
Use the specified amount and suitable conditions.
Respect contact time and tool guidance.
Complete the required rinsing or drying steps.
Remove Water Deposits From Taps Without Damaging the Finish
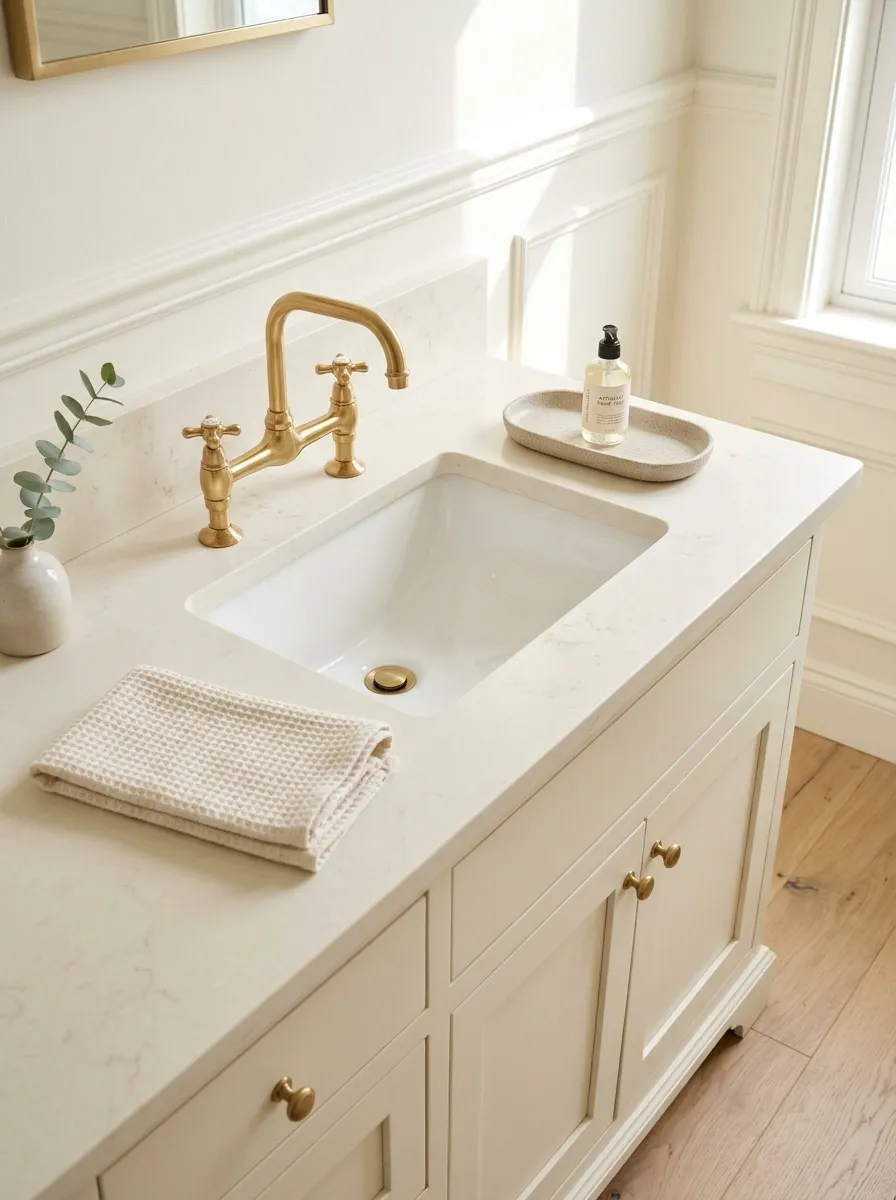
Pale deposits around a tap can make a clean basin look neglected.
Check the tap manufacturer’s care guidance and choose a compatible method for the finish. Pay attention to the base and areas where water sits. Avoid assuming an acidic household ingredient is suitable simply because someone used it on a different tap.
Clean gently, rinse as required, and dry the fitting with an appropriate cloth. If the surface is pitted, peeling, or damaged, recognize that as wear rather than a cleaning failure. Repeated aggressive treatment won’t restore missing finish and may make the appearance worse.
- Identify the coating or metal finish.
- Use a compatible cleaning method.
- Keep abrasive tools away unless specifically permitted.
- Separate deposits from physical damage.
Clear Soap Film From the Shower Screen

A shower screen can make the whole room feel dull when residue covers the glass.
Identify whether the screen has a protective treatment, then follow its care instructions. Use a suitable cleaner and work across the full panel, including accessible corners and fittings. Avoid scraping or abrasive methods that can damage the surface.
Assess the result when the glass is dry. Cloudiness that remains may need further evaluation rather than repeated cleaning. Keep the ongoing routine simple enough to maintain. A suitable squeegee or drying method can help with everyday water management where the manufacturer recommends it.
Continue with compatible care.
Assess the cause before repeating treatment.
Choose a maintenance method suited to the screen.
Clean Grout Before Deciding the Tile Has to Go
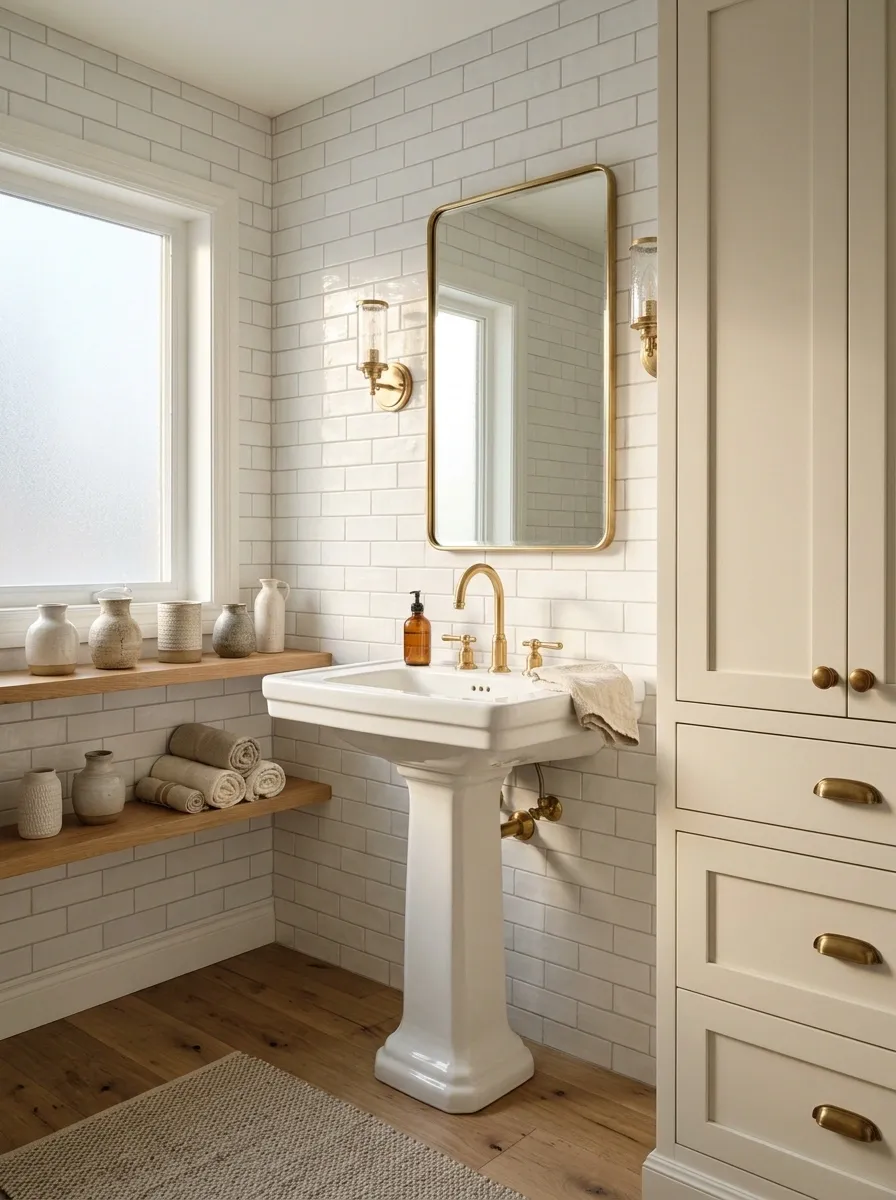
Grout lines can make serviceable tile look much older than it is.
Choose products and tools suitable for both the grout and tile. Work on a small area first, following the care guidance, then compare the clean, dry result with the surrounding surface. Keep the treatment controlled.
Cracks, missing material, or recurring moisture need appropriate assessment. Don’t keep scrubbing a joint that has physically deteriorated. If ordinary buildup is the main problem, cleaning may improve the room significantly. If the joint needs repair, you’ll have identified a specific maintenance job instead of blaming the whole wall.
| What remains? | Next step |
|---|---|
| Surface residue | Use compatible cleaning guidance. |
| Cracks or missing grout | Assess the cause and suitable repair. |
Replace Deteriorating Sealant After Addressing the Cause
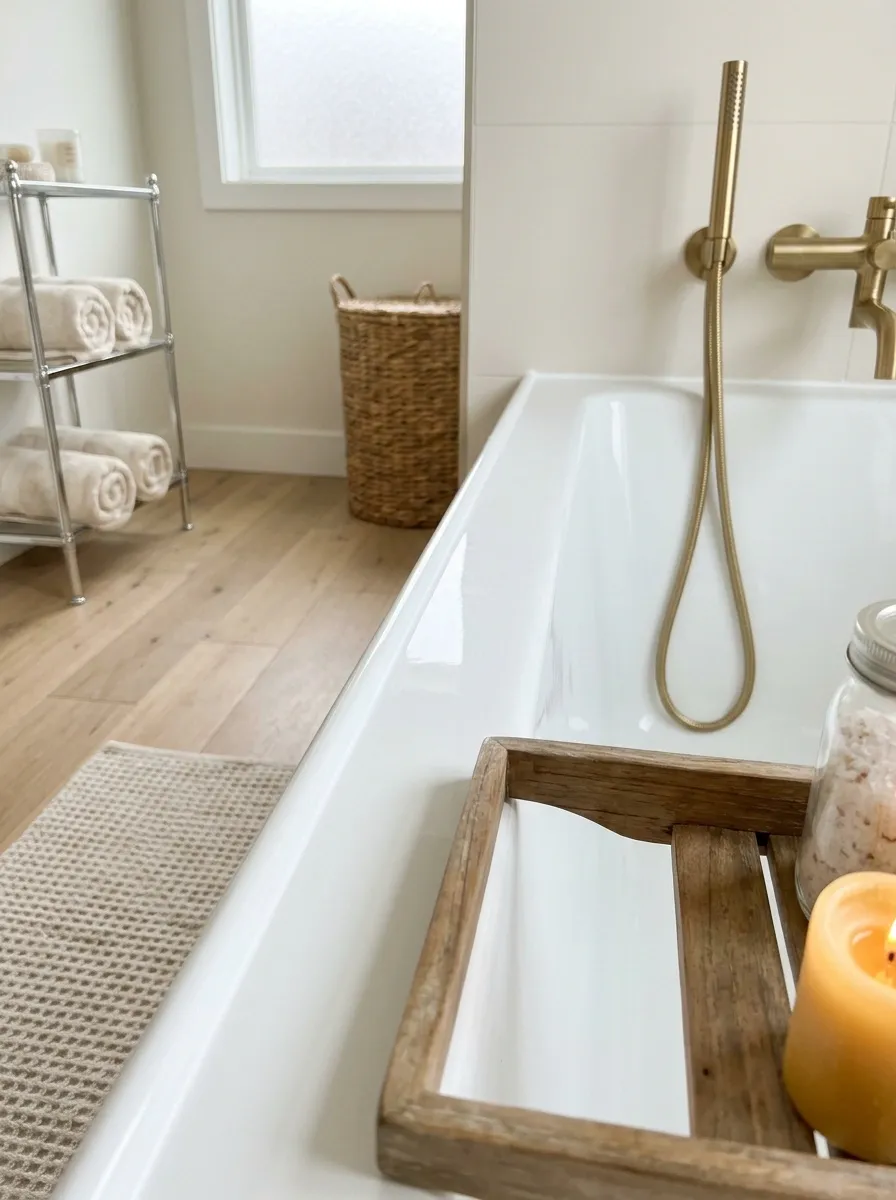
A ragged sealant joint makes the edge of a bath or shower look unfinished.
Inspect the area for leaks, movement, or other faults before replacing the material. Use the appropriate product and preparation method for the joint. Don’t apply a fresh layer over failing sealant and expect a durable result.
Keep the final line neat and follow the full curing instructions before returning the area to use. This is maintenance with a visible benefit. It works when the joint is properly restored, rather than when a new strip of color briefly hides what was wrong underneath.
Understand why the existing material failed.
Remove and prepare as required.
Respect application and curing guidance.
Clean the Toilet’s Exterior Details as Carefully as the Bowl
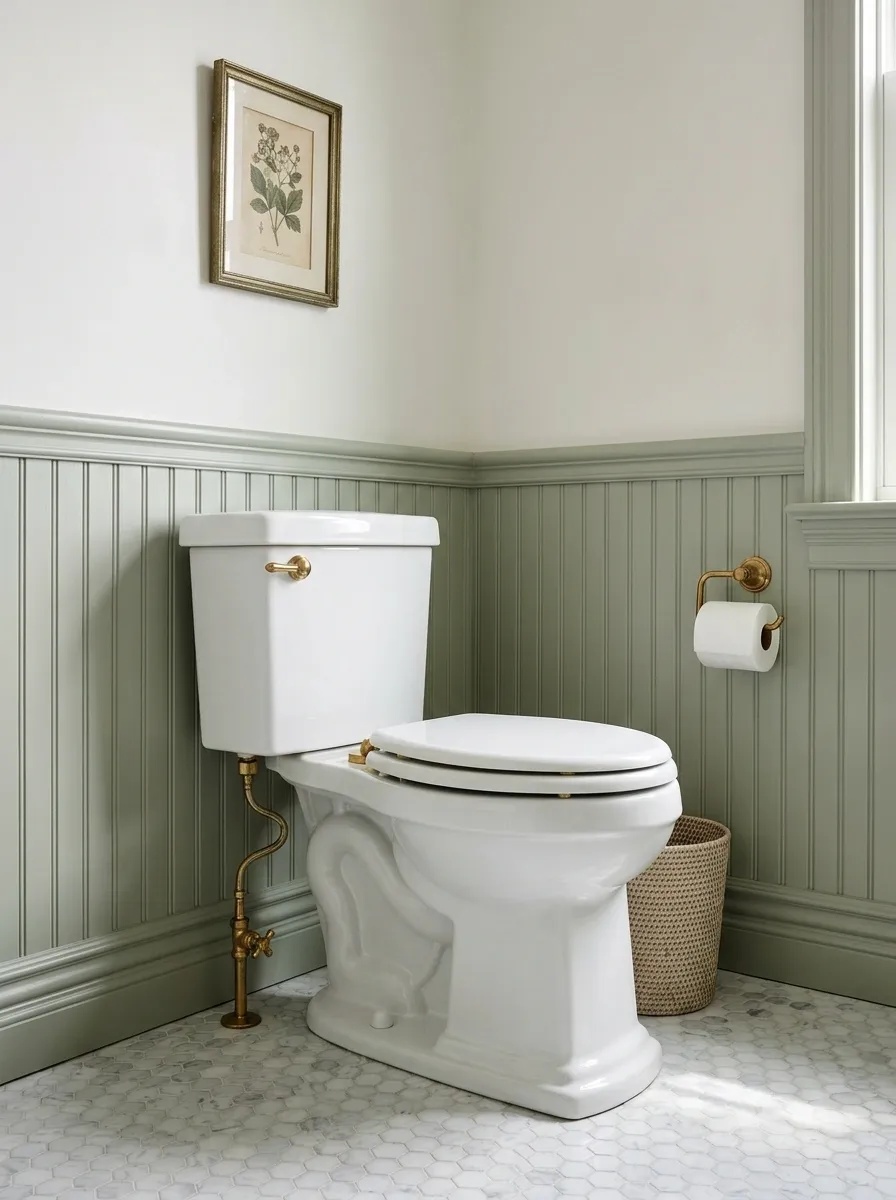
The bowl can be clean while the hinges, underside of the seat, and outer base still look neglected.
Use an appropriate cleaning routine and suitable tools for the different areas. Follow the product and fitting instructions, and keep toilet-cleaning materials separate from those used around the basin.
Look at accessible edges from a lower angle rather than only from standing height. Don’t disturb fittings or conceal evidence of leakage. Finish the ordinary cleaning before deciding the toilet needs replacement. Often, the overlooked exterior details are contributing more to the tired appearance than the main ceramic surface.
Check accessible hinges, exterior edges, and the surrounding floor. Keep the cleaning method compatible with every surface involved.
Replace a Chipped or Permanently Stained Toilet Seat
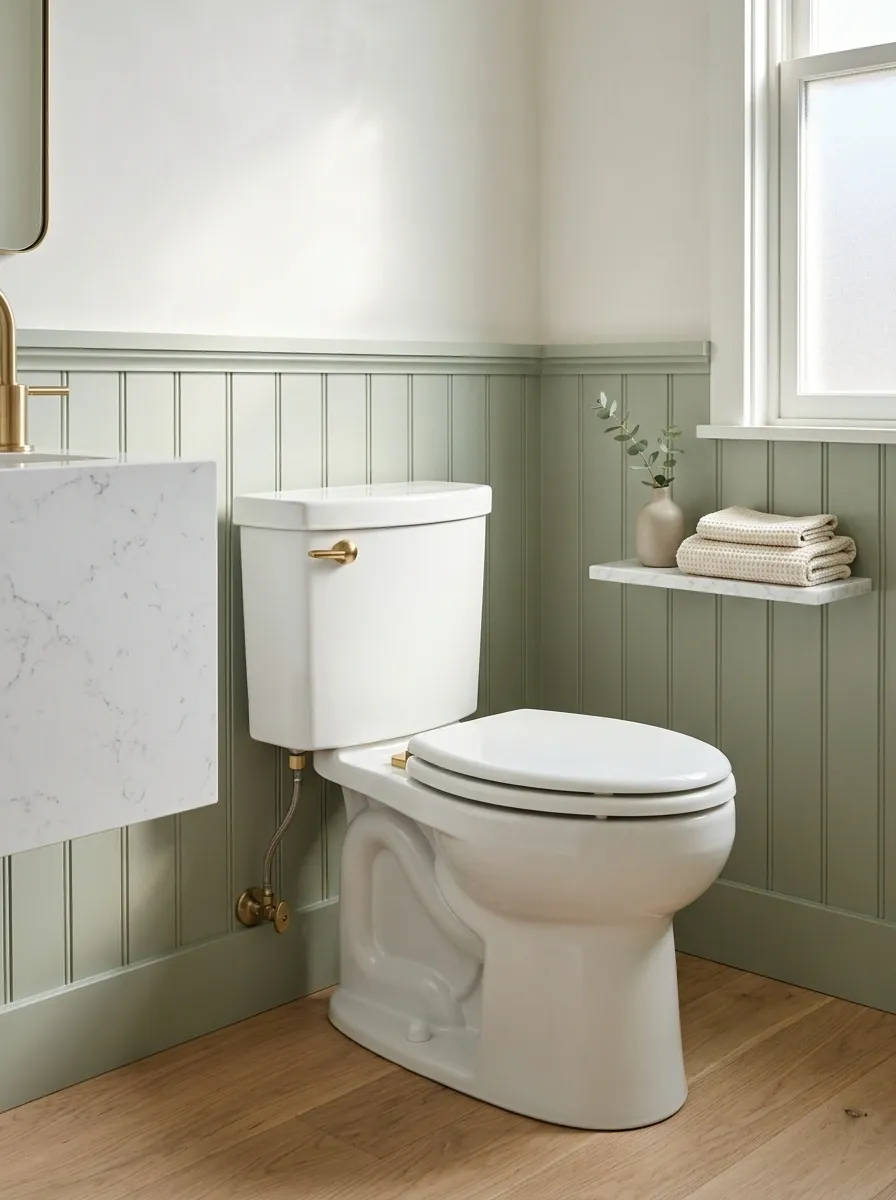
Some wear doesn’t disappear with more cleaner.
If the seat is damaged or no longer cleans satisfactorily, choose a compatible replacement. Measure the bowl shape, dimensions, and fixing positions. Check how the hinges are accessed before buying.
Follow the installation instructions and test the alignment and stability. Choose a design that’s straightforward to clean around. This is a contained change that can make the bathroom feel better maintained without replacing the toilet itself. Keep the decision practical; the room needs a properly fitted seat more than it needs another decorative basket.
Match the bowl’s actual outline.
Check spacing and top or underside access.
Keep the hinge area manageable.
Remove the Dust Line Around the Vanity Base
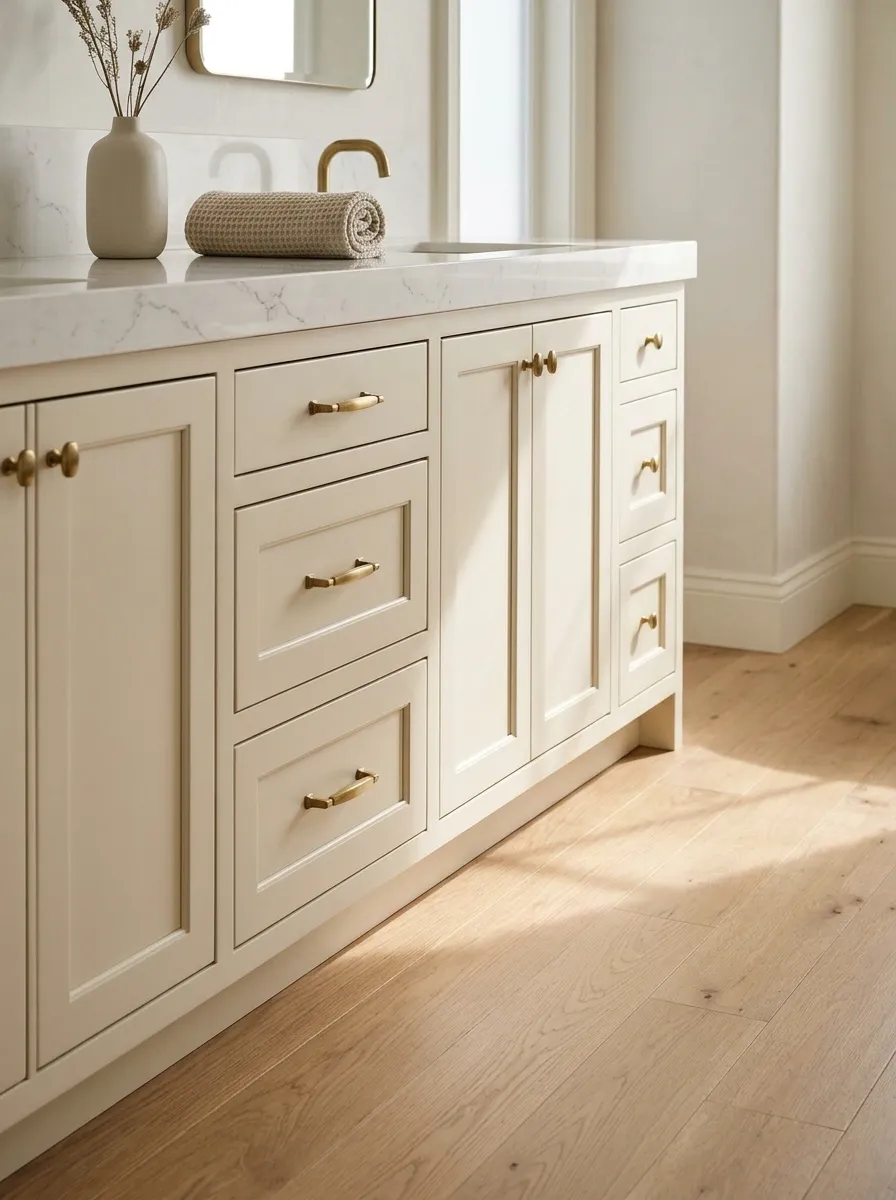
Low cabinet edges collect the dirt your eyes conveniently skip.
Clear the floor around the vanity and clean accessible toe kicks, exposed sides, and the gap where the cabinet meets the floor. Use a method appropriate for the cabinet material. Avoid soaking vulnerable edges.
Check the area once it’s dry. Swelling, peeling, or recurring damp needs attention beyond cleaning. A neat base gives the whole vanity a more complete outline. It’s a small job, but it changes the part of the room that often looks grubby even after the main counter has been wiped.
Identify the cabinet material and use compatible care. Don’t treat swollen panels as a dirt problem.
Refinish a Sound Vanity When the Coating Is the Problem
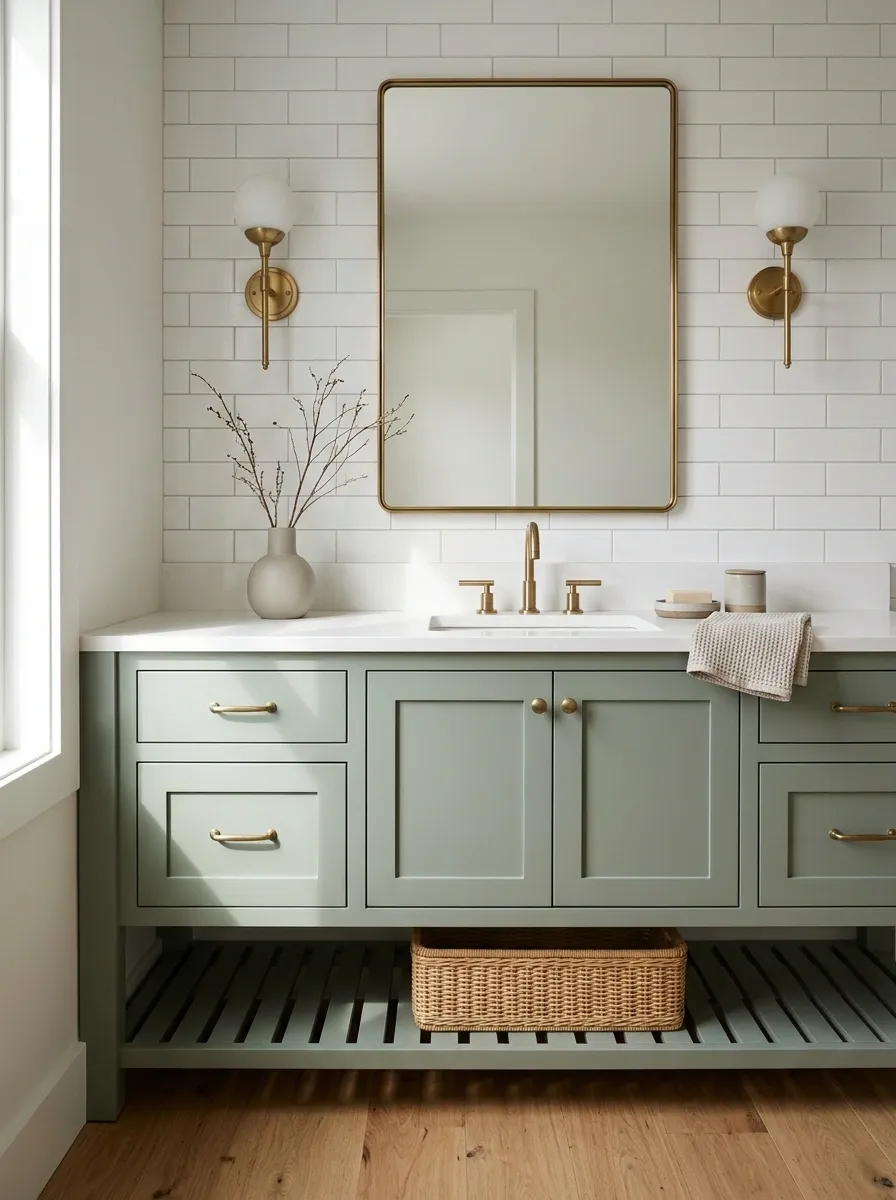
A cabinet can be perfectly useful beneath an uneven, chipped, or tired finish.
Assess the carcass and doors before choosing a refinish. Identify the surface and any unfamiliar existing coating, then use an appropriate preparation and paint system. Keep the scope within your skills.
Remove or protect hardware properly and allow the specified curing time. A neat finish depends on preparation, especially around edges and handles. Choose a color that cooperates with the tile and flooring you’re keeping. The vanity should look integrated into the room rather than freshly painted in disagreement with everything beside it.
Check stability, moisture damage, and material.
Choose a compatible coating system.
Allow proper drying and curing before use.
Deal With Peeling Cabinet Edges Instead of Decorating Over Them
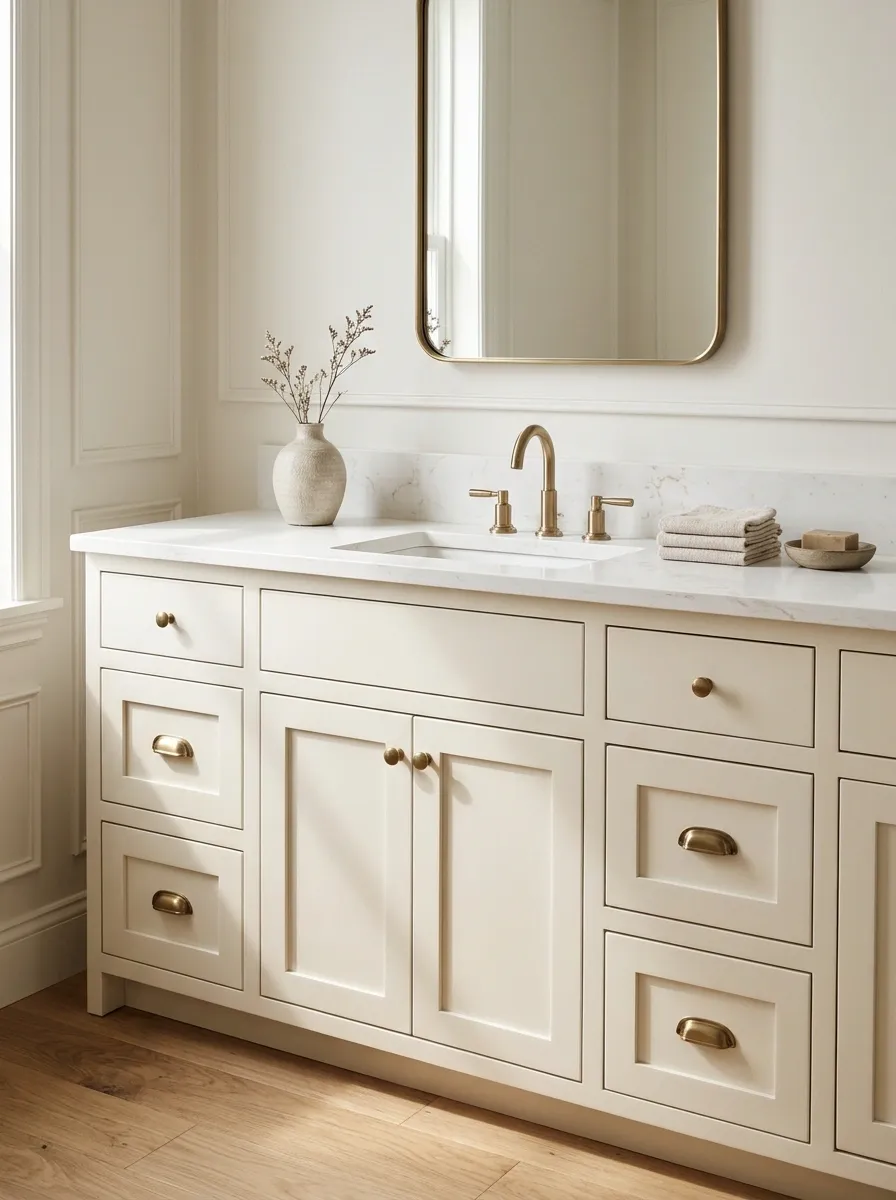
A lifting edge draws attention every time you approach the basin.
Inspect what has failed and whether moisture or damage is involved. Get an appropriate repair assessment for the cabinet material. Some localized problems can be repaired; others indicate a panel that needs replacing.
Don’t cover the area with an accessory or apply a cosmetic patch without understanding the cause. Keep the surrounding surface easy to clean and dry. A small, properly finished repair can improve the vanity’s outline more than several new objects placed on top of it to distract from the problem.
| Inspect | Before choosing |
|---|---|
| Material and damage | A suitable local repair or replacement. |
| Moisture source | How to prevent the problem returning. |
Clean the Mirror Properly, Then Assess Its Edges
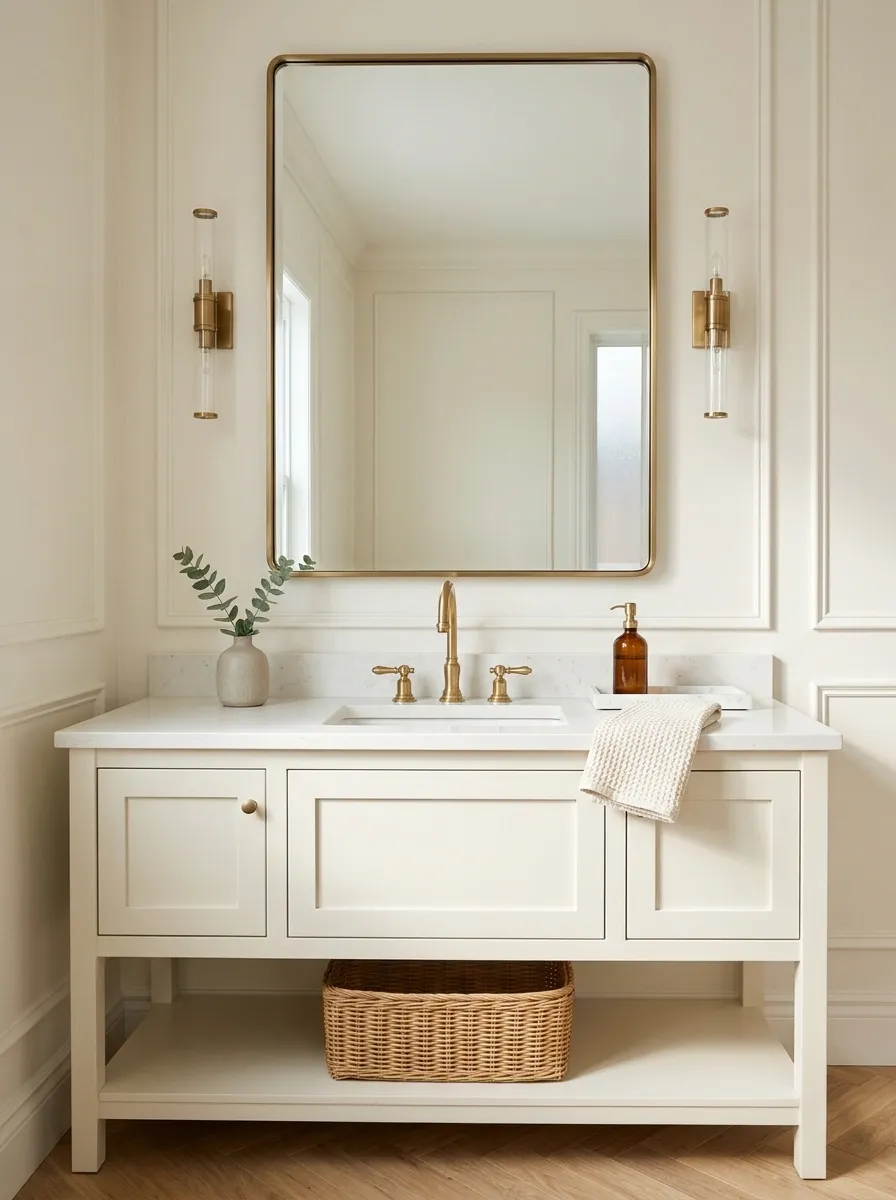
A cloudy mirror can make the whole bathroom look dull.
Use a method suitable for the mirror and any treatment it has. Follow guidance about applying cleaner and protecting the edges. Finish with an appropriate lint-free cloth rather than leaving a new collection of streaks across the glass.
Once clean, inspect any remaining deterioration. Damage within the mirror isn’t something more polishing will remove. A suitable frame may improve an unfinished-looking installation, but it shouldn’t disguise a problem that needs assessment. Keep the reflection and the fitting itself in good condition before adding decorative detail.
Use compatible cleaning and finishing.
Assess deterioration rather than increasing abrasion.
Make the Light Consistent Across the Vanity

One yellow bulb beside a cold white bulb can make even fresh surfaces look uneven.
Check the fixtures and use compatible bulbs that give a consistent appearance. Clean accessible shades and fittings according to their instructions, handling power appropriately. Assess the result with the mirror in normal use.
Don’t choose brightness alone. Harsh glare can make the room uncomfortable without helping you see better. If the fitting itself needs changing, use a design suitable for its bathroom location and appropriate installation. A more even glow can improve how the existing materials read without replacing them.
Look for inconsistent bulb color, exposed glare, and dirty shades before deciding the paint or tile is the problem.
Clear the Window Enough to Reveal the Daylight

Bathroom windows often end up holding half the product collection.
Move items that don’t belong on the sill, clean accessible glass and surrounding surfaces appropriately, and check the window treatment. Let useful daylight enter while maintaining the privacy you need.
Keep handles, opening movement, and ventilation accessible. Choose any replacement treatment for the actual exposure and conditions. A clearer window area makes the room feel less crowded and gives you a better view of the finishes you already have. It also removes several objects that otherwise need wiping whenever condensation or splashes reach them.
Glass, sill, treatment, handles, and nearby storage all affect how useful the window remains.
Put Out Fewer Towels in Better Condition

An overcrowded towel rail makes the bathroom look untidy before anyone uses it.
Keep the towels currently needed in view and store clean spares somewhere dry. Choose a connected color group rather than a collection of unrelated faded pieces. Retire visibly worn towels from the main display if you have suitable alternatives.
Leave enough hanging space for drying. Thick towels aren’t automatically the best choice in a room where fabric stays damp. The improvement comes from condition, coordination, and a practical routine. Nobody should have to excavate their towel from a dense textile curtain beside the basin.
Hang with room to dry.
Keep away from splashing.
Move into the laundry routine.
Replace a Curling Bath Mat With One That Fits

A tired mat can make a clean floor look permanently grubby.
Choose a suitable size, care routine, and secure backing for the flooring. Check door clearance and keep the edges flat. A mat that folds around fittings or catches under the door makes the arrangement look improvised.
Pick a color that sits comfortably with the existing floor rather than adding another strong pattern automatically. Wash and dry it as required, and keep a sensible place for drying between uses. The floor should remain easy to clean around, including the space beneath the mat itself.
Check the mat in its everyday position with the door moving fully. Keep corners flat and the route stable.
Simplify the Products Left on Display

A row of bright labels can make an old bathroom feel more visually crowded.
Reduce the visible group to the products used in that location. Keep required packaging and information intact. If you use refillable dispensers, choose compatible containers, identify the contents, and maintain them appropriately.
Don’t decant medicines or products that need their original containers for the sake of matching bottles. The cleaner appearance comes mainly from editing the quantity and giving it a clear place. A small useful group is easier to wipe around than an impressive collection of identical containers with mysterious contents.
Keep only the relevant daily products visible.
Preserve identification and important instructions.
Choose a setup that remains easy to clean.
Remove Rusting Accessories That No Longer Clean Well
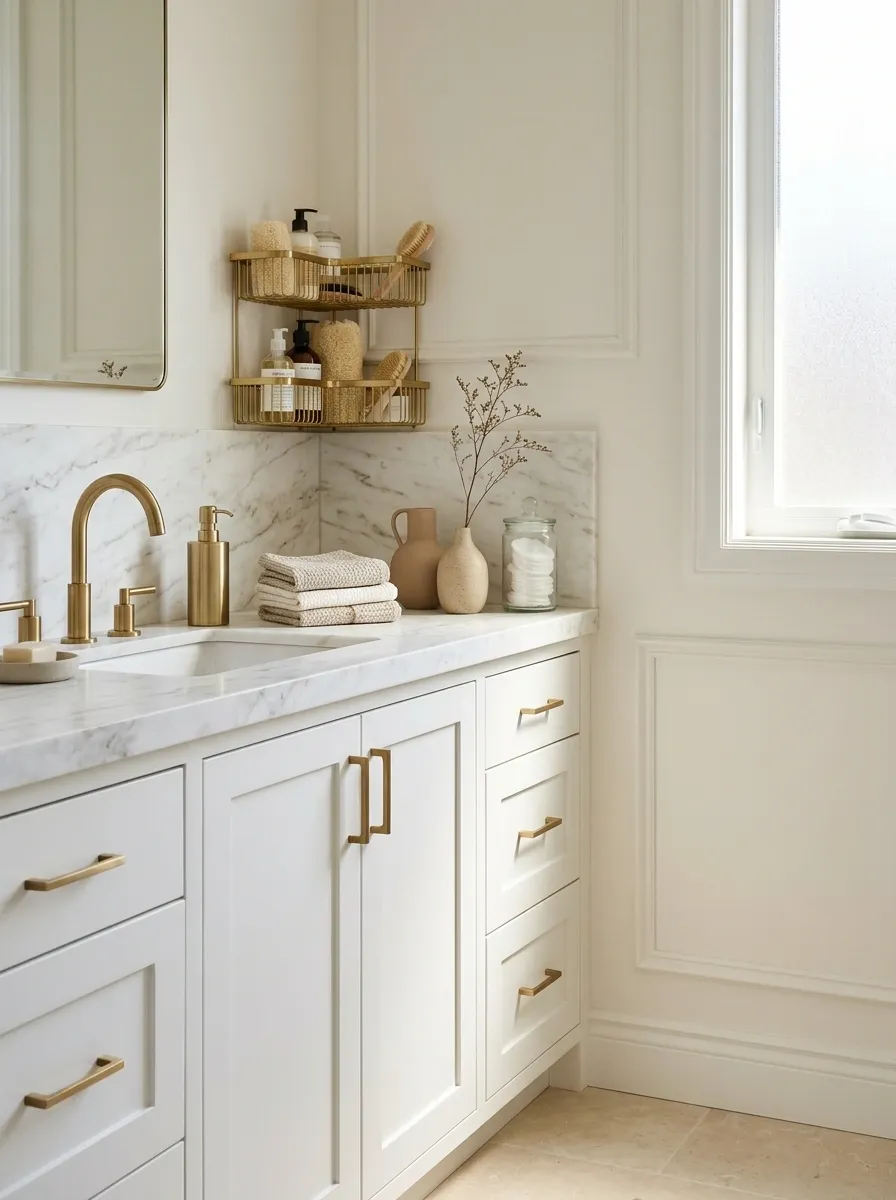
A corroded caddy or peeling dispenser can keep the room looking neglected.
Assess whether suitable cleaning restores the item or whether its finish has deteriorated. Replace damaged accessories proportionately, choosing materials and designs appropriate to the location. Keep drainage and cleaning access in mind.
You don’t need to replace every fitting because one small item has failed. Coordinate the visible replacements with what’s staying. A sound, simple accessory is more useful than an elaborate one with corners you can’t reach. The bathroom should be easier to maintain after the purchase, rather than merely different on the day it arrives.
Look underneath and inside the accessory. Check drainage, removable parts, and the places where water or residue will collect.
Clean the Bin and Brush Holder, Not Just the Space Around Them
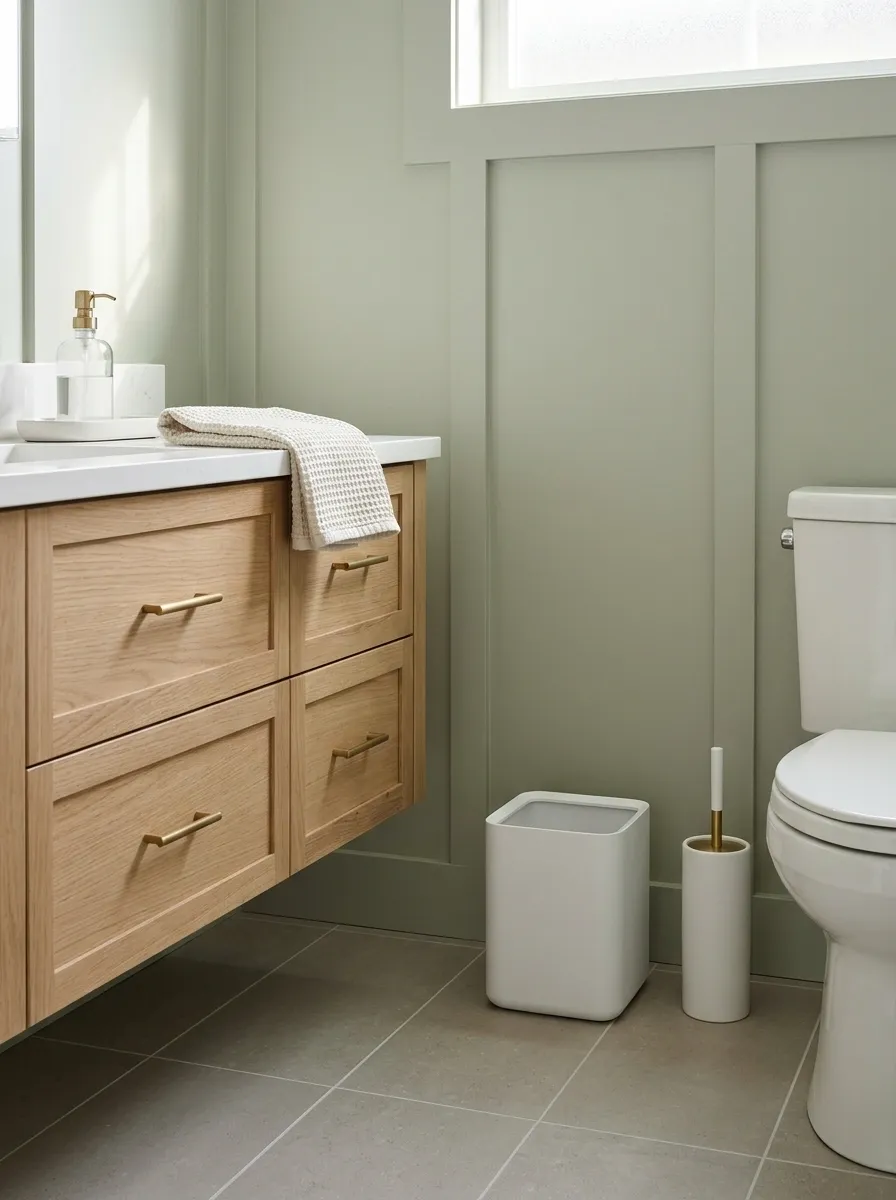
Small utility items can undermine a room that otherwise looks fresh.
Empty and clean the bin using suitable care, then assess the brush holder and other cleaning accessories. Follow appropriate hygiene practices and keep tools separate from those used on personal-care surfaces. Replace items that are damaged or no longer serviceable.
Choose a practical position with access for cleaning and everyday use. Don’t hide the bin so thoroughly that emptying it becomes a project. Plain, washable pieces that fit the room contribute more than decorative containers whose interiors nobody wants to inspect.
Use an appropriate routine and separate tools.
Replace damaged or unserviceable pieces.
Leave space for ordinary use and maintenance.
Clear Laundry and Packaging Off the Floor
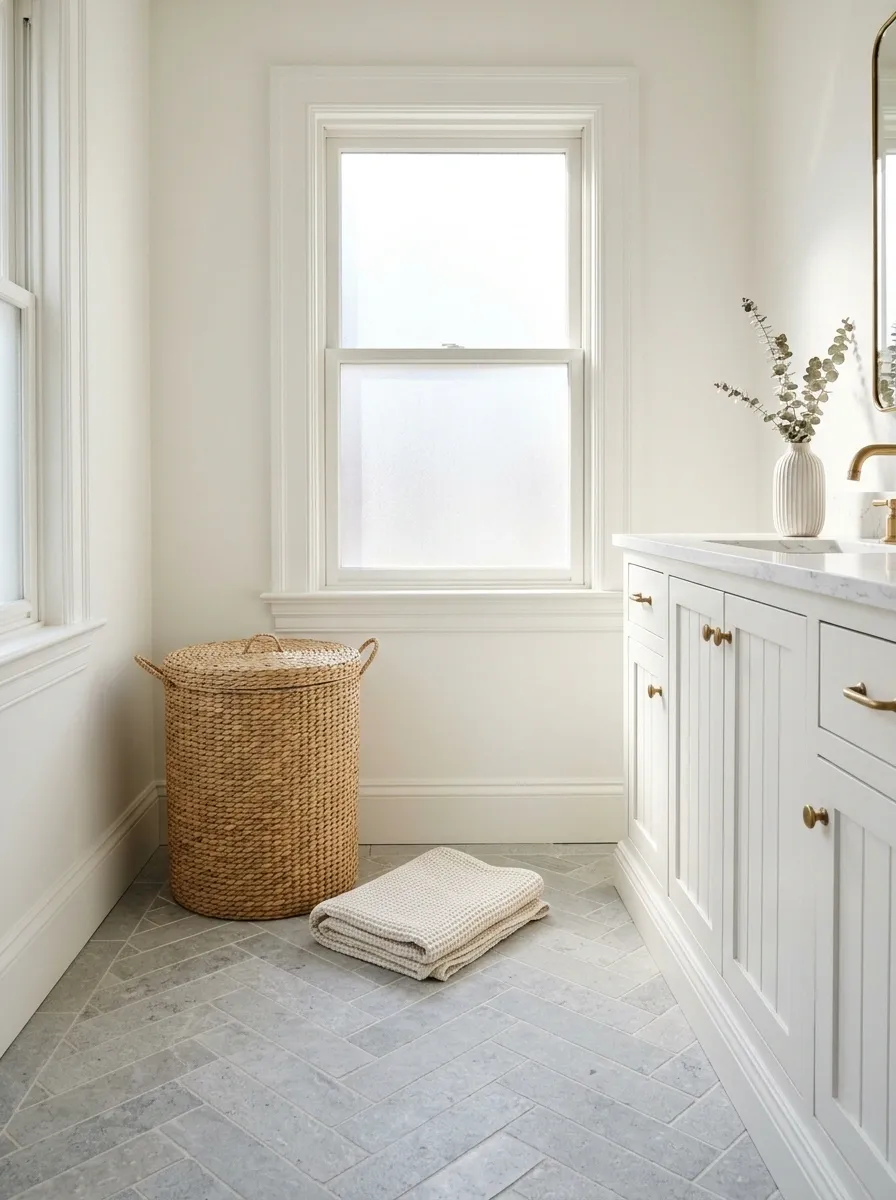
An old bathroom looks more crowded when the floor is holding temporary belongings permanently.
Move clothes into an appropriate laundry system and remove empty packaging. Keep damp items able to dry rather than trapping them in unsuitable storage. Return spare products to a defined home.
Then clean the accessible floor and straighten the mat. You don’t need to solve the household’s entire laundry process today. Give this room a clear boundary so it stops collecting the overflow. More visible floor makes the existing fittings easier to read and the next cleaning session considerably less annoying.
Laundry, recycling, backups, and cleaning supplies need separate homes. A corner of the bathroom floor isn’t a storage system.
Repair Isolated Tile Damage Where a Suitable Fix Exists
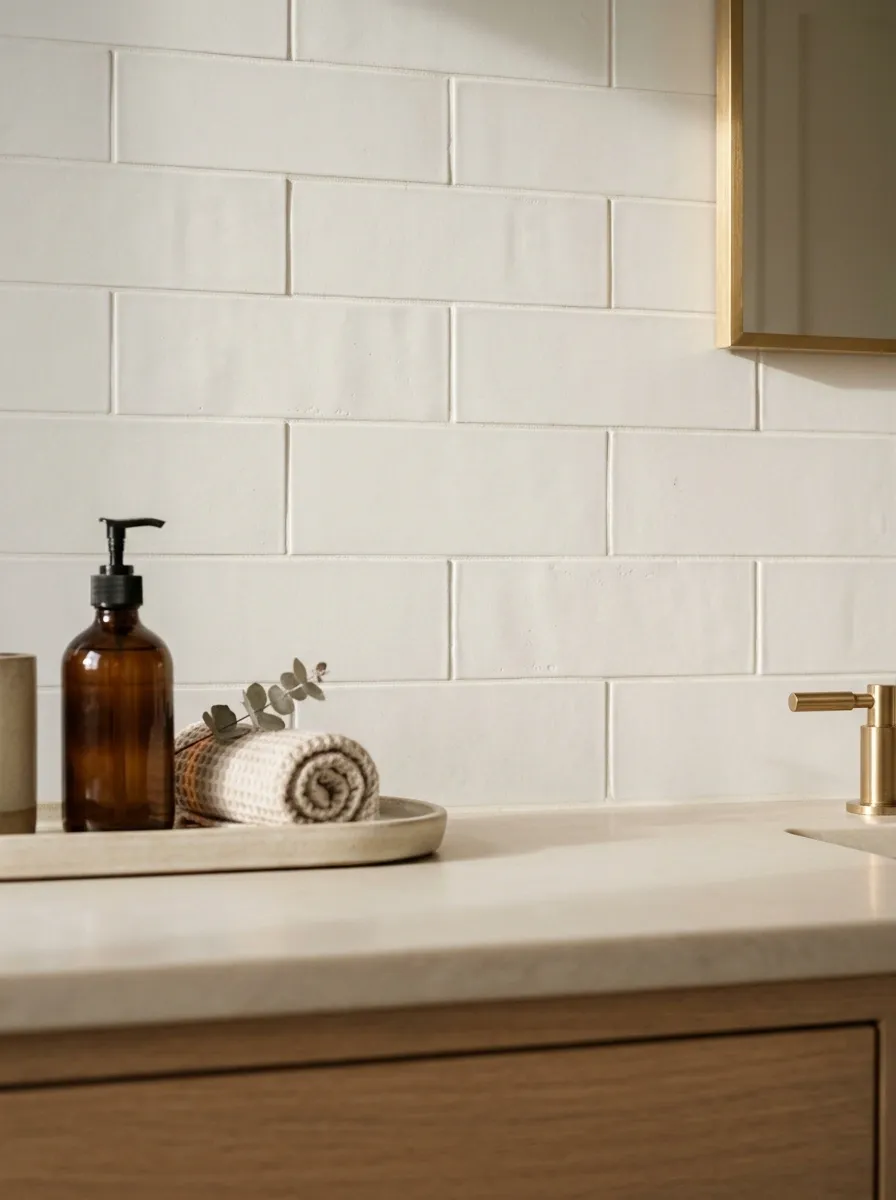
One chipped tile can pull attention away from a wall that’s otherwise serviceable.
Assess the damage and underlying condition before choosing a repair. Check whether a compatible local repair or replacement is available, and get appropriate help where needed. Keep waterproofing and surrounding joints in the plan.
Don’t paint or cover a damaged area simply to make it disappear temporarily. A neat, suitable repair can improve the whole surface by removing its most obvious interruption. Match the finish as carefully as possible and complete the surrounding details so the repair looks resolved rather than newly highlighted.
Understand the damage before disguising it.
Choose a suitable repair or replacement.
Complete the joints and adjacent details appropriately.
Clean Visible Plumbing Without Turning It Into a Display Project
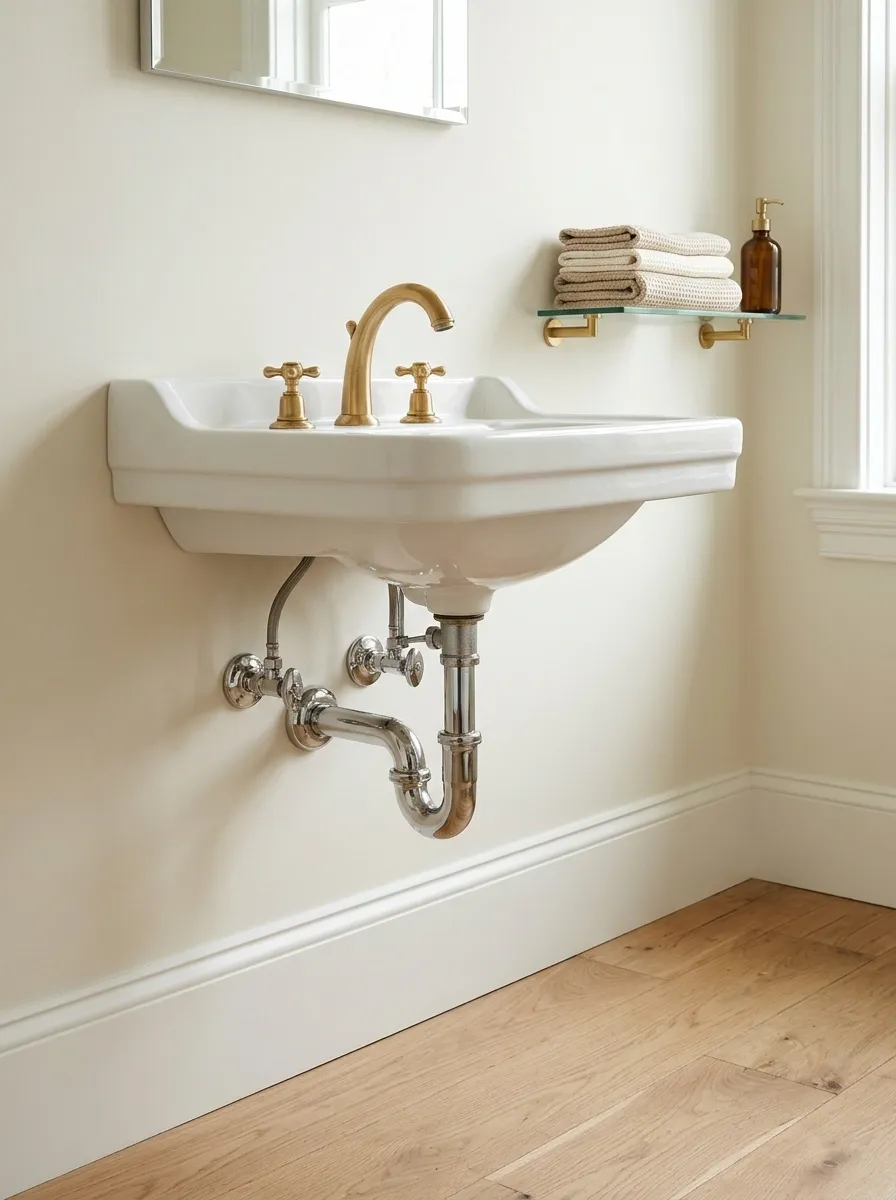
Exposed pipework can collect dust and residue in awkward places.
Clean accessible exterior surfaces according to their materials, without disturbing connections or fittings. Keep the floor and wall behind them reachable. Assess any recurring damp, staining, or signs of leakage appropriately.
Don’t surround the pipes with objects to hide them if that blocks inspection or maintenance. A clear, clean backdrop often improves the view more effectively. The goal is tidy, serviceable plumbing within an orderly room. It doesn’t need a decorative enclosure assembled in a hurry around something you may need to reach later.
Cleaning should make the area easier to assess. Don’t cover recurring moisture or block service points with decorative storage.
Build a Small Reset Around the Marks That Return Fastest
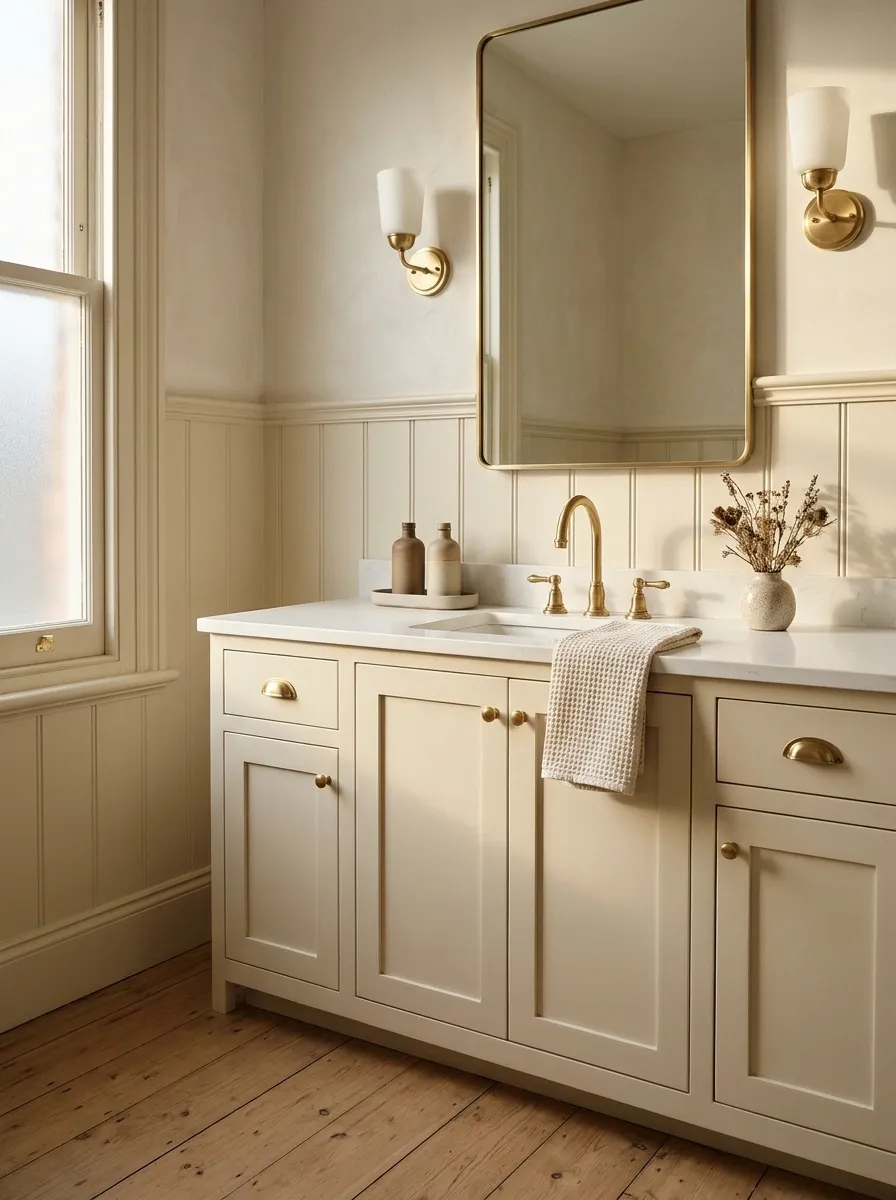
Once the room looks better, keep the maintenance focused.
Notice what returns first: toothpaste near the basin, water around the tap, loose products, or towels left in a heap. Create a short routine using suitable methods for those surfaces. Keep the required cloths and supplies stored appropriately.
You don’t need to repeat the deep clean every day. Put products away, manage wet textiles, and deal with ordinary splashes where appropriate. A small routine preserves the visible improvements and helps you notice new wear before it becomes another permanent feature of the room.
Use compatible care on recurring marks.
Return daily products to their places.
Keep drying and laundry routines practical.
Keep the Useful Bathroom and Fix the Distractions
Start with the curtain you notice from the door, the counter you use every morning, or the joint that has visibly deteriorated. Finish that job properly before deciding the whole room needs replacing.
Knowing how to make an old bathroom look cleaner means recognizing what cleaning can achieve and where maintenance takes over. Keep sound materials, use compatible care, and make the room easier to reset. Age can remain visible without the bathroom feeling neglected.
Save this list on Pinterest before buying another accessory. Clear the sink first and see what the room actually needs.