
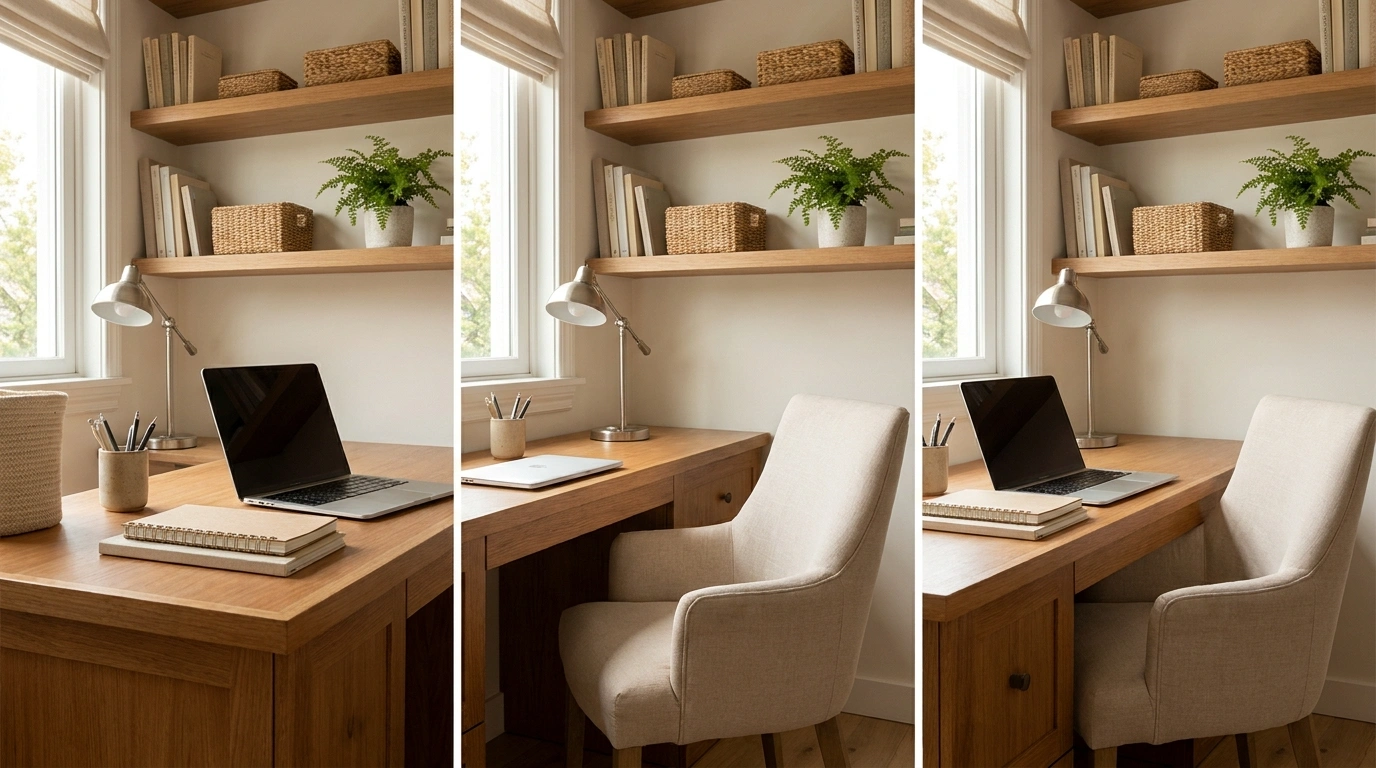
Open the notebook you normally use. Put the laptop beside it. Add the textbook, calculator, water bottle, and whatever else regularly joins the session.
Now look at the remaining desk space.
That is the study-space problem. The tiny decorative desk looked excellent before actual studying arrived.
A useful setup needs room for the work you do, a comfortable seat, appropriate light, and storage that does not occupy the exact place your elbows need to go. The appearance matters, but it should help the routine rather than become another project competing with it.
Start With the Task, Not the Desk Photograph
Writing numericals needs a different surface arrangement from reading, drawing, or working mainly on a computer.
Check legroom, screen placement, reachable supplies, and the position of the chair. OSHA’s workstation guidance emphasizes adequate surface and under-desk clearance, with frequently used equipment positioned so it can be reached comfortably. Occupational Safety and Health Administration
Then choose the colors, shelves, and lighting around the working arrangement.
Study Setups for Different Rooms and Routines
Build the Ultimate Command Center Nook
A fully customized study station uses every inch of vertical space to keep supplies organized and within arm’s reach. Pegboards and floating shelves turn a blank wall into a hardworking display for stationery, notebooks, and reference materials.
Integrate under-shelf lighting and dedicated drawer units to ensure the surface remains completely free of clutter. A comfortable task chair completes the setup without cramping the workspace.
This structured zone turns an ordinary nook into a high-productivity command center where everything has its designated spot. It supports deep focus by keeping distractions away and essentials clearly visible.
Put the Desk Beside the Window Rather Than Automatically Facing It
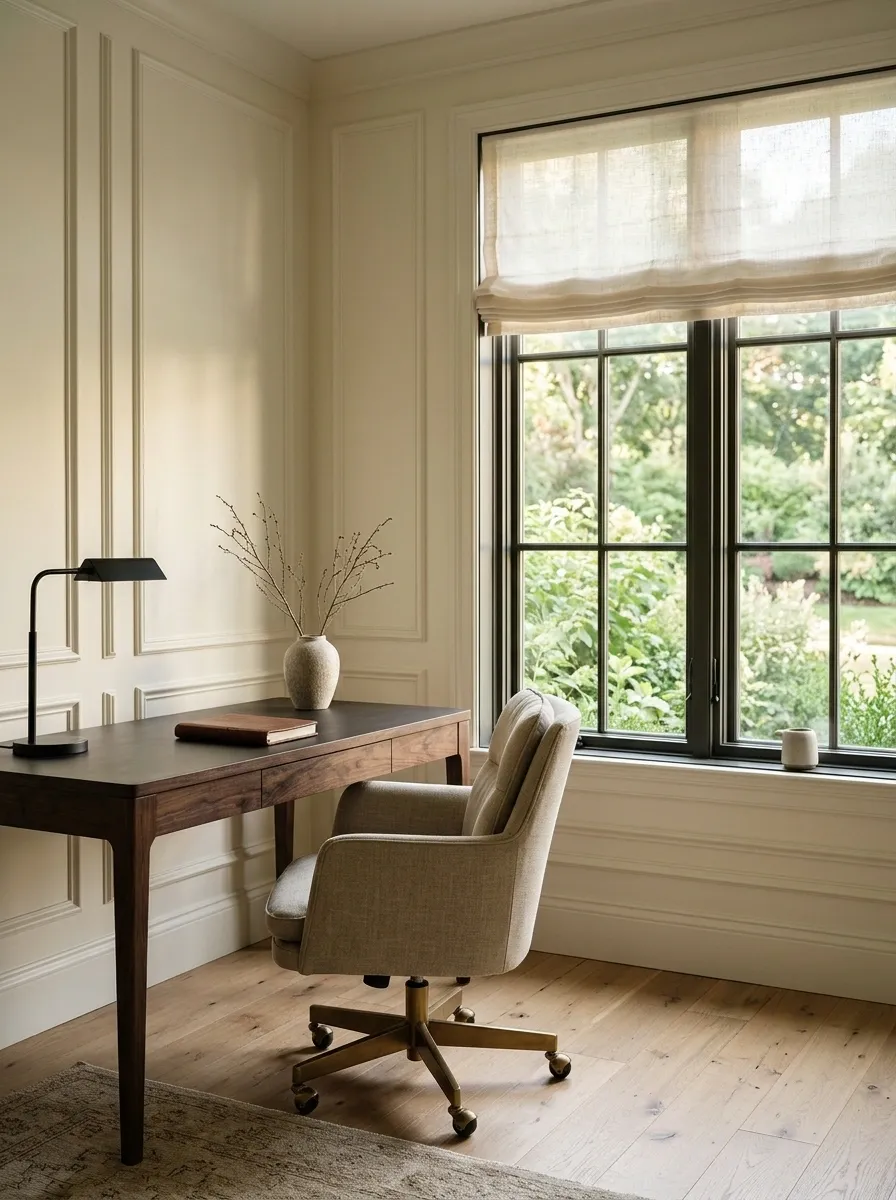
A desk beside a window can provide useful daylight while leaving flexibility for screen and paper placement.
Test glare at the times you study. A window directly behind or in front of a screen may need suitable light control.
Keep the view available without letting it dictate an uncomfortable furniture position. Daylight is helpful; spending the afternoon rearranging the laptop to escape reflections is a less productive interpretation of a window-side study area.
Test screen and paper positions.
Carve Out a Cozy Corner Station
A compact corner desk makes surprisingly good use of unused dead space while keeping your workflow streamlined and cozy. Triangular floating shelves tuck neatly into the angle, topped with warm accent lighting that highlights your favorite reads.
Dual-tone walls add subtle character to the zone, separating the workspace from the rest of the room without heavy partitions. A supportive chair fits easily into the angled layout, ensuring you stay comfortable through long study sessions.
This clever corner arrangement proves you do not need a massive room to establish a dedicated work area. It maximizes efficiency while maintaining a welcoming, personal aesthetic.
Fit a Desk Into an Existing Alcove
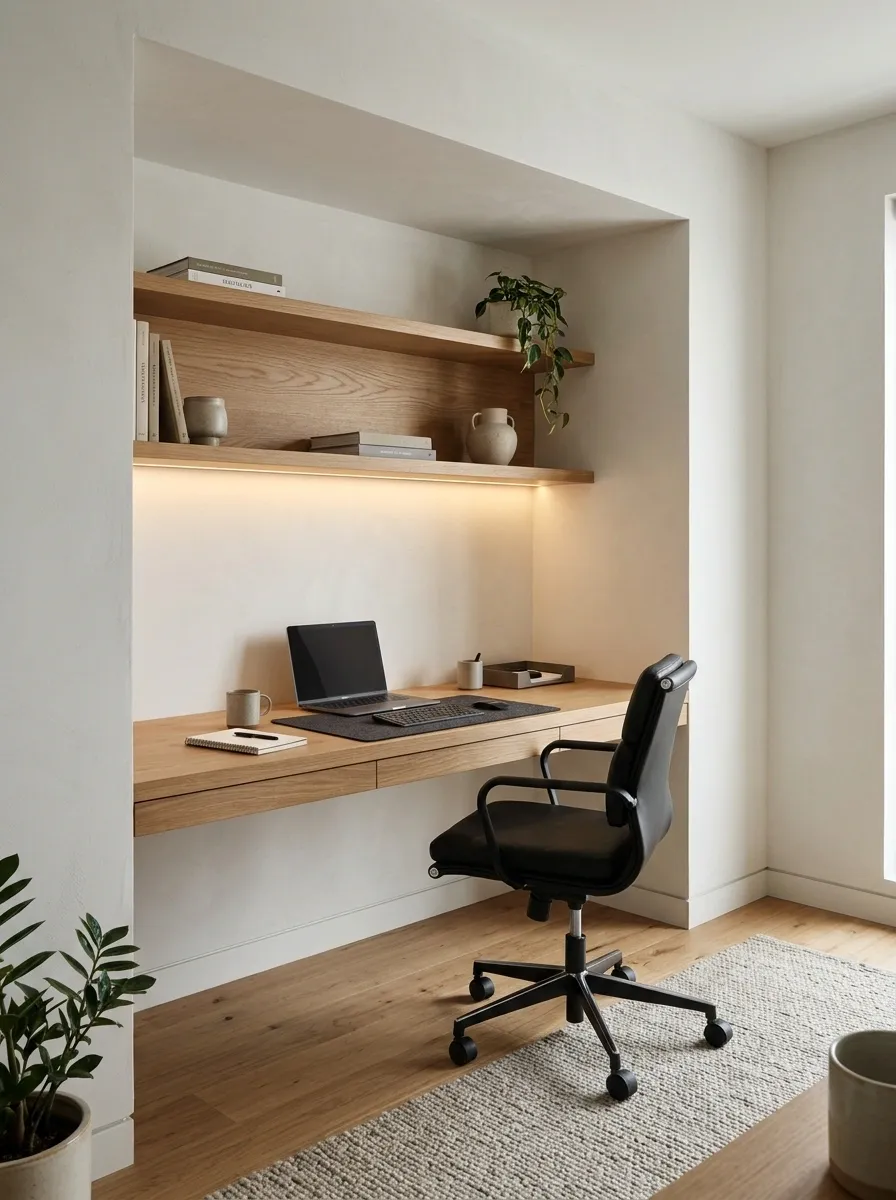
An alcove can make a study area feel contained, provided it has enough depth and width for the actual task.
Measure with the chair in use and check sockets, lighting, and shelves. Avoid filling the entire opening with a surface that leaves nowhere to move.
The alcove should support concentration by giving the work a clear place. It should not require you to sit wedged between two walls while the chair negotiates its exit.
| Measure | Include |
|---|---|
| Surface | Books and equipment in use |
| Width | Arm and chair movement |
| Depth | Comfortable working position |
| Below | Unobstructed legroom |
Tuck a Workspace Into a Bright Passageway
A narrow transition space or hallway can easily double as a charming study nook when paired with rich patterned wallpaper and simple wooden shelving. The vertical alignment of frames and books draws the eye upward, making the compact footprint feel intentional and curated.
Position a petite desk and an upholstered chair against the wall to create a functional spot for checking emails or finishing quick assignments. Adequate lighting ensures the area remains practical despite its snug proportions.
This setup demonstrates that even transitional zones can host a productive routine. It transforms an overlooked patch of wall into an inspiring spot to sit down and actually get things done.
Give One Bedroom Wall a Defined Study Zone
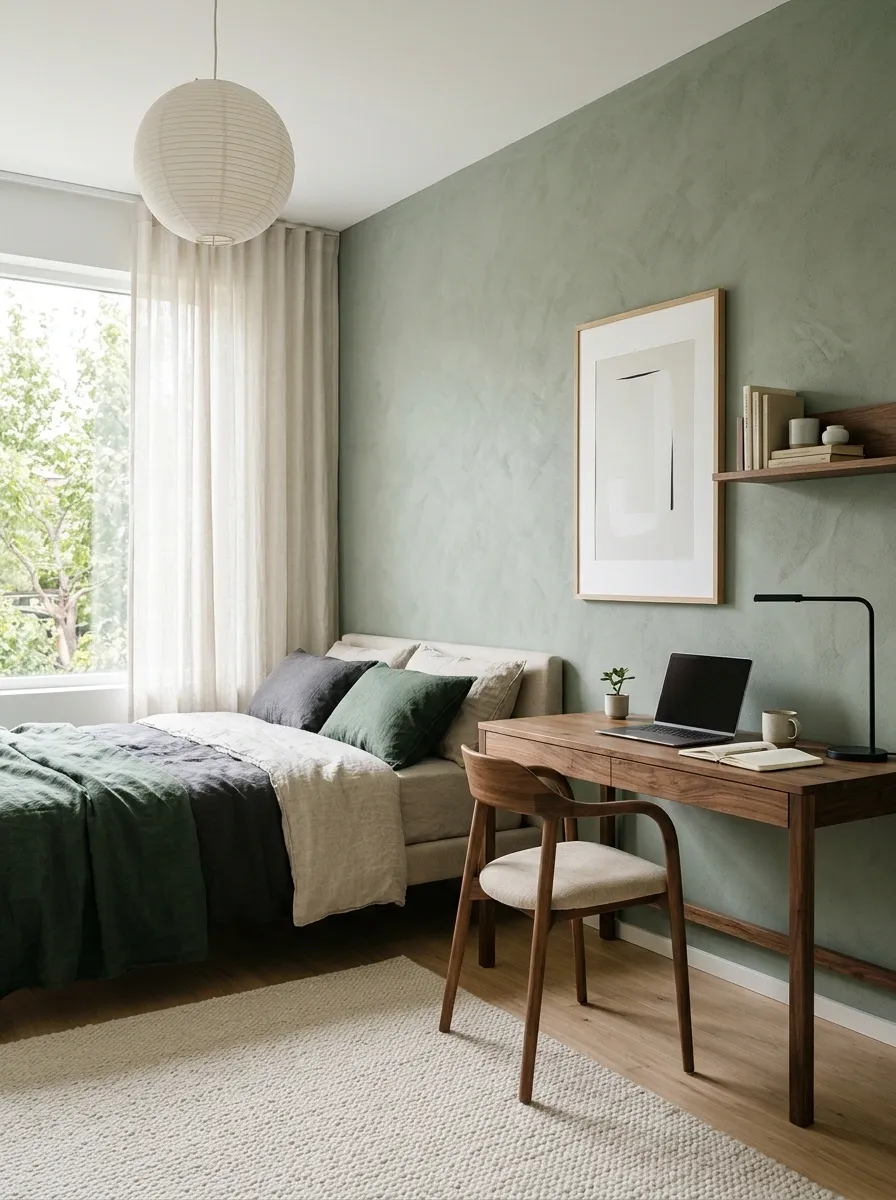
A bedroom desk can feel more deliberate when the wall behind it has a clear identity. Use a restrained color, a suitable pinboard, or a simple shelf.
Keep the bed’s route and wardrobe movement intact. Choose a desk size that supports the work without swallowing the room.
The zone does not need several decorative accessories to look established. A useful light and a clear surface make a stronger argument for productivity than a collection of motivational objects.
Anchor Your Desk With Earthen Tones
Monochromatic earthy walls provide a warm, grounding backdrop that instantly sets a serious yet calming tone for your study sessions. Asymmetrical box shelves and trailing greenery break up the solid color while offering practical display spots for reference books and decorative pottery.
Keep the wide desktop streamlined with just an open notebook and a classic lamp, letting the surrounding textures do the heavy lifting. A minimalist wooden chair pulls the natural color palette together seamlessly.
This cohesive design creates a sophisticated environment that encourages focus and creativity. It is a stylish reminder that a functional workspace can also serve as a visually serene retreat.
Use a Closet Desk Only Where It Can Work Comfortably
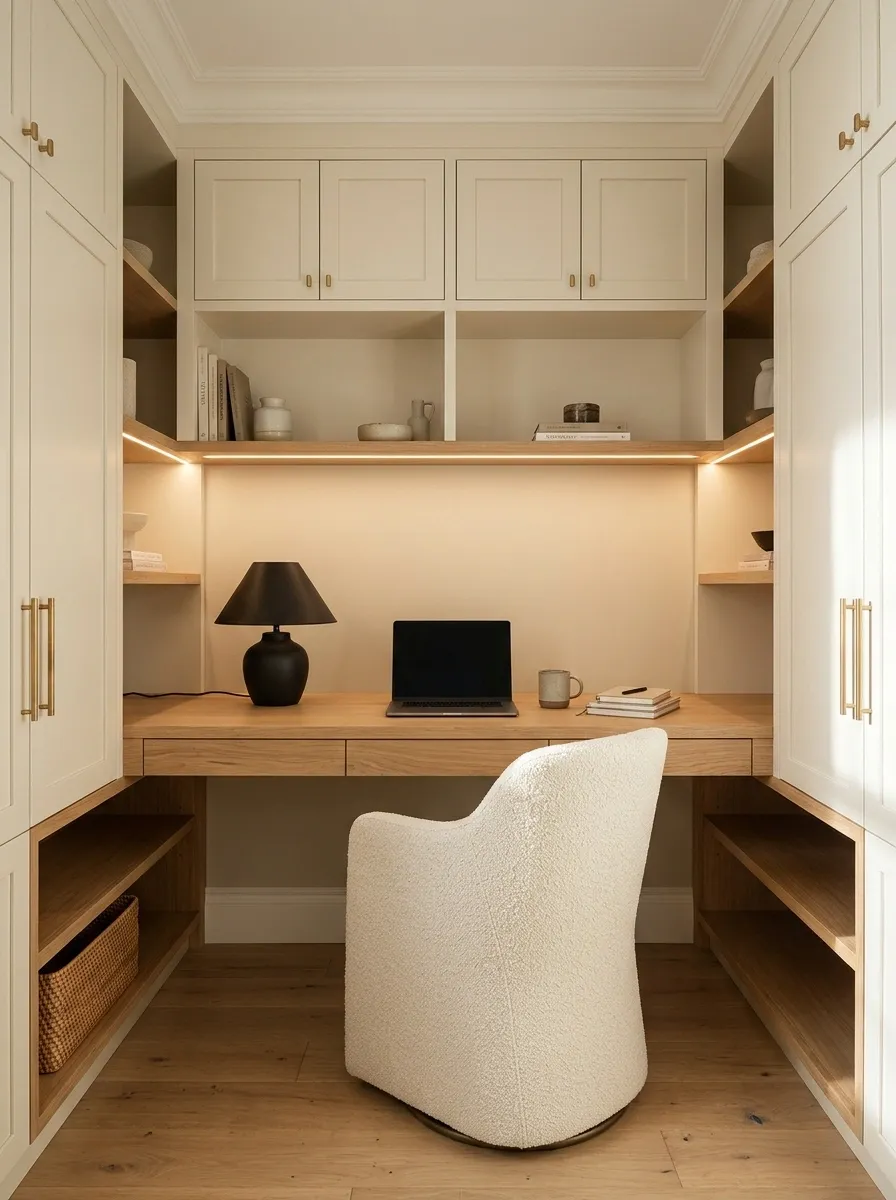
An existing suitable closet or cupboard can contain a study area if the open space provides adequate working dimensions, ventilation, lighting, and safe power access.
Plan around the chair and equipment rather than simply fitting a board between the sides.
Keep doors and cables from interfering with normal use. The ability to close the work away can be useful, but it does not make an undersized surface comfortable during the hours before you close it.
Test seated before fitting anything: Reach, legroom, chair movement, screen position, and useful light.
Make a Dining Table Study Routine Easy to Reset
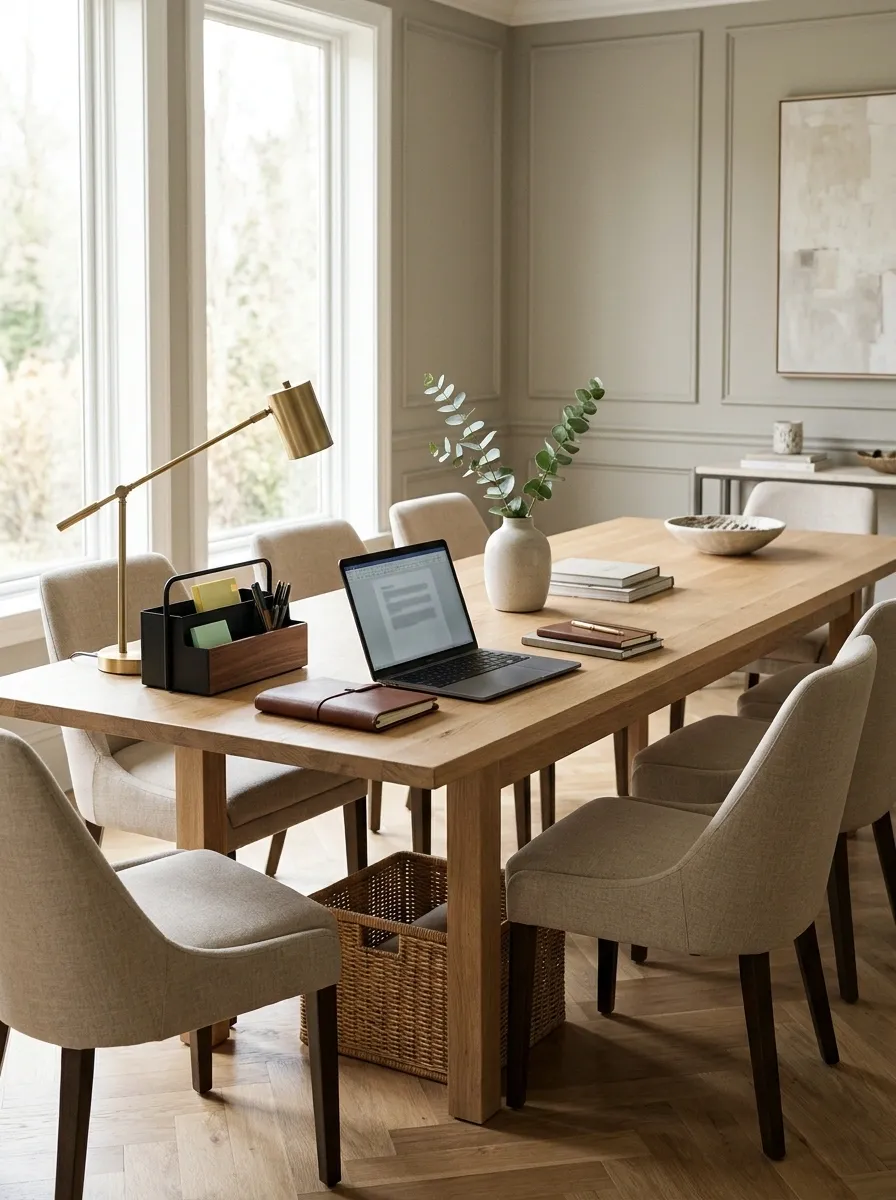
A dining table can provide generous working space when a separate desk is unavailable. Keep a portable kit containing the supplies you use most.
Choose a suitable chair arrangement and a safe lighting position. Clear food and moisture before spreading out work.
At the end, return materials to one defined home. The table can serve both jobs without remaining permanently occupied by a notebook nobody is allowed to move because it contains an important thought from three days ago.
Space for the whole task.
Supplies return here.
A shared surface works better with a clear start and finish routine.
Use an L-Shaped Desk for Two Types of Work
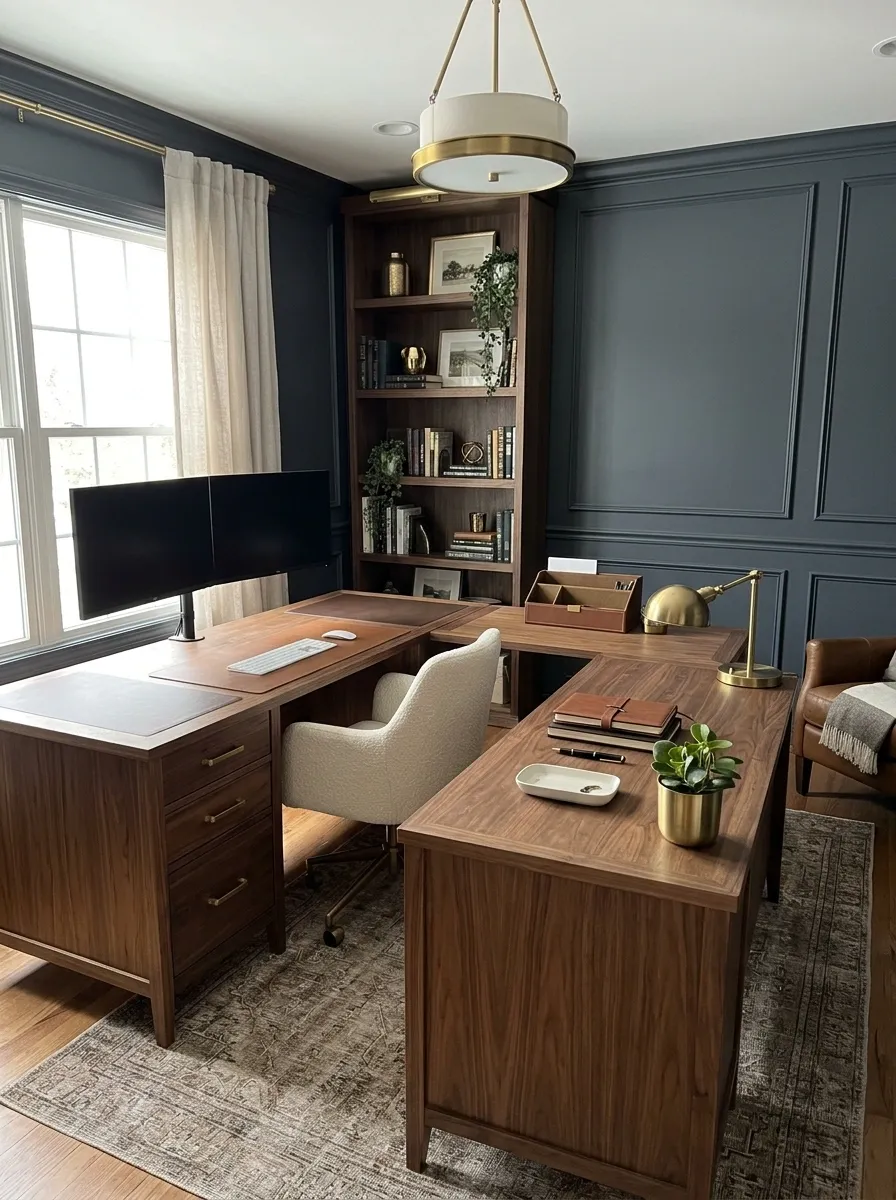
An L-shaped desk can separate screen work from handwritten tasks. Put the main activity in the most comfortable position and use the return for supporting work.
Check the corner’s actual usability. Deep corners can become equipment storage rather than useful surface.
Keep frequently used tools within easy reach. The layout should reduce unnecessary rearranging, not require you to twist repeatedly because every important item has been assigned to a different arm of the desk.
| Main section | Return section |
|---|---|
| Primary task | Supporting task |
| Comfortable chair alignment | Materials used less continuously |
| Everyday tools | Extra work surface |
Choose a Long Straight Desk With Clearly Assigned Areas
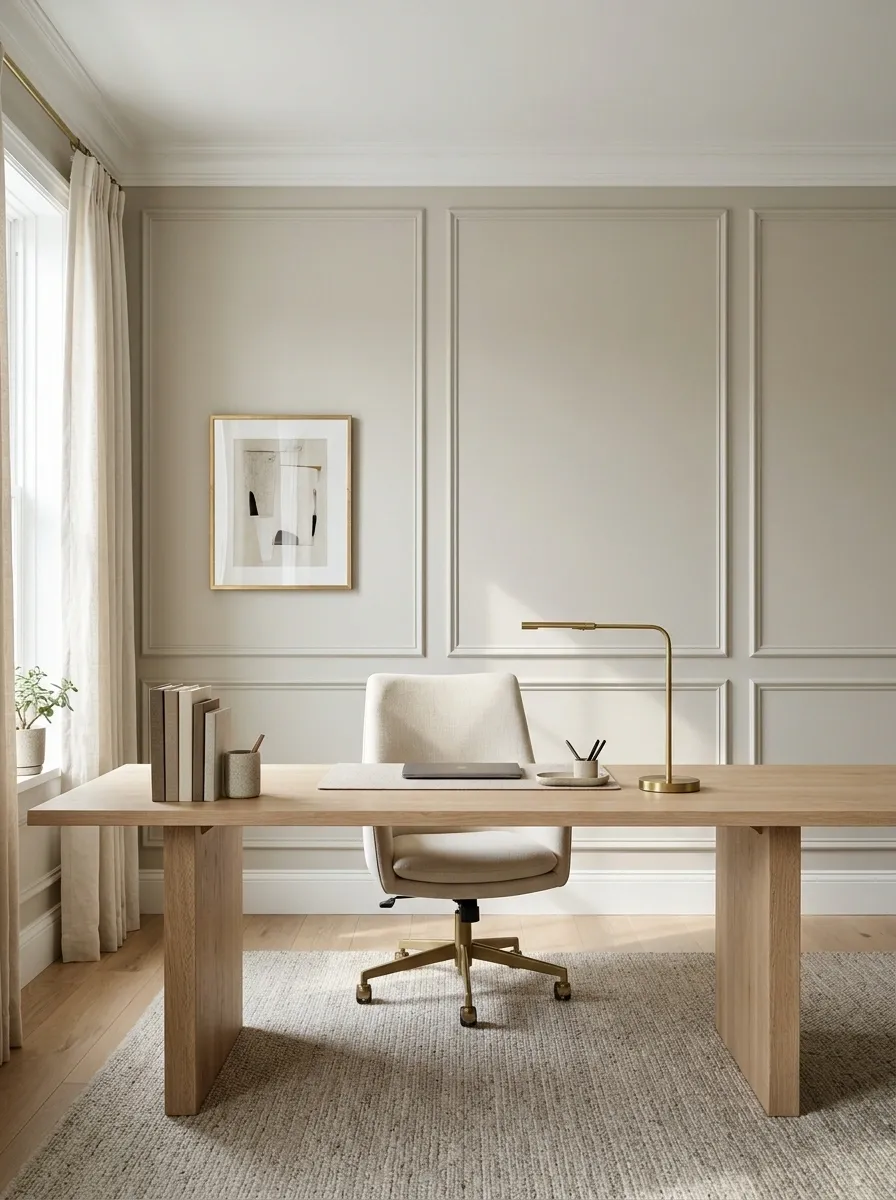
A long desk can support several tasks if the zones are deliberate. Keep the main work in front of the seat and place reference materials to the side.
Avoid turning the whole length into permanent storage. The extra surface should remain available for projects or changing tasks.
This works well when you alternate between reading, writing, and computer work. A longer desk is less helpful when every additional section immediately becomes another stack of things you intend to organize later.
Keep the main task aligned with the chair.
Give Two Students Separate Working Positions
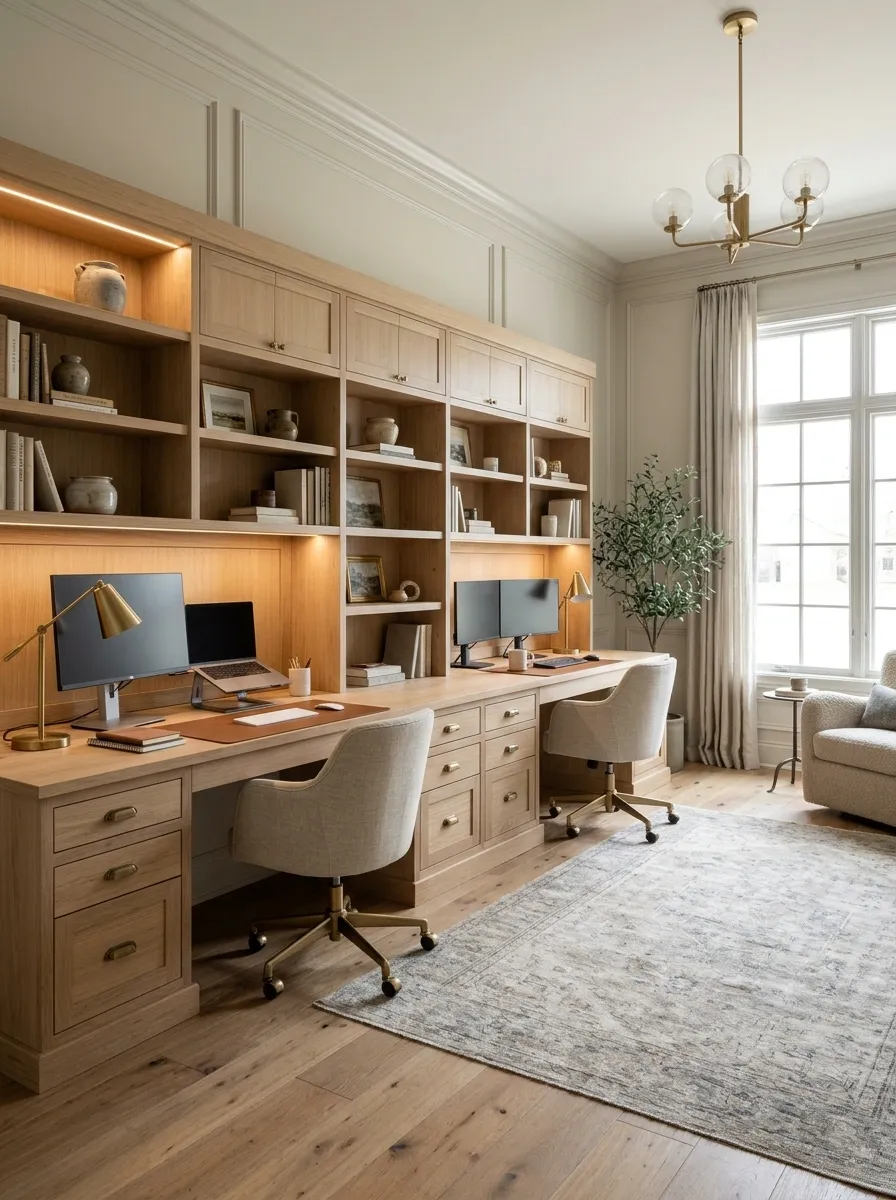
A shared desk should provide two usable stations, not one surface divided by optimism.
Check chair movement, light, power, and enough room for each person’s books or equipment. Use separate storage where possible so one person’s materials do not continually migrate.
A visual boundary can help, but avoid filling the middle with a bulky divider that consumes the work area. Shared studying is easier when nobody has to negotiate custody of the desk lamp.
Plan equally: Both positions need useful light, reachable supplies, and enough working depth.
Install a Purpose-Made Fold-Down Desk
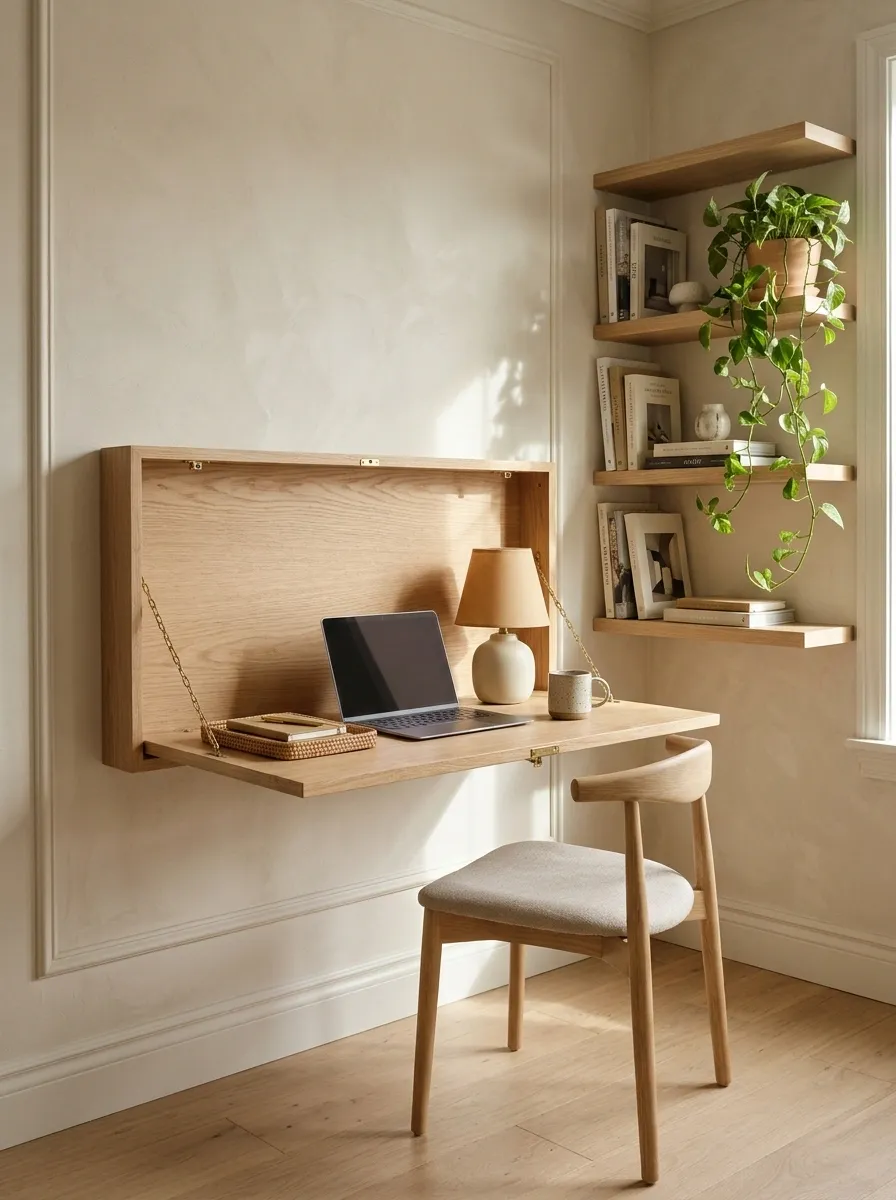
A fold-down desk can make a small room more flexible when the wall, fixings, product, and installation are suitable.
Check open dimensions and the chair position. Plan what must be removed before closing it and where those items will go.
The best version is quick to use. If clearing the desk involves moving several heavy devices and dismantling a cable arrangement, the fold-away feature may become a decorative promise rather than something you actually use.
Room space returns.
Work area and chair clearance.
Plan storage for everything that must leave the surface.
Use the Space Beneath a Suitable Loft Bed
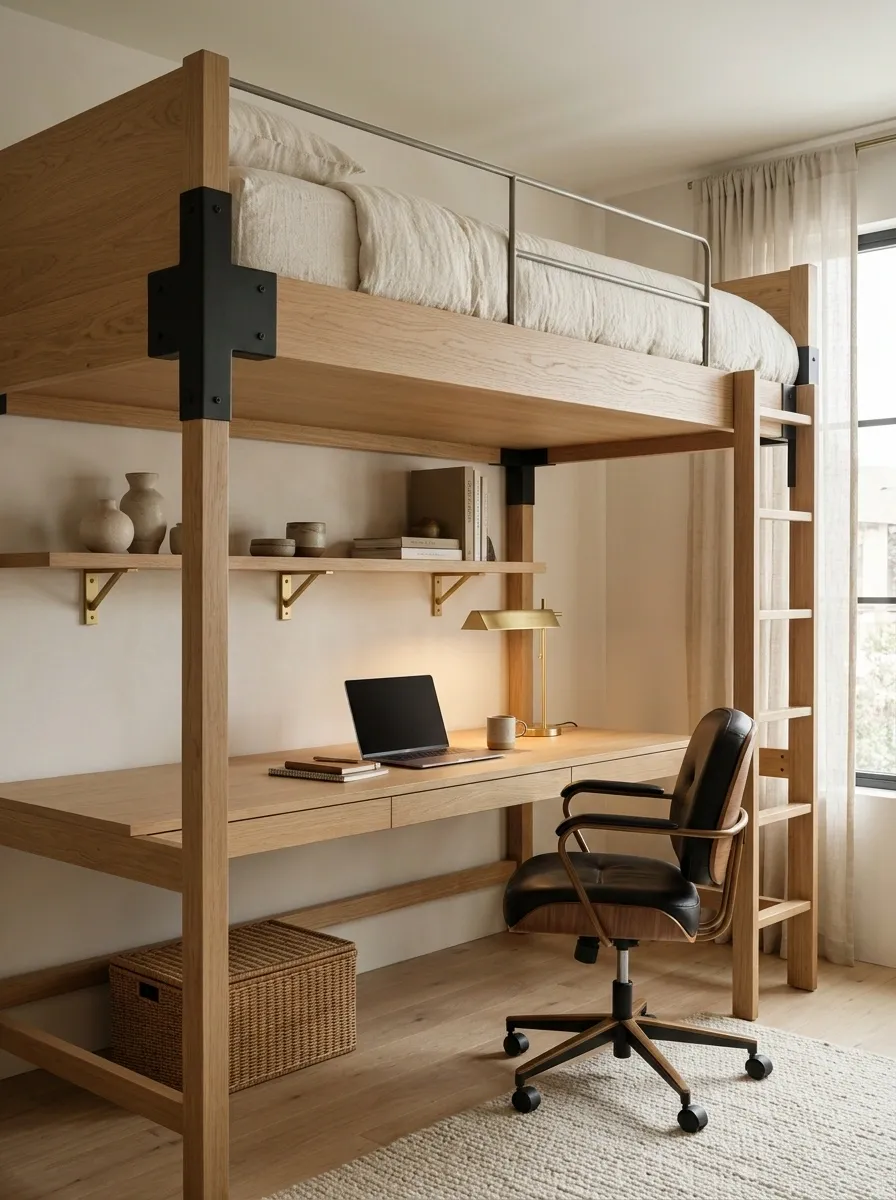
A desk beneath a properly designed loft bed can create a defined study area where the bed system allows it.
Check headroom, lighting, ventilation, structure, and safe access. Follow the bed manufacturer’s requirements rather than improvising alterations.
Keep the desk’s working dimensions comfortable. Saving floor space is useful, but a low overhead platform and an inadequate light can turn a clever layout into a rather determined attempt to study inside a cupboard.
| Check | Include |
|---|---|
| Bed system | Approved use and structure |
| Headroom | Sitting, rising, and movement |
| Desk | Actual working space |
| Light | Useful illumination beneath the bed |
Make an Under-Stair Study Nook Task-Specific
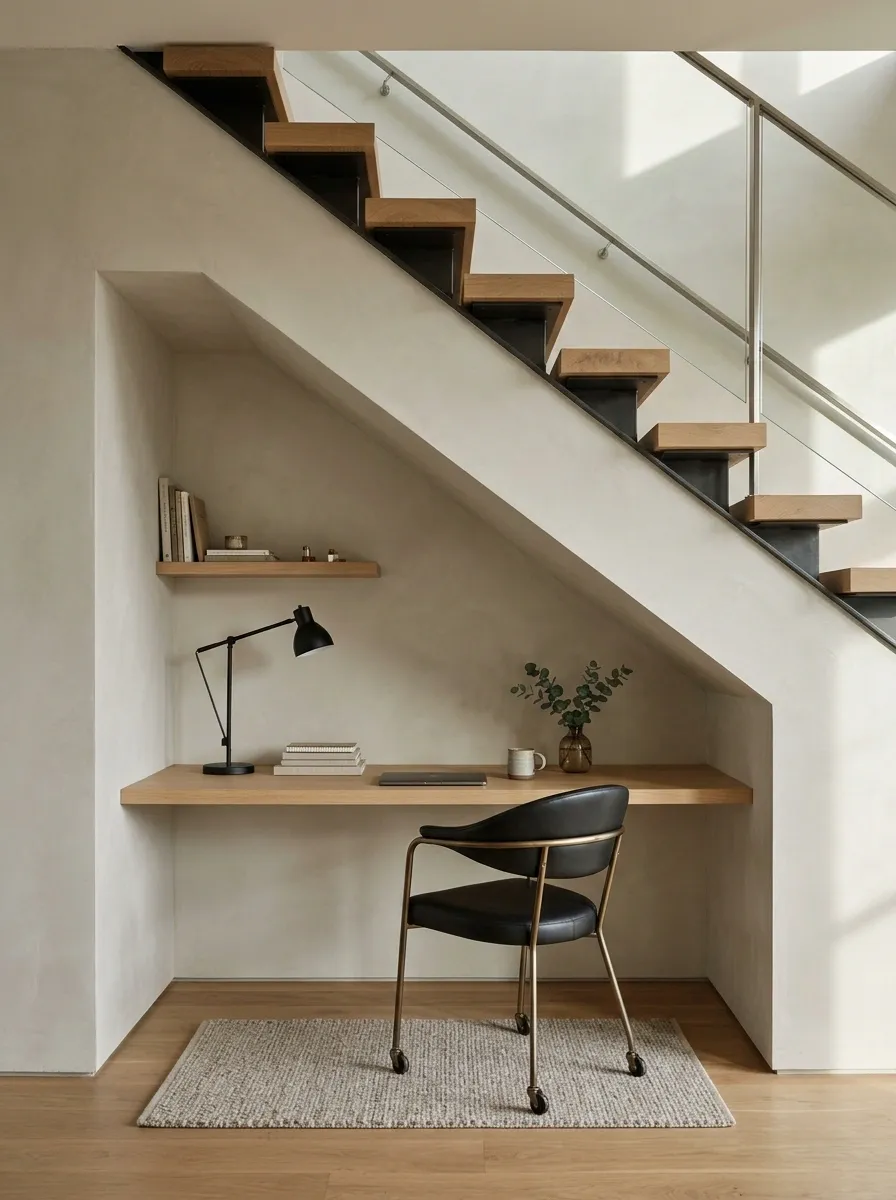
An existing suitable open under-stair area can accommodate occasional study if headroom and access are adequate. Use the taller end for the seated position.
Preserve required construction, routes, and services. Do not alter stair linings or structure casually.
This may suit short written tasks better than long daily sessions, depending on the space. The nook should be assessed for comfort rather than awarded a desk simply because its shape looks interesting.
Test sitting and standing before choosing furniture.
Use a Bookcase to Define the Study Area
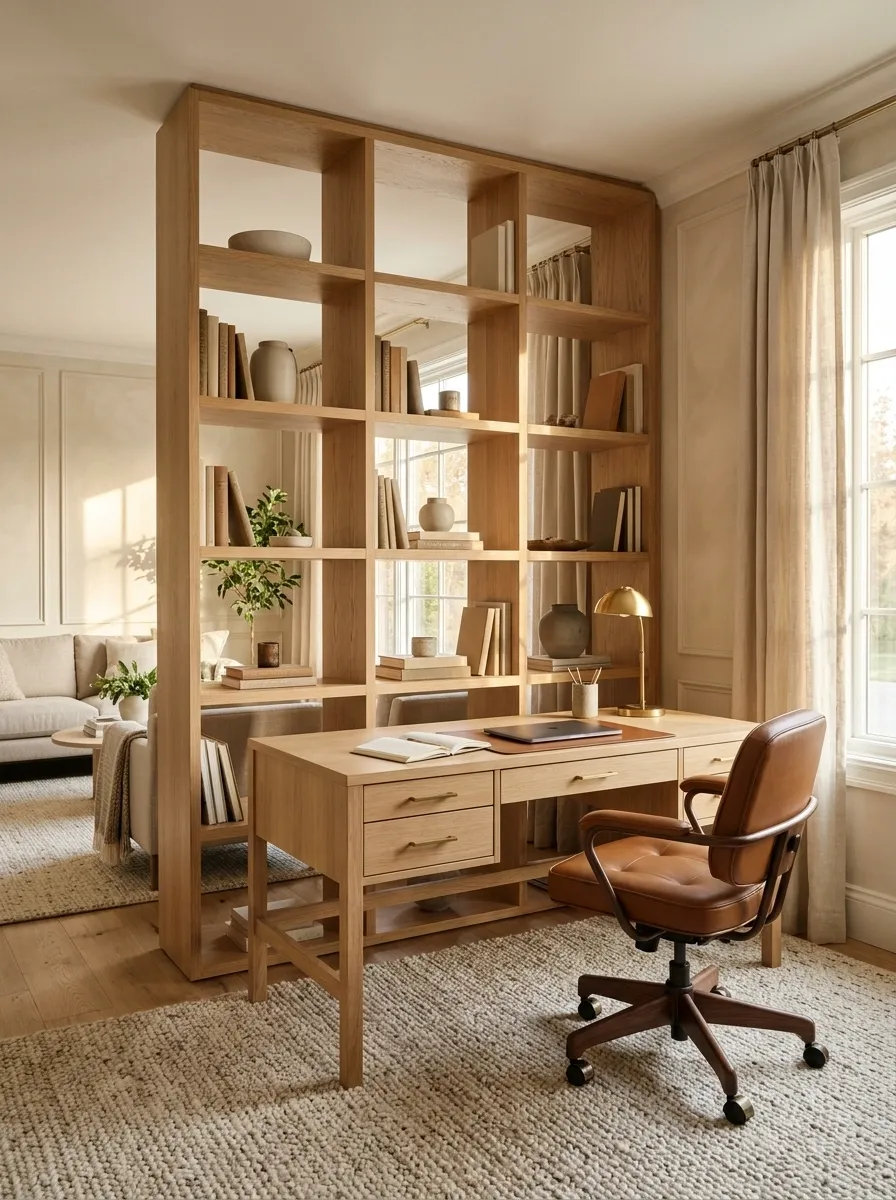
A properly secured bookcase can help separate a study position from the rest of a room. Choose the placement around light, access, and stability.
Keep useful books within reach and avoid making the chair area feel enclosed by bulky furniture.
The divider should improve the arrangement without blocking needed daylight or ventilation. A study zone can feel distinct without being constructed as a small private fortress of textbooks.
Reachable reference.
Clear chair position and useful light.
Use the divider without sacrificing the room’s practical access.
Turn the Desk Away From the Busiest View
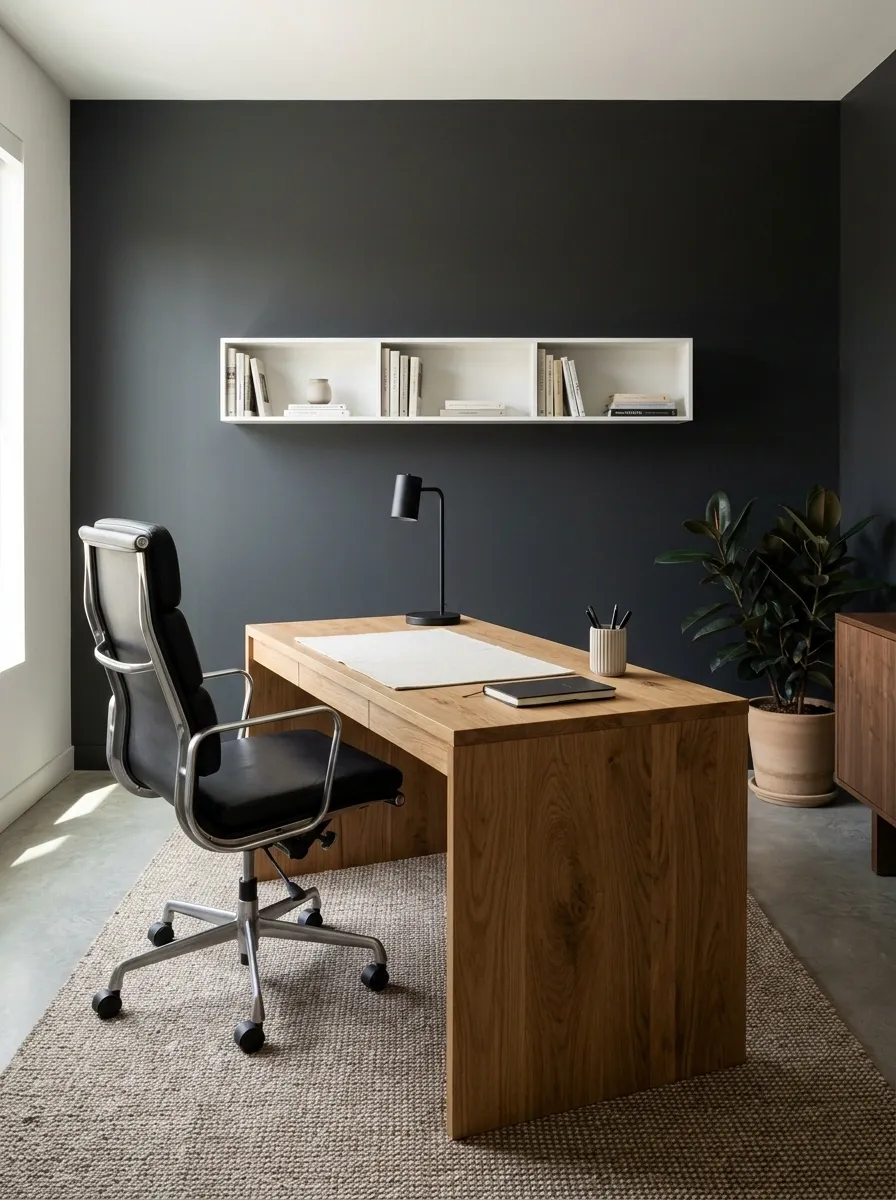
Some rooms work better when the desk faces a quieter wall or sits at an angle to household movement.
Test the position before installing shelves or changing electrical arrangements. Keep doors and circulation clear.
This is not a universal concentration formula; people differ. Choose based on what repeatedly interrupts your own sessions, rather than copying a dramatic desk position that mainly looks good because nobody in the photograph is trying to finish anything.
| Notice during study | Try adjusting |
|---|---|
| Constant movement in view | Desk orientation |
| Screen reflections | Light relationship |
| Repeated interruptions | Position within the room |
| Awkward access | Furniture arrangement |
Use a Dark Backdrop With a Clearer Work Surface
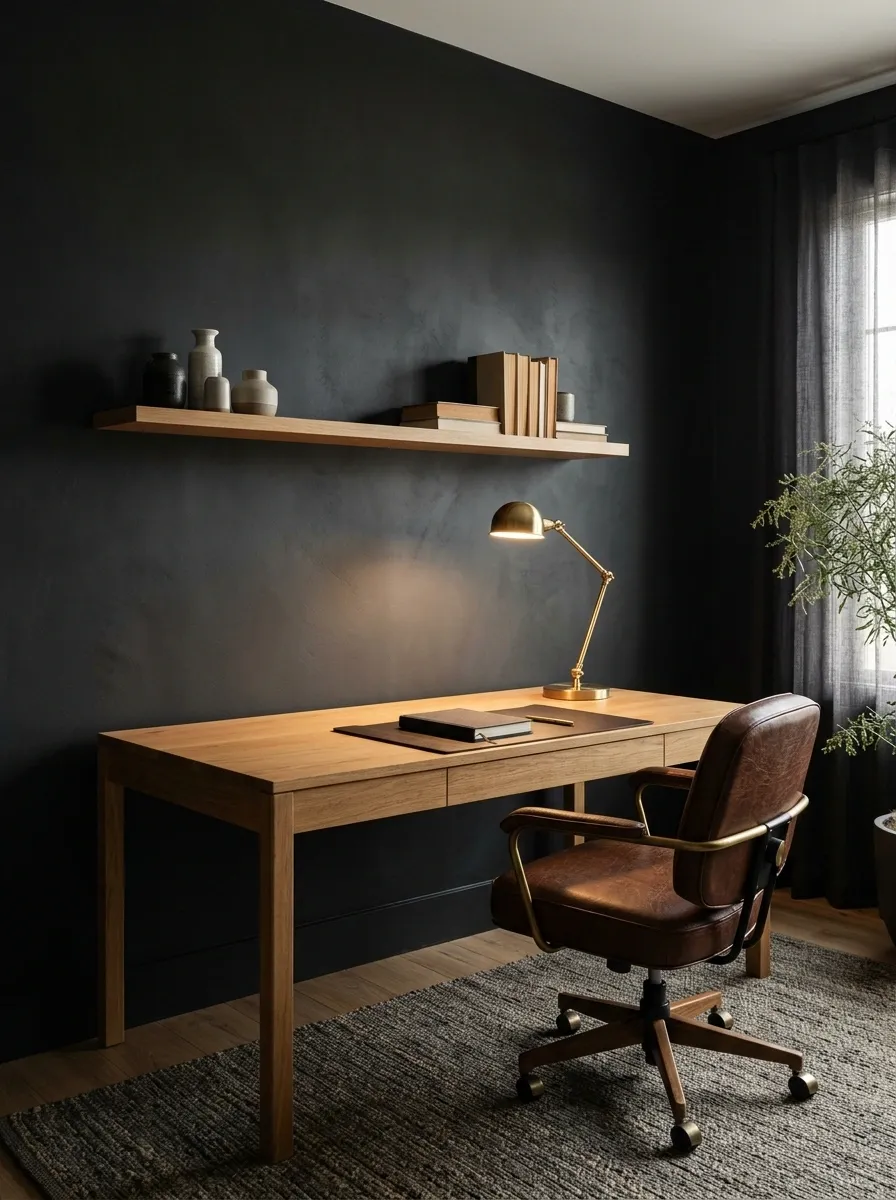
A dark wall can give a study corner a defined identity. Pair it with a surface and lighting arrangement that keep the work visible.
Choose the color around the rest of the room and avoid assuming darkness automatically improves concentration.
Keep storage edited so the backdrop reads clearly. A serious paint color will not complete the assignment, although it may provide a more dignified setting for the moment you realize you have opened the wrong chapter.
Keep wall decoration restrained.
The lighting and task layout still do the practical work.
Keep a Light Study Area Interesting Through Materials
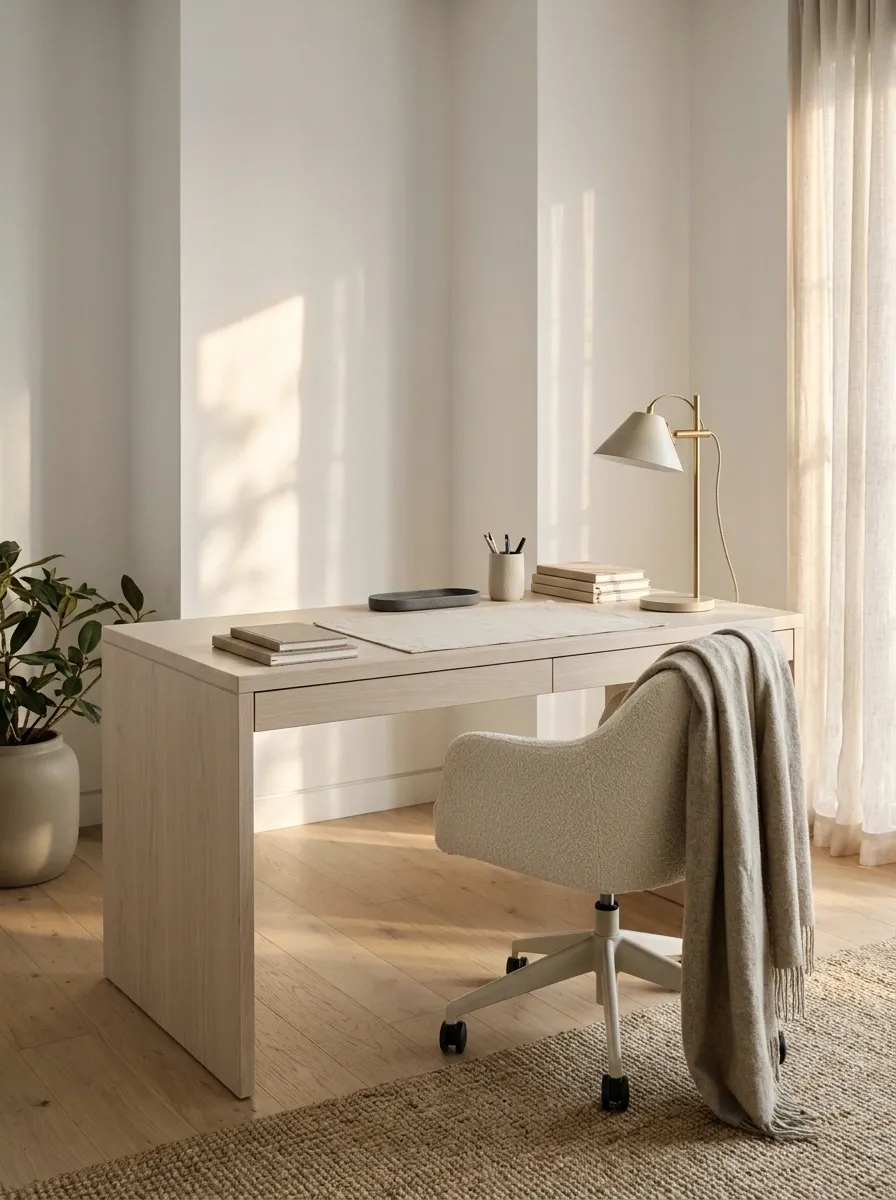
A pale study area can feel considered through timber, a restrained textile, and a few useful objects. It does not need several accent colors.
Choose a surface finish that works with your lighting and avoid unnecessary reflective glare. Keep the chair comfortable and supplies reachable.
The room can look calm without pretending everything must be beige. Material variation gives interest, while the work itself provides more than enough visual complexity once the notes come out.
Keep the palette small: Let timber, paper, fabric, and a restrained metal detail provide the variation.
Give Handwritten Work a Proper Paper Zone
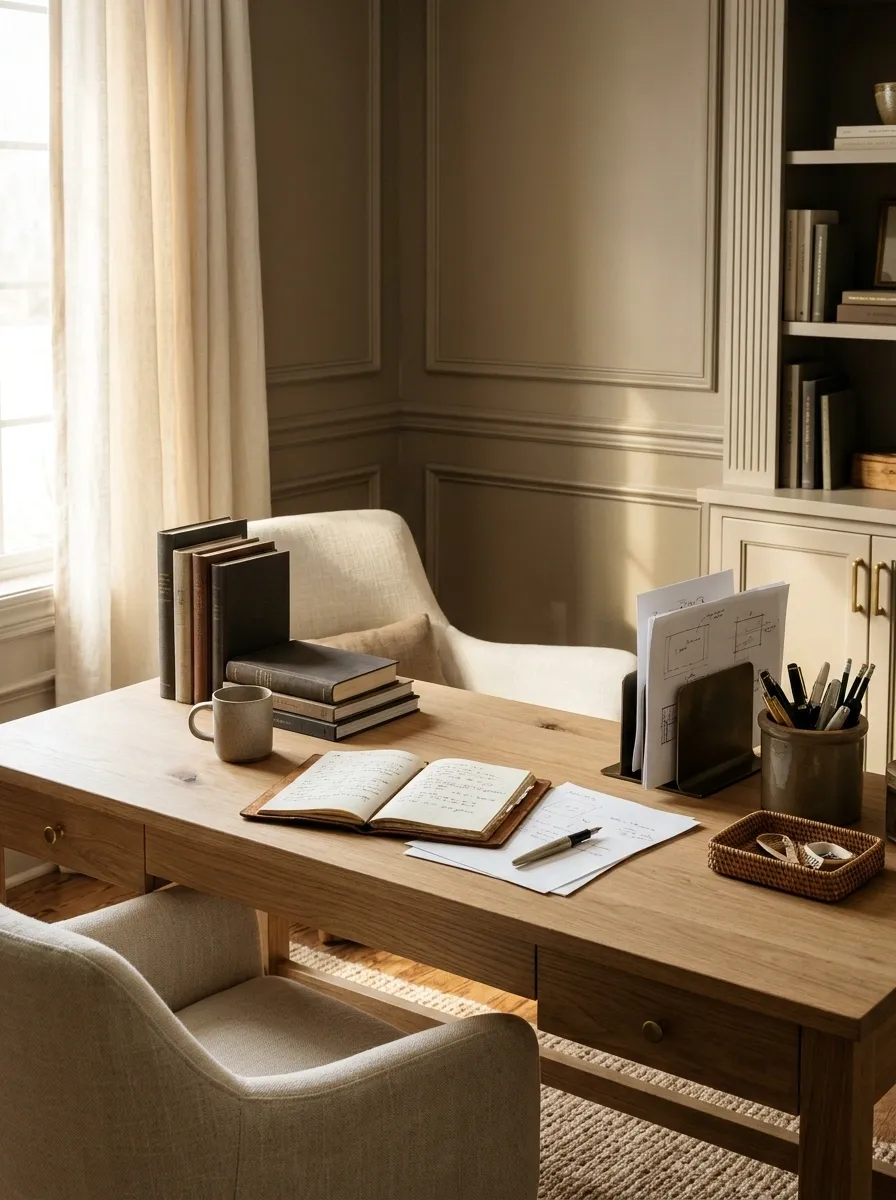
Numericals, diagrams, and handwritten notes need enough surface for the current page and reference material. Keep the main writing area clear.
Place frequently used tools where you can reach them without shifting the book each time. Use a document support if it suits the task.
A desk arranged exclusively around a laptop may be frustrating for paper-heavy study. The notebook should not have to occupy the remaining diagonal corner like an unexpected guest.
Book or notes.
Current page and hand movement.
Add a Separate Reading Seat Where Space Allows
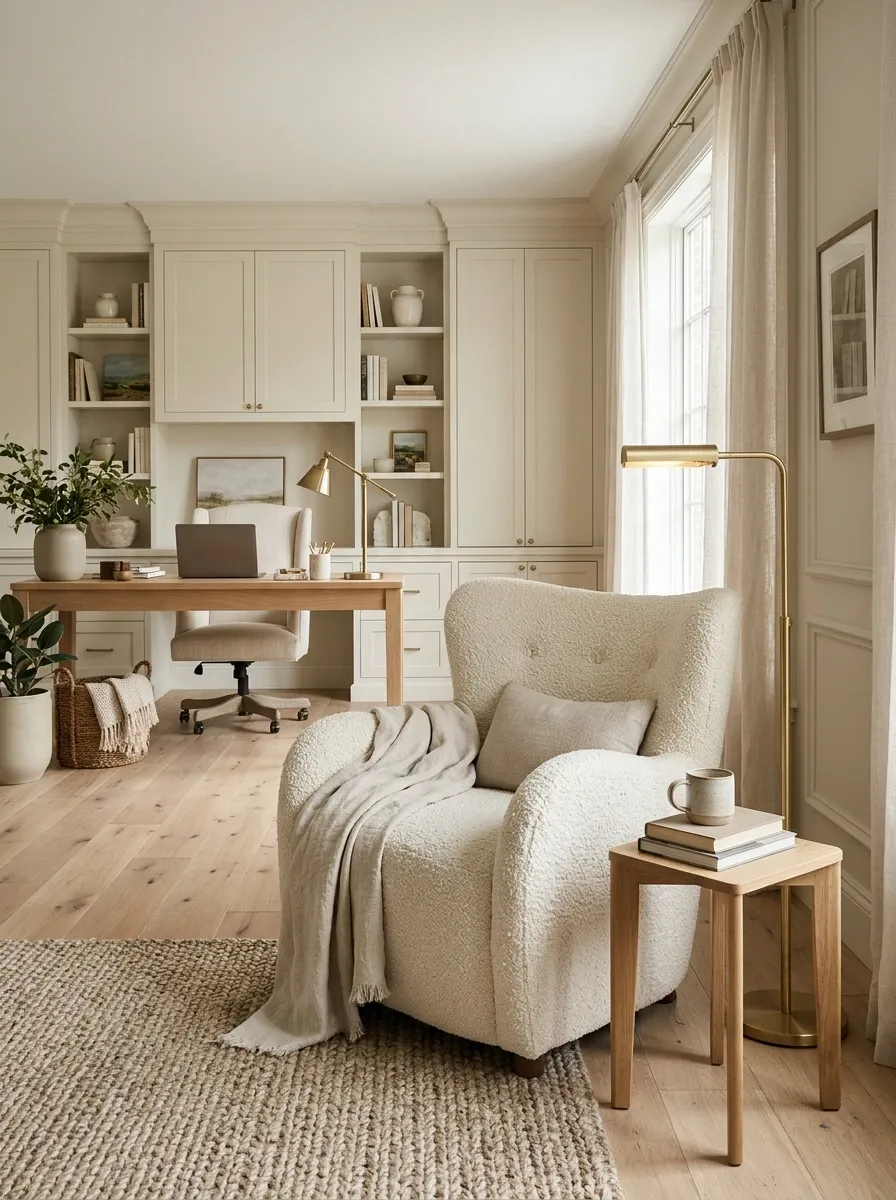
A supportive reading chair can provide another position for tasks that do not require the desk. Give it useful light and a reachable surface.
Keep the chair out of the desk’s movement area. Choose it for comfort rather than simply as a decorative study accessory.
A second position can make the room more flexible. It should still have a clear job, rather than becoming the seat where every book waits indefinitely for a future reading session.
| Desk | Reading seat |
|---|---|
| Writing and computer work | Suitable reading tasks |
| Clear working surface | Useful light |
| Reachable tools | Reachable book or cup |
| Chair movement | Separate approach |
Build a Project Area for Drawing or Making
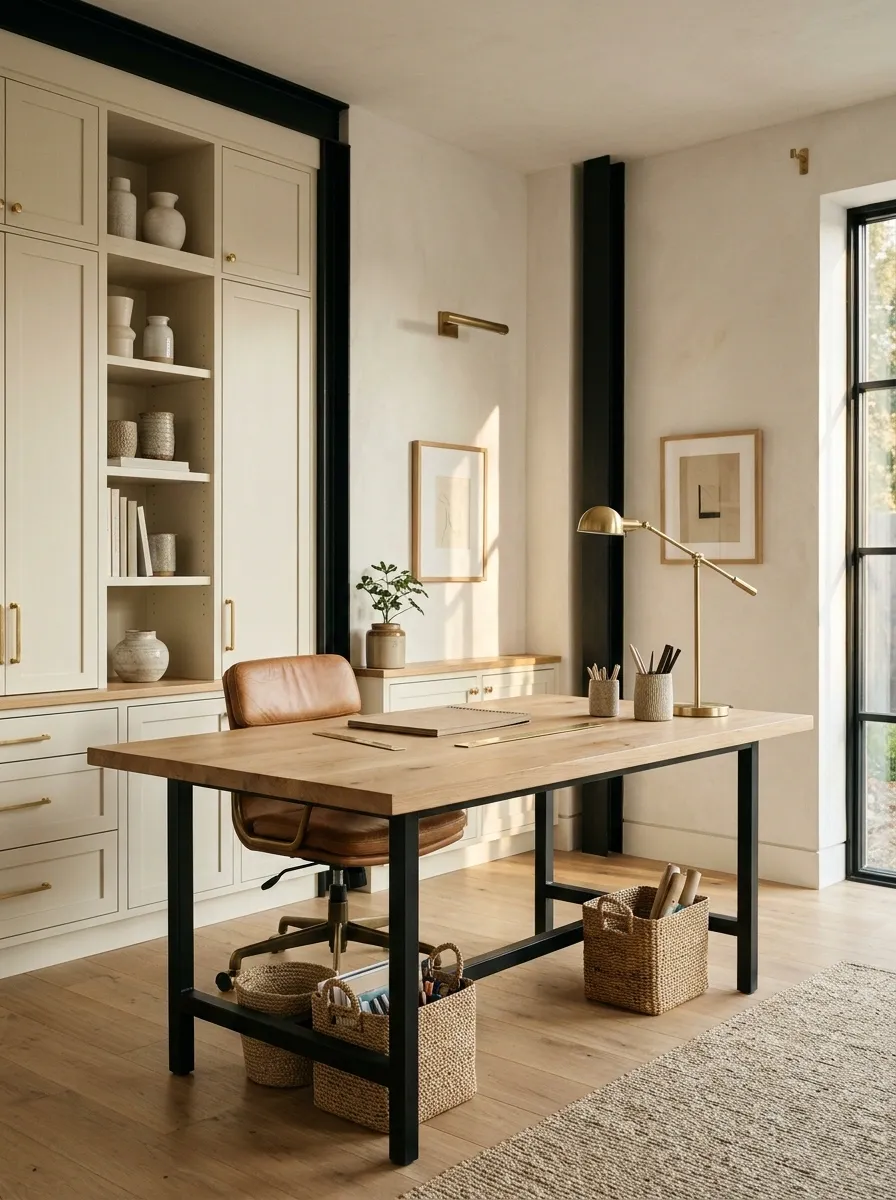
Creative study can need a larger surface, suitable task lighting, and storage for materials. Choose the work area around the processes involved.
Keep cutting, adhesives, paints, or other materials handled according to their instructions and separate from electronics where needed.
A clear project surface is useful even when the room is small. The setup should let you begin work without first relocating every decorative object that was intended to make the desk feel creative.
Set Up a Laptop for Longer Sessions
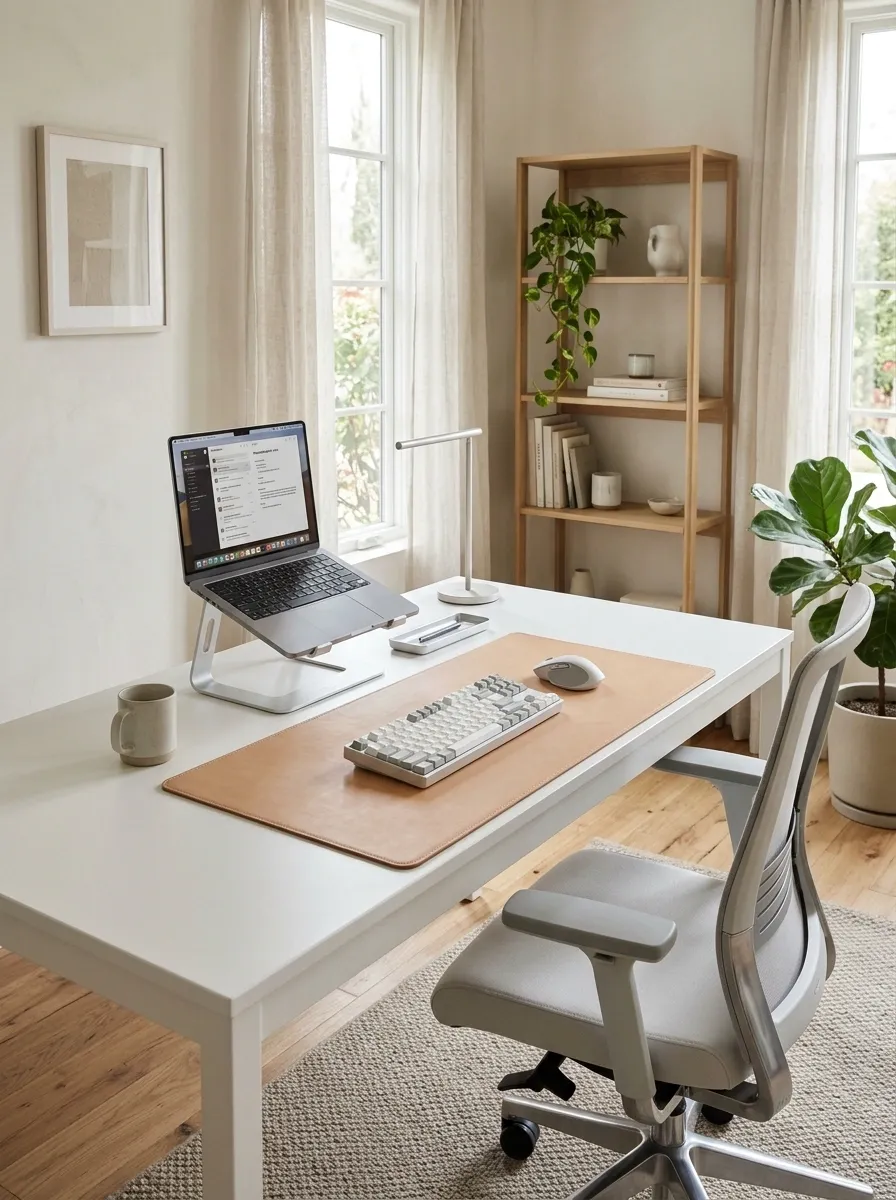
For longer computer sessions, consider a compatible arrangement that lets the screen and input devices be positioned comfortably. A suitable stand with separate keyboard and mouse may help create that flexibility.
Check the complete setup rather than raising the laptop and then continuing to type awkwardly on it.
Leave adequate surface and legroom. The purpose of the accessories is a more usable workstation, not a larger collection of equipment occupying the exact place where your notebook needs to go.
Assess the whole arrangement: Screen position, keyboard, mouse, chair, and work surface need to make sense together.
Put Supporting Supplies on a Small Cart
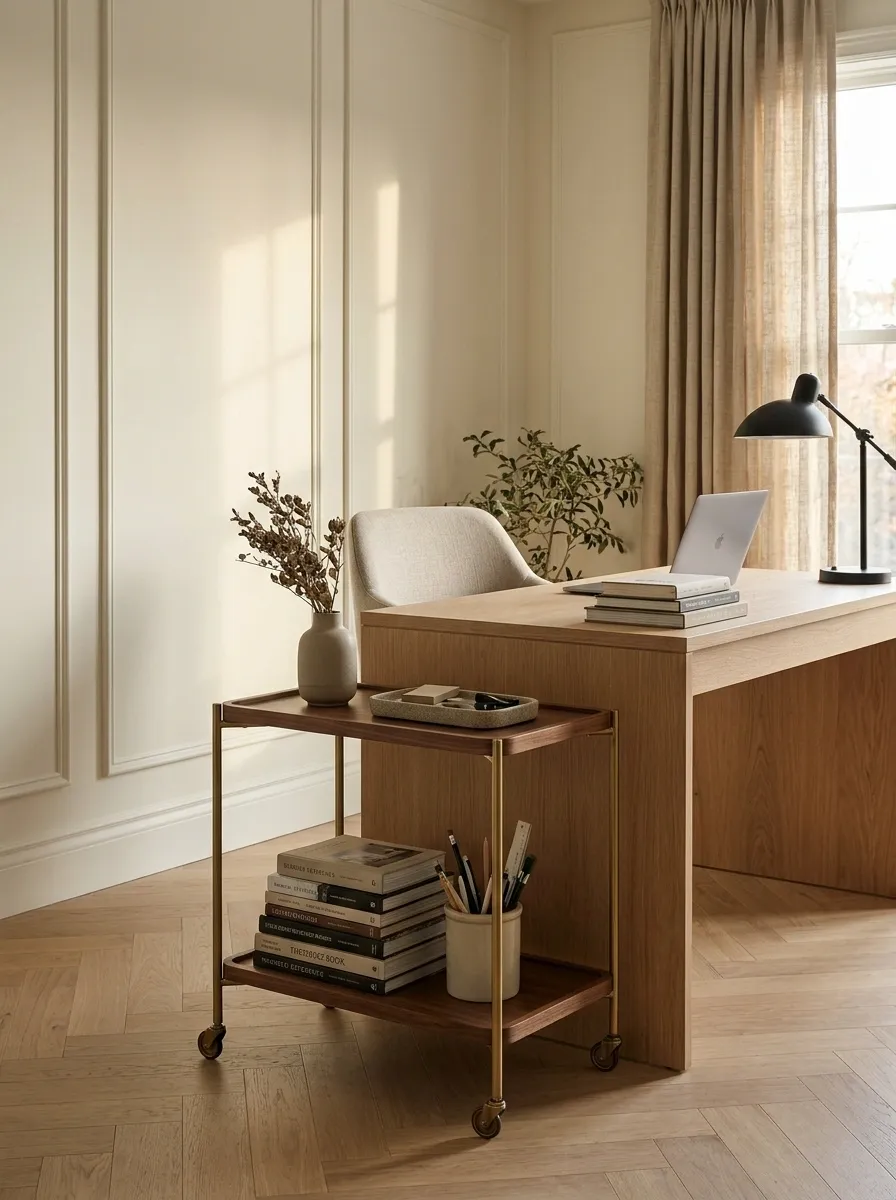
A suitable cart can hold reference books and materials beside the desk, leaving the main surface clearer.
Choose stable storage with wheels suited to the floor and keep heavier items lower. Park it where it does not obstruct chair movement or doors.
Use it for supplies you genuinely need nearby. A cart can reduce desk clutter, but filling every shelf with unrelated items simply creates a mobile version of the same problem.
Current task.
Keep the cart outside the chair’s working footprint.
Use a Pinboard for Active Material
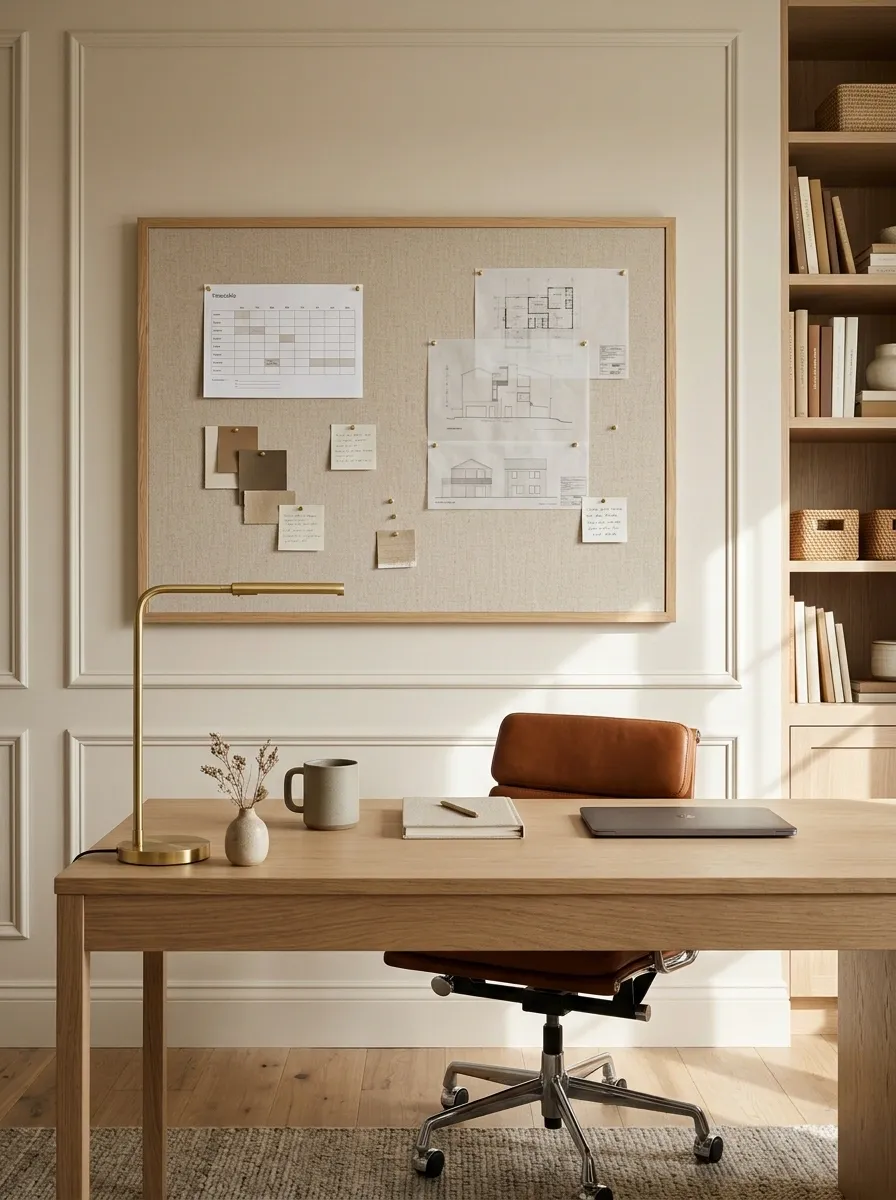
A pinboard can hold the information you are currently using: a timetable, key diagrams, or a small set of reminders.
Install it appropriately and avoid covering it with so much material that nothing stands out. Update it when the topic changes.
The board should support the current work. A semester’s worth of overlapping notes may look industrious, but it can become a paper landscape that no longer communicates anything useful.
| Keep active | Archive elsewhere |
|---|---|
| Current timetable | Old schedules |
| Today’s reference | Completed topics |
| Useful reminders | Duplicate notes |
Create a Screen-Free Reading and Writing Setup
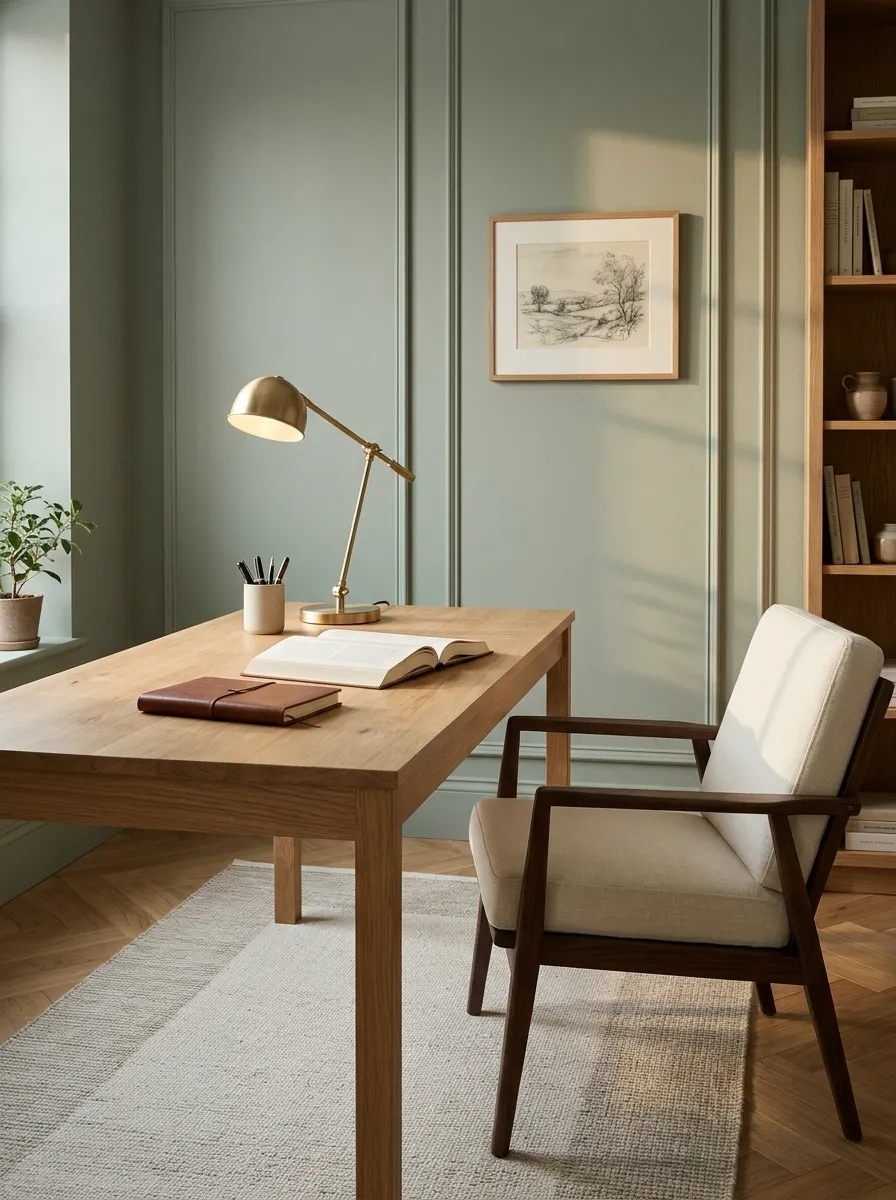
A screen-free station can focus on books, paper, and a useful light. Choose a surface and chair that suit the duration and type of work.
Keep essential stationery close and store digital devices elsewhere if that matches your routine. This is a personal arrangement, not a guarantee against distraction.
The desk still needs to be practical. Removing the laptop does not make an uncomfortable chair or an undersized writing surface more suitable.
Space to write comfortably.
Only what the task needs.
A simpler equipment list should leave a better working surface.
Make a Shared Room Work With a Clear Study Schedule
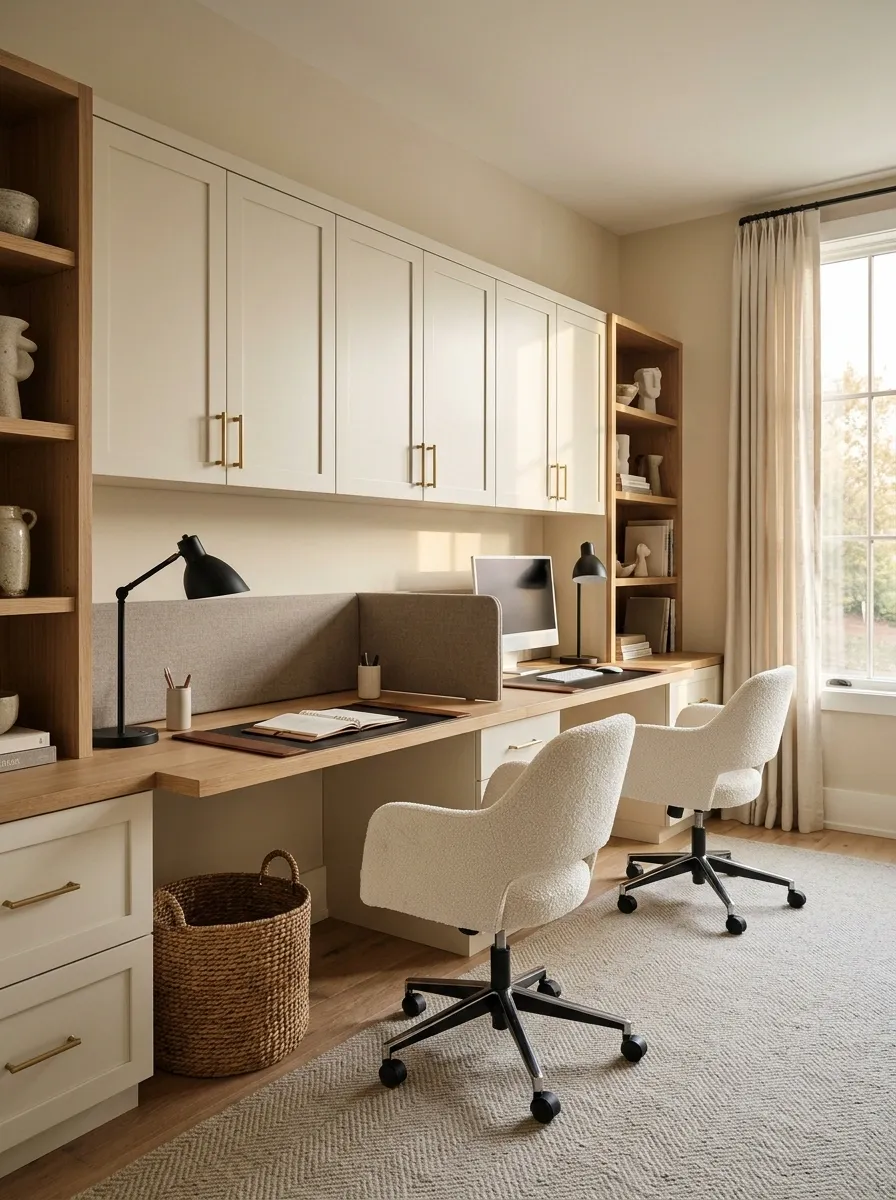
A shared room may need agreements as much as furniture. Choose study times, lighting arrangements, and storage positions that both people can use.
Keep individual supplies contained and the common route clear. If one person sleeps while the other works, consider a suitable task light and a position that reduces unnecessary disturbance.
The best layout is the one the household can maintain. A perfect desk arrangement cannot resolve a nightly disagreement that was never discussed.
Agree on the routine: Study times, noise, lighting, shared surfaces, and where supplies return afterward.
Keep an Exam-Week Setup Ready Without Making It Permanent
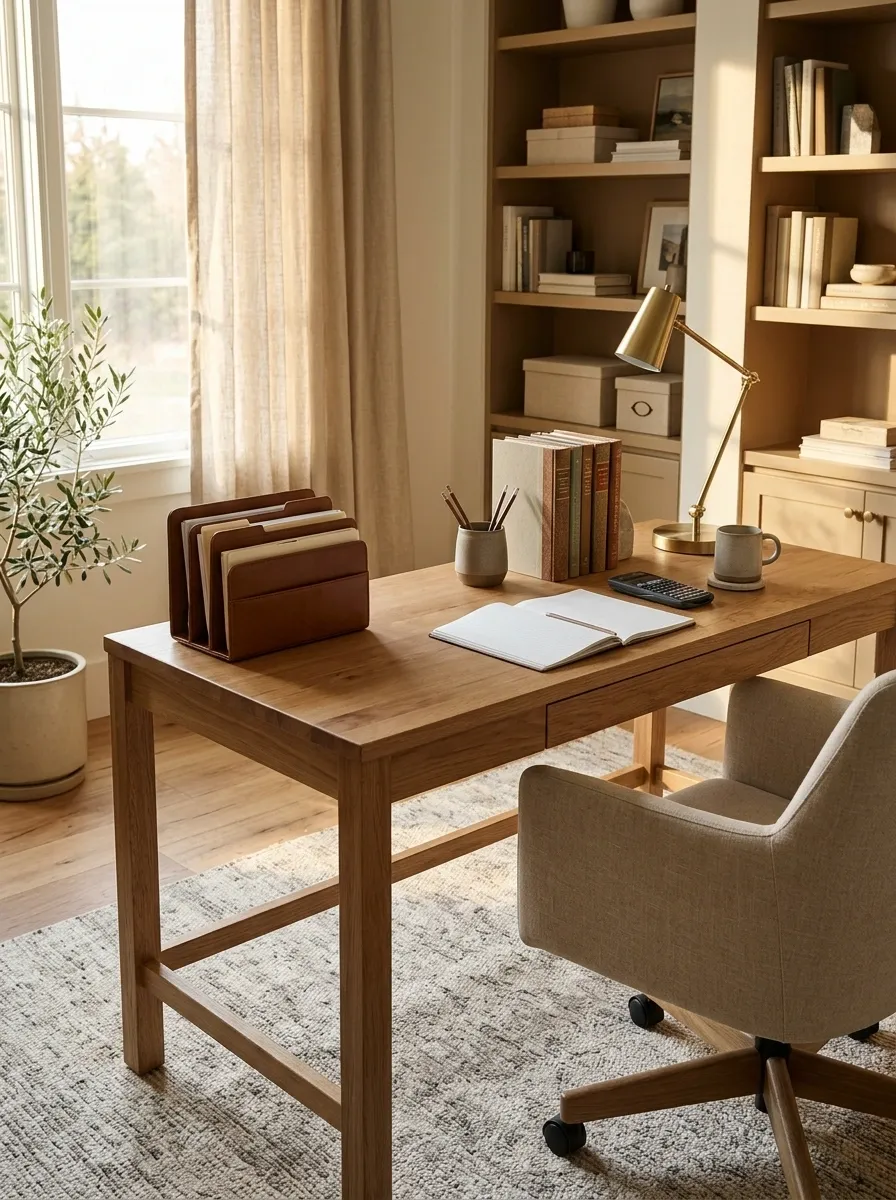
A temporary exam station can bring current notes, past papers, stationery, and a clear working surface together for a defined period.
Separate active material from completed topics. Use a small tray or folder system so the desk does not disappear beneath every page printed during the term.
Plan the reset afterward. The station should help you work through the material, rather than remain as a permanent monument to the week you briefly considered laminating your entire syllabus.
THE ACTIVE STUDY FLOW
Material waiting its turn.
One current task.
Filed out of the working area.
Open the Actual Book Before Decorating Further
Sit down and work for a normal session. Notice what you reach for, what gets moved repeatedly, and whether the surface supports the task.
Adjust those things first.
A useful study space is allowed to contain an open textbook, a few working notes, and a calculator that does not match the desk accessories. The room should help you finish something. Looking convincingly studious is a much easier project, but unfortunately it does not submit the assignment.