
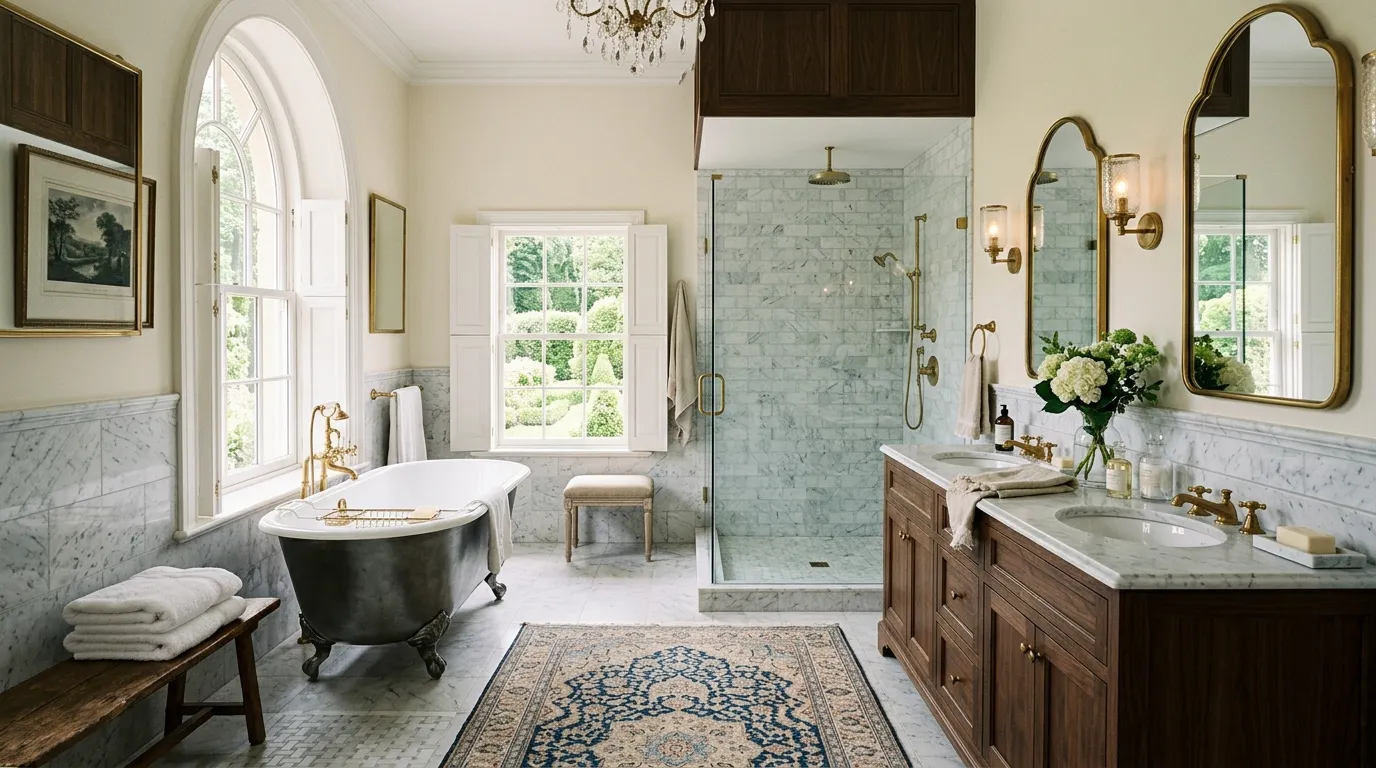
You install geometric cement tiles, matte black plumbing, and a massive freestanding tub because everyone else does. Fast forward, and you’re left with a heavy, tired room stamped with a specific year.
Achieving a timeless master bath means ignoring the noise completely. It requires choosing materials that have survived decades of shifts and rejecting useless gimmicks.
You don’t need another Pinterest fad. You need hard rules on what actually lasts and what works daily. Here is exactly how to design a space that holds its ground.
The Rules
Warm Up with Wood Tones
Cold, sterile white bathrooms are officially out. Layering rich, organic wood elements instantly grounds the entire space.
From the floating vanity to the striking vertical paneling, embracing natural grain adds unmatched warmth and texture. It transforms a functional room into a sanctuary.
Keep the finish warm and tactile so it ages gracefully instead of feeling like a fleeting trend you will regret in five years.
Stick to Polished Nickel Hardware
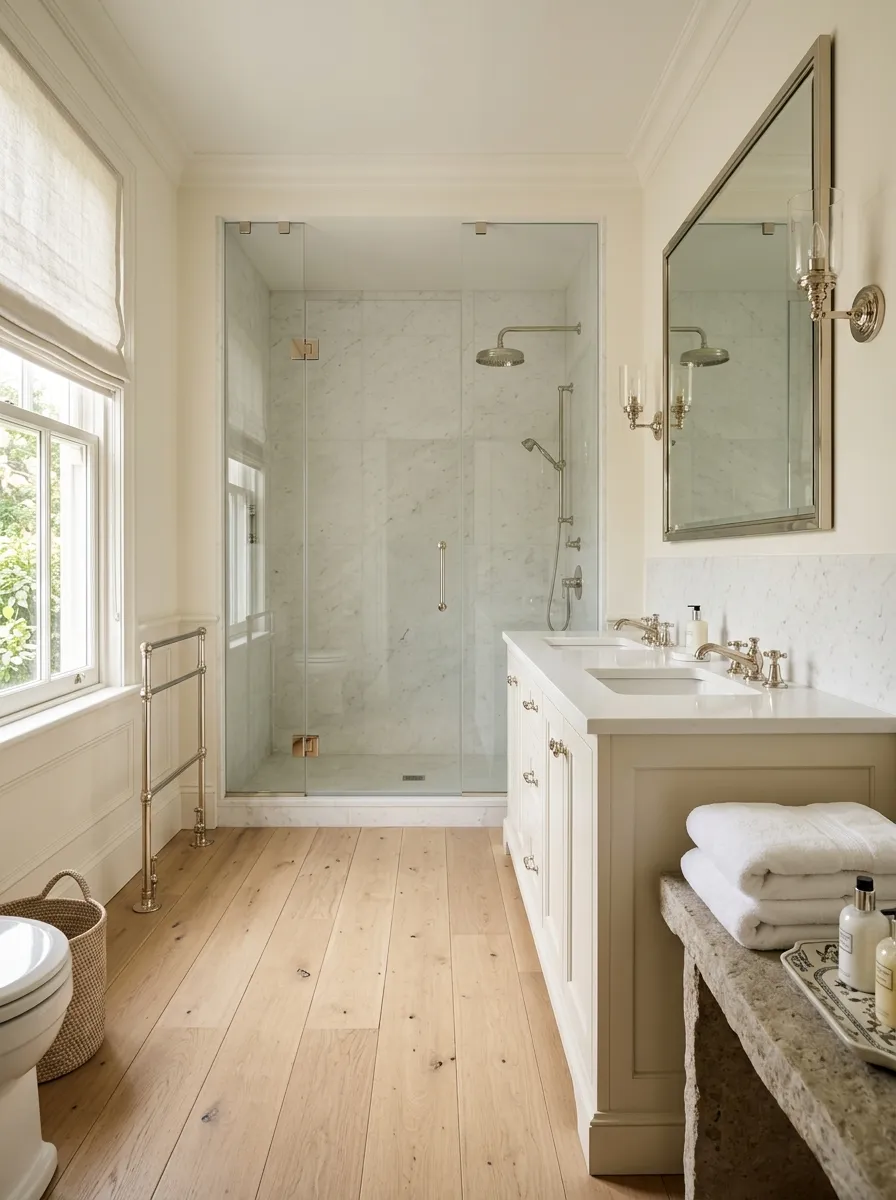
Ignore the brass resurgence and the matte black phase. Polished nickel is the only finish that consistently survives every design cycle.
It has a warm undertone that chrome lacks, preventing the room from feeling sterile. Don’t mix three different metals trying to be clever. Pick polished nickel, install it on your faucets, shower hinges, and cabinet pulls, and leave it alone.
Layer Ambient LED Strips
Harsh overhead cans do zero favors for your morning routine. Hidden LED backlighting is the secret to modern luxury.
Tucking strips behind mirrors and inside shower niches casts a soft, enveloping glow that feels like a high-end spa. It provides practical illumination without blinding you.
Abandon the overly bright vanity bar and let gentle, indirect lighting do the heavy lifting for your evening unwind.
Bury the Toilet Out of Sight
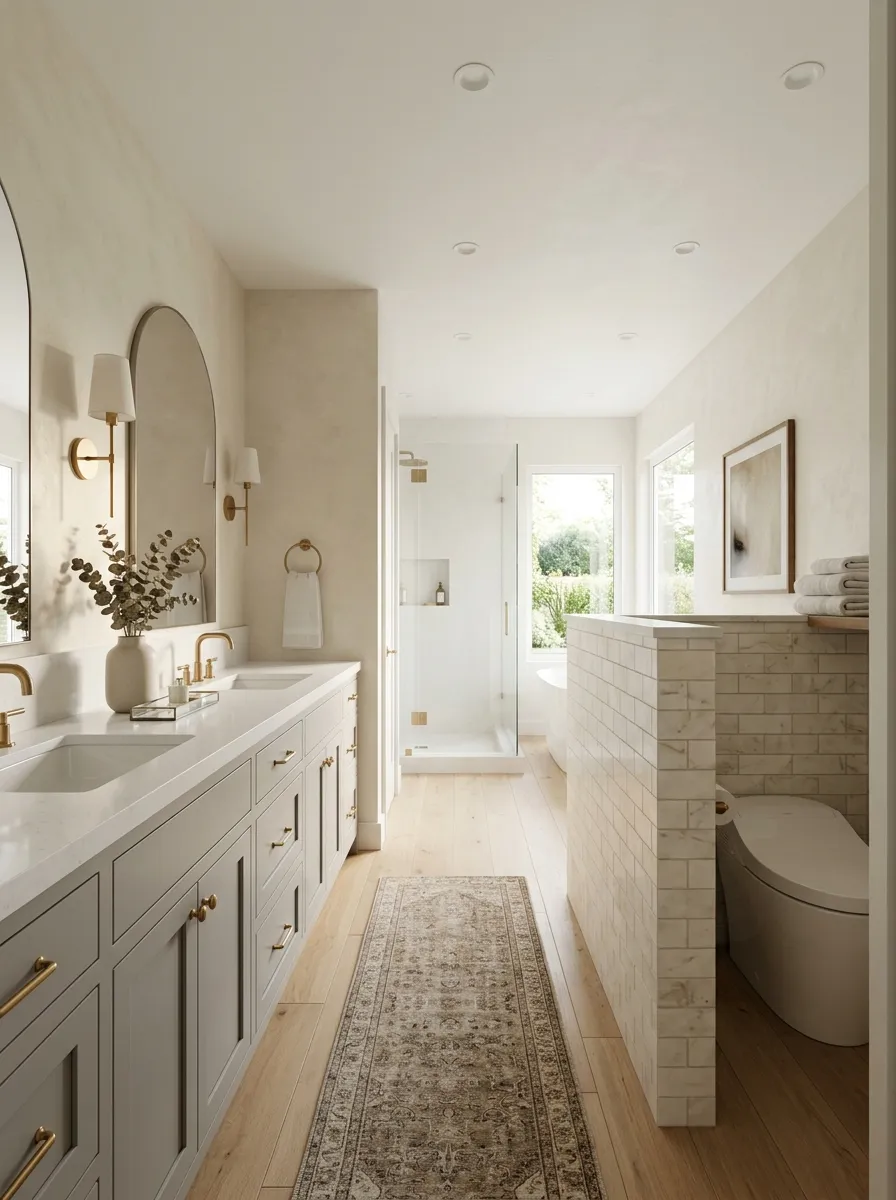
Walking into a bathroom and making immediate eye contact with the toilet ruins the layout.
It’s the least attractive piece of porcelain in the house. You must hide it behind a half wall, tuck it into a water closet, or place it securely behind the vanity line. If you change only one structural element, fix the sightline.
Commit to Bold Blue Tiles
Playing it safe with beige is a fast track to a boring, forgettable interior. Deep blue subway tiles create instant drama.
Running saturated color from floor to ceiling wraps the room in personality while maintaining a classic silhouette. Pair it with crisp white fixtures to balance the boldness.
Stop fearing color and let rich, moody hues turn your compact bath into a striking design statement.
Float the Vanity for Floor Space
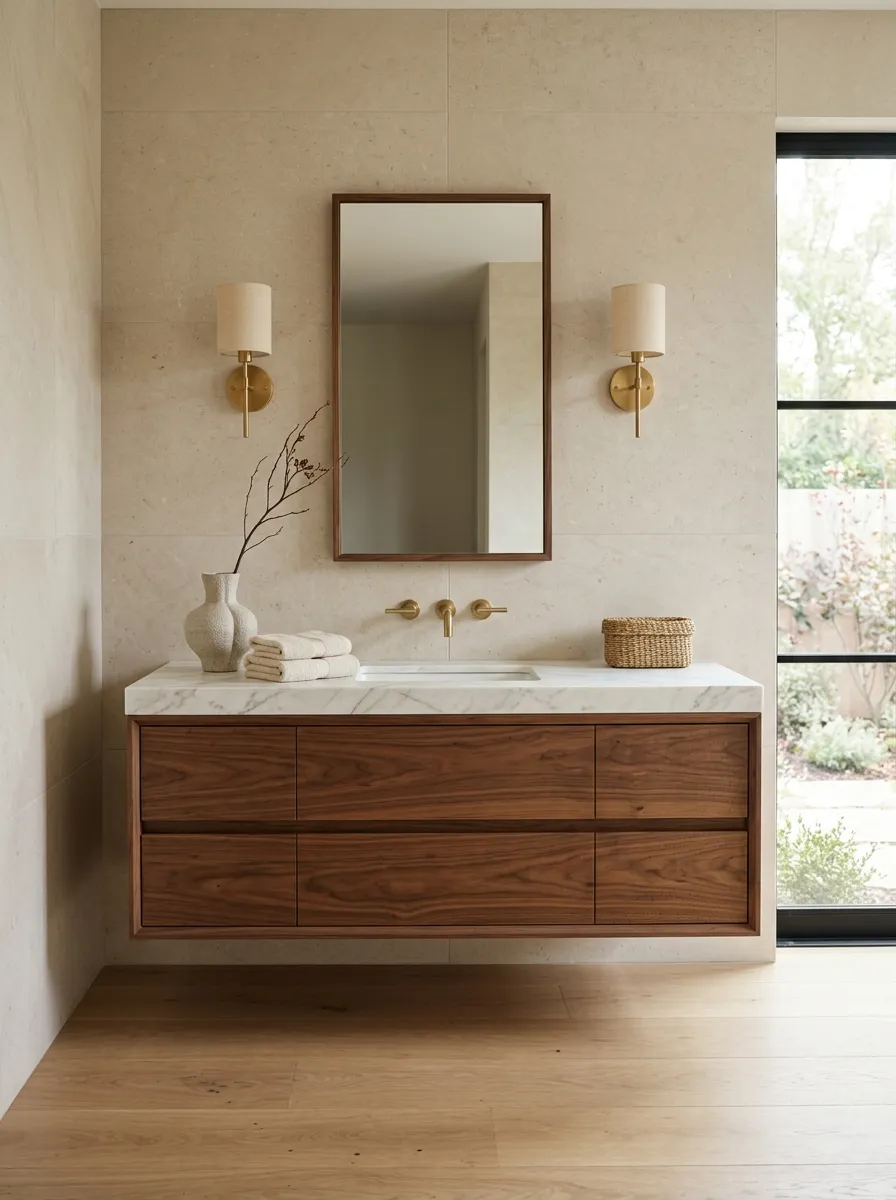
A solid wood box dragging all the way to the floor makes a room feel instantly cramped.
Floating the vanity opens up the visual footprint immediately. You keep the exact same amount of useful top-drawer storage, but the visible floor stretching underneath tricks the eye into seeing significantly more space. Plus, you won’t kick a toe kick every morning.
Embrace Artistic Wall Murals
Flat painted drywall misses a massive opportunity for architectural impact. A sweeping, organic feature wall changes everything.
Textured plaster mimicking fluid brushstrokes introduces movement and artistic depth behind your fixtures. It makes the entire layout feel custom-crafted.
Discard plain builder-grade walls and invest in a tactile surface treatment that commands attention without overwhelming the square footage.
Install Sconces at Eye Level
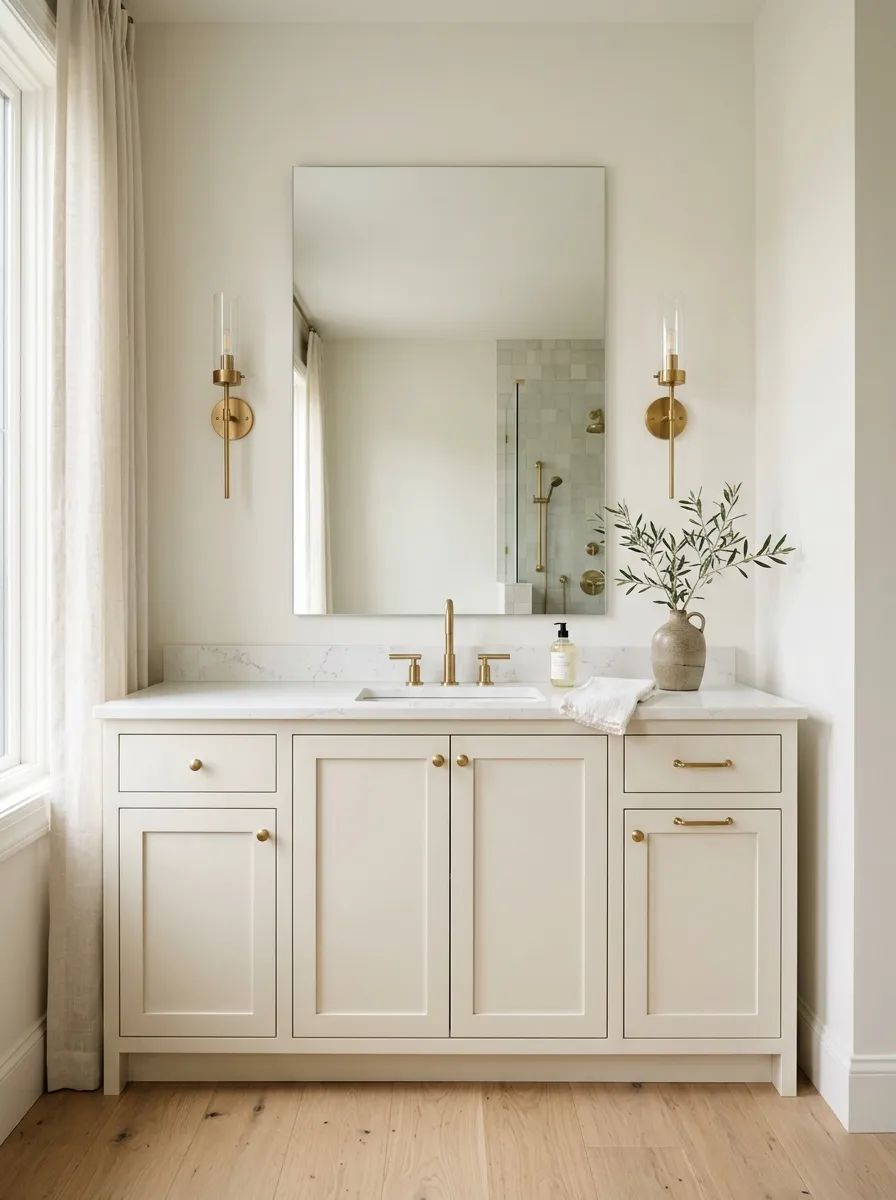
Overhead lighting casts heavy, dark shadows directly under your eyes. It is objectively bad design.
You must pull the light source down. Flanking your mirror with sconces places the glow exactly where you need it to see what you’re doing. Throw away the four-bulb vanity bar and commit to proper wall lighting.
- 1 Mount the junction boxes exactly 60 to 65 inches off the finished floor.
- 2 Leave 36 to 40 inches of space between the two sconces for balanced face illumination.
Layer Cozy Window Treatments
Leaving bathroom windows stark naked makes the space feel unfinished. A tailored Roman shade adds instant softness.
Using natural woven fabrics filters daylight beautifully while introducing essential texture against flat walls. It bridges the gap between old-world charm and modern comfort.
Skip the cold frosted glass and dress your windows with subtle textiles that tie your entire hardware and cabinetry story together.
Ditch the Freestanding Tub Trend
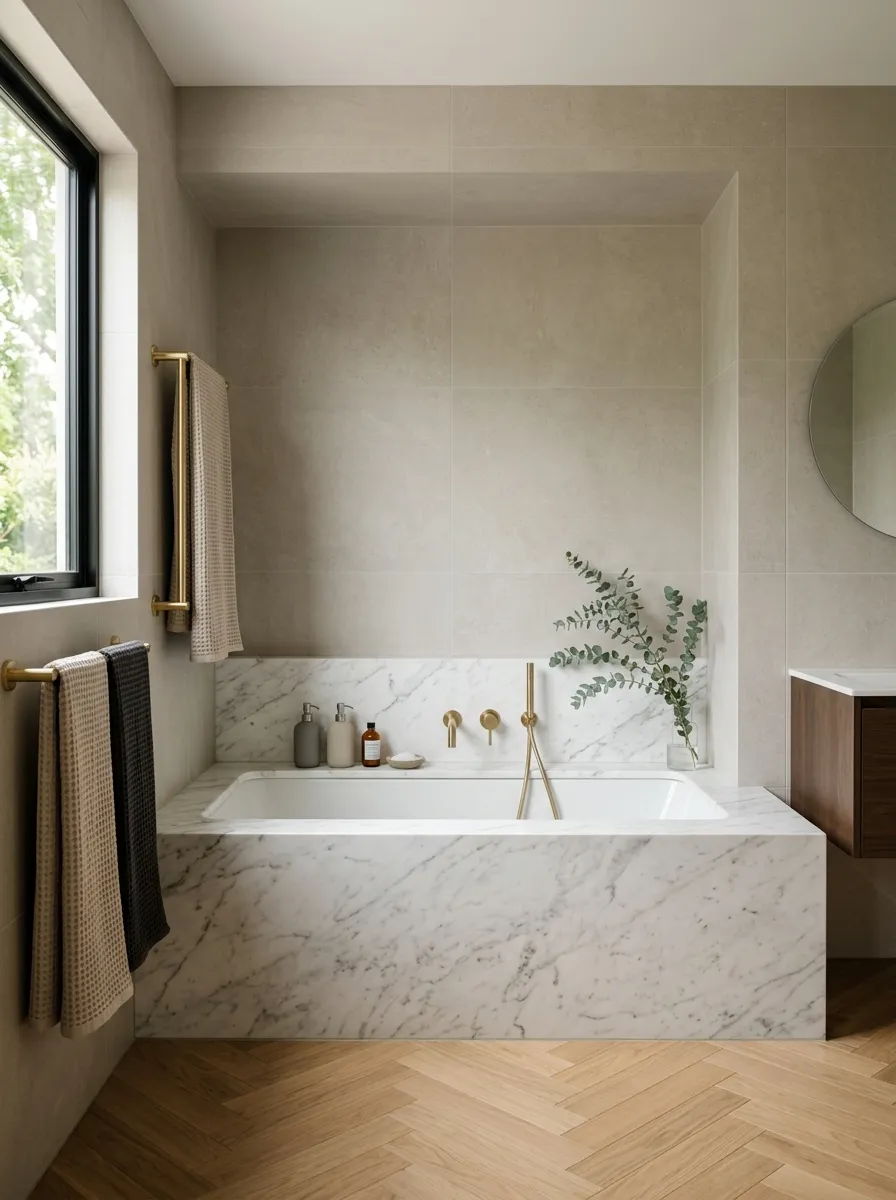
Those standalone tubs look great if you own a sprawling estate with empty square footage to burn. In a normal house, they just trap dust in an unreachable gap.
They are deeply impractical. An alcove tub wrapped in stone looks built-in, provides an actual ledge for your shampoo, and is infinitely easier to clean. Stop sacrificing daily function for a catalog picture.
- Zero dust traps behind the unit
- Usable deck space for bottles
- Provides a seamless, custom look
- Requires a full 12″ gap just to clean
- Zero storage ledges included
- Aesthetic strongly tied to recent trends
Choose Natural Stone Over Porcelain
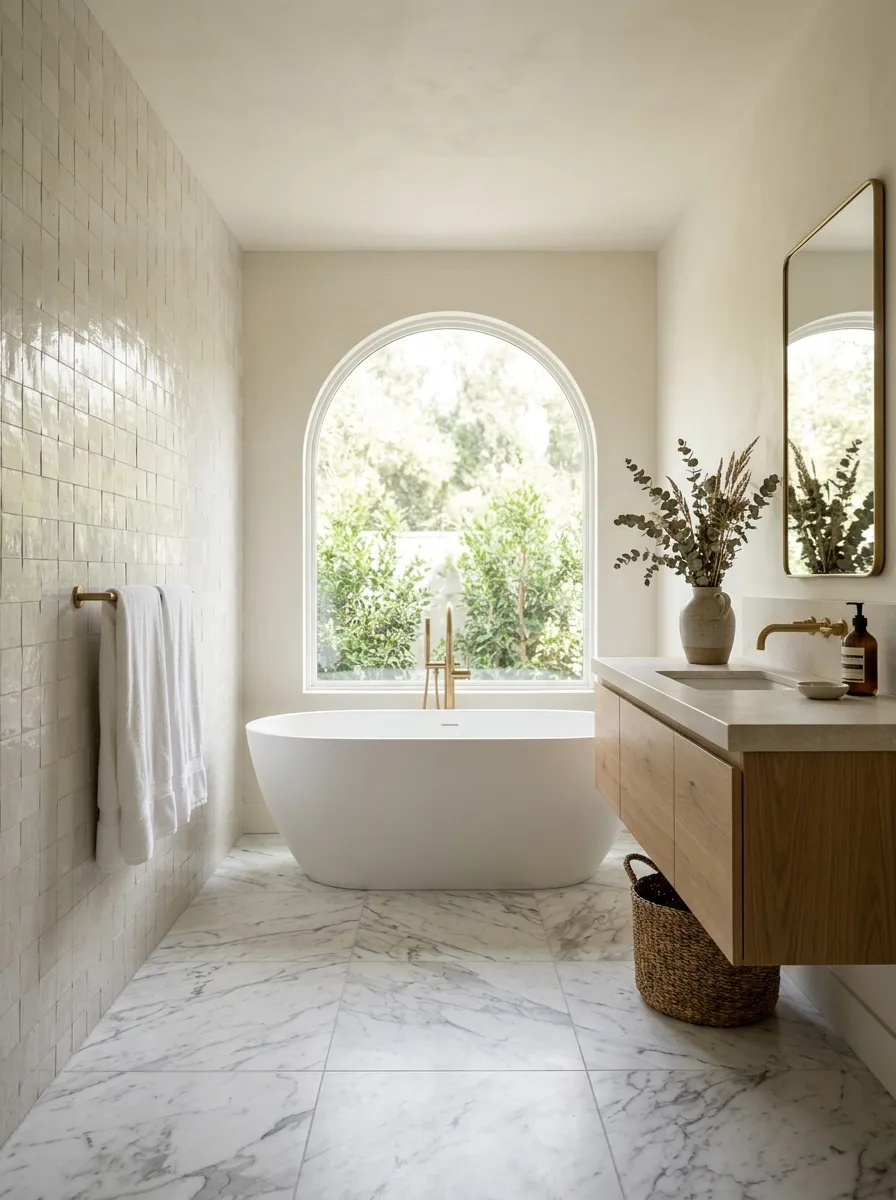
People assume printed porcelain marble looks close enough to the real thing. It doesn’t.
Once you spot the repeating grain pattern on a faux-marble floor, you can’t unsee it. It instantly cheapens the room. Natural stone, whether marble, limestone, or travertine, carries organic variation that mass production simply cannot replicate. It wears in over the decades, developing a soft patina that looks completely intentional.
Use Large Format Tiles on Floors
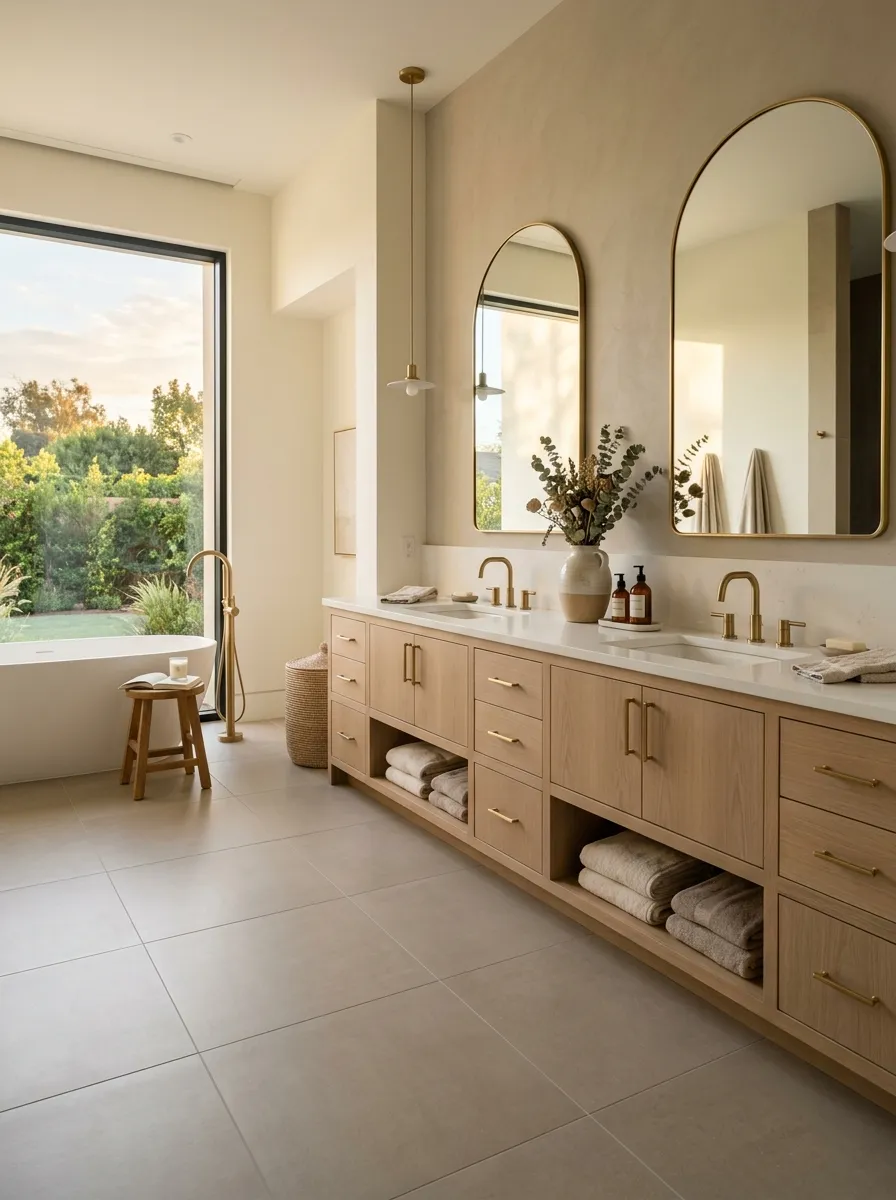
Fewer grout lines directly equal less scrubbing.
A tight, busy mosaic floor belongs in a tiny powder room, not the master bath. Dropping a large format tile, like a 12×24 or even a 24×24, tricks the eye into seeing a much wider footprint. It visually quiets the space down, giving your vanity and lighting the room to stand out without competing against a loud floor pattern.
Build a Shower Bench That Actually Works
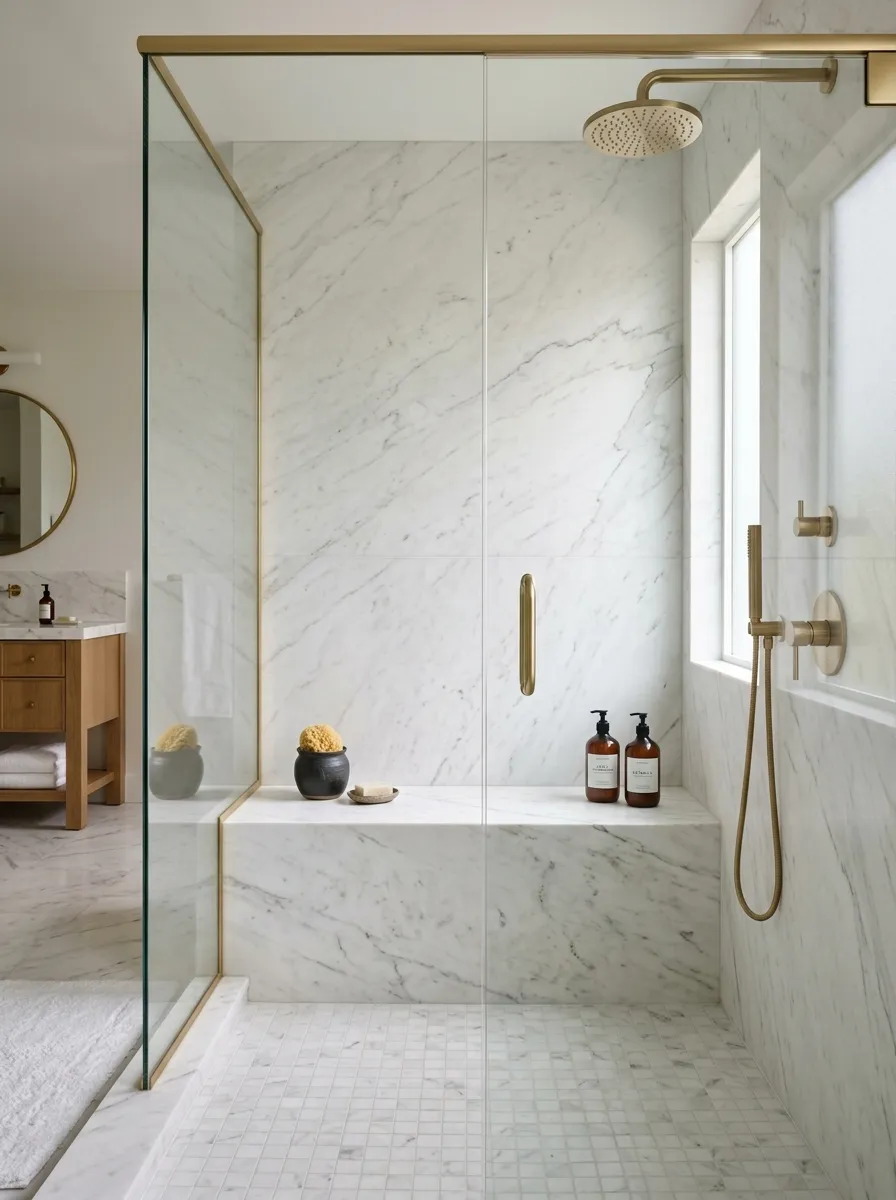
Stop squeezing tiny, useless corner triangles into expensive showers.
If you are paying for custom tile work, demand a full-depth bench that spans the entire back wall. A proper bench gives you space to sit, a vast ledge for heavy shampoo bottles, and a solid anchor point for the shower’s design. Just ensure the contractor pitches it slightly forward so standing water doesn’t ruin the grout.
Keep the Baseboards Substantial
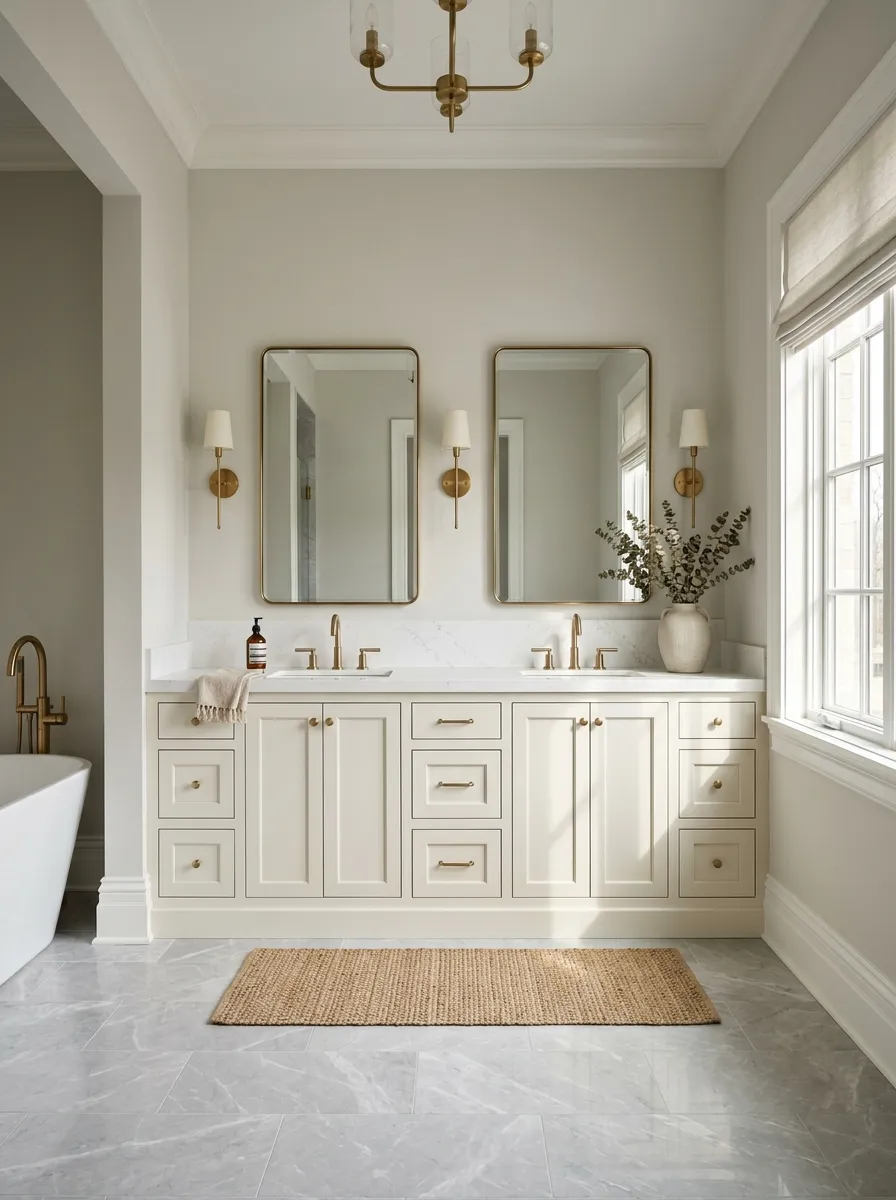
Look closely at the floor trim in luxury hotels versus standard builds. Scrawny three-inch baseboards make a bathroom look like a cheap house flip.
Upgrading to a heavy six-inch or even an eight-inch profile anchors the entire room. It provides a visual weight that frames the floor tile and makes the ceiling feel taller. It’s a remarkably cheap material upgrade that dictates how expensive the finished space feels.
Trim Ratios
Match the baseboard weight to your ceiling height. If you have standard 8-foot ceilings, use a 5-inch baseboard. For 9-foot ceilings and above, push it to 7 inches.
Hide Your Skincare in Medicine Cabinets
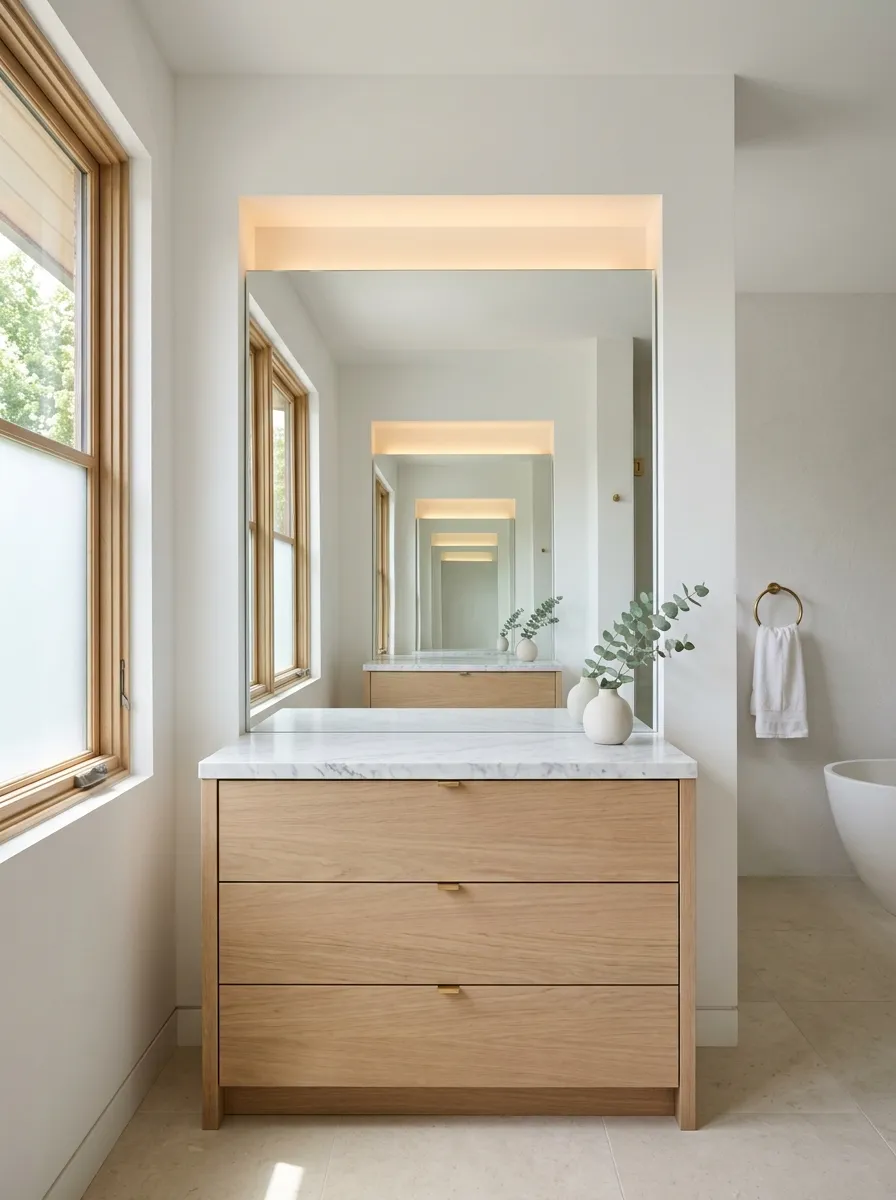
Cluttered counters destroy the look of an expensive bathroom instantly.
Nobody wants to see a neon orange face wash bottle sitting next to a brass faucet. Recess your medicine cabinets directly into the drywall between the studs. You gain massive amounts of eye-level storage without bulky boxes protruding over the sink. Wire an outlet inside them while the walls are open so toothbrushes charge completely out of sight.
| Storage Location | What Belongs There |
|---|---|
| Recessed Cabinet | Daily skincare, toothpaste, electric brush |
| Vanity Top Drawer | Makeup organizers, hair ties, combs |
| Deep Bottom Drawer | Hair dryers, heavy liquid refills, tall bottles |
Limit Your Tile to Two Patterns
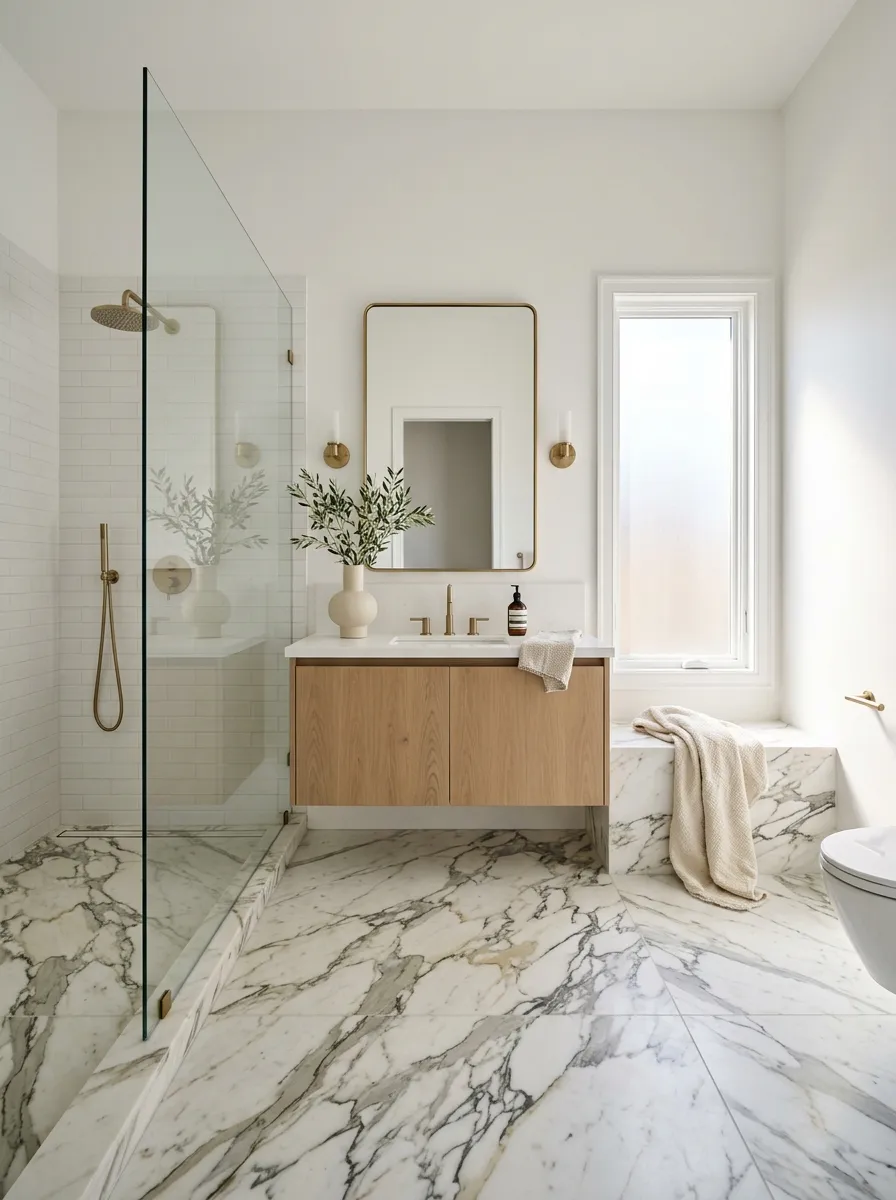
The fastest way to make a bathroom look like a disorganized showroom is using three or four different patterns. A floor tile, a shower wall tile, a shower floor tile, and a decorative niche tile create visual chaos.
Pick one star material and let the rest play a supporting role. If you choose a heavily veined marble floor, use a quiet, solid subway tile on the shower walls. Two tiles look intentional and elegant. Three is pushing it. Four is a guaranteed mistake.
Heat the Floors Before You Tile
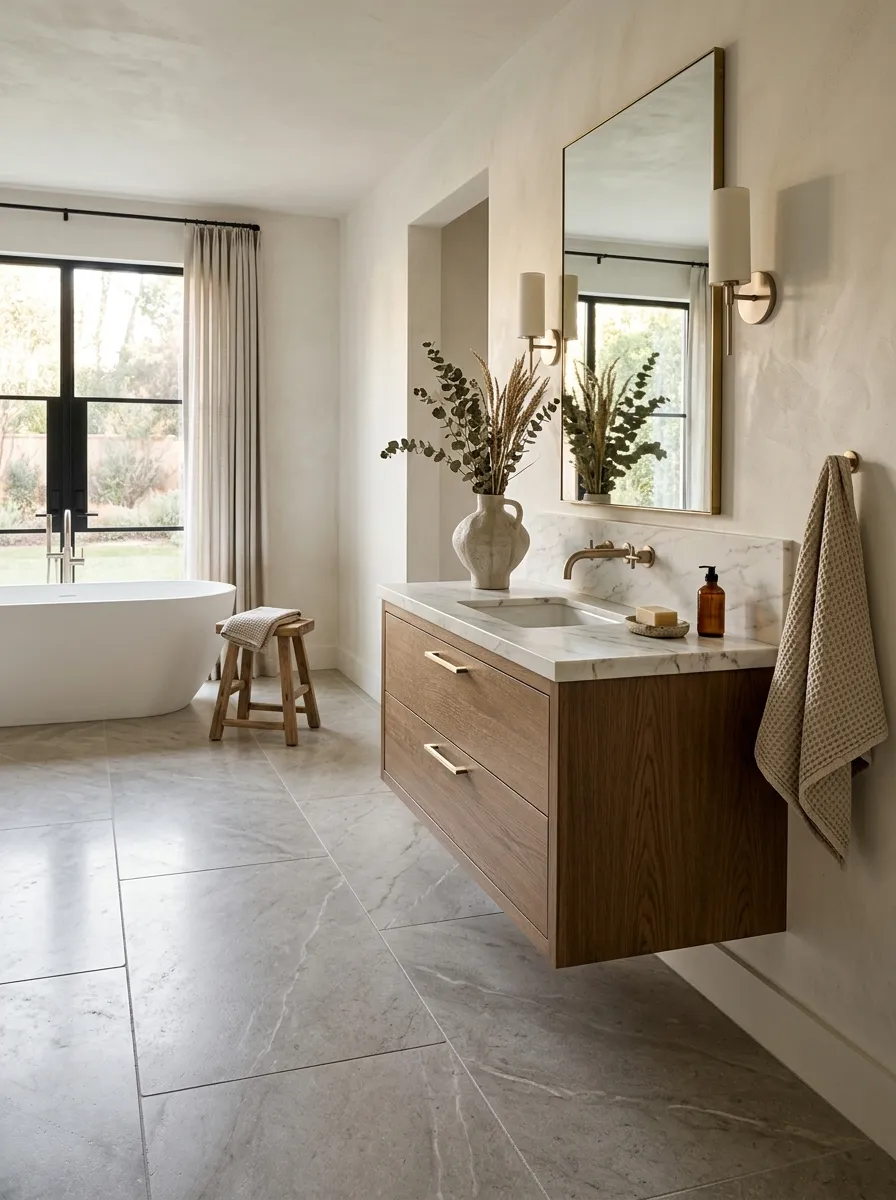
Stepping onto warm stone in the dead of winter completely changes your morning routine.
You cannot add radiant floor heating after the fact without ripping up the entire room. It’s a remarkably cheap electric mat system that lays directly under the thinset. Spend the money here instead of on a fancy towel warmer. It dries out splashed water faster, keeps the room at a stable temperature, and adds instant resale value.
- Lay the uncoupling membrane over the subfloor.
- Weave the heating cable carefully around fixtures (never under the vanity).
- Apply self-leveling underlayment before dropping the floor tile.
Prioritize Drawers Over Doors
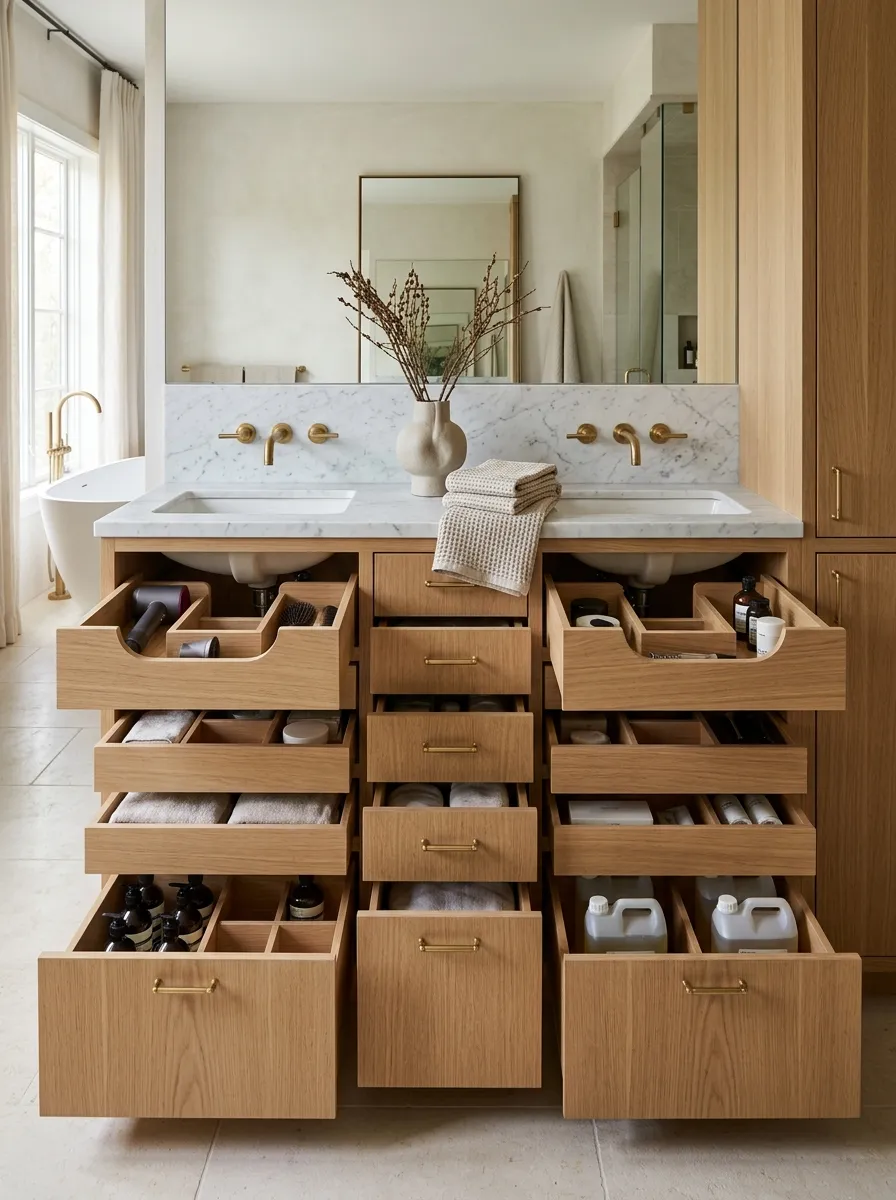
Cabinet doors conceal a deep, dark cave where half-empty lotion bottles disappear forever. You wind up on your hands and knees digging for a hairdryer.
Drawers pull the back of the cabinet right out to you. When planning a custom vanity, demand a bank of functional drawers in the center or U-shaped drawers that wrap around the plumbing. It costs slightly more in carpentry, but you gain back dozens of cubic inches of actually usable space.
Frame the Mirrors Properly
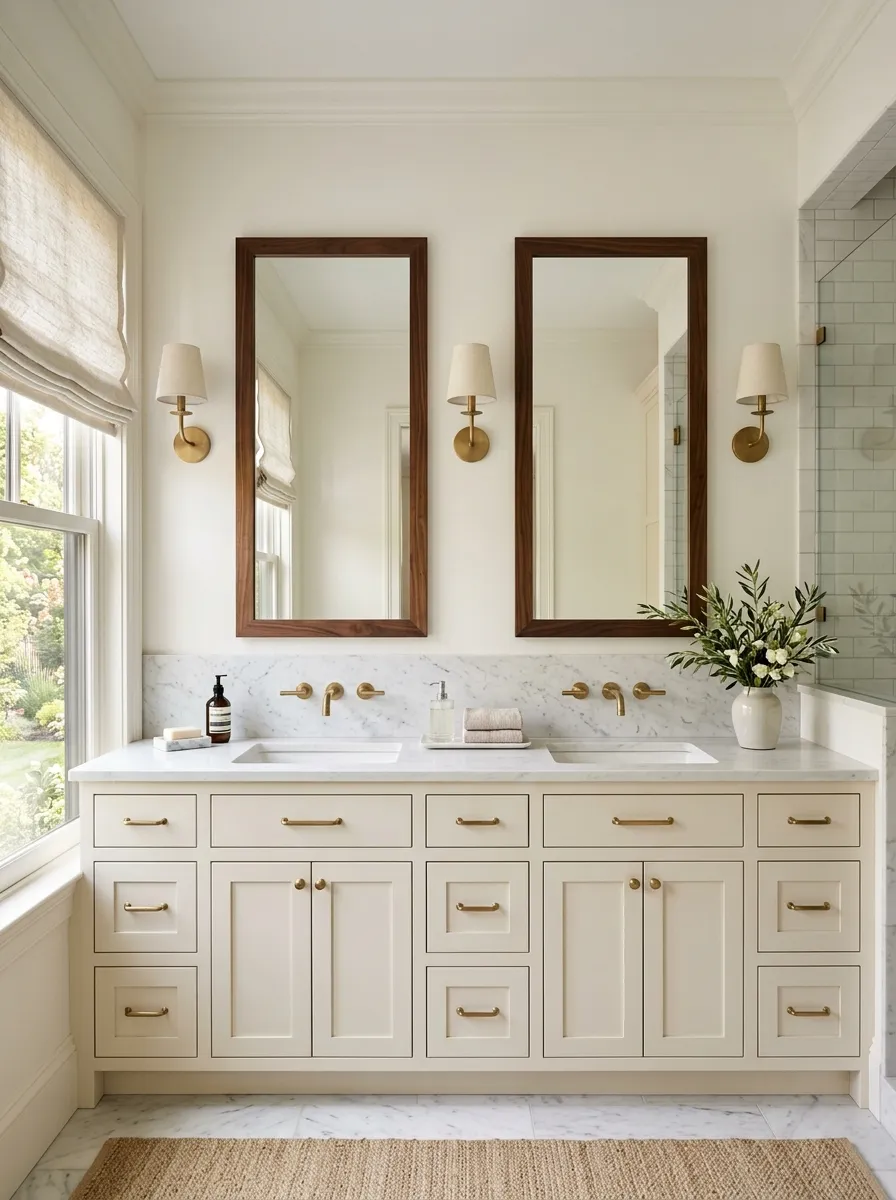
A sheet of raw, unframed glass glued directly to the drywall lacks finish and intention.
Pull that massive builder-grade slab down. Replace it with two individually framed mirrors centered directly over each sink. It breaks up the wall of reflection, gives the room architectural structure, and immediately makes the ceiling feel higher. If you must use a full wall mirror to maximize light, hire a trim carpenter to build a custom wood frame around the entire perimeter.
Anchor the Room with a Runner Rug
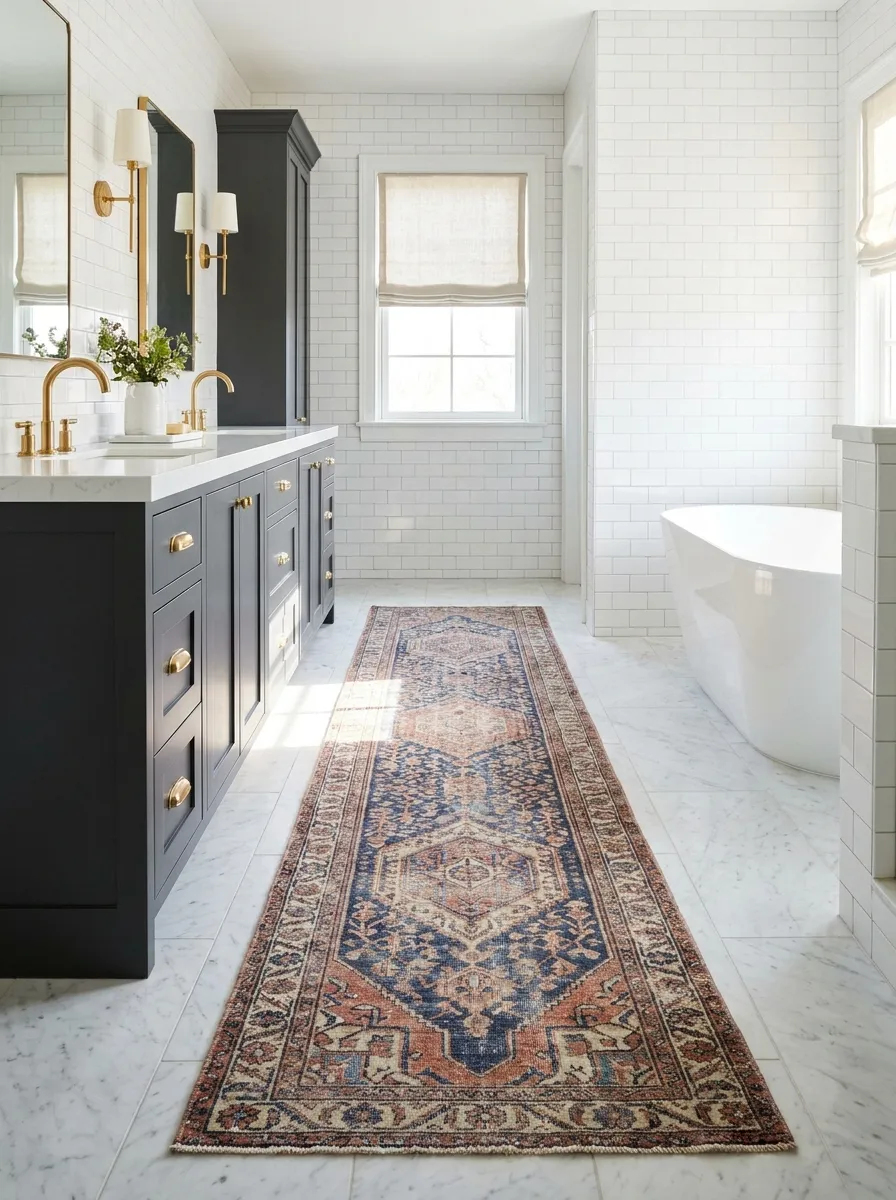
Throw away the tiny, matching plush bath mats. They look incredibly cheap and break up the floor space awkwardly.
Drop a single, long vintage runner down the center of the vanity line instead. The wool handles water drips perfectly well, and the long continuous line draws the eye forward, making a cramped layout look deeply elongated. Plus, a textured runner adds instant warmth and history to a room full of hard, cold surfaces.
Pick Undermount Sinks Every Time
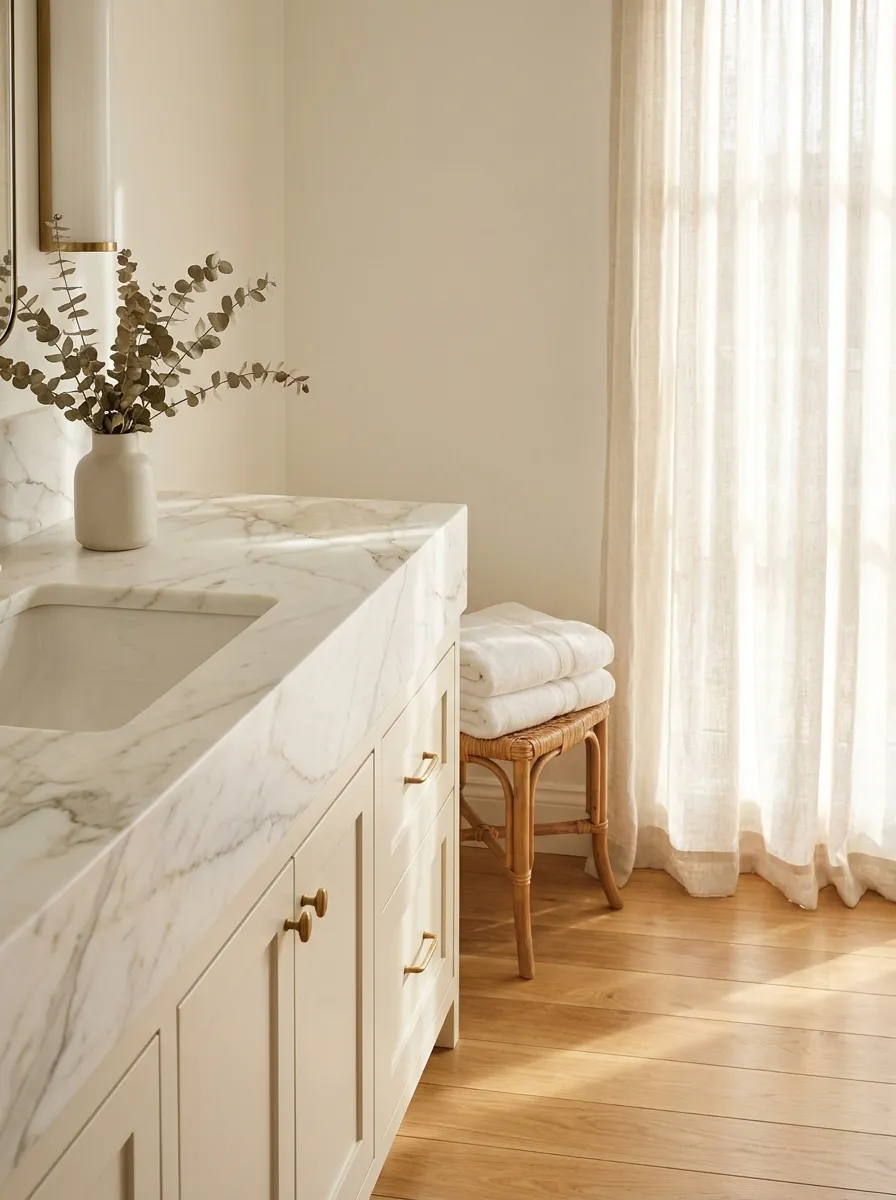
Vessel sinks look like giant salad bowls abandoned on your counter. They splash water aggressively and force you to clean the miserable, tight gap between the porcelain and the stone. Drop-in sinks aren’t much better, leaving a thick lip that traps grime.
Undermount sinks remain the only correct choice for a timeless bathroom. Because the basin sits beneath the counter, you can sweep water straight off the stone right down the drain. It creates a seamless, low-maintenance surface that never looks attached to a specific passing decade.
| Sink Type | The Brutal Truth |
|---|---|
| Undermount | Zero lips. Easy to wipe. Never ages out of style. |
| Vessel | Traps dust underneath. Splashes everywhere. |
| Drop-in | Caulk line gets disgusting. Interrupts the counter slab. |
Mount Hardware on the Wall
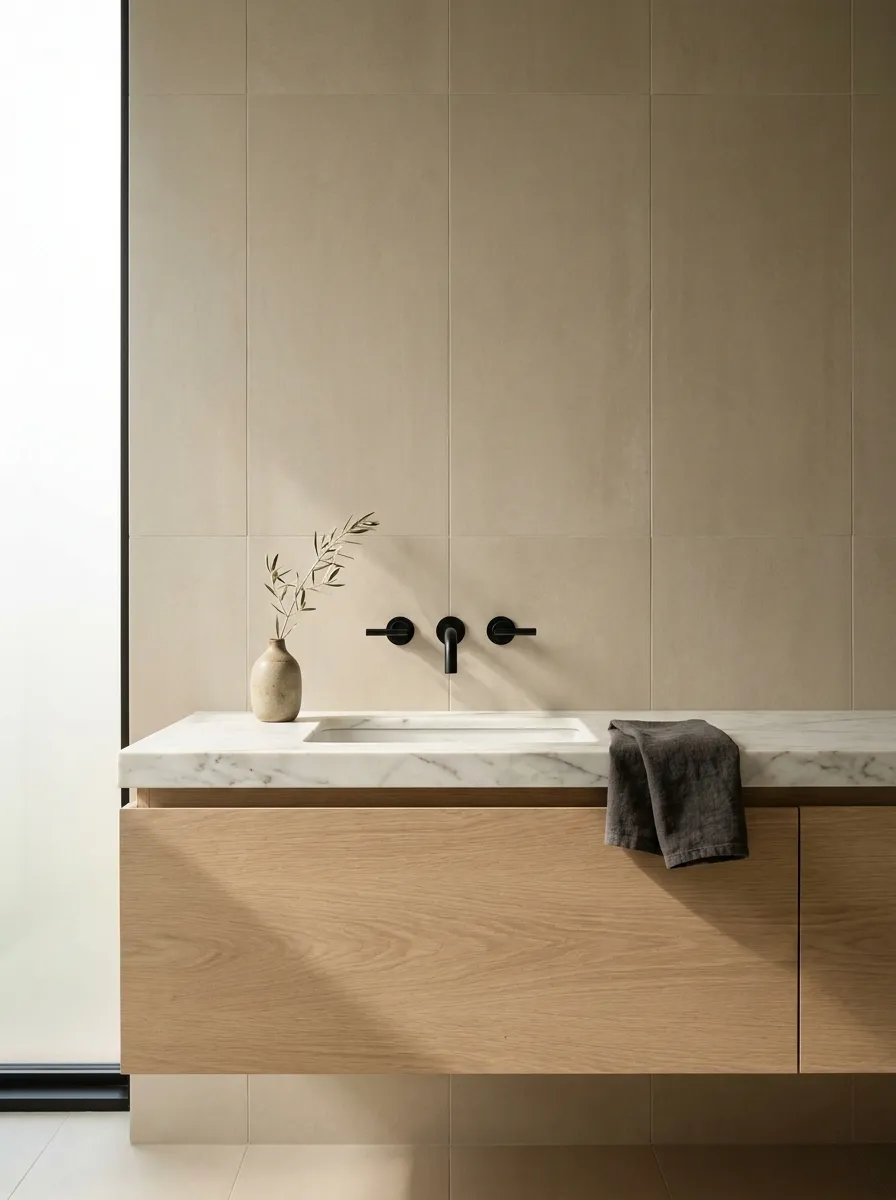
A deck-mounted faucet eats up valuable counter space directly behind the sink, forcing you to cram a sponge behind a metal tube every single day.
Wall-mounted plumbing solves this entirely. Pulling the fixture off the vanity and pushing it into the drywall creates an incredibly sharp aesthetic. It instantly upgrades a basic vanity to look like custom millwork and makes wiping the counter a one-second job. Just make sure your plumber measures the sink depth perfectly so the water hits the drain, not the slope.
Clear The Deck
Mounting the faucet to the wall yields roughly 4 to 6 extra inches of usable counter depth per sink. It visually pushes the back wall away, expanding tight layouts.
Select Countertops That Can Scratch
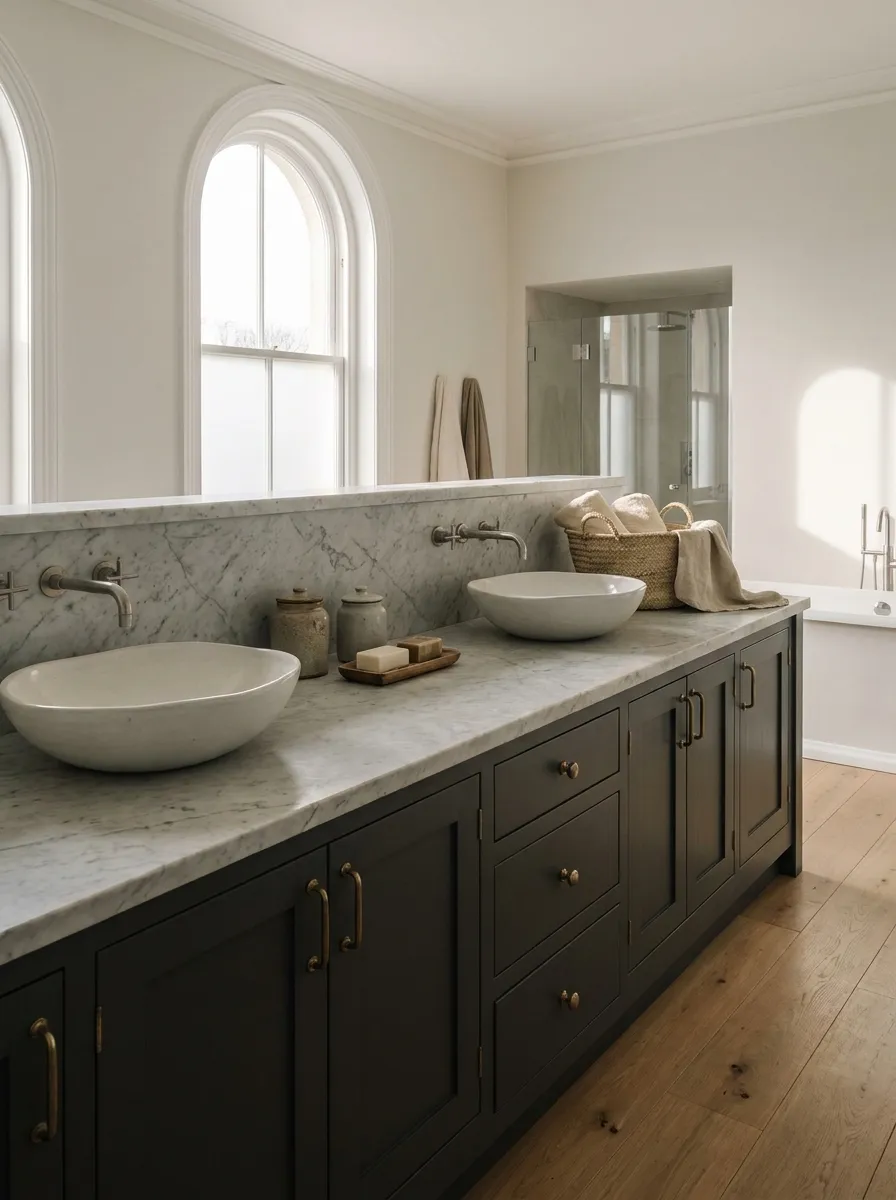
People are absolutely terrified of natural marble because it etches. Let it etch.
The modern obsession with indestructible, man-made quartz leaves bathrooms looking plastic and deeply sterile. A real slab of Carrera marble will scratch, dull, and spot over twenty years, and that is exactly why it looks magnificent. It proves the material is pulled from the earth. If you want a room that ages beautifully, you must choose materials that are allowed to age.
Layer Your Lighting Zones
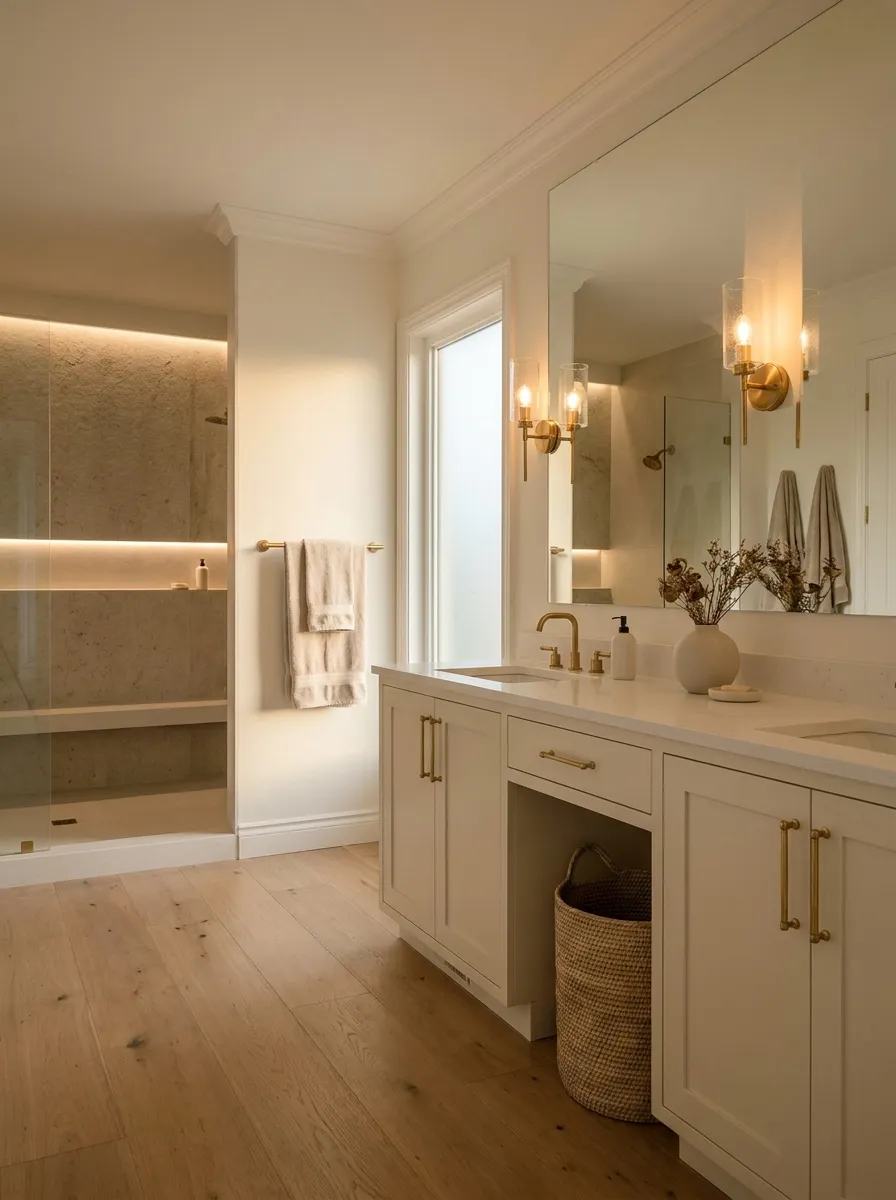
Putting your entire bathroom on a single switch is a massive failure. You do not need the blazing heat of four ceiling cans just to wash your face before bed.
Split your lighting into dedicated zones. Wire the ceiling ambient lights, the vanity sconces, and the waterproof shower trim onto completely separate switches. You dictate the exact mood of the room. It costs an electrician marginally more during the rough-in phase, but saves you from operating in a cold, sterile interrogation room every morning.
Skip the Niche, Build a Ledge
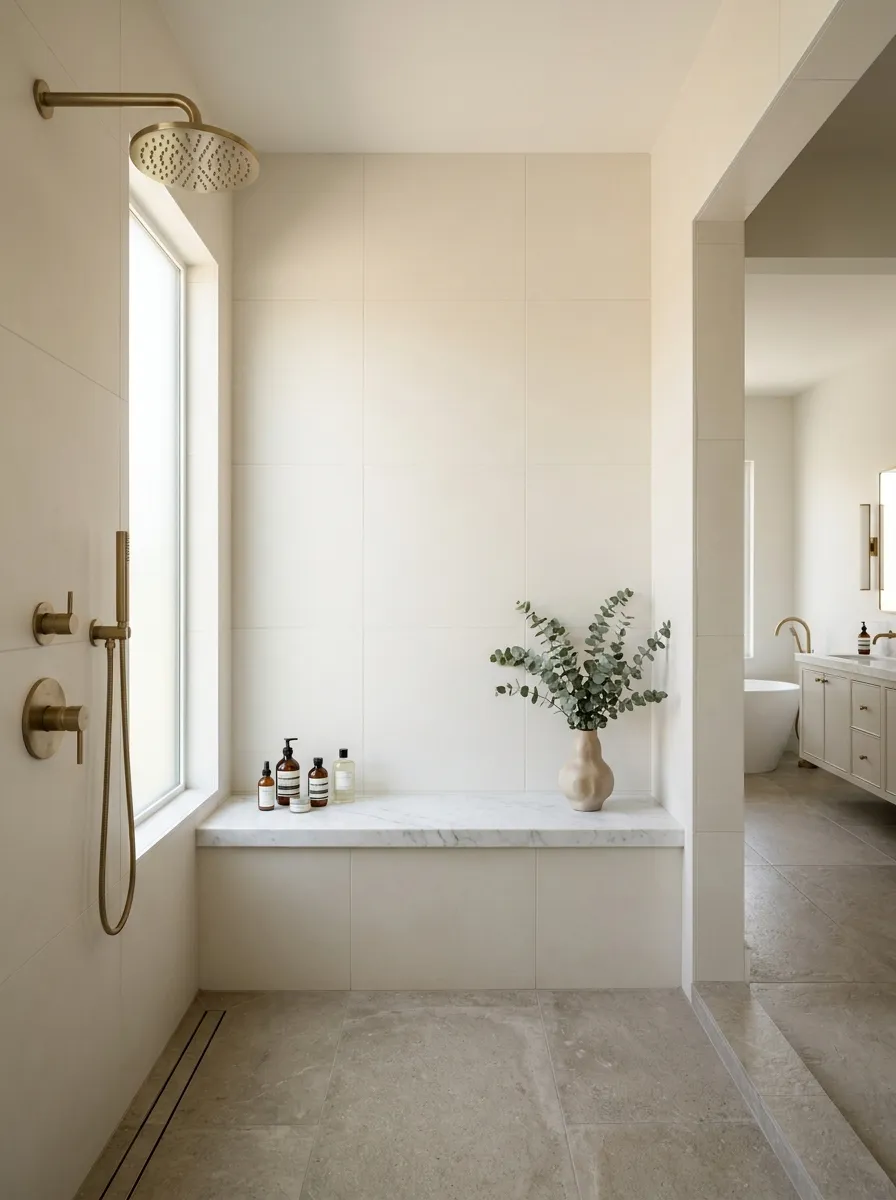
Shower niches are difficult to waterproof, hard to clean, and purposely highlight your ugly plastic shampoo bottles right in the center of the wall.
Stop carving awkward squares into your framing. Build a low pony wall ledge that runs the entire length of the shower instead. It gives you infinitely more surface space, requires zero tricky tile cuts, and hides the daily clutter slightly below eye level. It looks like a high-end spa detail rather than an afterthought.
- Build the ledge 36 to 42 inches off the shower floor.
- Make it roughly 4 to 6 inches deep for heavy bottles.
- Cap the top with a solid piece of stone to prevent water damage.
Add Real Wood to Warm the Room
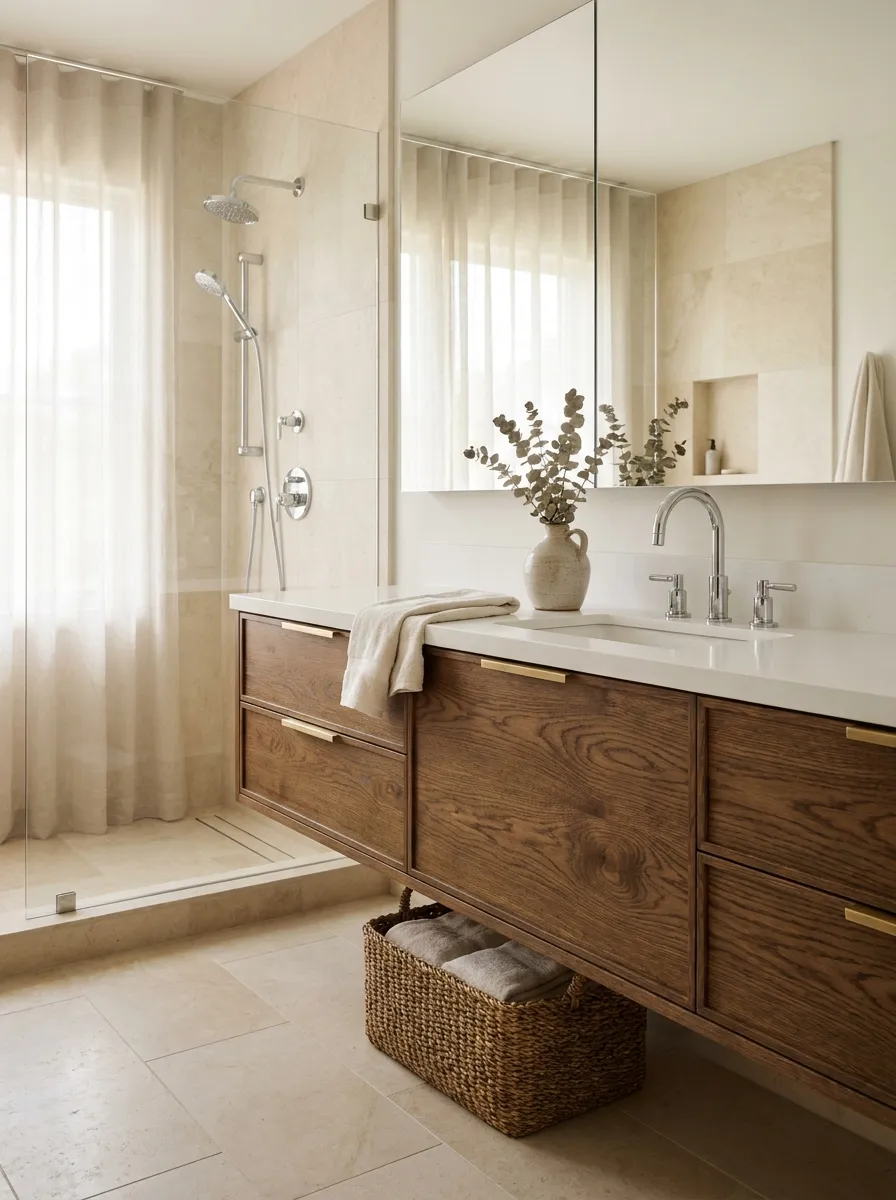
Tile, glass, and metal are inherently freezing materials. If you build a room entirely out of them, you wind up standing in a sterile laboratory.
You have to introduce organic warmth to balance out the hard surfaces. Swap out the painted MDF vanity for solid white oak or rich walnut. The natural wood grain brings a vital texture that grounds the space, proving the room wasn’t just assembled from a shiny catalog. It’s the one structural move that guarantees the room feels inviting instead of clinical.
Use Clear Glass for Shower Doors
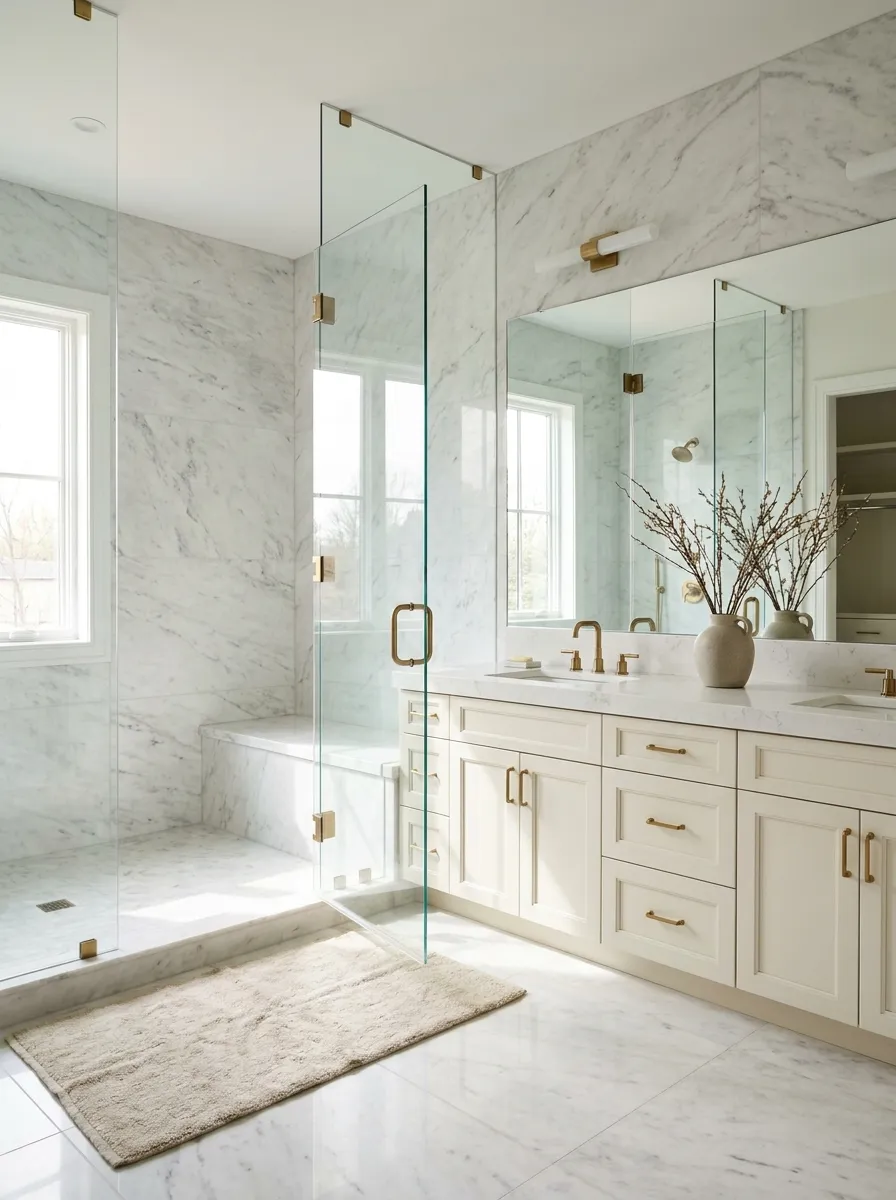
Frosted glass and textured rain patterns exist for one reason: to hide hard water stains. They also chop the layout perfectly in half, making a tight bathroom feel like a cramped closet.
Rip out the heavy frosted sliders and install heavy, frameless clear glass. Yes, you’ll need to squeegee it. But seeing straight through to the back shower wall instantly doubles the perceived size of the room and highlights the expensive tile work you just paid for.
Cap the Half Walls with Stone
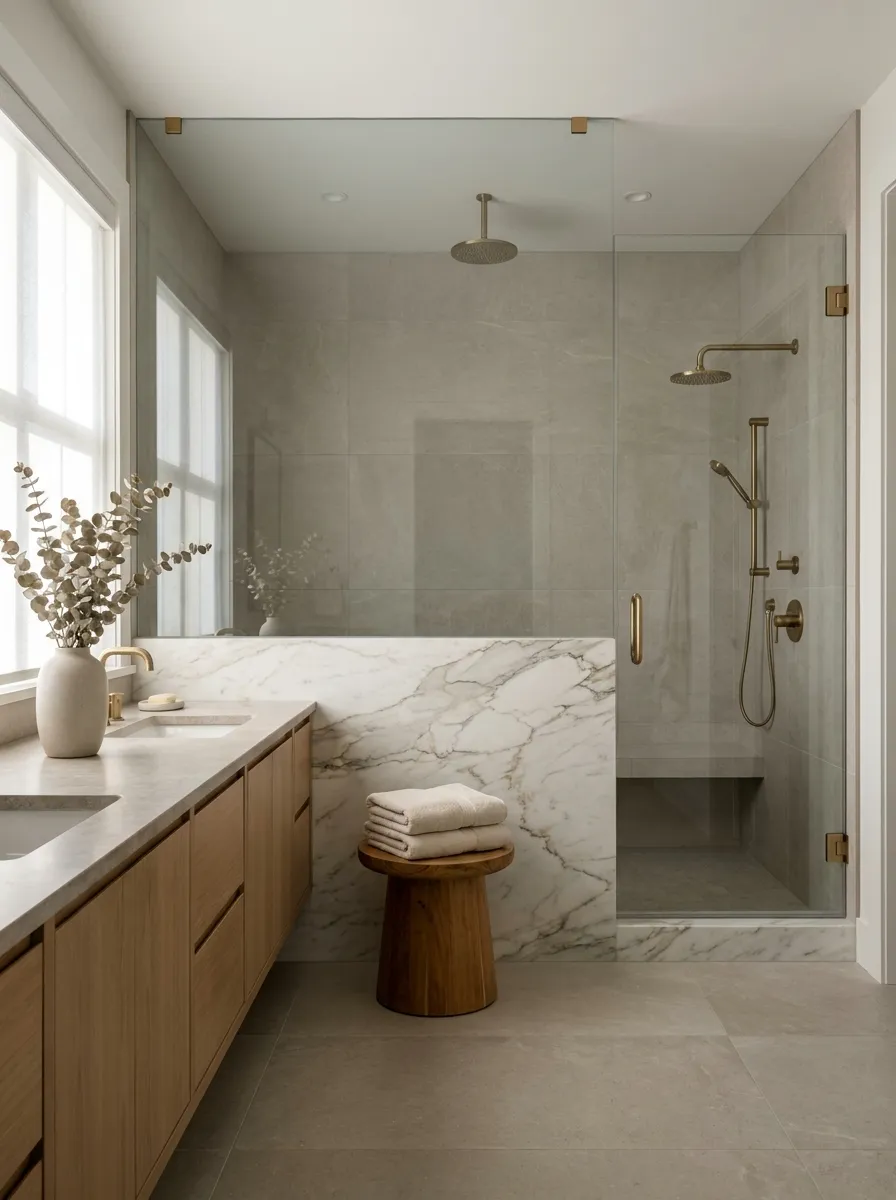
Contractors love wrapping shower pony walls in field tile because it’s incredibly fast and uses leftover materials.
But running a heavily grouted tile along a horizontal top edge is a guaranteed water-damage disaster waiting to happen. Grout eventually cracks, and standing water will seep straight down into the wood framing. You must cap every half wall, shower bench, and threshold with a single, solid piece of matching quartz or marble. It completely eliminates water intrusion points and finishes the structure with a heavy, deliberate architectural line.
Ensure your fabricator pitches the solid stone cap 1/4 inch toward the shower pan. The slope should be entirely invisible to the eye, but aggressive enough that water never pools on top.
Install Hooks Right Outside the Shower
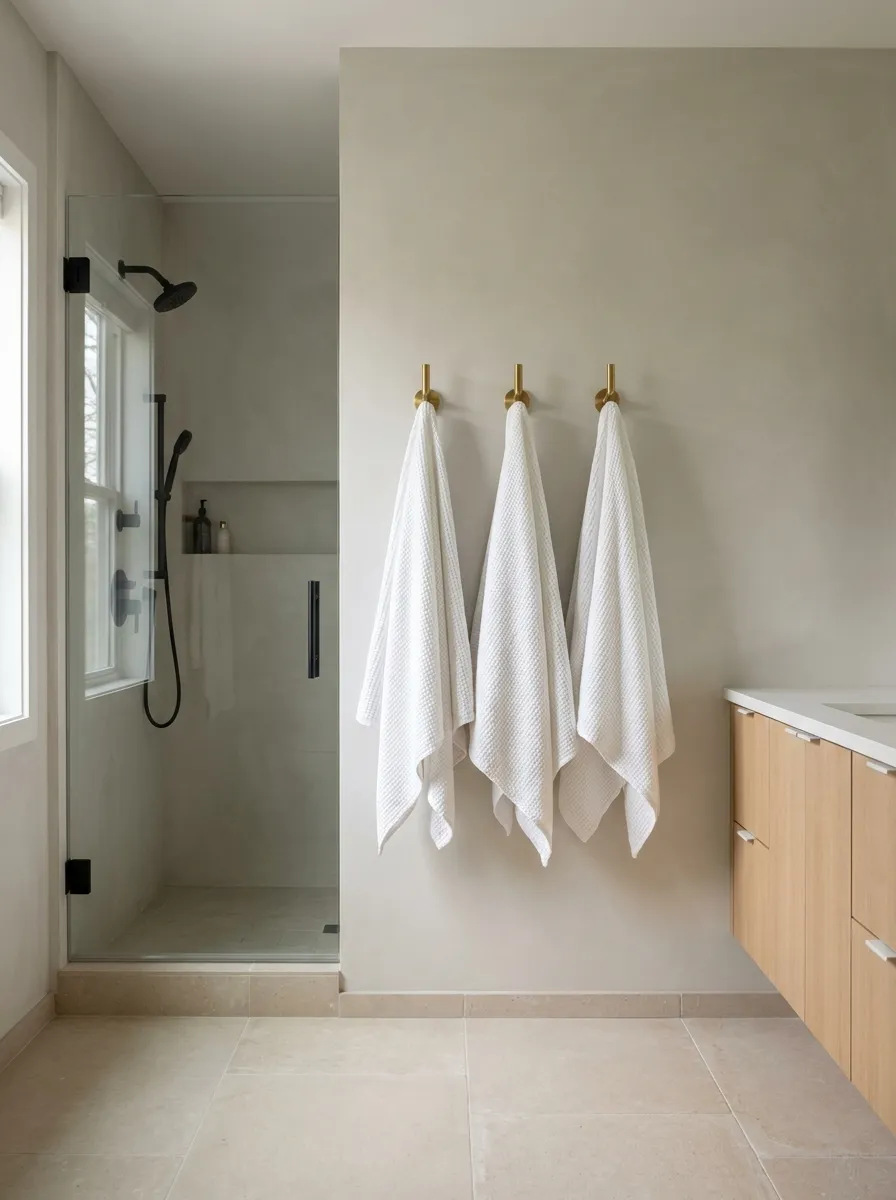
Towel bars require you to perfectly fold a damp towel to make it look presentable. Nobody actually does that. They just throw it over the bar in a bunched-up mess where it stays wet for hours.
Skip the bars entirely and mount heavy-duty hooks right at the shower exit. Towels dry infinitely faster when hanging freely from a central point. They look casual but intentional, and you won’t drip freezing water across your floor tiles just trying to grab something to dry off with.
- 01. Mount the hooks exactly 65 to 70 inches off the floor to prevent long bath sheets from dragging.
- 02. Space them 9 to 12 inches apart to allow sufficient airflow between damp towels.
Dimmable Switches Are Non-Negotiable
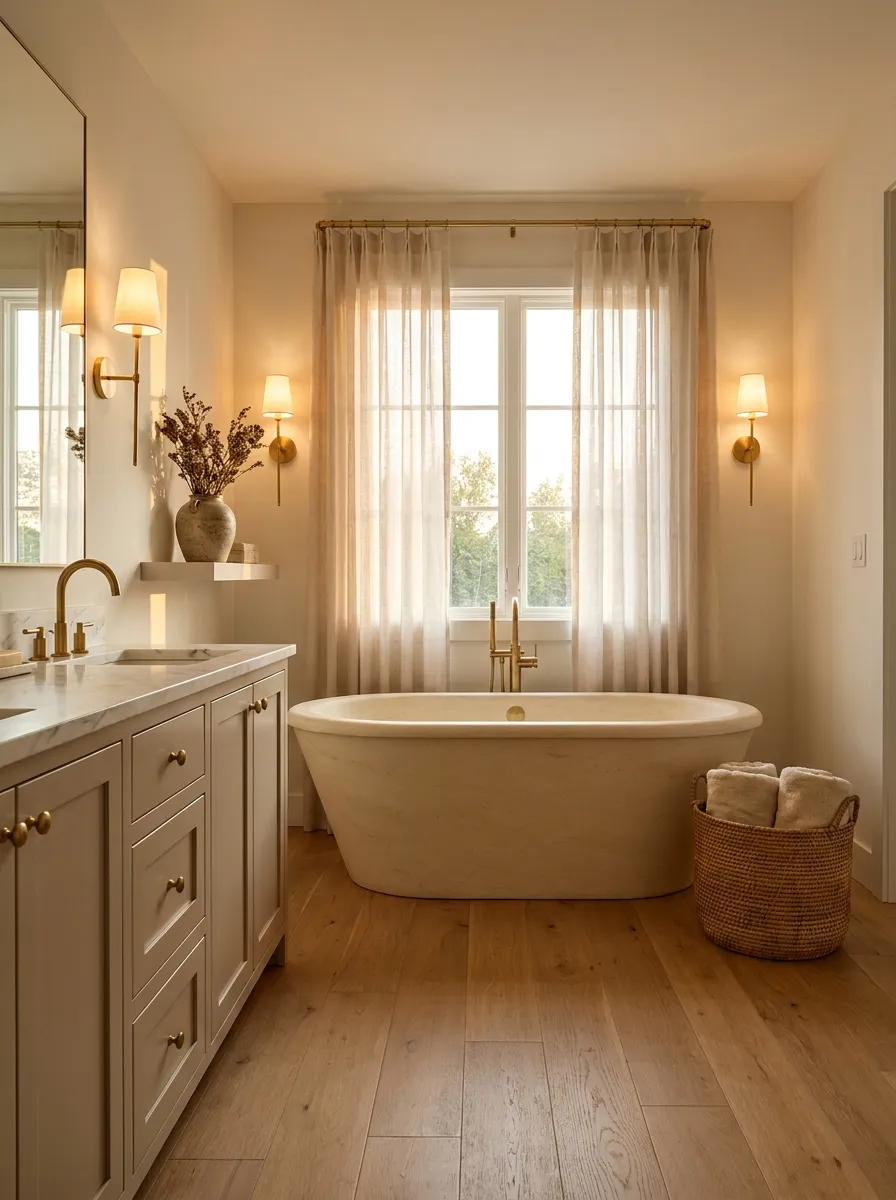
Flipping a standard light switch at six in the morning feels like an aggressive assault.
A timeless master bath shouldn’t jolt you awake; it should ease you into the morning. Every single light fixture in the room needs to be hardwired to a dimmer switch. Dropping the sconces down to twenty percent capacity creates a completely different environment for a late evening soak in the tub. It’s the absolute cheapest electrical upgrade you can make that drastically alters how the room performs daily.
Build It Once
A timeless bathroom doesn’t happen by accident. It requires strict discipline and a flat refusal to follow whatever fad the internet pushes this week. When you build a room around solid stone, warm wood, and reliable plumbing, you stop worrying about when it will go out of style. It simply won’t. Focus your budget on the hard materials that endure daily wear, hide your clutter intentionally, and prioritize clearances over catalog looks. Your future self will thank you every morning.
Save this list to your timeless master bath planning board for the next time you meet with a contractor.