

A hollow bedroom door can turn an ordinary conversation into a live podcast for everyone in the hallway. Someone watches TV in the next room, and suddenly the entire house gets the director’s cut. Privacy? Apparently an optional upgrade.
The frustrating part is that plenty of popular soundproofing advice focuses on sticking foam squares onto the door. They look technical, photograph beautifully, and often do very little to stop noise passing between rooms. Acoustic foam helps absorb sound inside a space, but that’s not the same thing as blocking sound through a lightweight door.
The problem your door would rather you ignore
Your Hollow Door Has the Sound Privacy of a Group Chat Screenshot.
Every conversation, TV episode, and late-night phone call doesn’t need an open invitation to the next room. Yet here we are.
THREE USUAL SUSPECTS
The bottom gap
A tiny opening with absolutely no respect for privacy.
Loose seals
Sound finds the gaps you’ve stopped noticing ages ago.
The hollow core
Lightweight construction isn’t doing your quiet hours any favors.
Sound doesn’t need a wide-open door
A door doesn’t have to stand open for noise to pass through. Small openings around the edges can leave an easy path between rooms, especially when the door has no effective seal.
Start with the obvious places. Check underneath the door, look along both sides, and inspect the top edge. A strip of light showing around the closed door is a useful clue that a gap may need attention.
The practical rule: deal with the gaps first. Buying soundproofing panels before checking the seals is a little like locking the front door and leaving the window open.
A hollow core has a lightweight problem
Hollow-core doors are popular because they’re affordable, light, and easy to install. Unfortunately, that lightweight construction also gives them less ability to block sound than a heavier, well-sealed door.
That’s why sticking a few thin foam squares onto the surface isn’t a reliable fix for noise coming from another room. Foam can absorb some sound inside a room, but it doesn’t magically turn a lightweight door into a heavy sound barrier.
Keep the goal realistic. Better seals can reduce sound leaks, while improvements to the door panel address a different part of the problem. Neither should be sold as complete silence.
Seal first, add mass second
The order of work matters more than the number of products in the shopping cart.
Start with the bottom gap and perimeter seals. Correct rattling hardware next, then close cracks around the fixed frame. Only after those basic repairs should a heavier barrier or door replacement enter the conversation.
- Noise entering through a gap: improve the seal.
- A door that rattles: correct the fit or hardware.
- Noise passing through the closed panel: consider a heavier barrier or door.
This approach keeps the first round of work simple and helps prevent spending money on the wrong solution.
Fix the sound leaks before upgrading the door
Fit a door sweep to close the bottom gap

That dark strip of space underneath the door isn’t just a place for dust bunnies to start a family. It’s also a potential route for sound to pass between rooms.
A door sweep creates a flexible barrier along the bottom edge. Measure the door width and clearance above the floor before buying one. Choose a model that suits the floor surface and door type.
The sweep should make contact without dragging so hard that opening the door becomes a daily leg workout. If the floor is uneven, choose a suitable adjustable design rather than hoping a rigid strip will seal every dip.
THE BOTTOM-GAP FIX
Three things to get right before buying a sweep
Measure the clearance
Check the gap at several points along the floor. Uneven floors need extra attention.
Choose the right fit
Match the sweep to the door width, mounting method, and floor surface.
Test the door swing
The sweep should seal the gap without catching on the floor or trapping the door.
Seal the sides and top with weatherstripping
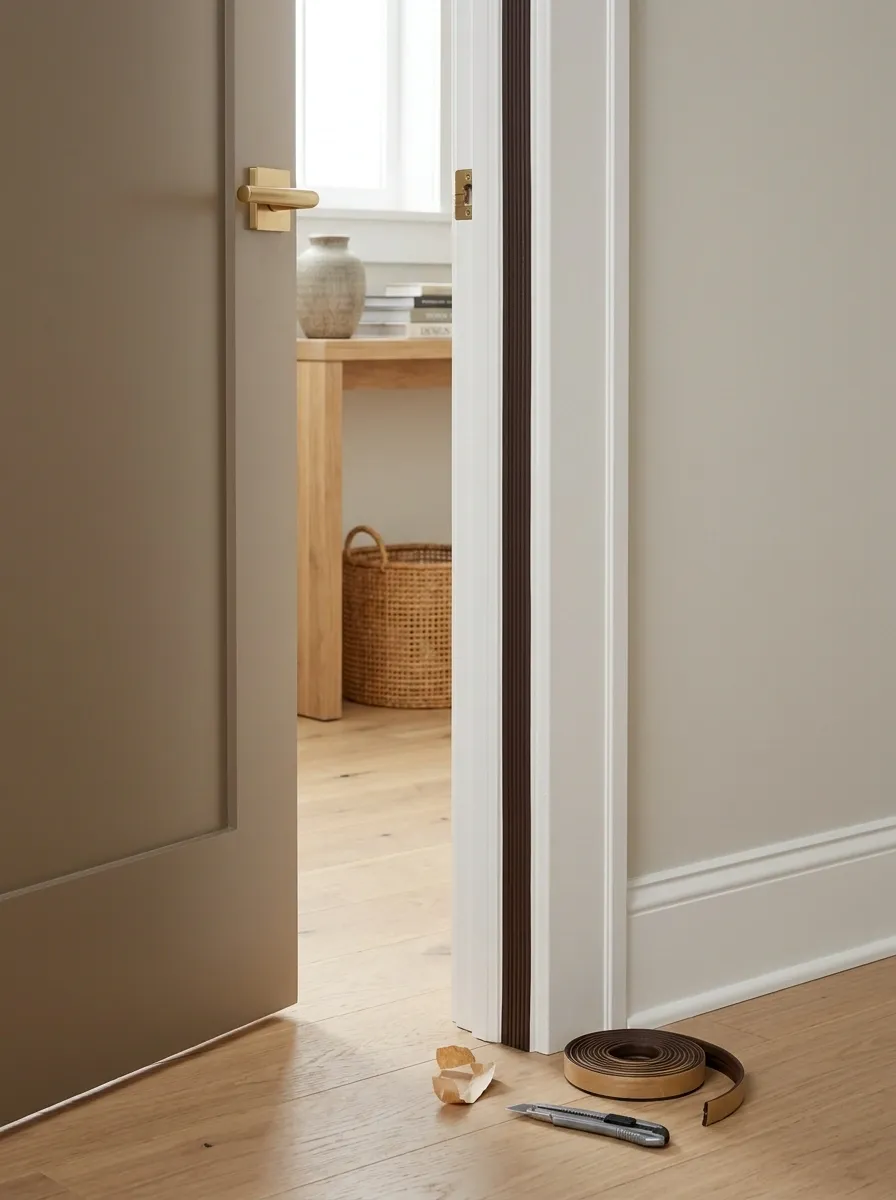
A bottom sweep won’t solve gaps running along the sides and top. That’s where adhesive foam or rubber weatherstripping comes in.
Apply it to the doorstop surface where the closed door meets the frame. Clean and dry the surface first, then check the product’s recommended thickness. A seal that’s too thin leaves gaps. One that’s too thick makes the door fight back every time someone tries to close it.
Use this checklist before calling the job done.
Weatherstripping check
Stop the door from rattling against the frame
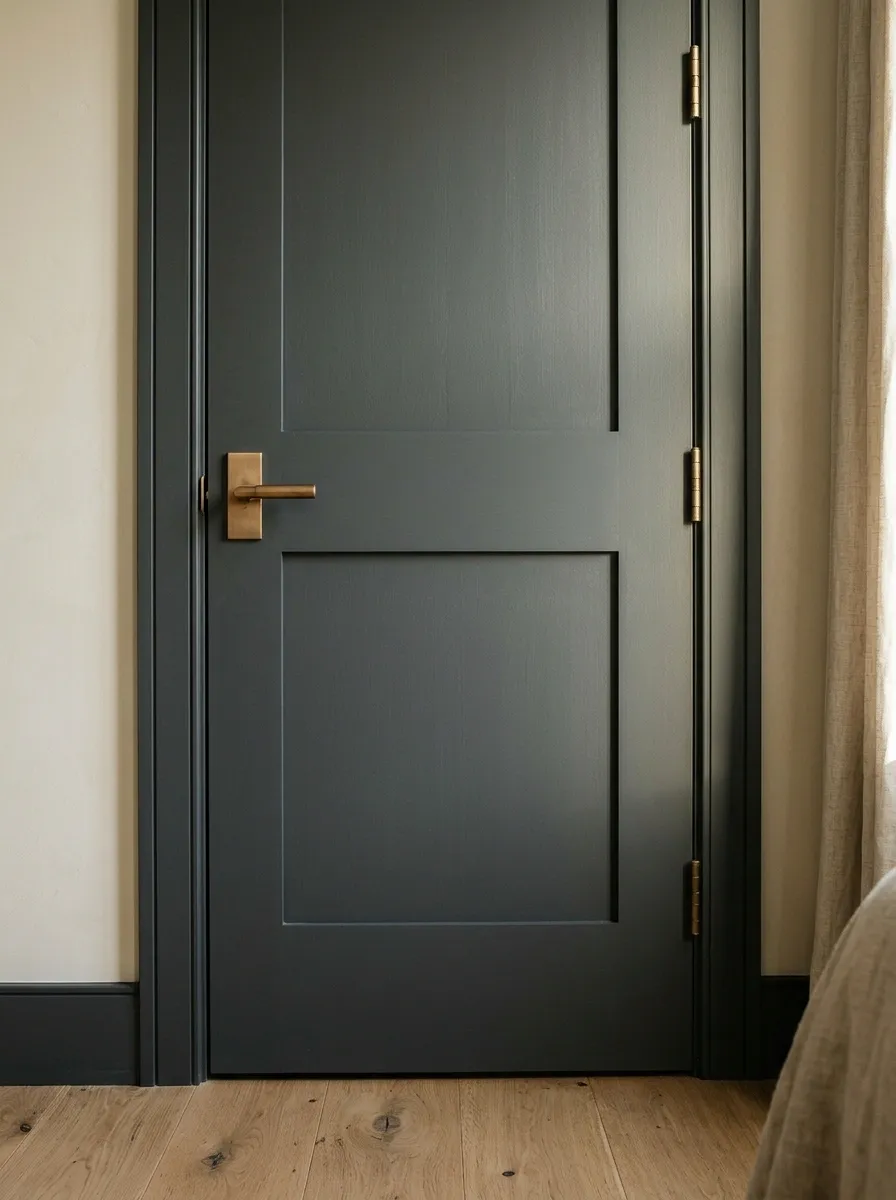
A door that clicks, chatters, or shifts when someone walks past has a fit problem, not a foam-panel problem.
Start with the hinges. Loose screws can allow the door to move out of alignment, so check that the hinges are secure and the door hangs evenly. Next, inspect the latch and strike plate. The latch should engage cleanly instead of bouncing against the plate or leaving the door loose in the frame.
Make one adjustment at a time and test the door after each change.
RATTLE DIAGNOSIS
Find the annoying bit. Fix that bit.
Door moves at the hinges
Check loose screws, hinge attachment, and alignment. Don’t overtighten or force damaged screw holes.
Latch clicks or rattles
Inspect the strike plate and confirm the latch catches correctly when the door closes.
Door shifts in the frame
Check alignment and the fit against the stops before changing the seal thickness.
The rule: Fix mechanical movement before adding extra material around the edges.
Seal fixed cracks around the door frame
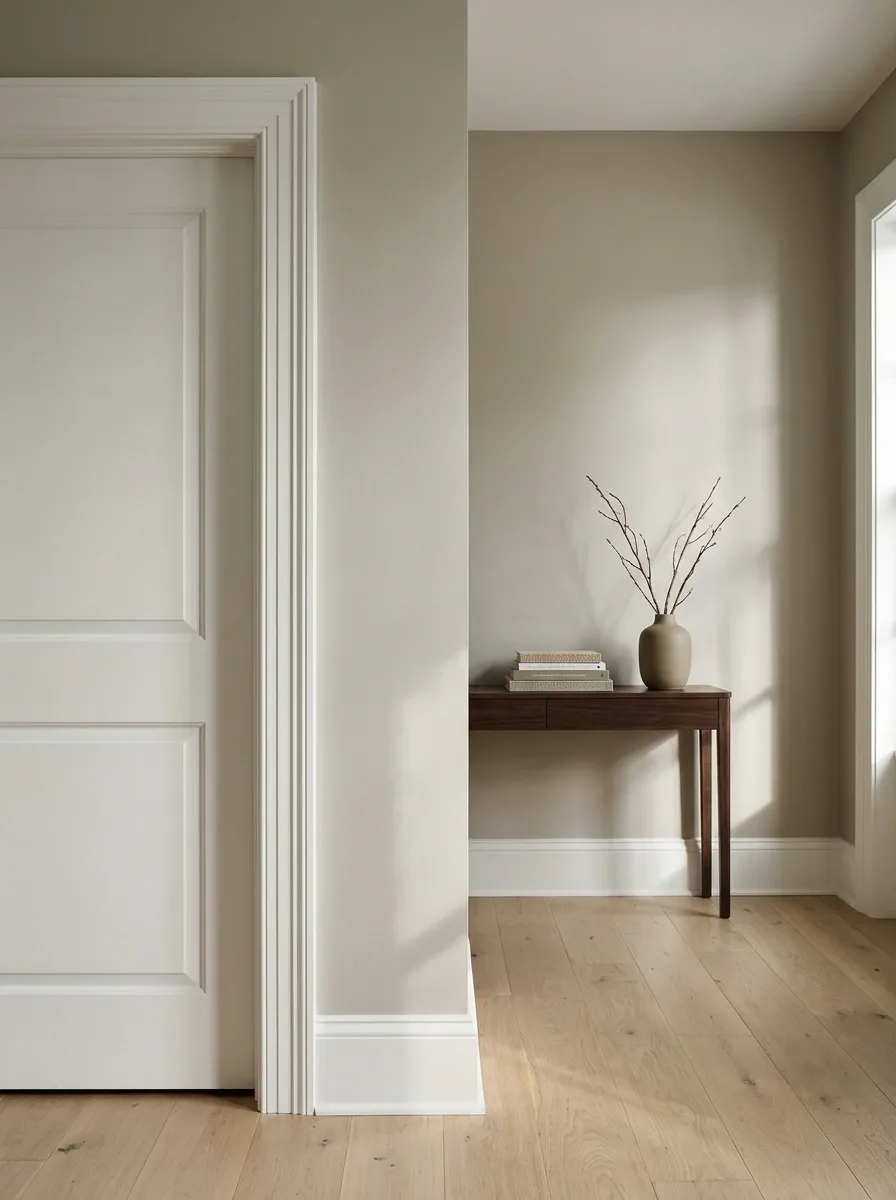
Look carefully where the trim meets the wall. Small cracks at these fixed joints can provide another path for sound, especially when the door’s main gaps have already been sealed.
For narrow, stationary cracks, a suitable paintable acrylic latex caulk can close the opening. Check that it’s appropriate for the surface, apply it neatly, and follow the label instructions before painting.
There’s one important distinction: don’t caulk the moving gap between the door and the frame. That’s a working clearance, not a decorative flaw. Filling it would make the door difficult to operate and could damage the finish.
THE CAULK RULE
Fixed crack? Seal it. Moving gap? Leave it alone.
✅ Suitable for caulk
A stationary crack between wall and trim, using a product suited to the surface.
⛔ Don’t fill this
The clearance around the moving door, where hinges and the latch need room to work.
Hang a removable acoustic blanket without blocking the door
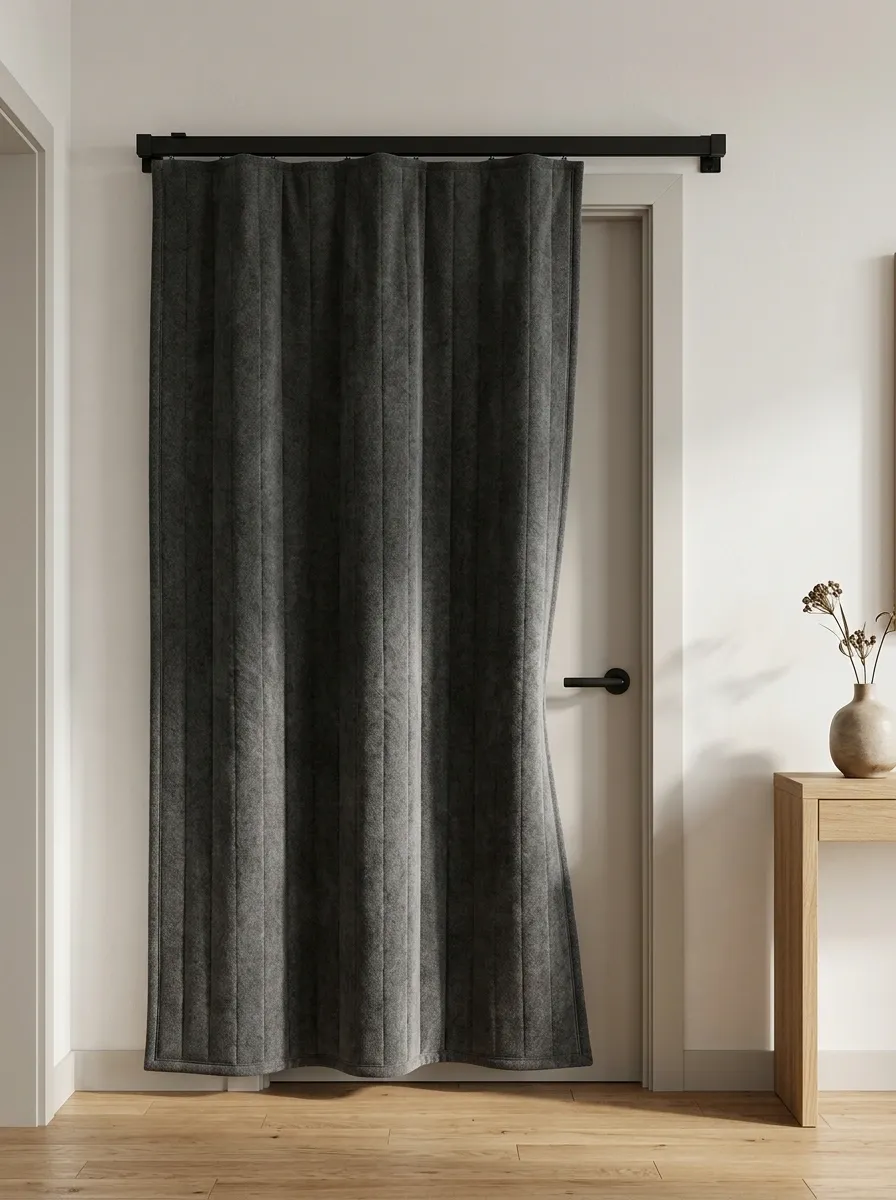
When sealing and hardware adjustments aren’t enough, a dense acoustic blanket can be the next experiment. It adds a layer over the doorway and may reduce some sound transmission, depending on the material, coverage, and how well the perimeter is handled.
Choose a proper mounting system that can support the blanket’s weight. A wall-mounted track is generally a better starting point than loading a lightweight hollow door with heavy hardware. The blanket must clear the handle, leave the door usable, and stay away from heat sources.
Keep expectations sensible. A loose blanket isn’t an airtight, rigid sound barrier, and hanging fabric alone won’t fix gaps around the frame.
REMOVABLE BARRIER SETUP
The blanket needs a plan, not just a hook.
Secure support
Use a track or suitable mounting hardware rated for the blanket’s weight and installed into appropriate support.
Enough coverage
Choose a dense blanket that covers the doorway well, while recognizing that loose edges still allow sound to pass.
Safe clearance
Keep the handle accessible, preserve normal door operation, and avoid blocking an exit or covering heat sources.
Add a removable door panel without wrecking the door
A denser panel can add useful mass to a lightweight door, but attachment is where this DIY idea can go sideways. Hollow-core doors aren’t built to hold unlimited weight, and a few random screws won’t magically turn cardboard-like construction into a sturdy wall.
Choose a removable panel designed for your door and mounting setup. Check the panel’s weight, the door’s construction, hinge capacity, and whether the attachment method can support the load safely. Renters should also check whether adhesives or mounting hardware could damage the finish.
The deal breaker: if the panel makes the door sag, stick, or close poorly, the upgrade isn’t worth it.
BEFORE YOU ADD A PANEL
The door has limits. Respect them.
Check the added weight
A heavy panel can strain hinges and distort a lightweight door. Check the manufacturer’s limits.
Choose a suitable attachment
Use a mounting method designed for the panel and door surface. Don’t improvise with unsupported screws.
Test the door afterward
Check the hinges, latch, clearance, and swing. Nothing should rub, drag, or prevent the door from closing.
Check where the noise is coming from before blaming the door
The door is closed, the gaps are sealed, and the room still sounds like the next room has a podcast subscription. Before buying another product, find the remaining sound path.
Listen near the door panel, its edges, and the nearby wall while someone speaks at a normal volume on the other side. This isn’t a scientific sound test, but it can help identify where the noise seems strongest. Sound can also travel through walls, ceilings, vents, and connected structures.
The smart move is to locate the weak point first. Otherwise, the shopping cart gets heavier while the room stays loud.
THE NOISE DETECTIVE
Noise still getting through? Follow the clues.
Use this simple check to decide what deserves attention next. It’s a starting point, not a precise measurement.
Noise seems strongest near an edge
Recheck the bottom sweep, side seals, top seal, and the corners around the frame.
Noise seems to pass through the panel
Once the gaps are controlled, consider whether a heavier door or suitable sound barrier is practical.
Noise seems strongest elsewhere
Inspect adjoining walls, ceiling paths, vents, and other openings before spending more on the door.
Reality check: Sound can travel along several paths at once. The loudest spot isn’t guaranteed to identify the only problem.
Know when a solid-core door is worth the upgrade

Sometimes the seals are good, the hardware is quiet, and the hollow panel is still letting too much noise through. That’s when replacing the door becomes a sensible option rather than a dramatic renovation fantasy.
A solid-core door is heavier and generally offers better sound isolation than a basic hollow-core door when it’s fitted and sealed properly. It costs more and may require suitable hinges and installation adjustments, but it addresses the lightweight panel itself.
Use this comparison to make the call based on the actual problem, not the number of soundproofing gadgets already in the cupboard.
THE UPGRADE DECISION
Patch the problem or replace the panel?
| Option | Best use | Main trade-off |
|---|---|---|
| Sweep and seals | Noise leaking through gaps | Won’t add much mass to the panel |
| Removable blanket | Temporary improvement or rented spaces | Coverage and edge gaps limit performance |
| Added door panel | A suitable setup that can safely handle extra weight | Mounting and hinge limits matter |
| Solid-core replacement | Persistent noise passing through a lightweight door | Higher cost and more installation work |
The sensible verdict: Fix the seals first. If the closed door itself remains the weak point, compare the cost of a proper solid-core replacement with the total cost of add-on products.
A quieter room starts with the fixes that matter
Before ordering another panel, blanket, or miracle product, check the door itself. A suitable bottom sweep, continuous weatherstripping, secure hinges, and properly sealed frame cracks can address the easy routes sound takes between rooms.
If noise still passes through the closed panel after those repairs, a heavier barrier or a well-fitted solid-core door deserves a closer look. The best choice depends on how much noise needs to be reduced, how the space is used, and what the door can safely support.
And please, let the foam squares rest. They’re allowed to be good at absorbing sound without being expected to perform structural miracles.
Save this guide to Pinterest for the next time the TV in the hallway becomes everyone’s business, and work through the fixes before spending money on another product that promises the moon.