
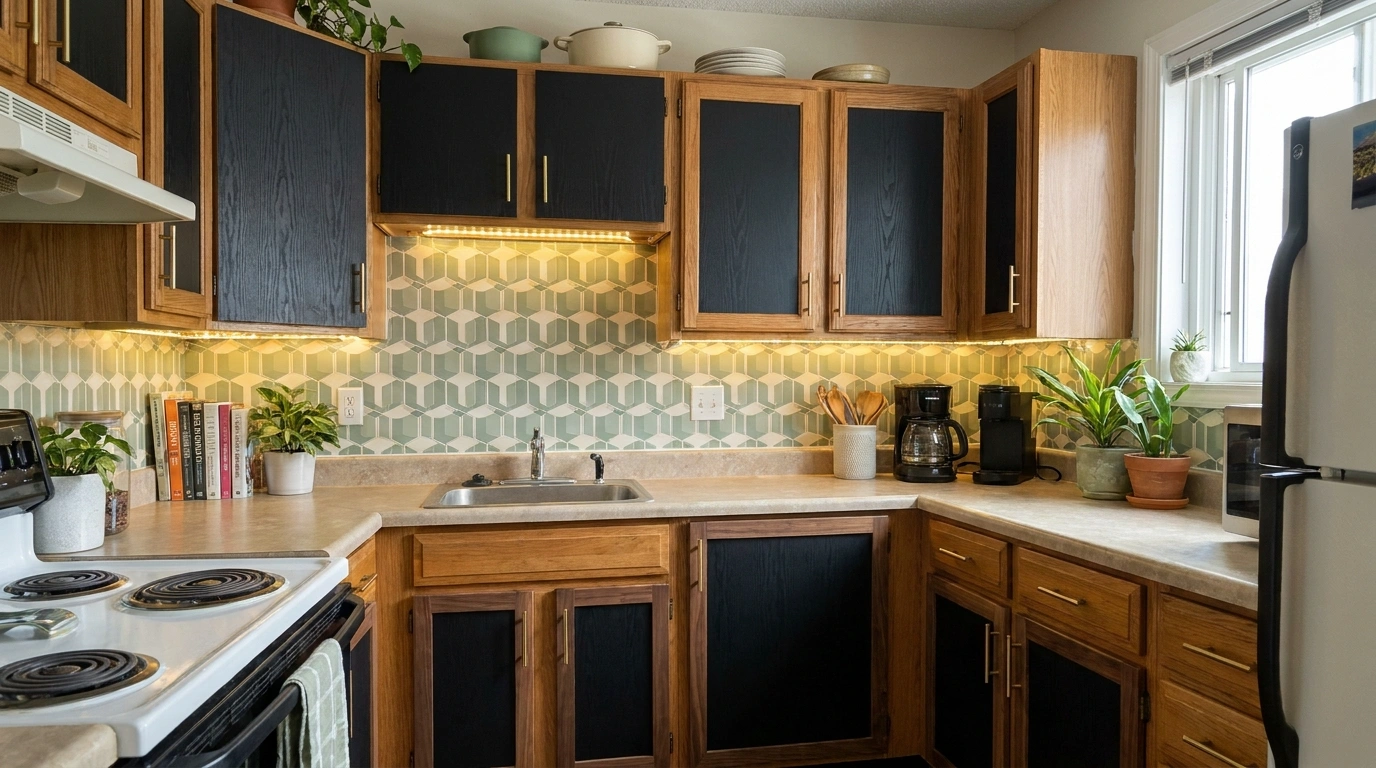
Before ordering enough adhesive film to wrap the kitchen twice, open a cabinet door and look at what you actually have.
The surface might be painted timber, laminate, vinyl-wrapped board, metal, or a finish that is already lifting at the edges. Those are not interchangeable materials, however encouraging the product listing appears.
A rental kitchen can look better through hardware, carefully chosen reversible treatments, lighting, organization, and the finishes around the cabinets. Some ideas directly change the fronts. Others help existing cabinets look more deliberate without touching them.
Establish What You Can Change and Restore
Check the lease and obtain permission where required. Photograph the original condition and keep removed fittings labeled.
For adhesive treatments, confirm compatibility with the exact surface and follow testing and removal instructions. A product described as removable is not a guarantee that every old cabinet coating will survive unchanged. Manufacturer guidance remains essential. Tempaper
Cabinet Updates With a Sensible Exit Plan
Replace Handles Using the Existing Screw Holes
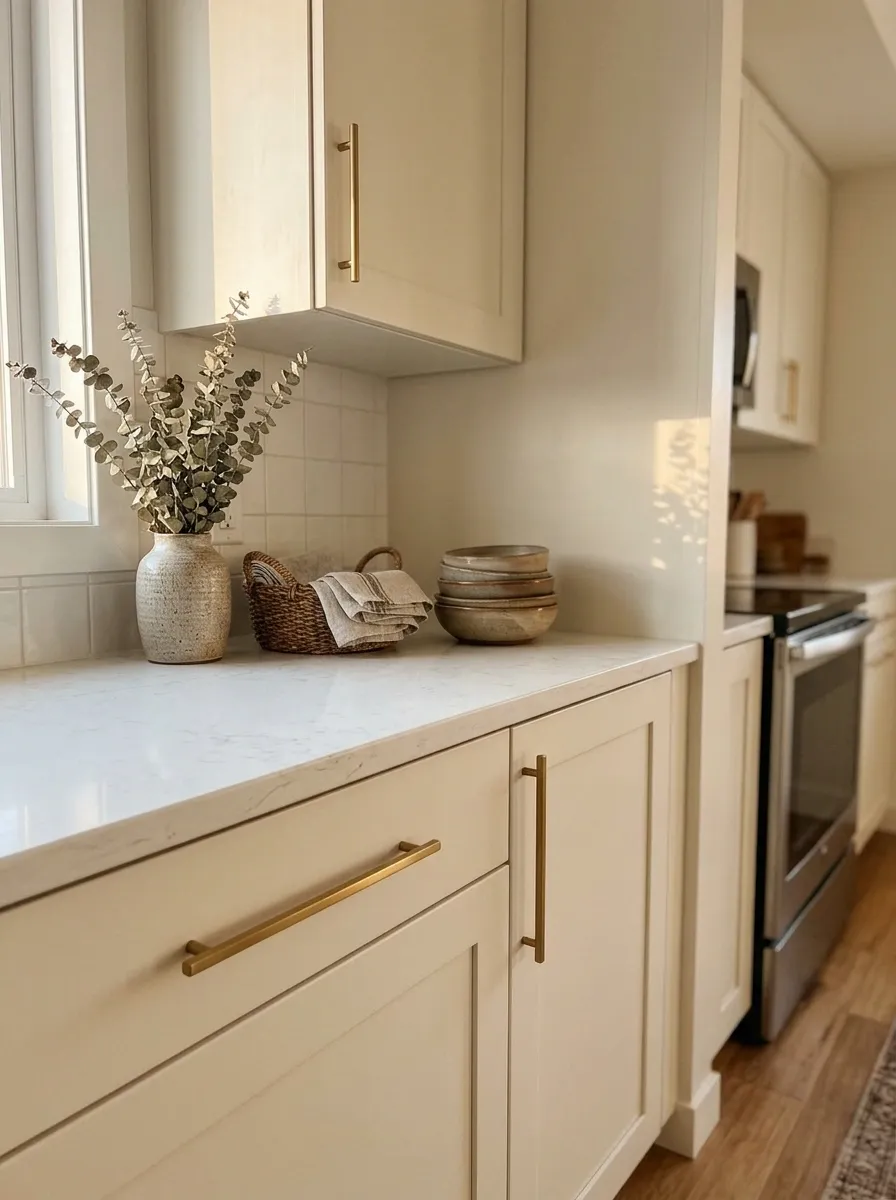
Simpler handles can change the character of plain cabinets immediately. Measure the existing hole spacing and test a sample before ordering everything.
Check grip, screw length, and door clearance. Keep the original handles together so they can be restored.
Choose a finish that relates to existing hinges and appliances. The update should make the kitchen feel more coherent, rather than introduce another metal finish that now needs defending.
THE SAME-HOLE SWAP
Measure hole spacing.
Test one handle.
Save the originals.
Change Plain Knobs for a Better Shape
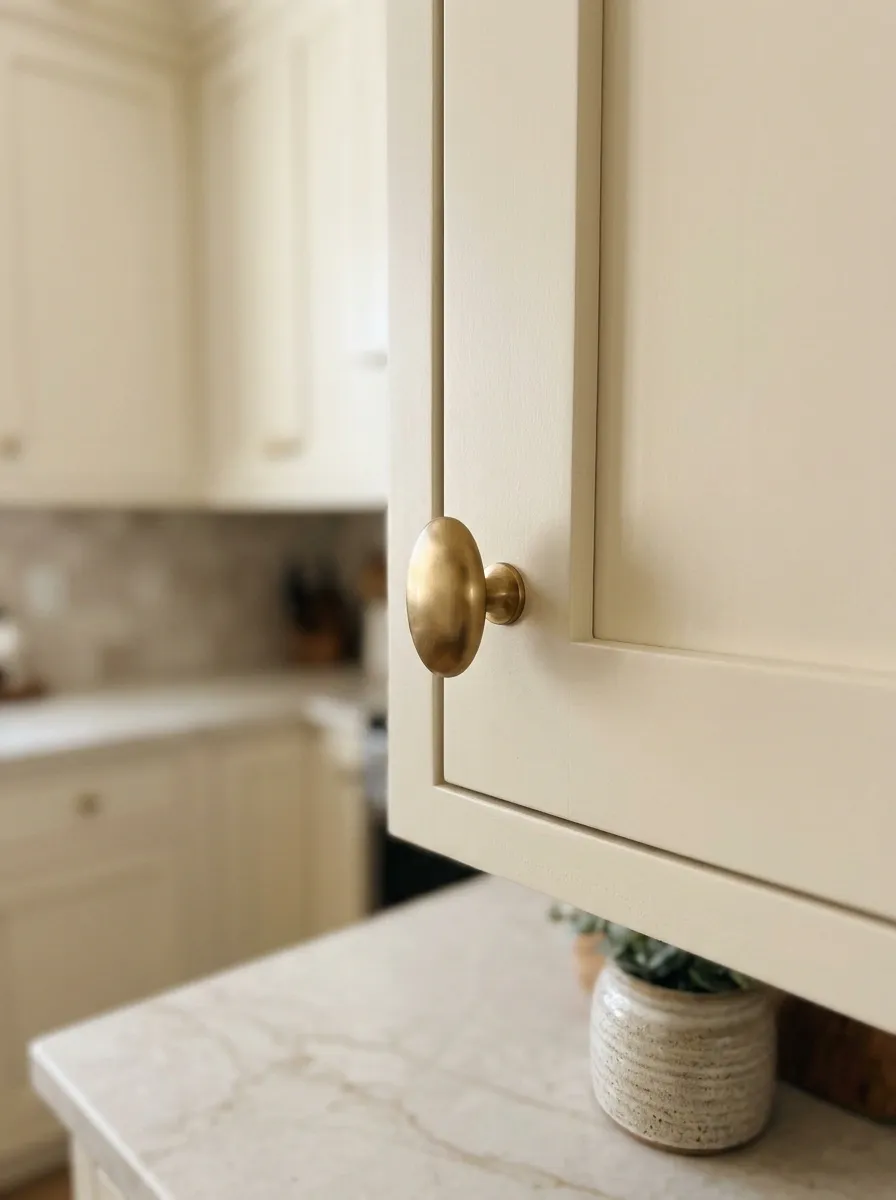
A single-hole knob swap can give a basic kitchen more character without drilling new positions.
Try a simple round, oval, or restrained bar-style knob suited to the door thickness. Avoid sharp projections in a narrow kitchen.
Test one beside the countertop and cabinet finish. Small fittings can make a noticeable difference, but a dramatic knob does not automatically make an inexpensive door look more refined. Sometimes a quieter shape is the more convincing choice.
| Check | Reason |
|---|---|
| Screw compatibility | Secure fitting |
| Grip | Comfortable daily use |
| Projection | Clear circulation and adjacent doors |
| Original storage | Easy restoration |
Use Different Handle Shapes in One Finish
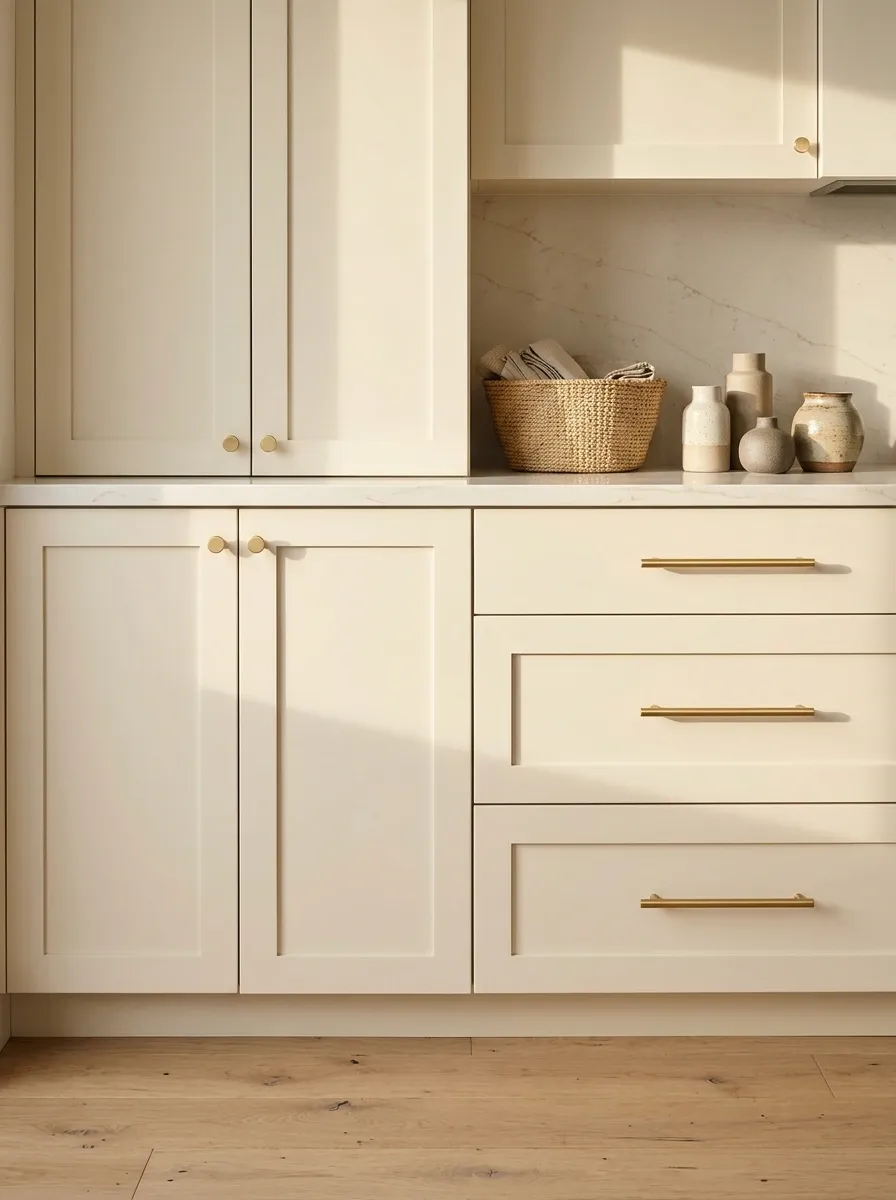
Doors and drawers can use different hardware shapes while sharing a finish. This introduces variation without making the cabinet run feel fragmented.
Keep each replacement compatible with existing holes. Choose practical grips for the way the fronts move.
A plain door knob with a straightforward drawer pull can look intentional when the finish repeats. You do not need every piece identical; you need the differences to have a reason beyond separate late-night shopping decisions.
Different forms, one repeated finish.
Try a Compatible Removable Covering on Flat Fronts
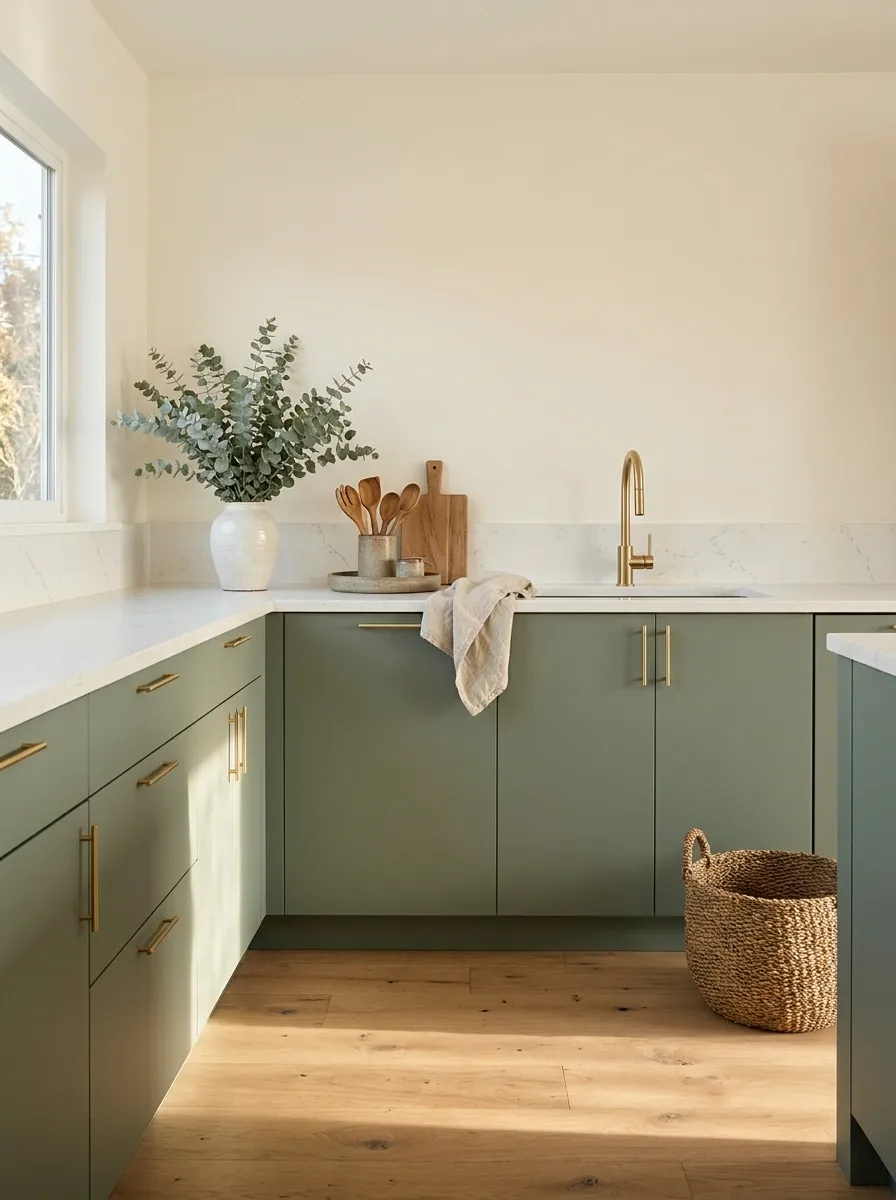
A suitable removable covering can change plain flat fronts where the surface, permission, and product requirements allow it.
Test application and removal before committing. Check edges, heat exposure, cleaning, and whether the coating underneath is sound.
Start with a limited section if you are uncertain. Covering the entire kitchen before discovering that one corner peels the original finish is an expensive way to learn that “removable” requires context.
Do first: Inspect the finish, confirm suitability, test discreetly, and read the full removal method.
Add Pattern Only to Recessed Door Panels
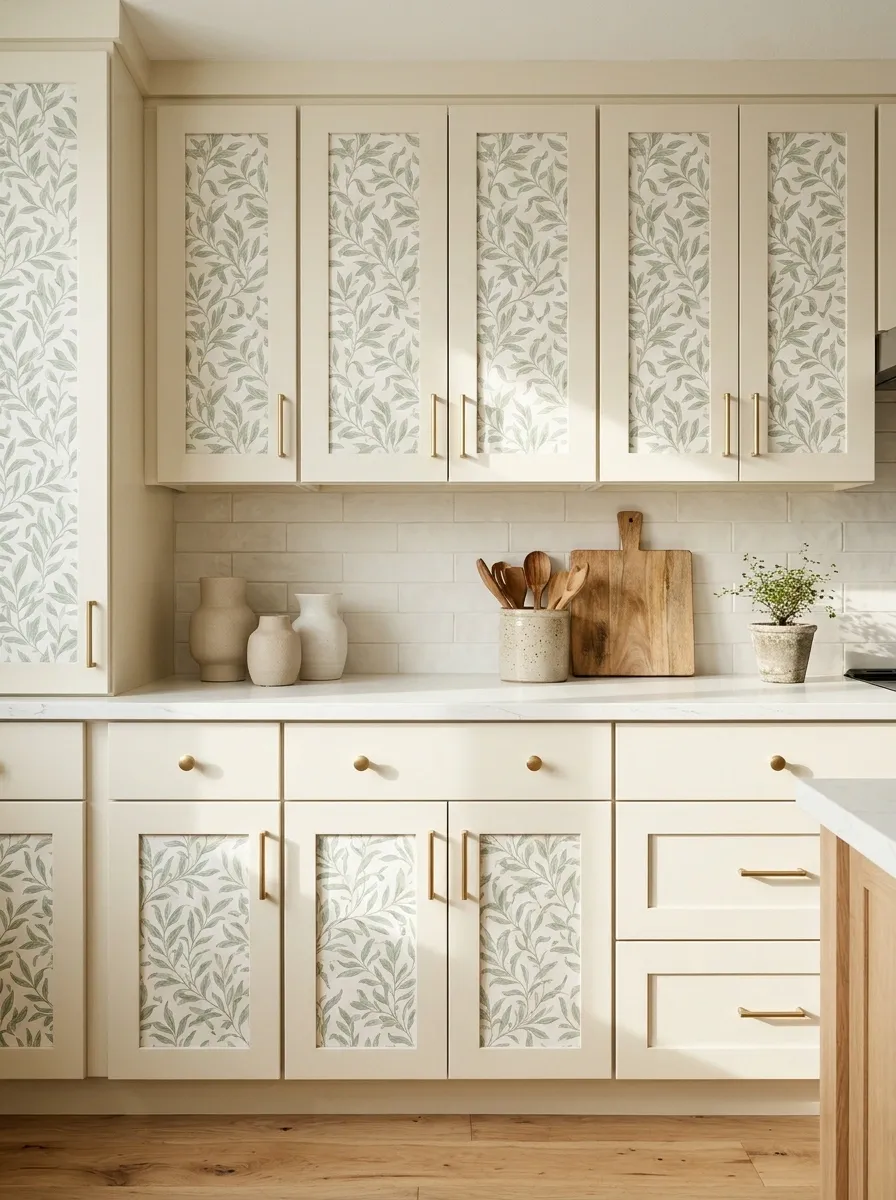
If the doors have recessed centers, a compatible removable treatment can introduce pattern while leaving the surrounding frame visible.
Choose a small repeat that works within the panel dimensions. Plan the crop so each door feels related without requiring every motif to land identically.
Keep the rest of the kitchen quieter. Several patterned door centers can provide plenty of interest without a busy backsplash joining the conversation at equal volume.
Keep the existing frame visible and scale the pattern to the inset.
Use Removable Back Panels Inside an Open Cabinet
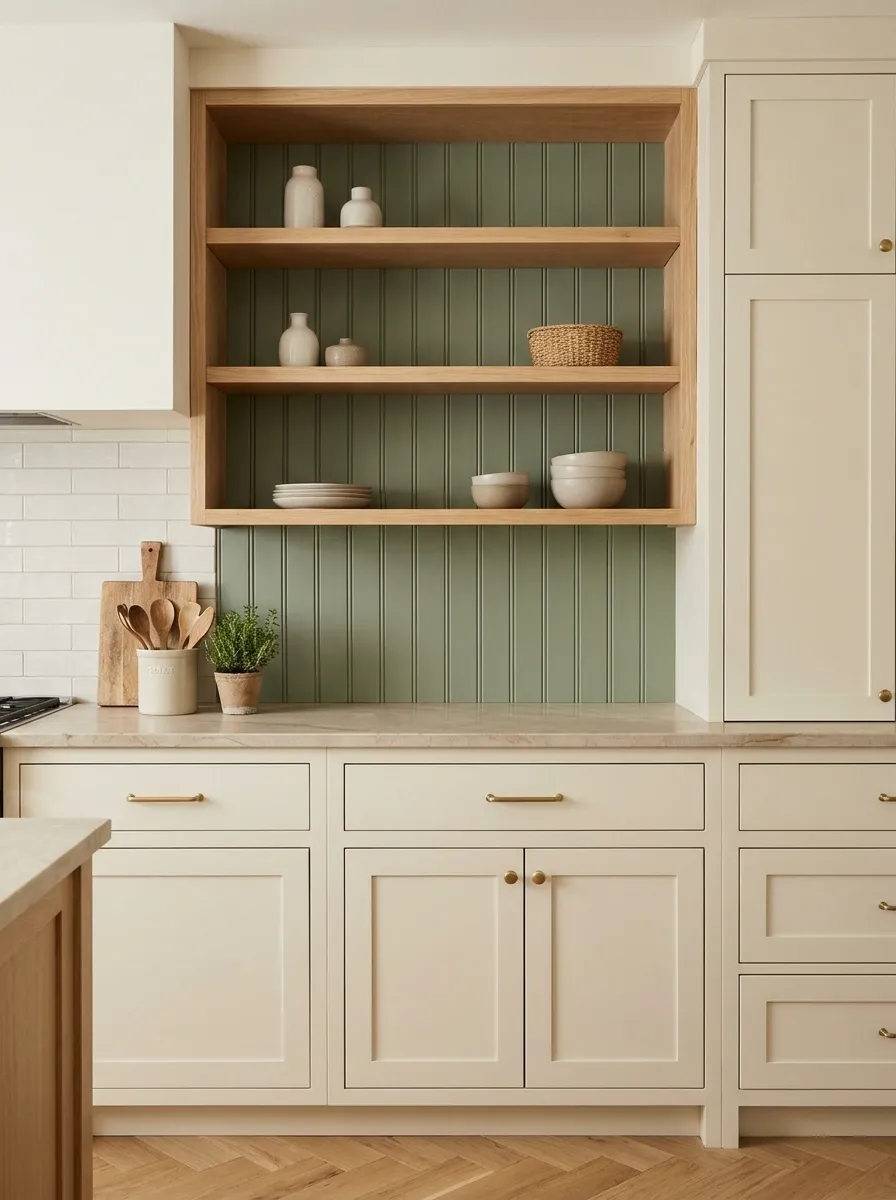
A fitted removable panel can add color inside an existing open cabinet without applying decoration directly to the cabinet back, provided the arrangement is secure and suitable.
Measure around shelves and supports. Use a construction that does not obstruct doors, vents, or access.
This can be a useful option for a small display area. Keep the contents restrained so the new background remains visible instead of financing a makeover for a surface nobody will ever see.
| Panel decision | Check |
|---|---|
| Fit | Shelves and supports remain usable |
| Stability | No loose panel falling forward |
| Finish | Suitable for the location |
| Display | Enough background stays visible |
Apply Suitable Decorative Film to Cabinet Glass
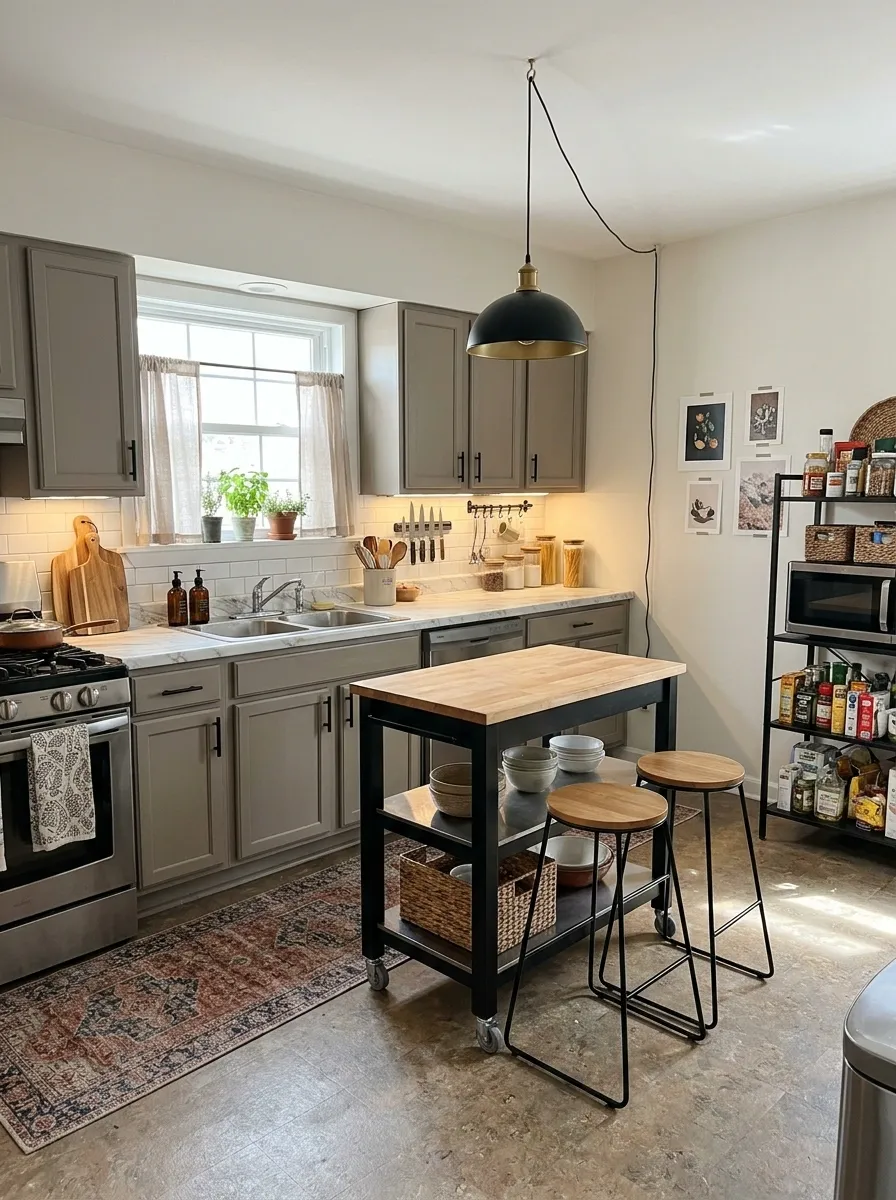
Glass-front cabinets can change appearance through a film explicitly suitable for the glazing. A frosted or restrained pattern can soften the view of contents.
Follow product preparation and removal instructions. Test compatibility and consider any special glass treatment.
Keep the pattern connected to the room’s palette. The film can make mixed dishes look quieter without requiring you to buy an entirely new set solely to satisfy the cabinet doors.
Choose the glass treatment for the amount of visual concealment you need.
Choose a Fluted-Glass Look Where the Product Suits
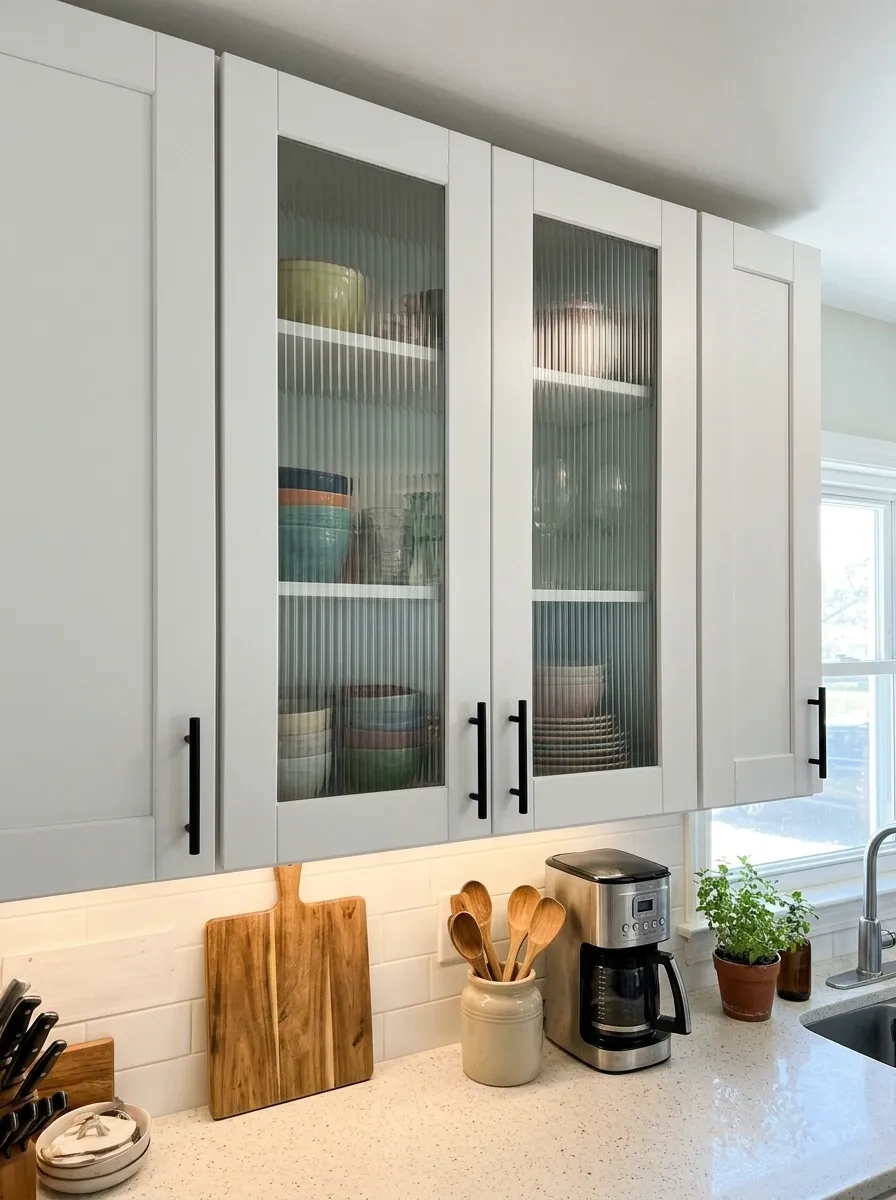
A ribbed-look film can add a different texture to suitable glass cabinet fronts. Keep the rest of the cabinetry plain so the effect remains readable.
Check how the product appears in daylight and with room lights on. Some decorative finishes look very different from different angles.
Use the manufacturer’s guidance rather than treating all glass films alike. The goal is a controlled update, not a permanent collection of bubbles you have decided to describe as texture.
Inspect the sample in place: Look from close up, across the room, and under evening lighting.
Remove a Small Door Only With Approval and a Restoration Plan
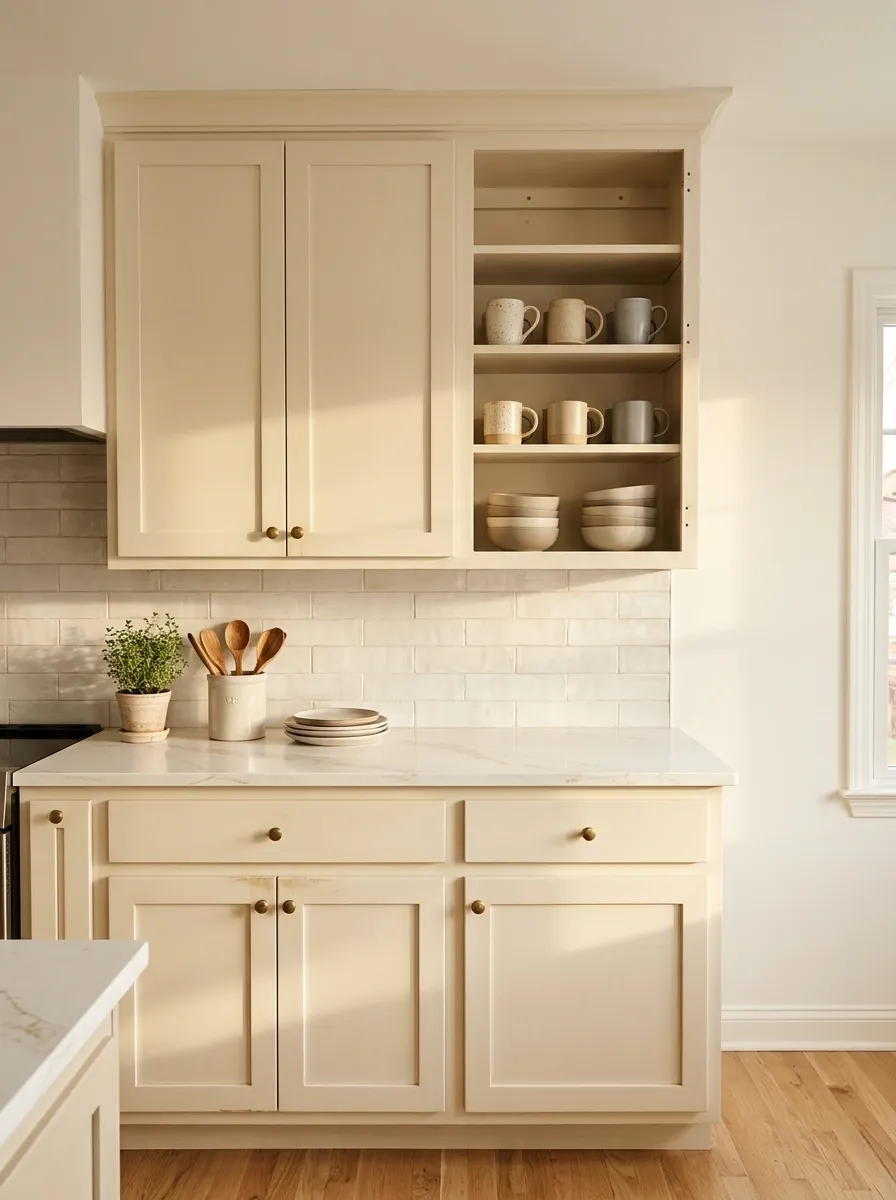
An approved door removal can create one open display cabinet while retaining the original door and hardware for later restoration.
Check the interior condition first. Visible hinge holes, unfinished edges, and inconsistent shelf surfaces may make the result less polished than expected.
Keep the open area small and useful. Exposed storage works best for regularly used pieces, rather than turning the whole kitchen into a dusting assignment disguised as a makeover.
OPEN ONE AREA DELIBERATELY
Inspect the interior first and retain every removed fitting.
Restyle an Existing Open Shelf Beside the Cabinets
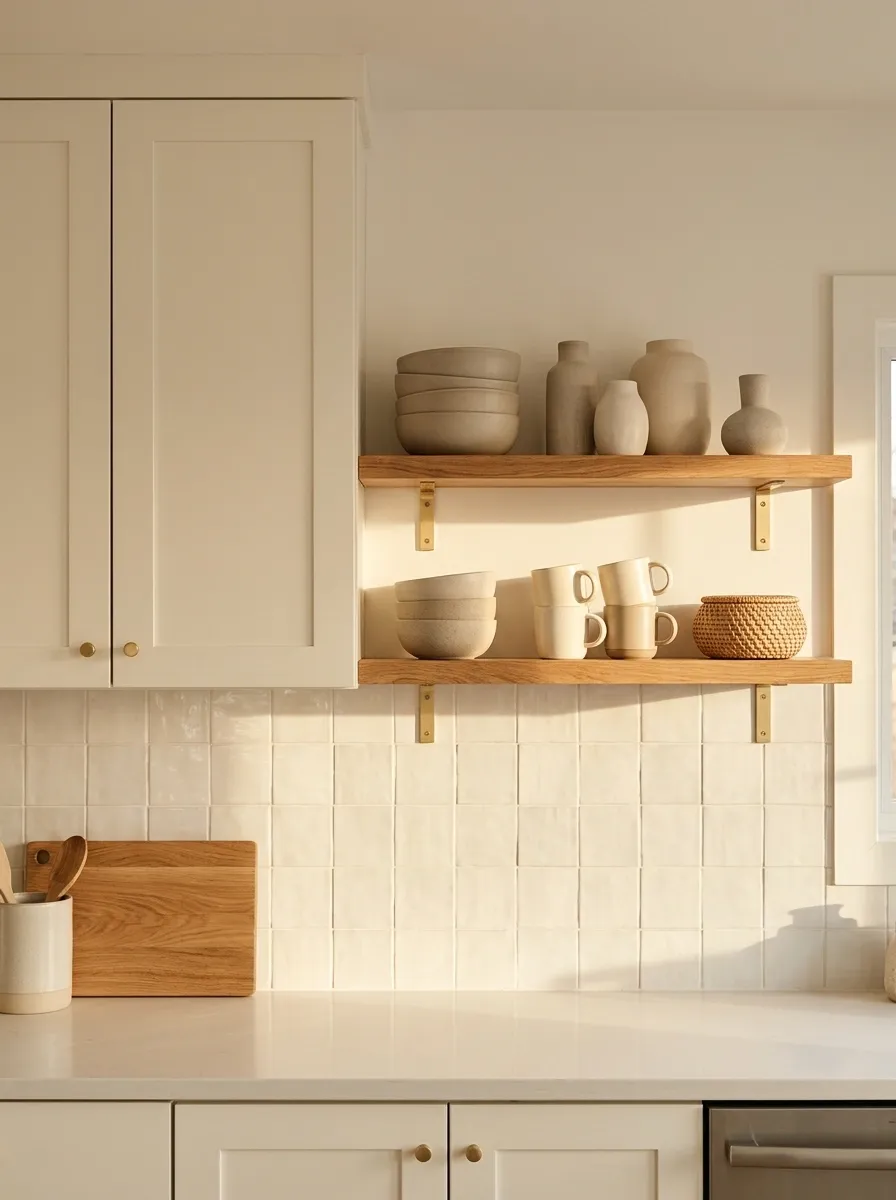
An open shelf can help plain cabinets feel part of a considered arrangement. Use a small group of practical pieces with related colors or materials.
Keep frequently used items easiest to reach and follow the shelf’s load guidance. Leave some surface clear.
The cabinet fronts may not need changing once the surrounding display feels coherent. A shelf full of unrelated mugs, packets, and decorative objects can make even attractive cabinetry look like it has given up managing the situation.
| Keep visible | Store elsewhere |
|---|---|
| Everyday mugs | Rarely used extras |
| Useful bowls | Loose packaging |
| A few related materials | Unrelated decorative clutter |
Add Removable Shelf Liners Inside
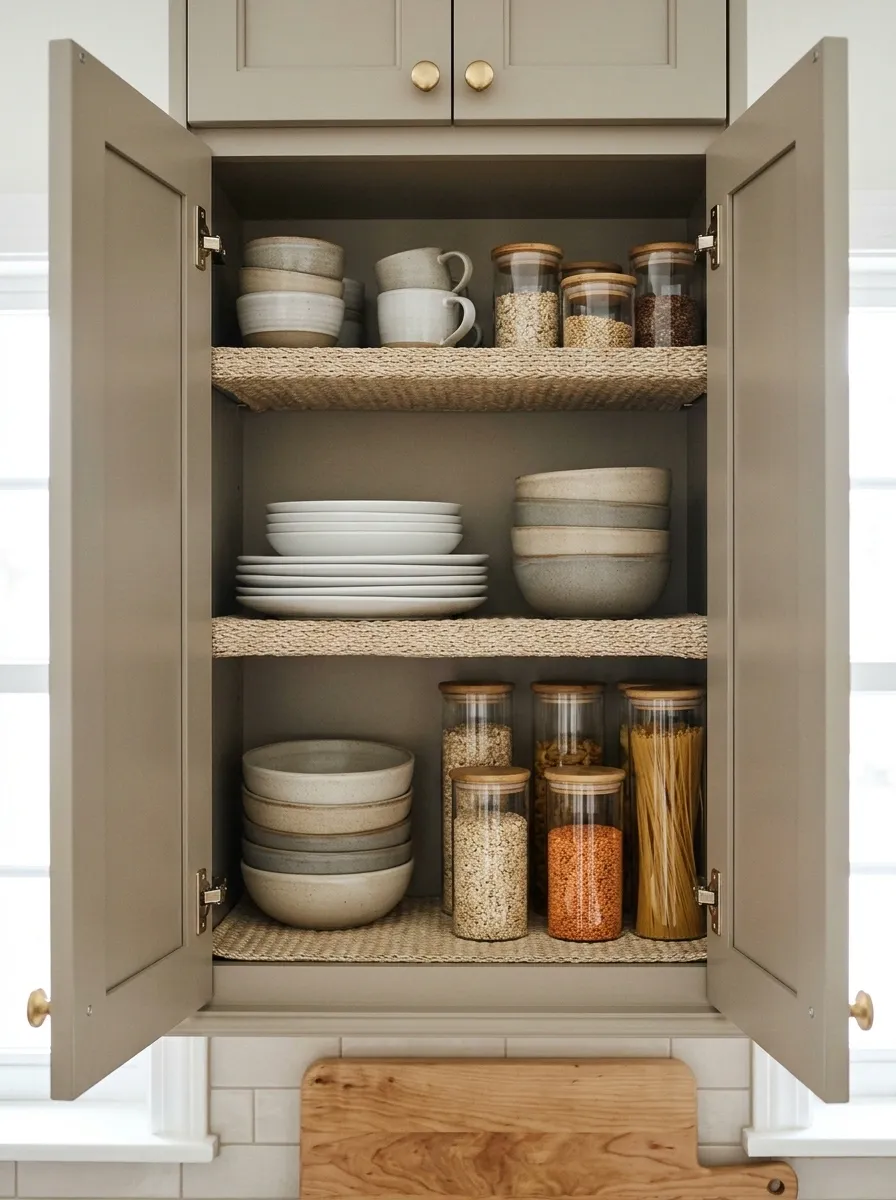
Suitable removable liners can improve the feel of an older cabinet interior. Clean according to the cabinet finish and let surfaces dry before fitting.
Choose a liner that lies securely without trapping moisture or interfering with doors. Avoid unsuitable adhesives on delicate surfaces.
This may not transform the doorway photograph, but it changes daily use. Opening a cabinet and finding a clean, coherent interior can be more satisfying than another cosmetic purchase placed outside it.
Clean, dry, fit. Keep the liner removable and the surface beneath it accessible.
Use Magnetic Decoration Only on Genuine Suitable Metal Fronts

Some metal cabinets can accept suitable magnetic accessories or coverings without adhesive. Confirm the material and product compatibility first.
Keep added pieces light, secure, and clear of hinges and handles. Test how they behave through normal door movement.
This is a specific solution for a specific cabinet type. It is not an invitation to discover halfway through the project that the apparently metallic finish is decorative laminate with no interest in magnetism.
Actual suitable metal.
Secure through normal use.
Add an Over-Door Rail That Does Not Damage the Front
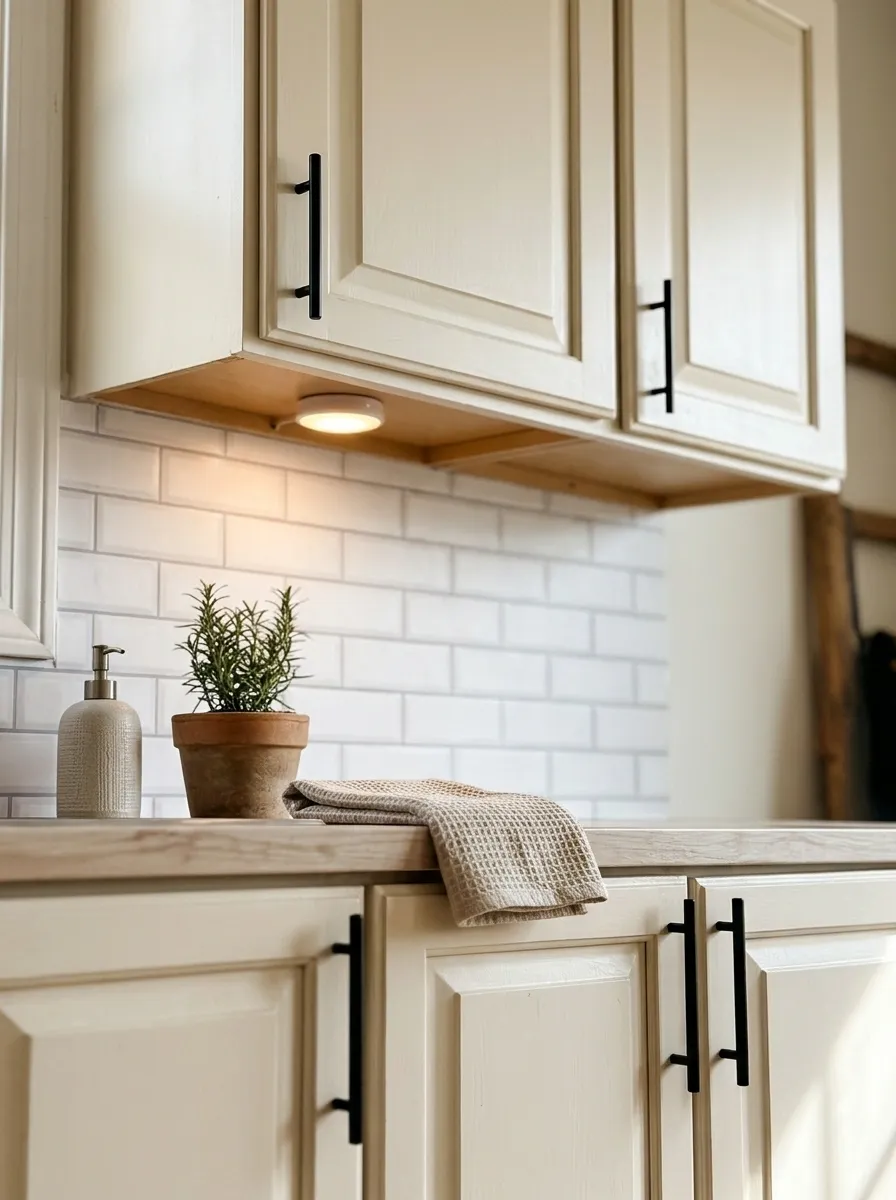
A compatible over-door rail can hold a light kitchen towel or accessory without drilling, provided it fits the door and does not strain the hinges.
Check closure, edge protection, loading, and adjacent fronts. Avoid hanging damp fabric against a finish that could be damaged.
A restrained rail can make a plain cabinet more useful. The towel should still dry appropriately rather than remaining pressed against the door as a permanent wet decorative feature.
| Test | Include |
|---|---|
| Door closure | Bracket clearance |
| Finish protection | Contact points |
| Loading | The product’s limit |
| Towel use | Drying and moisture management |
Curtain an Existing Open Base-Cabinet Bay
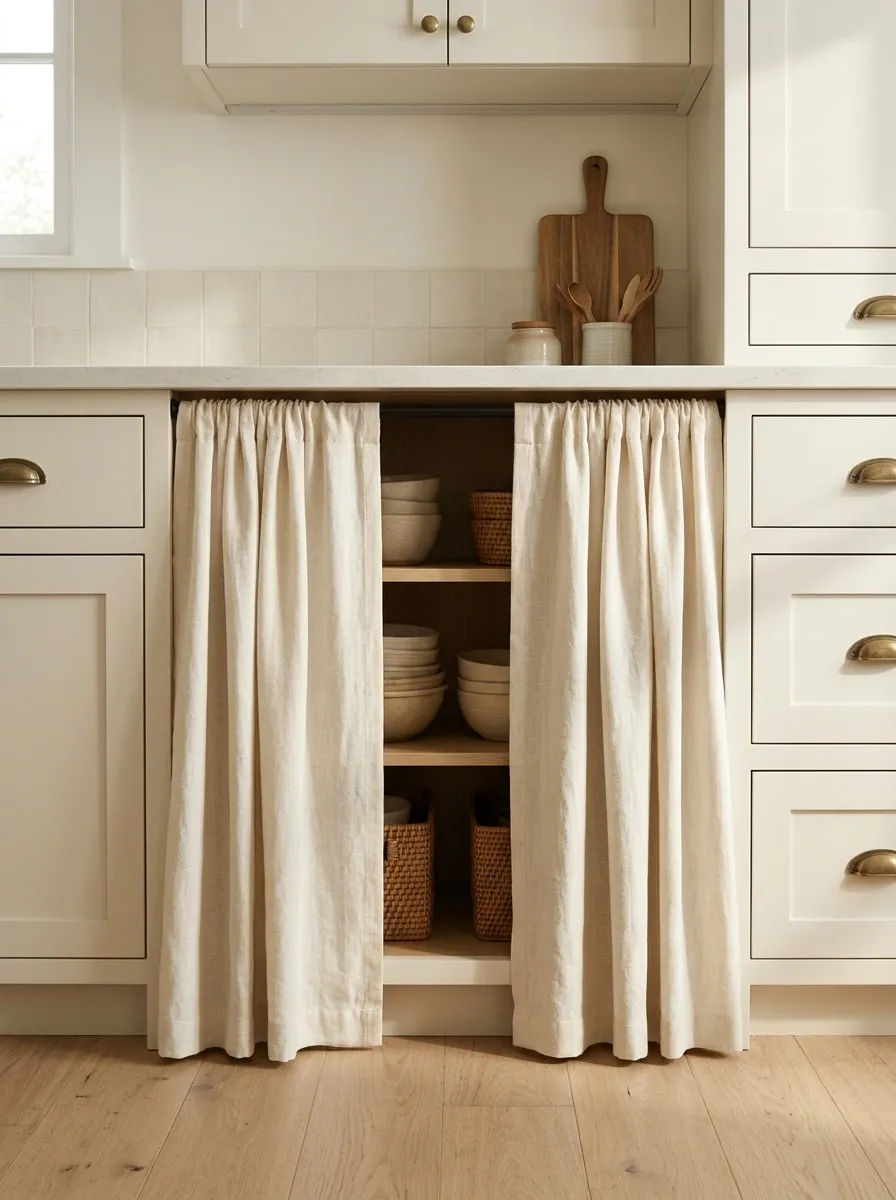
If the kitchen already has an open storage bay, a simple removable curtain can soften its appearance. Use a compatible tension or existing support system where suitable.
Choose washable fabric and keep it away from cooking heat and appliance ventilation. Leave the hem clear of wet floors.
Keep the gathering modest so access remains easy. The storage does not need a theatrical entrance every time you retrieve a mixing bowl.
Simple fabric, compatible support, and unobstructed access.
Bring in a Freestanding Cabinet That Complements the Existing Ones
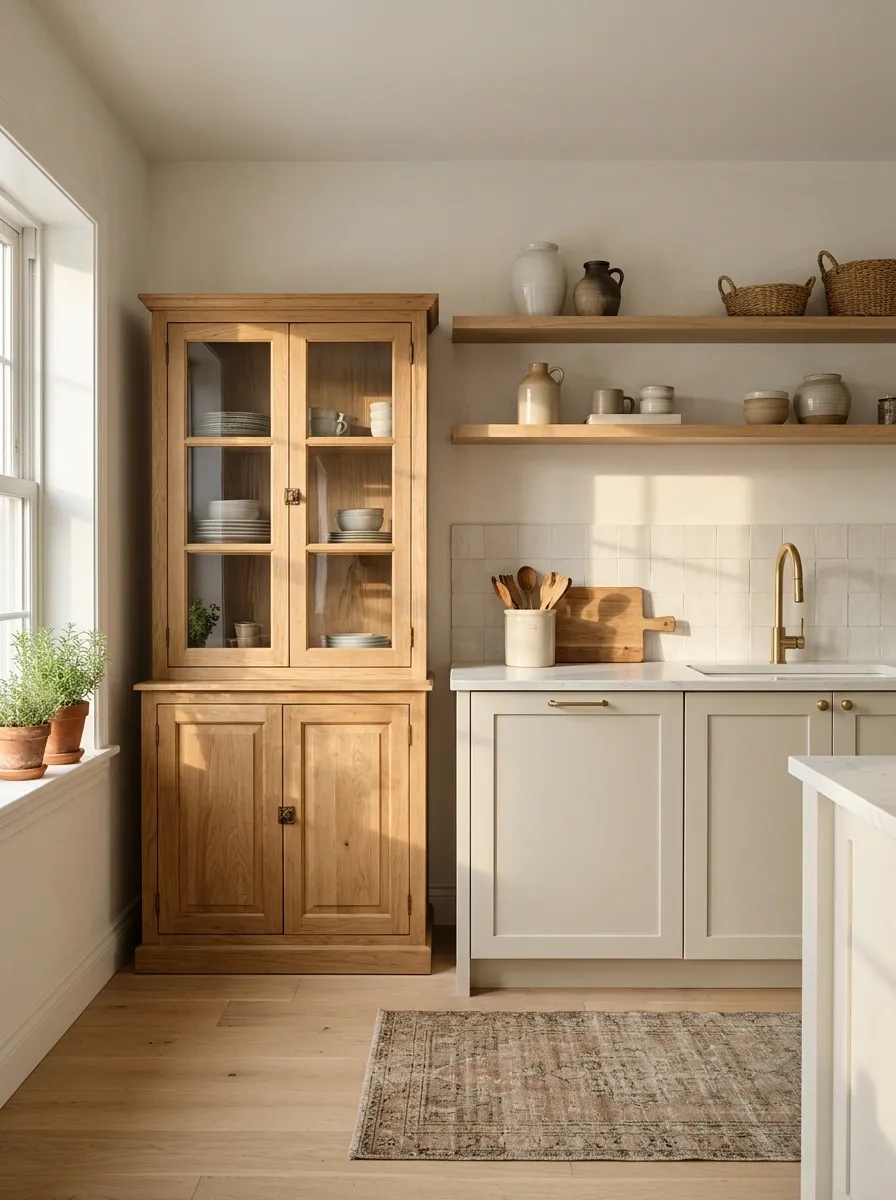
A suitable freestanding cupboard can provide storage and make plain fitted cabinets feel like part of a larger scheme.
Choose a finish that relates without pretending to match exactly. Measure delivery access, door movement, circulation, and required anchoring.
This is useful when the kitchen genuinely lacks storage. Avoid adding furniture simply to decorate around cabinets you dislike; a crowded room with an extra cupboard is not necessarily a more pleasant kitchen.
Measure with doors open: Include the new cabinet, nearby appliances, and the route through the room.
Create a Small Countertop Zone With Related Materials
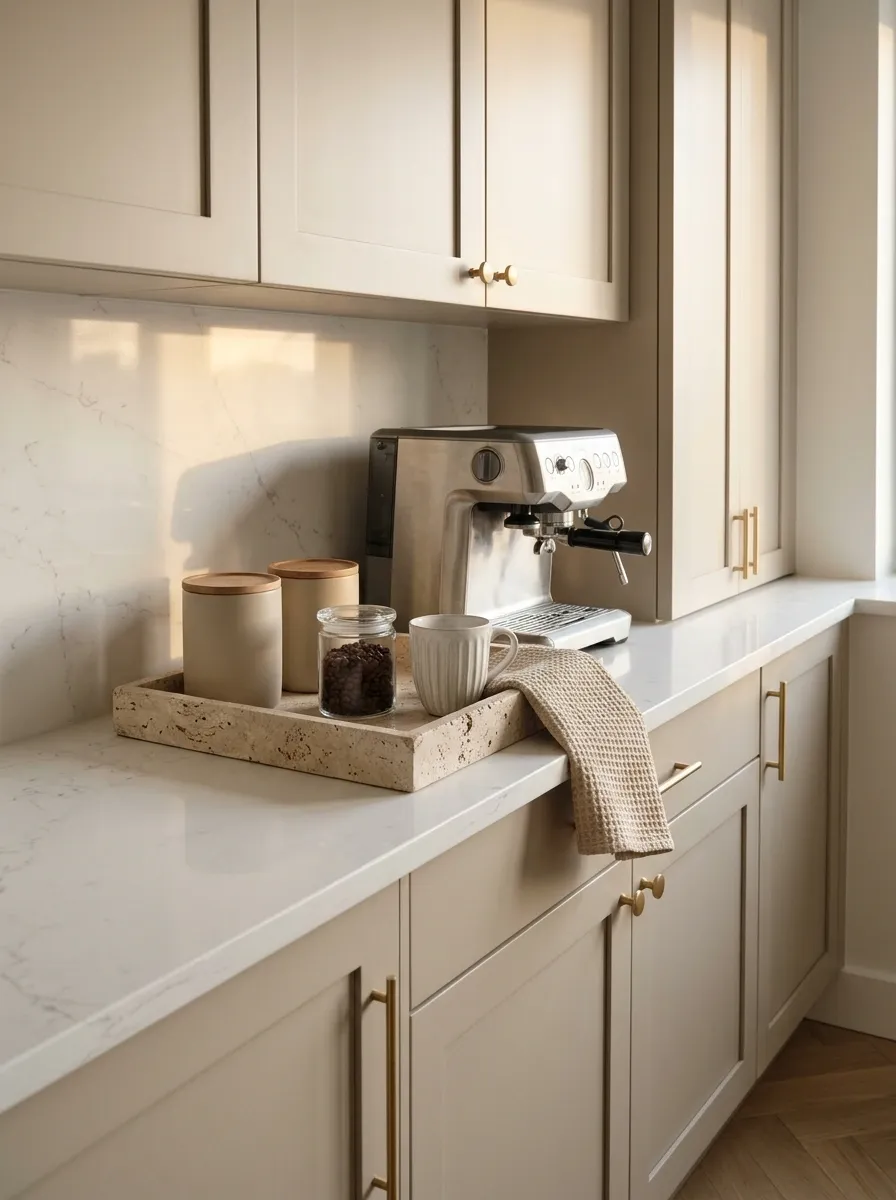
A restrained coffee or preparation zone can make existing cabinetry look more intentional. Use a practical tray, matching storage where helpful, and a clear working area.
Keep heat-producing appliances operated according to their instructions. Do not hide them in ordinary closed cupboards while running.
The materials should relate to the cabinets rather than compete. A few useful pieces can improve the whole view without requiring every door to be covered, painted, or provided with a new personality.
Change the Wall Color Where Permission Allows
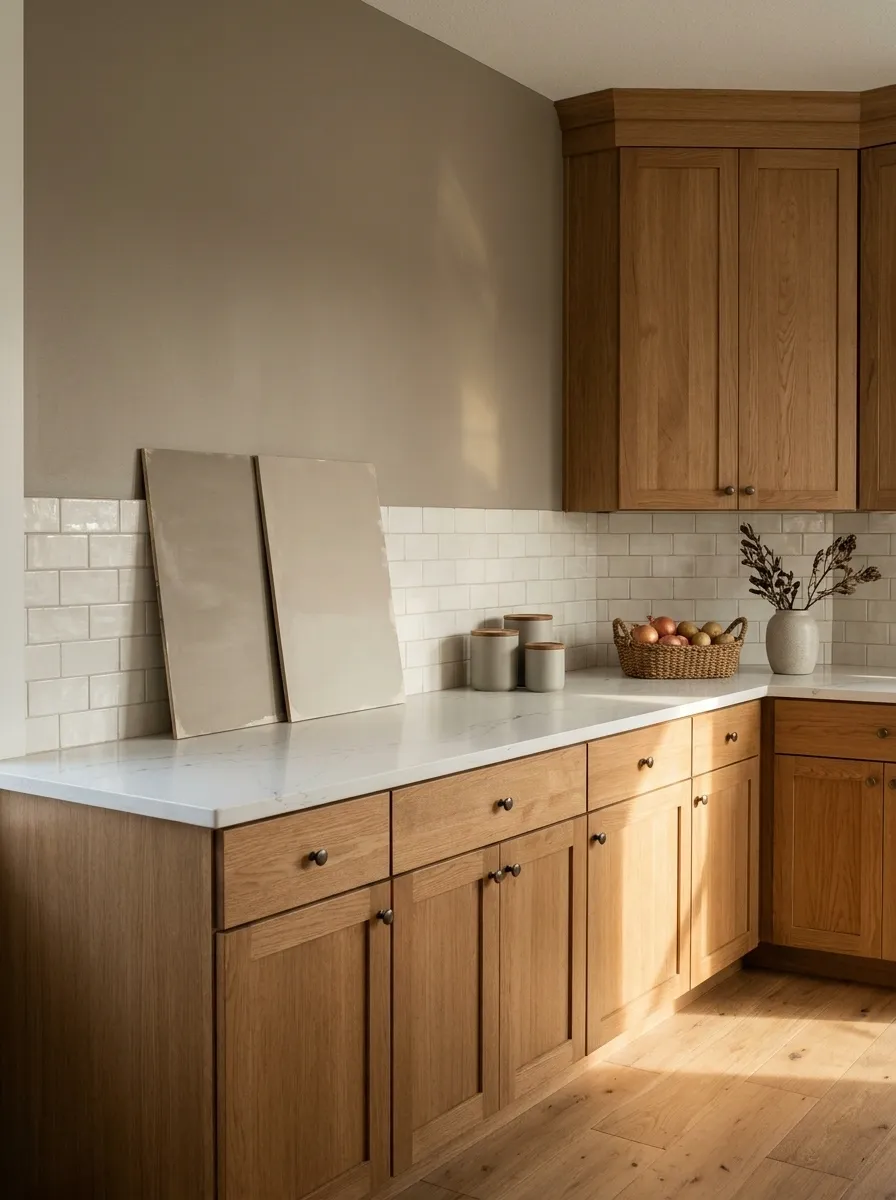
Plain cabinet fronts can look different against a better wall color. Test samples beside the doors, counter, and floor before painting.
A warm wood cabinet may benefit from a quieter background, while a cool white front may need a different neutral than the one currently making it look yellow.
Keep the alteration within the approved scope. The wall color should connect the fixed finishes, rather than introduce another color that now needs a separate explanation.
| Fixed finish | Compare it with |
|---|---|
| Cabinet front | New wall sample |
| Countertop | The same sample |
| Floor | The same sample |
| Trim | The same sample |
Use a Suitable Removable Backsplash Treatment
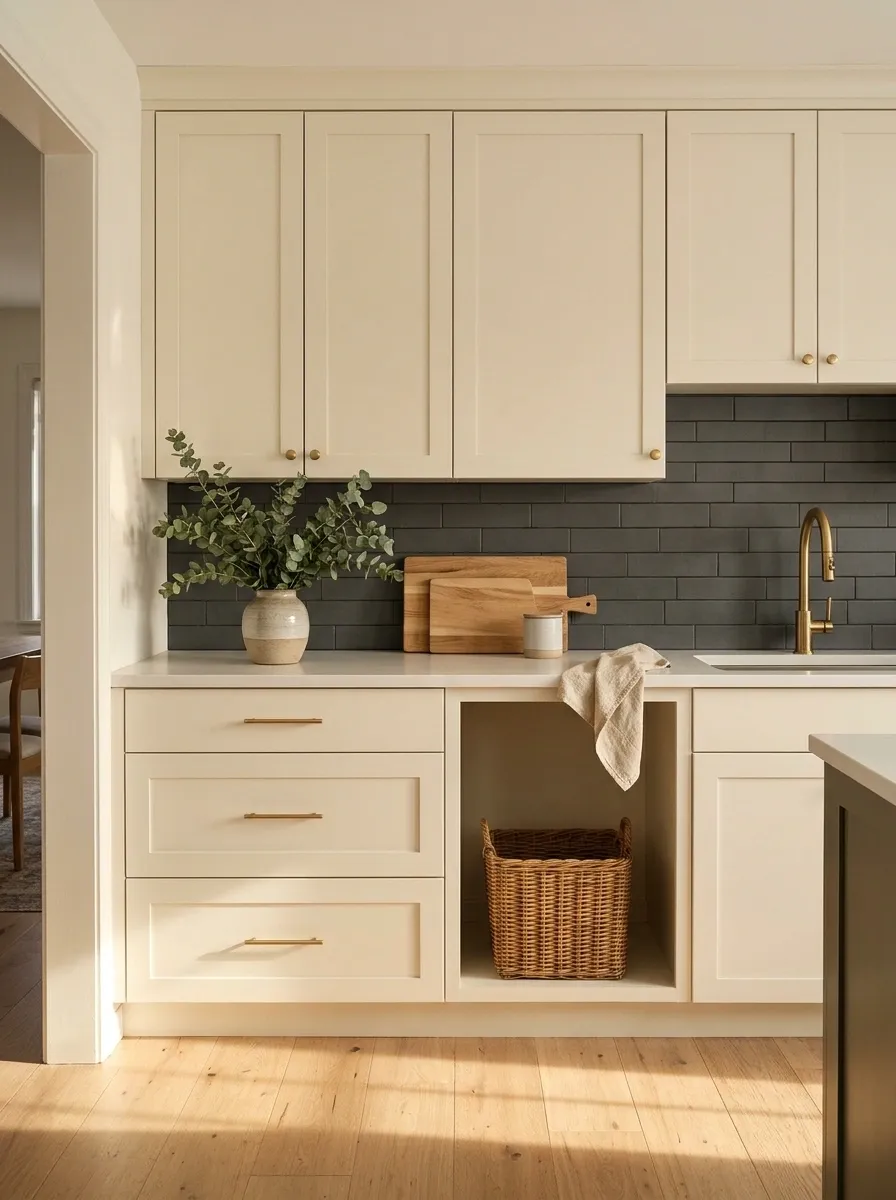
A compatible removable backsplash treatment can change the setting around plain cabinets where the substrate, product, appliance requirements, and permission allow it.
Confirm heat and moisture suitability, especially near cooking equipment. Decorative wall covering is not automatically an approved backsplash material.
Test the appearance with the cabinet and counter before applying. One quieter connecting surface can be more effective than adding a strong pattern that leaves the original cabinet color looking even more unrelated.
The middle surface should connect the fixed finishes and suit the location.
Simplify a Busy Window Treatment Near the Cabinets

A bulky valance or strong curtain pattern can make basic cabinets look more dated. A simpler suitable treatment can reveal cleaner lines.
Choose around privacy, glare, cleaning, and safe distance from cooking equipment. Reuse existing sound fittings where possible.
This is especially effective in a small kitchen where the window and wall cabinets share one view. The cabinets may be plain, but they do not need a complicated fabric announcement immediately beside them.
Start by removing visual competition: Judge the cabinet wall again before ordering a replacement treatment.
Repeat One Accent Color Across Useful Items
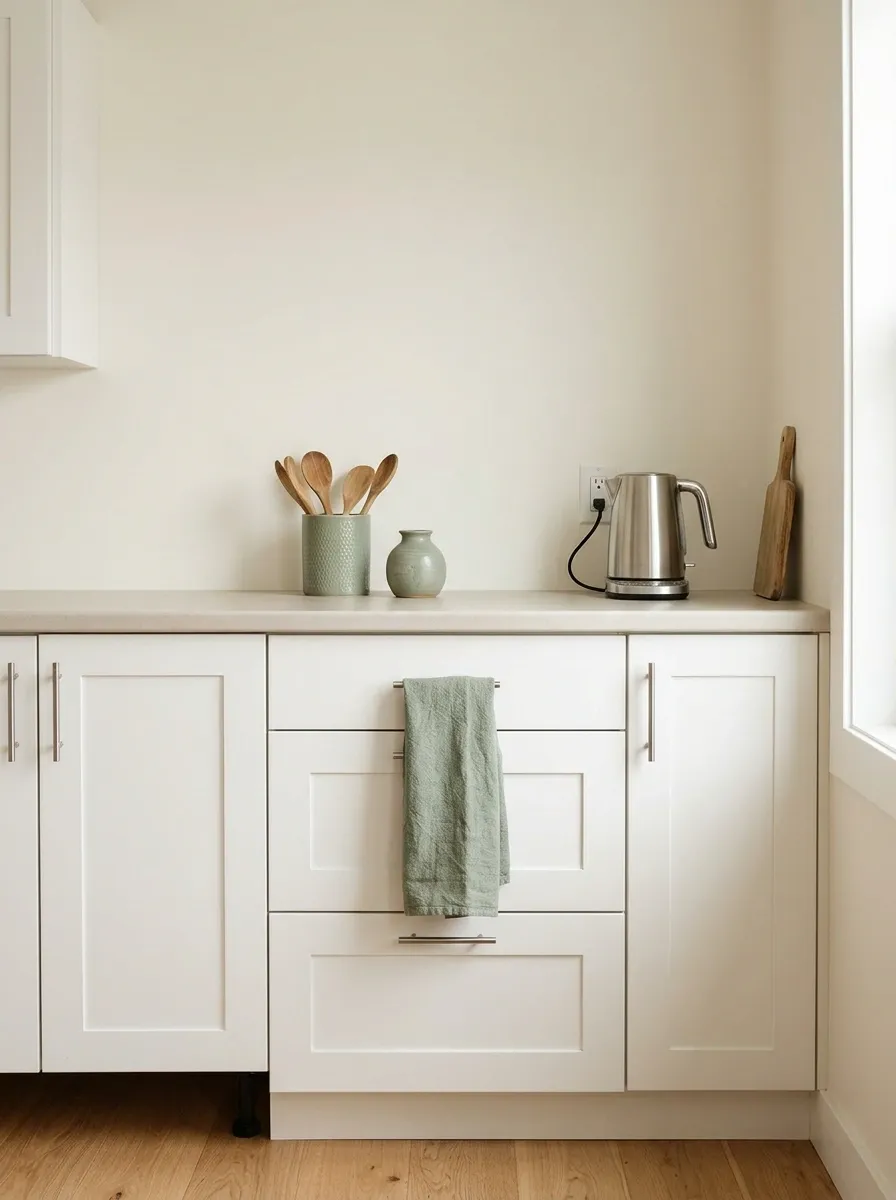
Choose one accent color that works with the existing fronts and repeat it through a few practical pieces.
A towel, utensil container, and restrained countertop object may be enough. Keep the rest of the palette quieter.
This can make plain cabinetry feel included in the room rather than stranded behind unrelated purchases. Do not interpret repetition as buying every available item in the chosen shade; the kettle does not need a coordinated support group.
REPEAT A SMALL SIGNAL
A few related accents can connect a much larger plain cabinet run.
Add a Practical Runner to Connect the Lower Cabinets
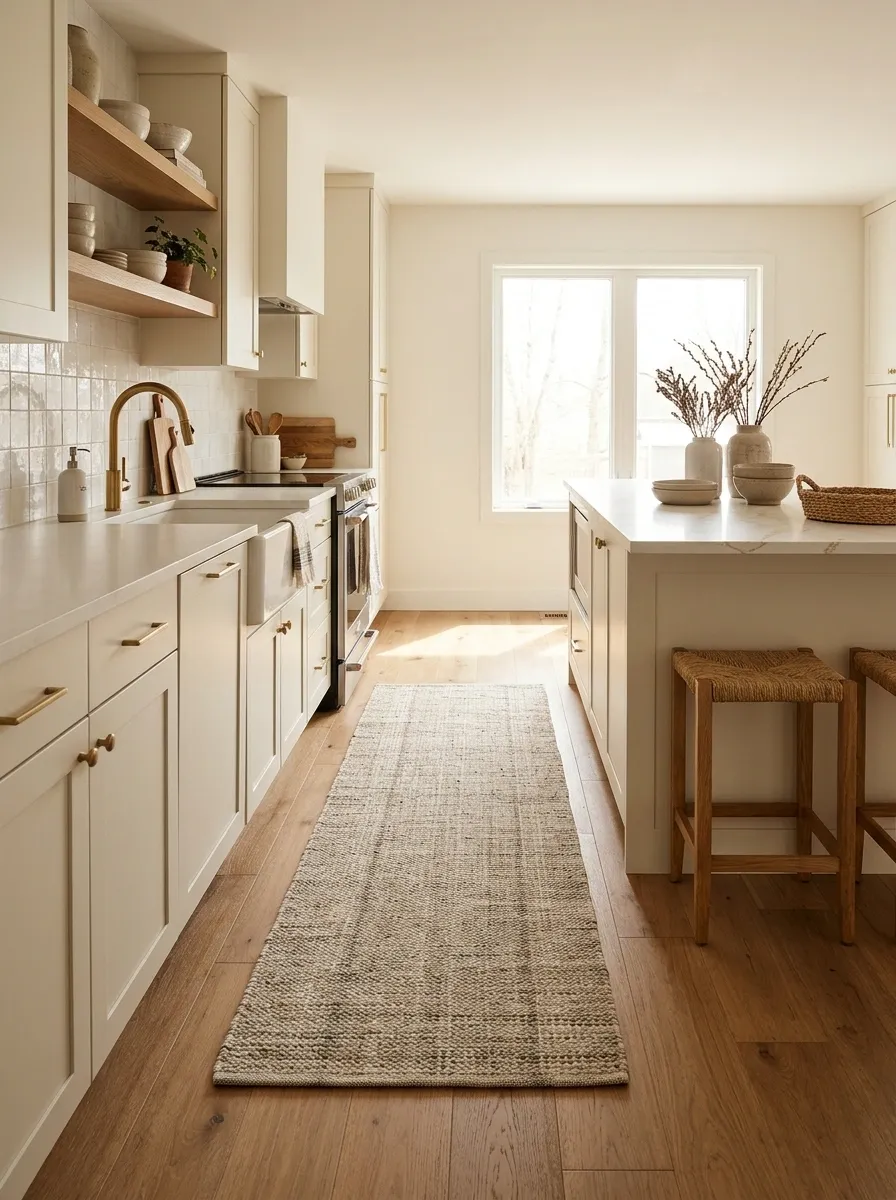
A suitable runner can soften a hard floor and connect cabinet color with the rest of the room. Choose a size and pattern that preserve circulation.
Keep it securely placed and clear of unsuitable wet or cooking areas. Check door and appliance movement.
A restrained textile can add warmth without altering the cabinetry. It should not need straightening after every trip to the sink like an unusually demanding ceremonial carpet.
| Choose for | Check |
|---|---|
| Color connection | Cabinets, floor, and walls |
| Daily use | Cleaning and wear |
| Placement | Secure edges |
| Fit | Door and appliance clearance |
Clear the Tops of the Cabinets
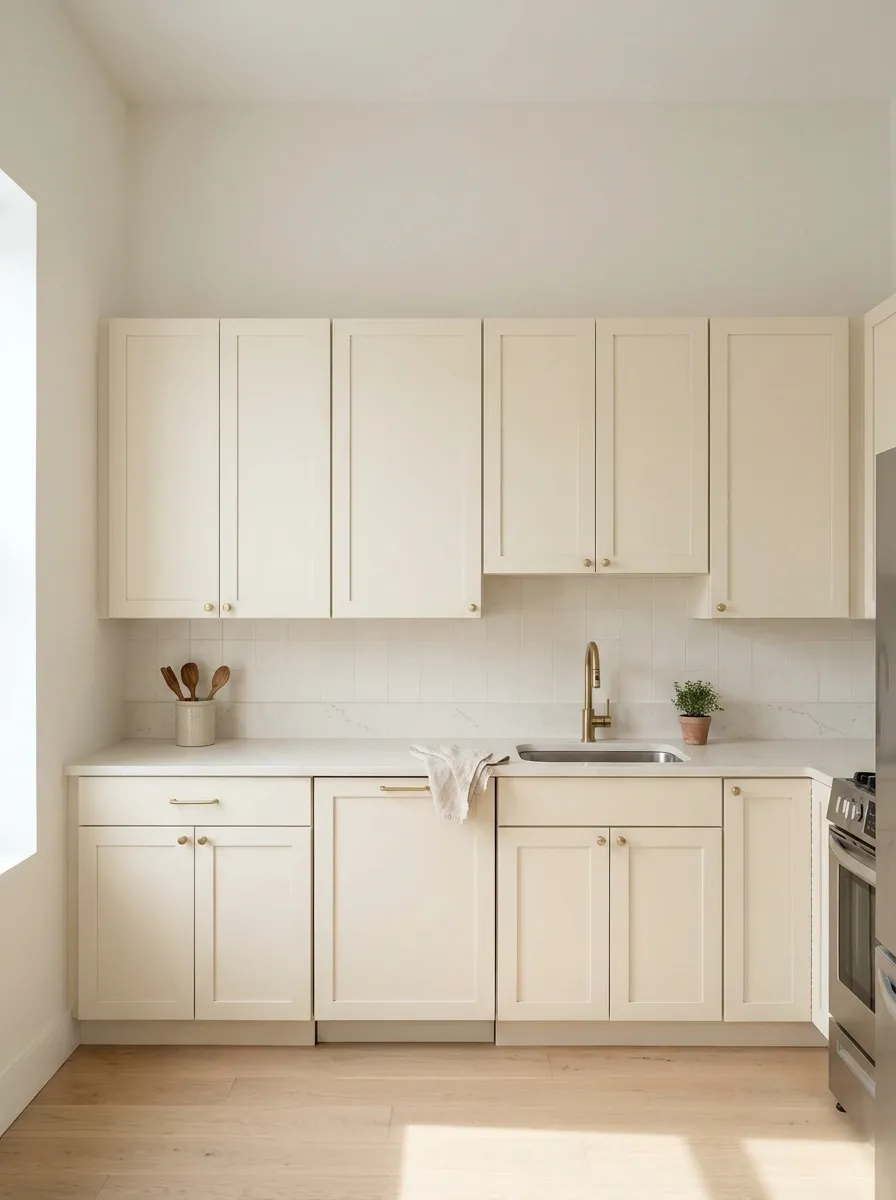
Removing dusty baskets, artificial greenery, and unrelated objects can make a cabinet run look cleaner immediately.
Take everything down, clean appropriately, and reassess before replacing any pieces. The gap above the cabinets can remain visually quiet.
This costs little and often reveals that the cabinetry itself was not the loudest problem. A collection of small objects above eye level can make even a straightforward kitchen look as though several unfinished decorating ideas have taken shelter there.
Clean and Care for the Existing Finish Properly
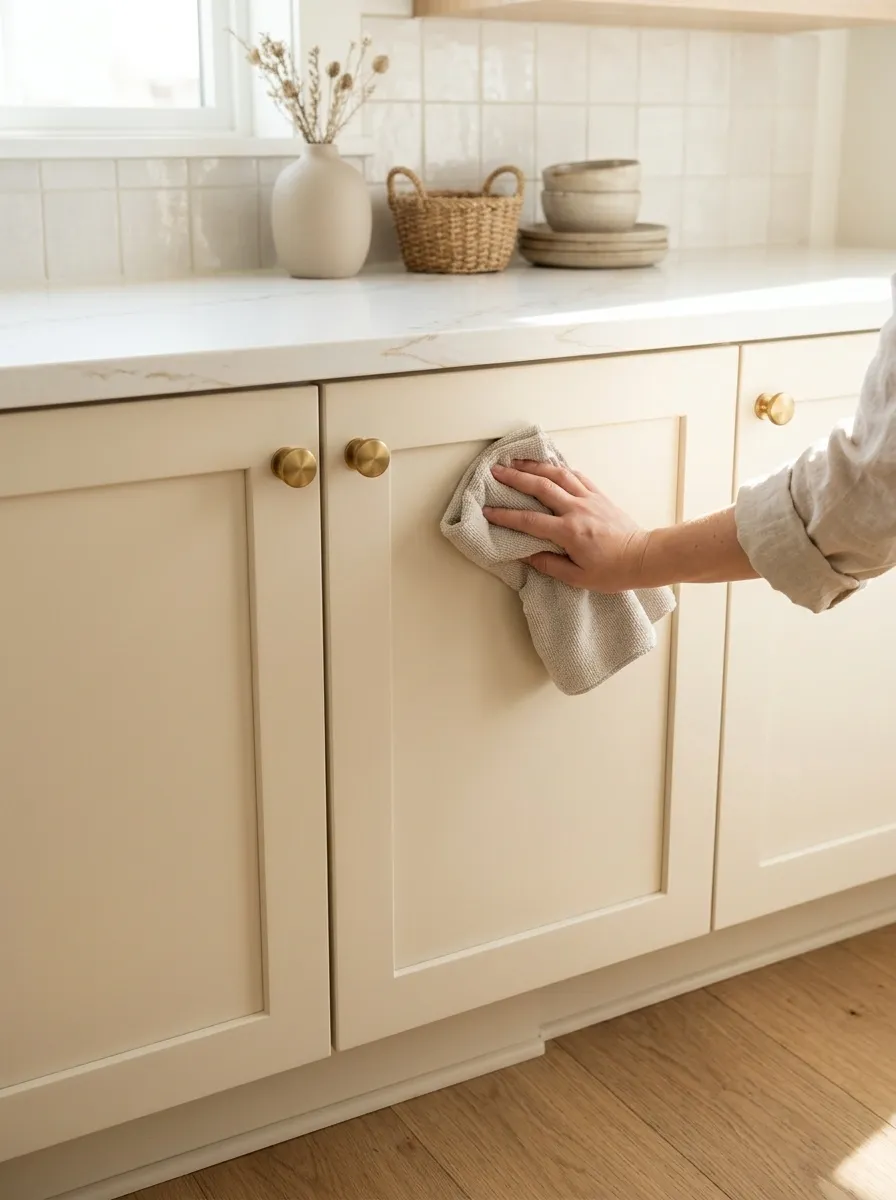
A cabinet finish dulled by grease and residue may need appropriate cleaning before a cosmetic treatment.
Identify the material and follow suitable care guidance. Test products where instructed and avoid abrasives, solvents, or conditioning products that the finish does not permit.
Report failing coatings, loose components, or damage to the owner rather than hiding them under decoration. A clean, sound surface is a better starting point than an attractive covering applied over a problem that continues underneath.
Condition before cosmetics: Clean safely, inspect the finish, and deal with existing damage before adding anything.
Build an Undo Kit Before You Start
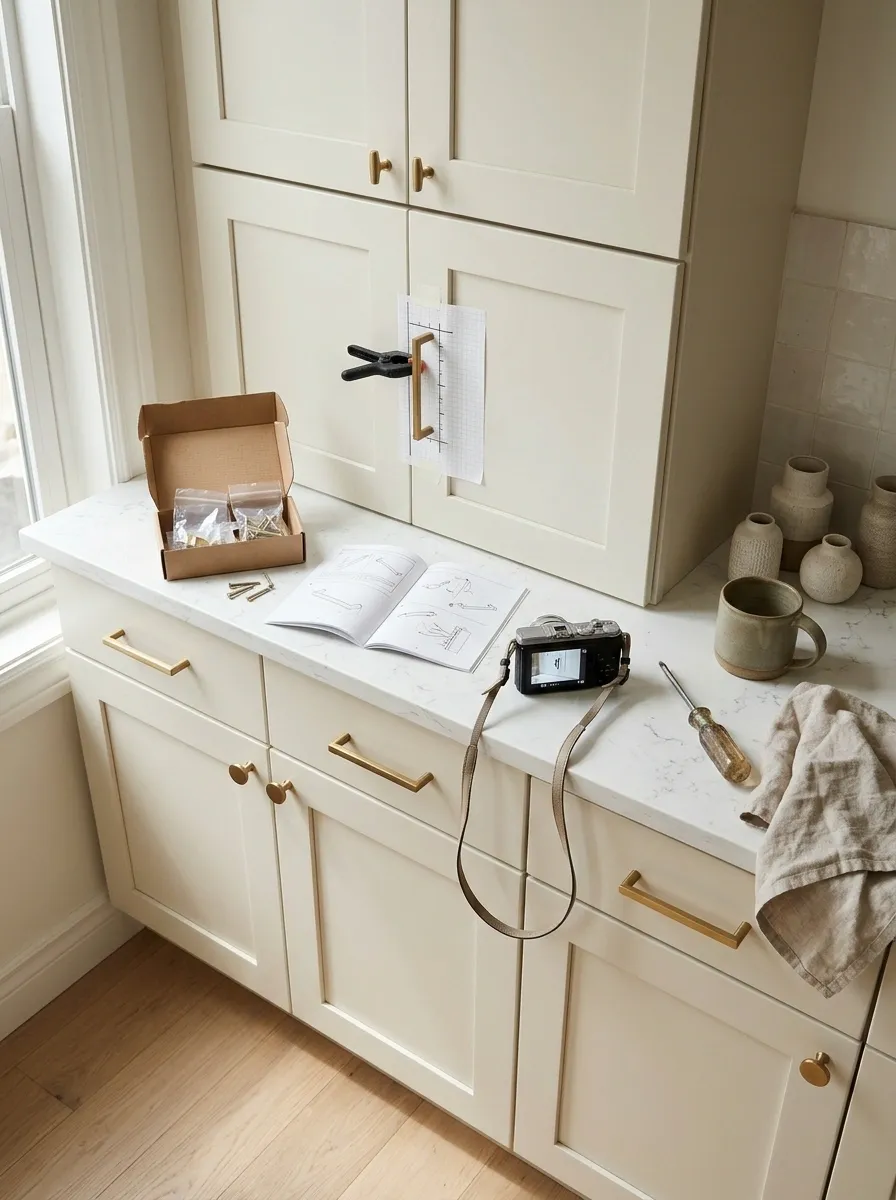
Keep original handles, screws, removed fittings, product instructions, and condition photographs together.
Label hardware by location if pieces differ. Retain a small amount of relevant covering material only where useful for maintenance.
This makes the whole project more manageable. A reversible kitchen update should have a clear route back, rather than depend on finding a bag of unidentified screws somewhere during the final evening before moving out.
THE RESTORATION KIT
Labeled and complete.
Care and removal.
The starting condition.
Finish One Change Before Covering Everything
Fit the sample handle. Test the chosen material. Look at the cabinets under better light.
You may need fewer changes than expected.
The useful rental upgrade is one you enjoy now and can deal with sensibly later. A kitchen that looks better should not leave your future moving-day self an elaborate puzzle involving adhesive, missing hinges, and rapidly diminishing goodwill.