
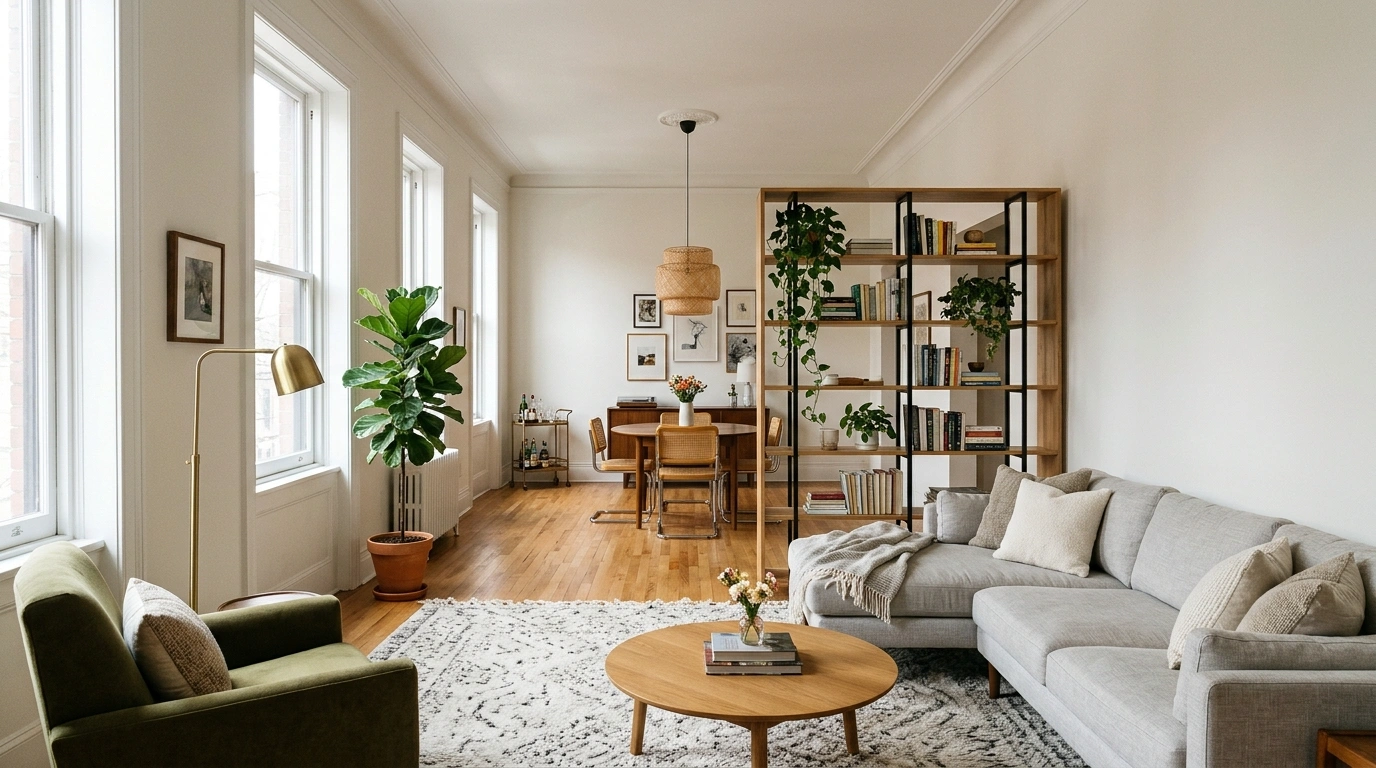
One sofa against one wall, a television at the far end, and a suspicious amount of empty floor in between: the long-room layout has claimed another victim.
Instead of furnishing the room as one stretched seating area, give each end a purpose. The separation can be visual, practical, or architectural. You rarely need all three at once.
Mark doors, windows, heating, and the main walking route before moving furniture. Then choose the activities you actually want here. A room divided between living and dining needs a different plan from one shared by work and relaxation.
Duo Room Ideas
Anchor a Dining Set in Open Space
Position a dining table directly behind your living arrangement to create natural functional zones without permanent walls.
Choose coordinating wood tones and similar textural elements to connect both areas smoothly while keeping their specific tasks distinct.
Leave enough perimeter clearance around the table chairs so movement remains completely unobstructed.
Name the Two Activities Before Buying a Divider
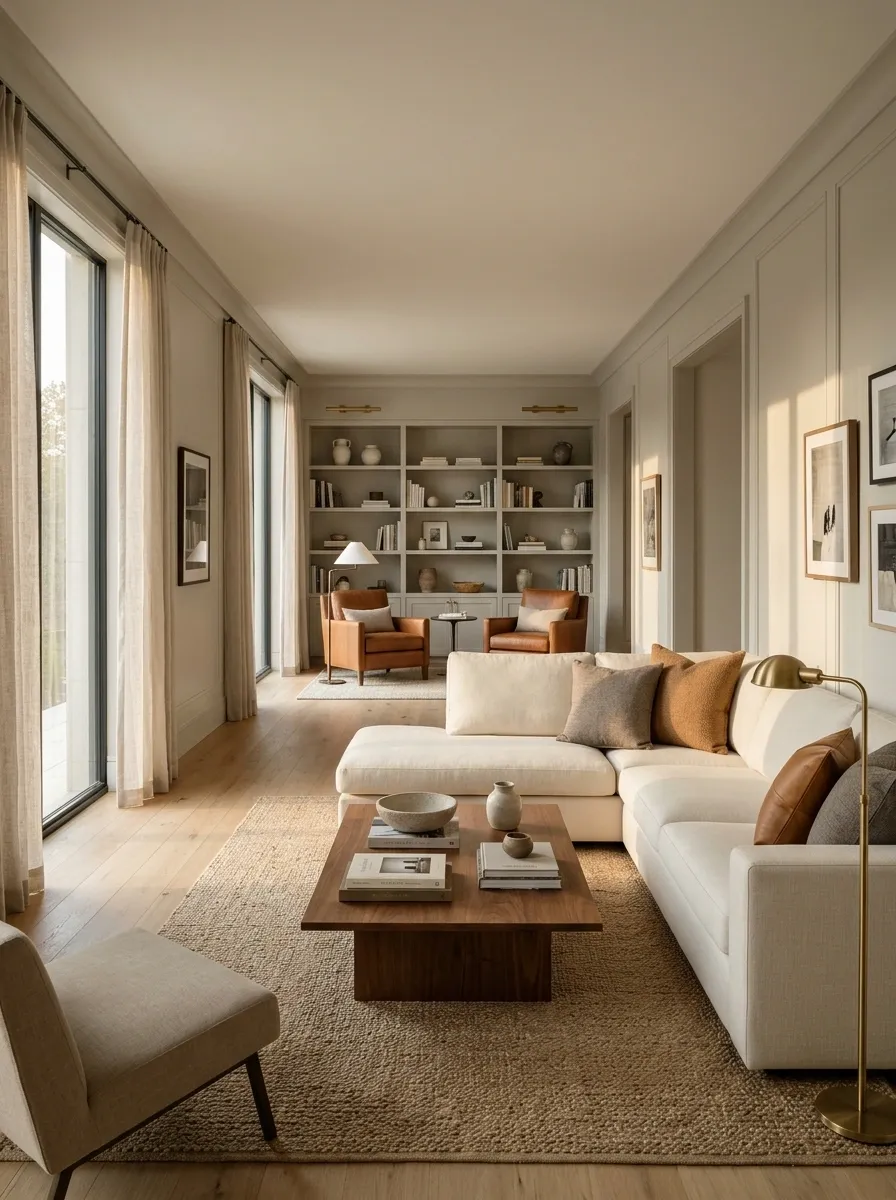
Give each end a specific job:
- Conversation and dining.
- Reading and television.
- Work and family seating.
Avoid the label extra space. Once you know the activity, choose its furniture and access. You may discover that the arrangement supplies enough separation without another screen in the middle.
Divide With Glass and Mood Lighting
Use a sleek glass partition or doorway to suggest separate rooms while maintaining an airy, uninterrupted sightline.
Layer warm ambient ceiling lighting and accent wall sconces to highlight each distinct zone with character.
Align your furniture grouping neatly against the partition boundaries so the layout feels intentional rather than accidental.
Use Two Rugs With a Visible Break Between Them
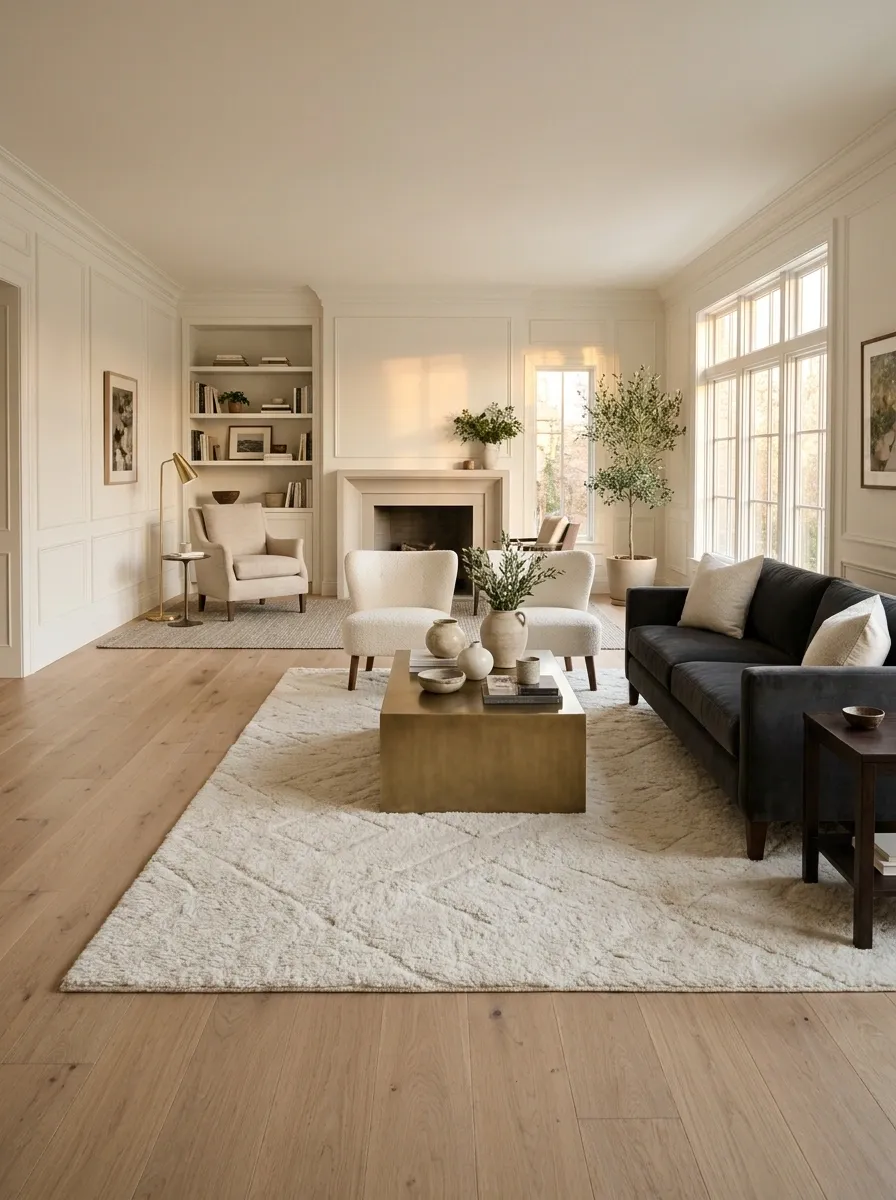
Separate rugs can establish two furnishing groups while the floor remains continuous.
Choose sizes around each group rather than buying matching small rugs for symmetry. Leave an intentional interval so the zones read clearly. The rugs can share a tone or texture without being identical; matching every detail can make the room feel more staged than connected.
| First rug | Second rug |
|---|---|
| Defines the main group | Fits the smaller activity |
| Shares one visual link | Keeps its own useful scale |
Zone With an Open Dining Nook
Float your living room seating group forward to carve out a dedicated dining corner further back in the long floor plan.
Keep sightlines open by opting for slender pendant lighting that defines the upper perimeter of the secondary space.
Tie the distinct areas together with a cohesive color palette running through both the seating cushions and table accents.
Turn the Sofa Back Toward the Second Zone
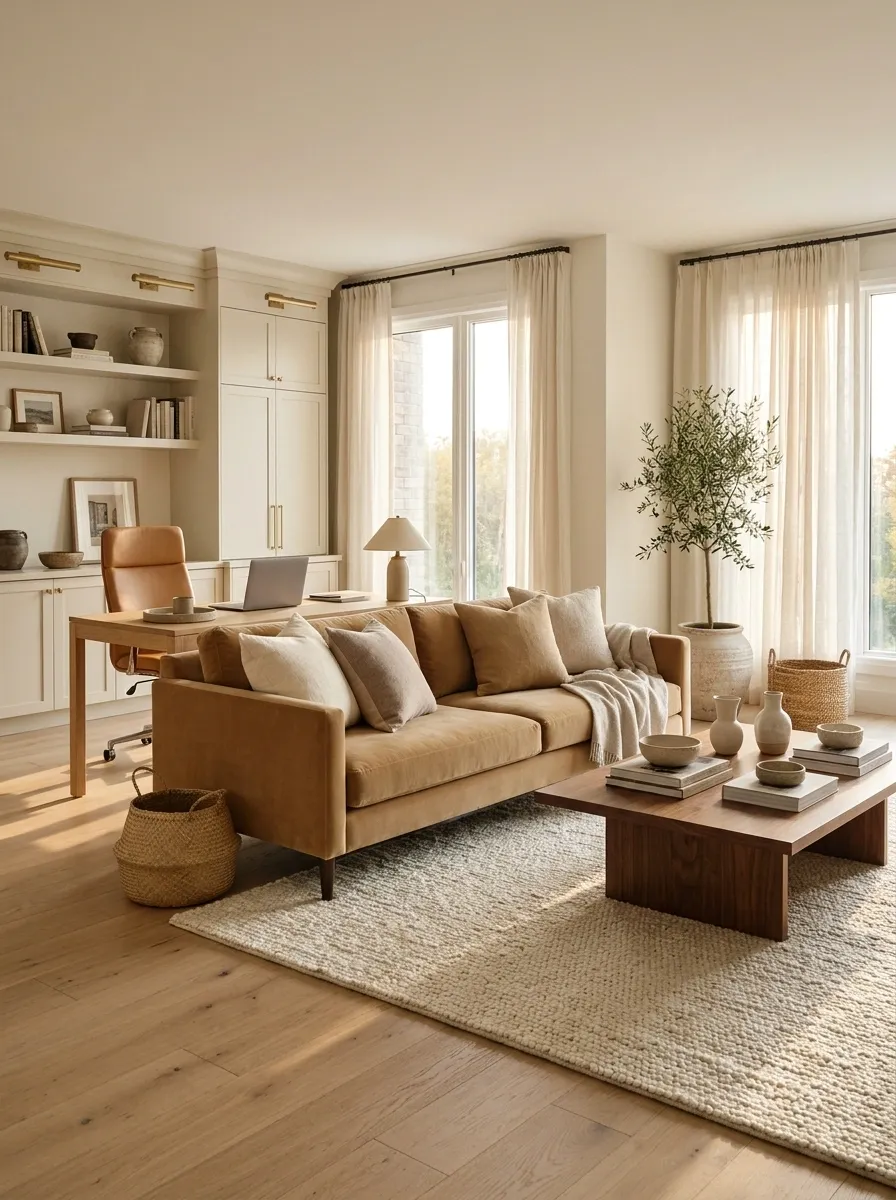
A sofa can act as a low boundary between two spaces.
Check that its back looks acceptable and that people can move around the ends comfortably. Position it around the seating activity, not simply across the exact midpoint. The second zone should have enough room to work rather than receiving whatever narrow strip remains.
Coordinate Blue Cabinetry With Natural Woods
Frame a kitchen-adjacent dining zone using contrasting cabinetry hues to instantly signal a transition in the room’s purpose.
Pair colorful upper and lower cabinets with warm wooden furniture elements to keep the overall atmosphere grounded and inviting.
Ensure task lighting over the island or dining table serves its specific zone without bleeding into the adjacent lounge.
Put a Desk Behind the Sofa
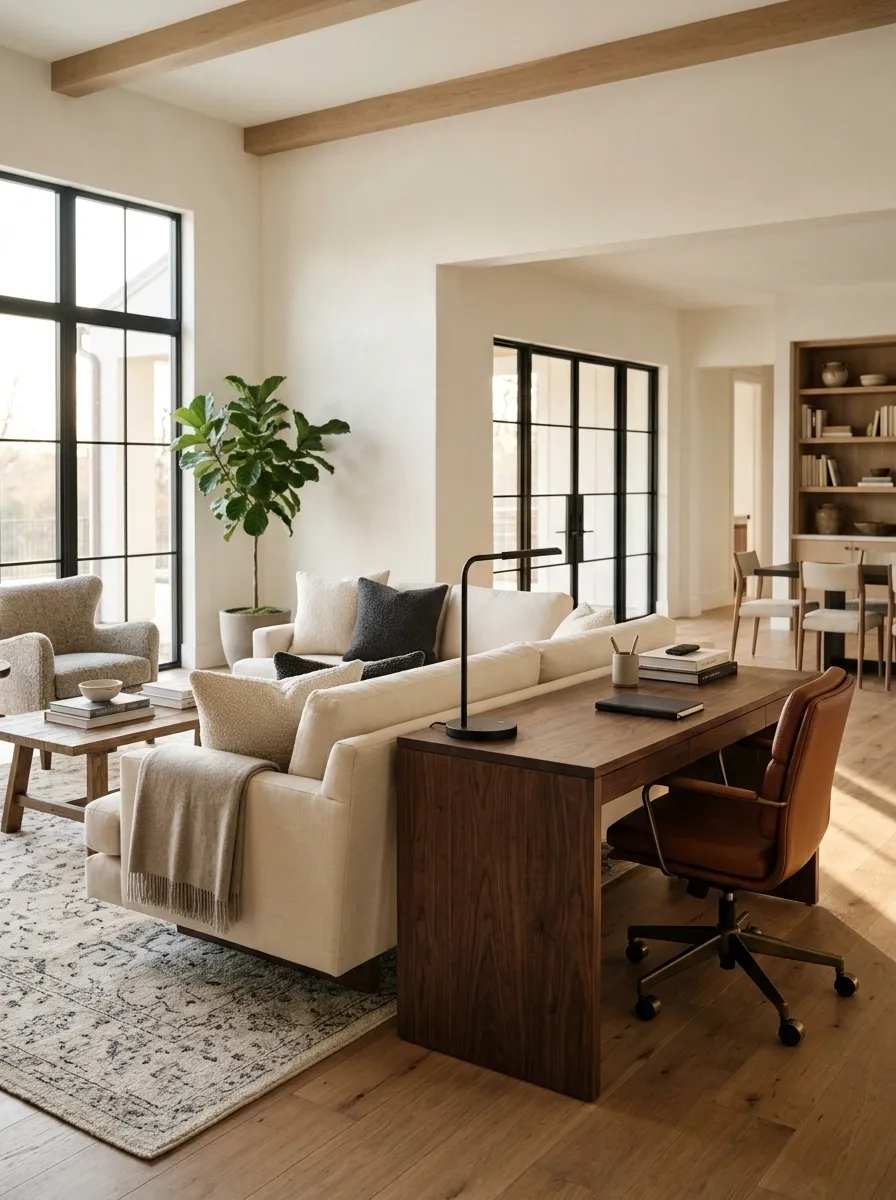
A suitably sized desk can occupy the space behind a floating sofa, with both pieces forming a clear boundary.
Check chair pullback, screen glare, cables, and the walking route. Keep the desk deep enough for actual work. A console labeled desk does not become comfortable through optimism alone.
Rehearse the occupied position: chair out, person seated, and someone walking past.
Install a Slatted Wood Screen
Erect a partial vertical slat screen to visually anchor a living area while keeping the dining nook beyond gracefully visible.
Use matching woven pendant lights in both zones to establish a cohesive visual rhythm throughout the elongated layout.
Layer natural fiber rugs in each section to firmly ground the individual furniture arrangements and prevent floating.
Place an Open Bookcase Across Part of the Width
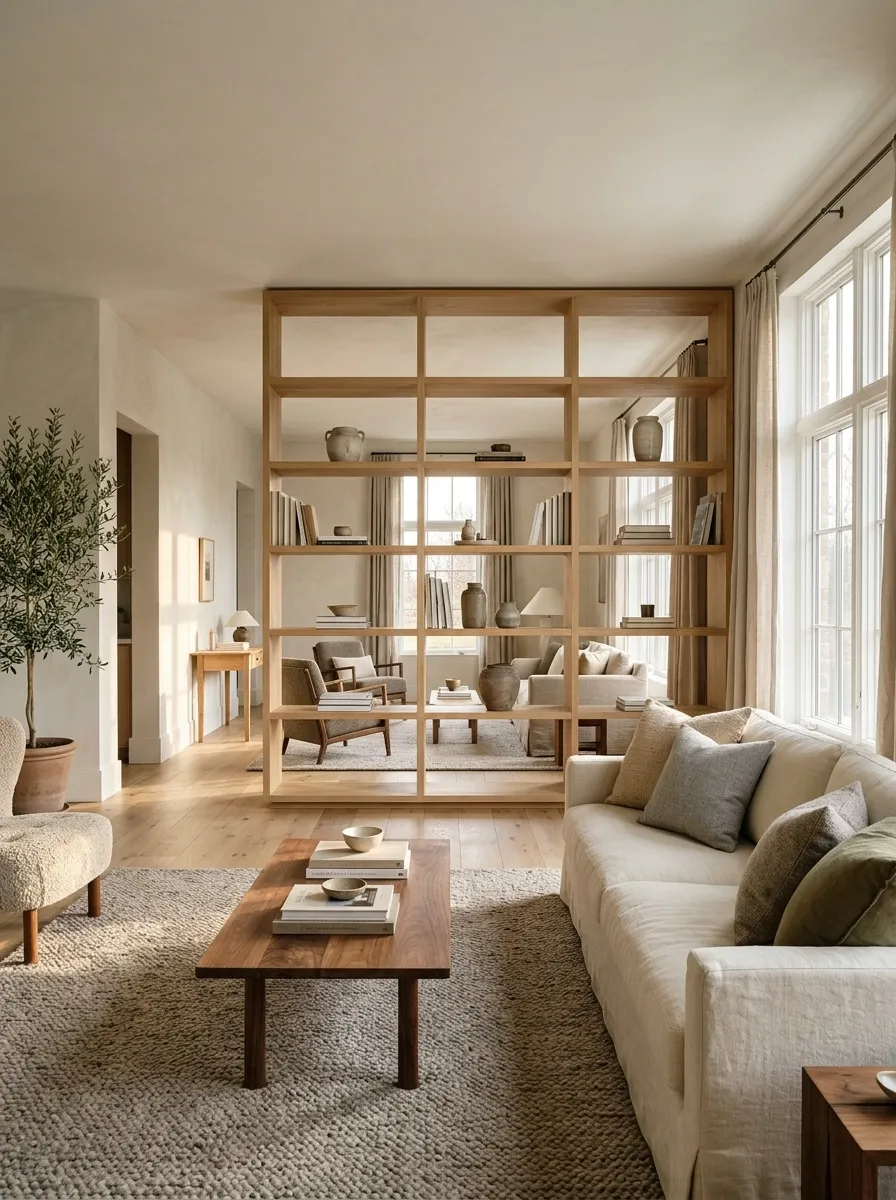
A suitably secured open bookcase can divide views while allowing some light through.
Choose a unit intended for the placement and loaded weight. Keep part of the shelving visually open instead of packing every compartment. Review stability, anchoring, and access carefully, particularly in homes with children. It should read as a divider with storage, not a wall made from miscellaneous possessions.
Use a Low Credenza as a Boundary
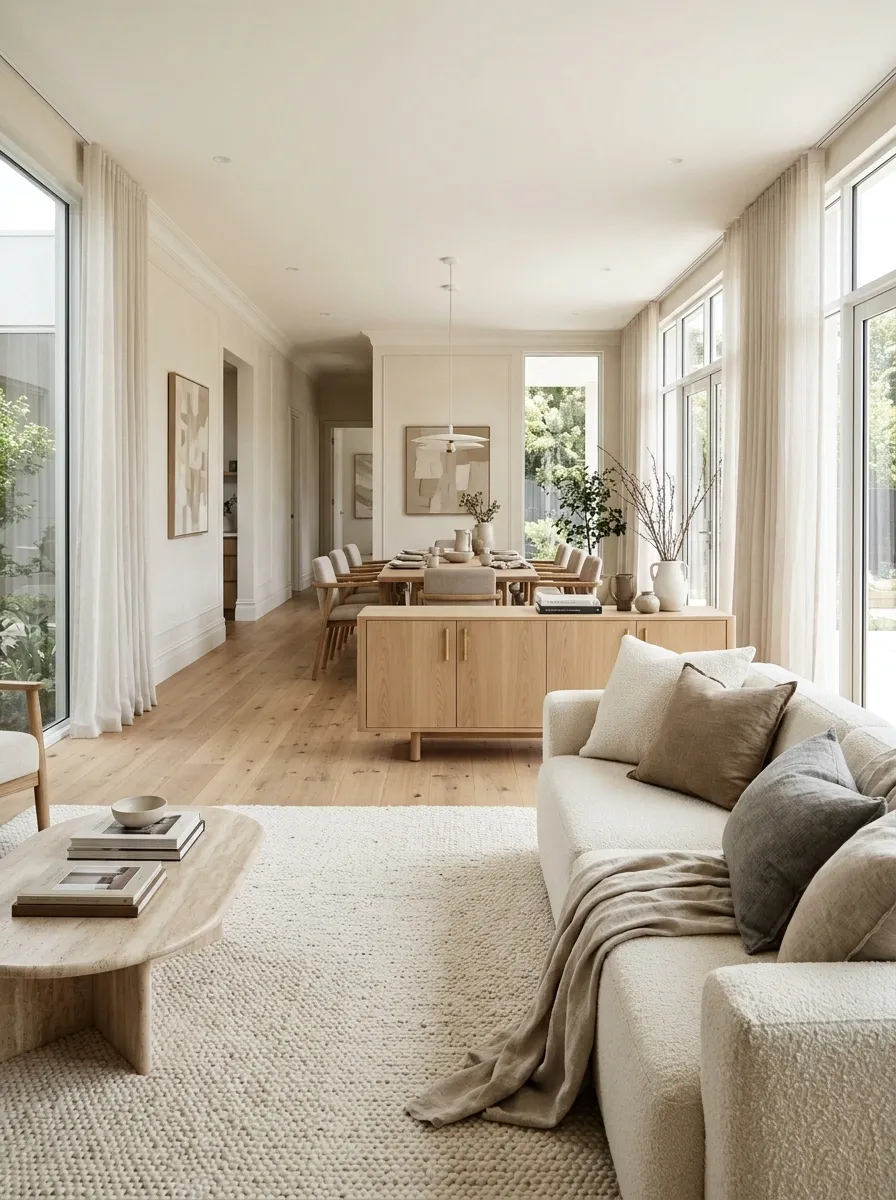
A low cabinet can define the change between living and dining or work and relaxation.
Give the doors a usable opening side and keep the back presentable. Choose its height around sightlines from seated positions. A cabinet with practical storage can make the division useful without creating the visual weight of a full-height partition.
Measure both sides: furniture needs access wherever it functions, not only where it looks good.
Mark the Transition With a Planting Group
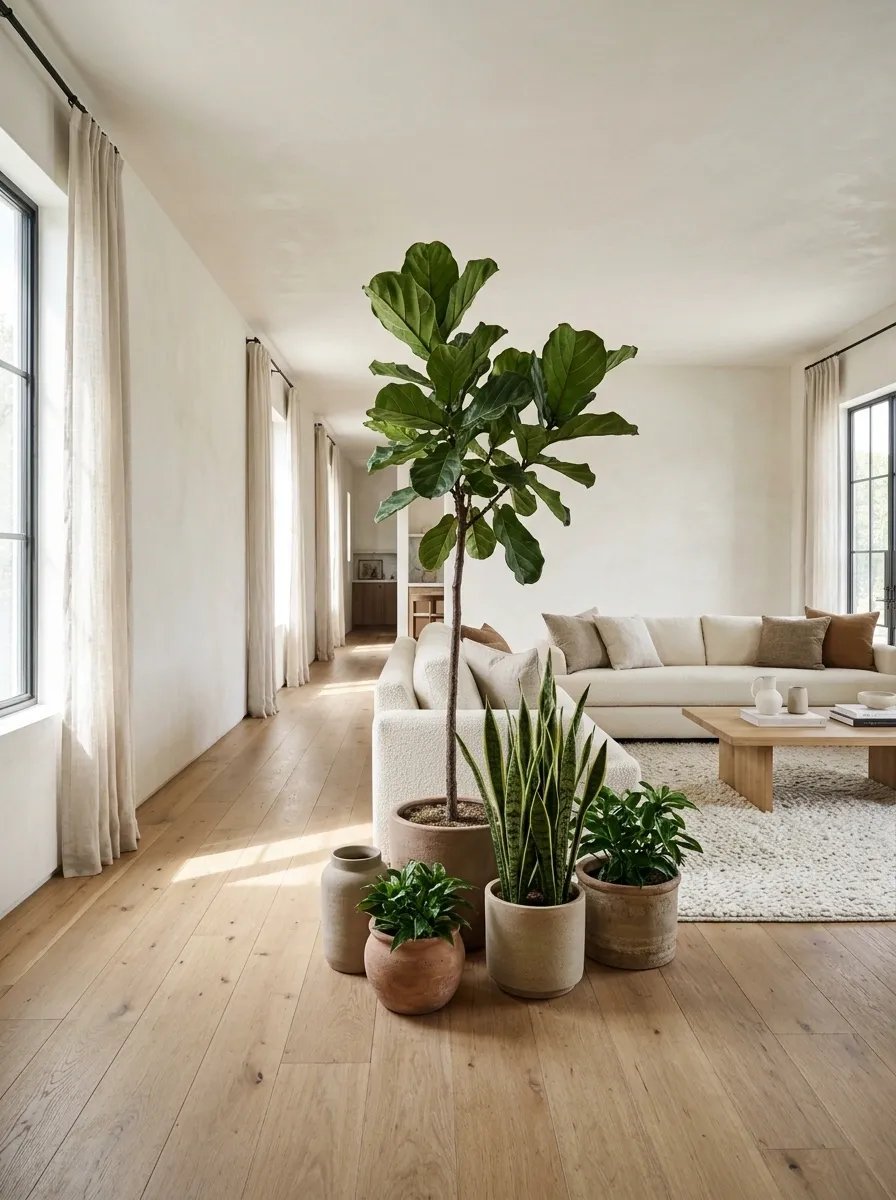
A small group of suitable plants can suggest a boundary without forming a solid screen.
Keep containers stable and clear of circulation. Choose plants for the actual light and leave room for mature growth. Use the group at one edge of the transition rather than spreading pots across the entire width like an obstacle course with watering requirements.
| Plants provide | They do not automatically provide |
|---|---|
| A softer visual edge | Privacy |
| Texture between zones | Sound isolation |
Hang a Curtain for Adjustable Separation
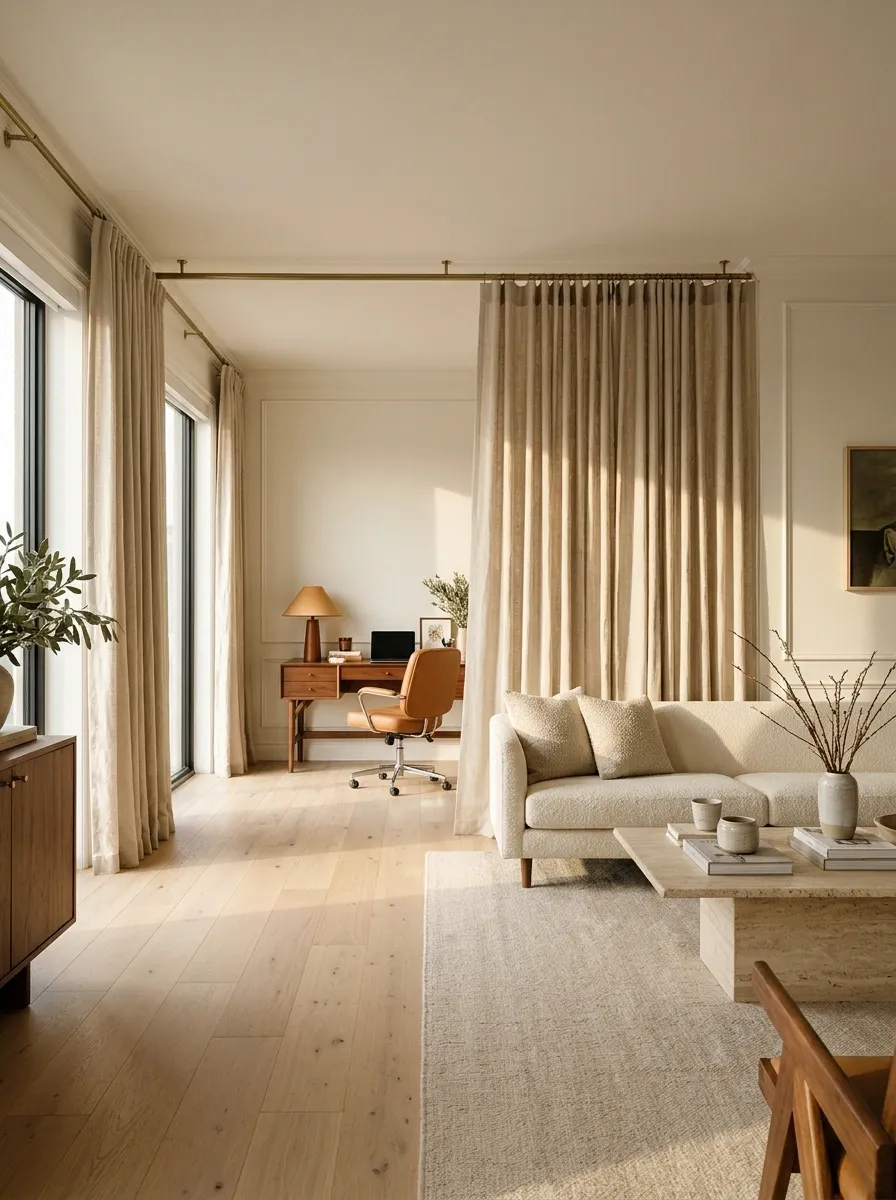
A properly installed curtain can close off a work corner or guest-use area when needed.
Plan the support, track, fabric weight, and stack-back position. Keep exits, ventilation, and heating clear. A curtain creates visual privacy; it does not make the two spaces acoustically separate. Choose enough fabric to look intentional when closed and somewhere sensible for it to gather when open.
Consider a Properly Designed Glazed Partition
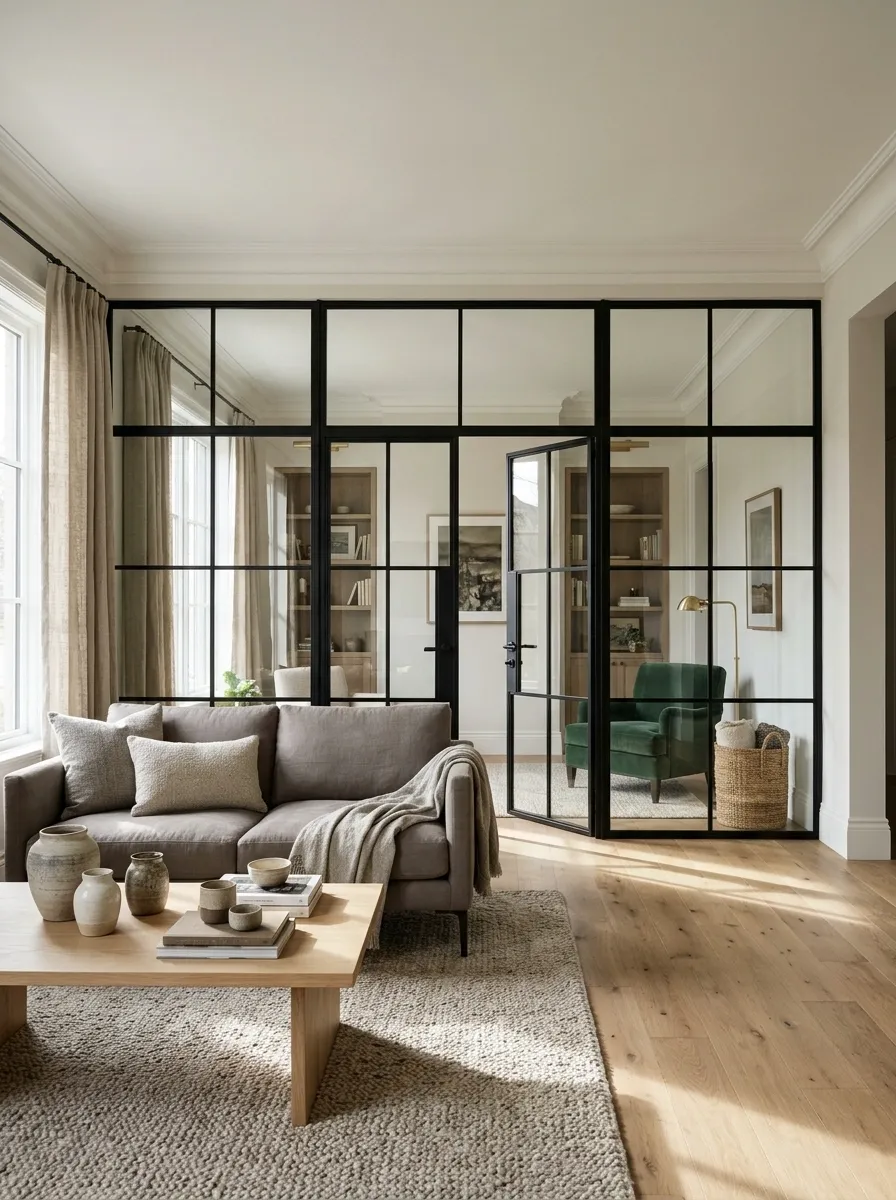
Glazing can create a more definite division while retaining a visual connection.
Treat it as a professional installation with appropriate safety glass, structure, doors, and requirements for the building. Consider cleaning and reflections as well as the appearance. This makes sense when the separation serves a lasting need, rather than a temporary attempt to make an awkward layout look busier.
Ask first: what must be separated—views, activities, access, or sound? Glazing specifications differ according to the answer.
Use a Secured Slatted Screen
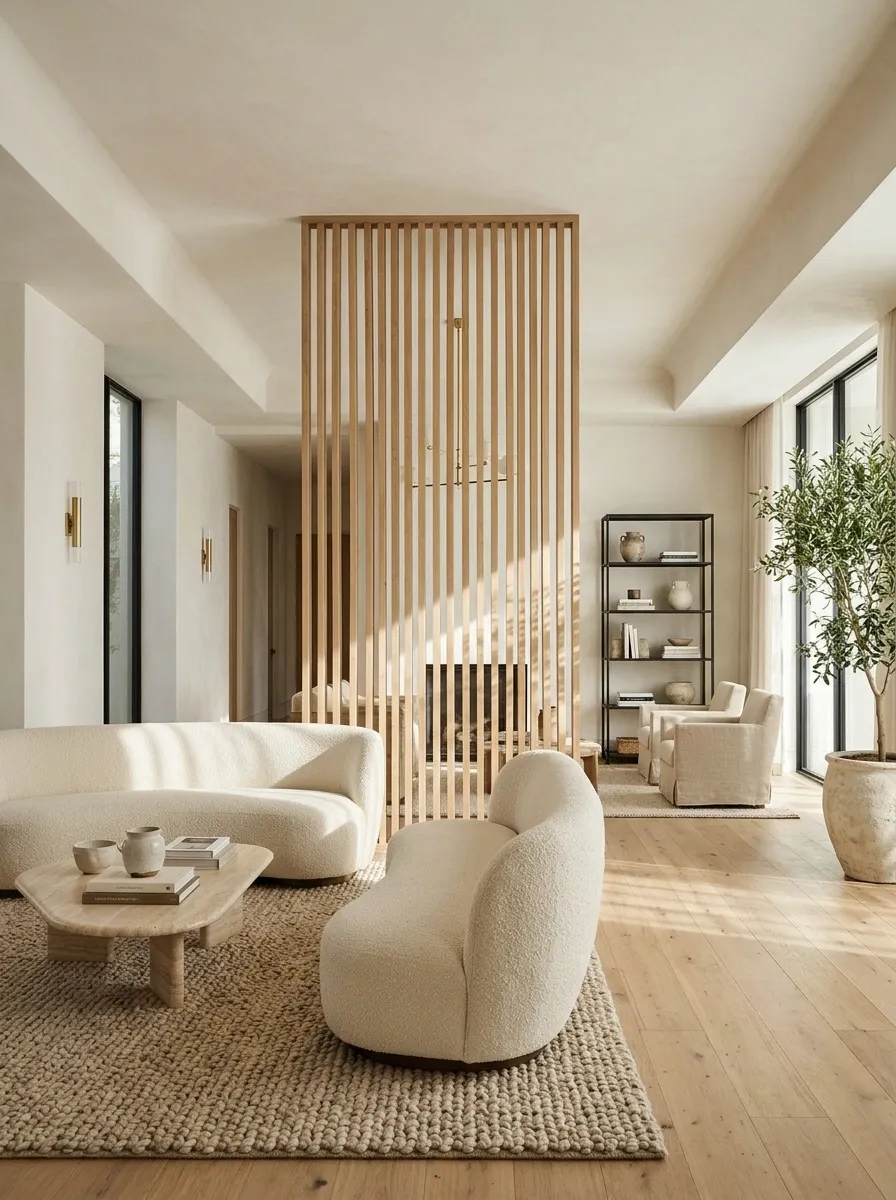
A slatted divider can interrupt the long view without fully closing the room.
Choose a properly designed and secured assembly. Check spacing, climbing concerns, and the way people pass it. Keep the material related to something else in the room so the screen feels integrated. You do not need to repeat slats on every wall to justify a single divider.
Let the Dining Table Establish Its Own Territory
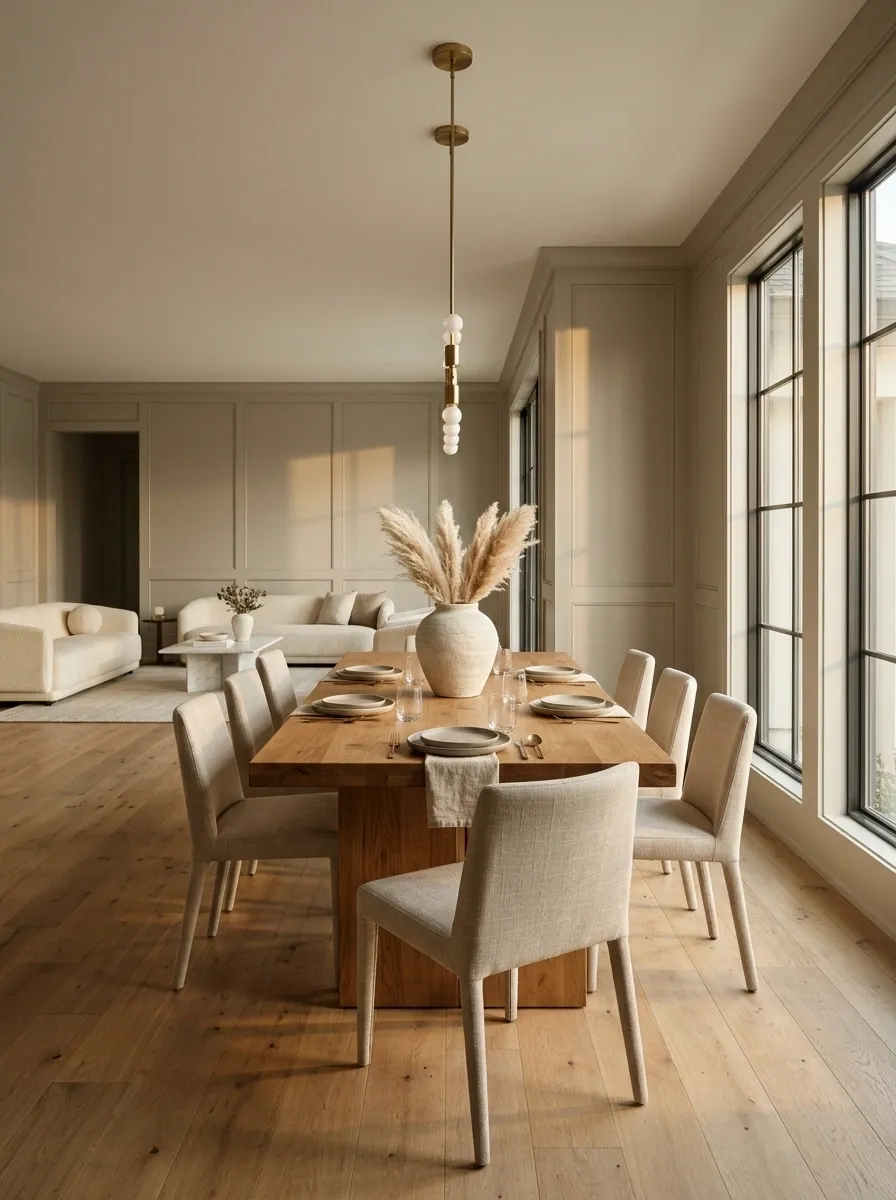
A dining table can anchor one end without a physical partition.
Center it within its usable area, not necessarily within the entire room. Test chairs pulled out and the route around them. A suitable light above the table or a defined wall treatment can reinforce the zone, provided the layout works before the decoration begins.
Layout priority: people need to sit down and stand up without entering the neighboring seating group.
Give a Window-End Reading Area a Complete Setup
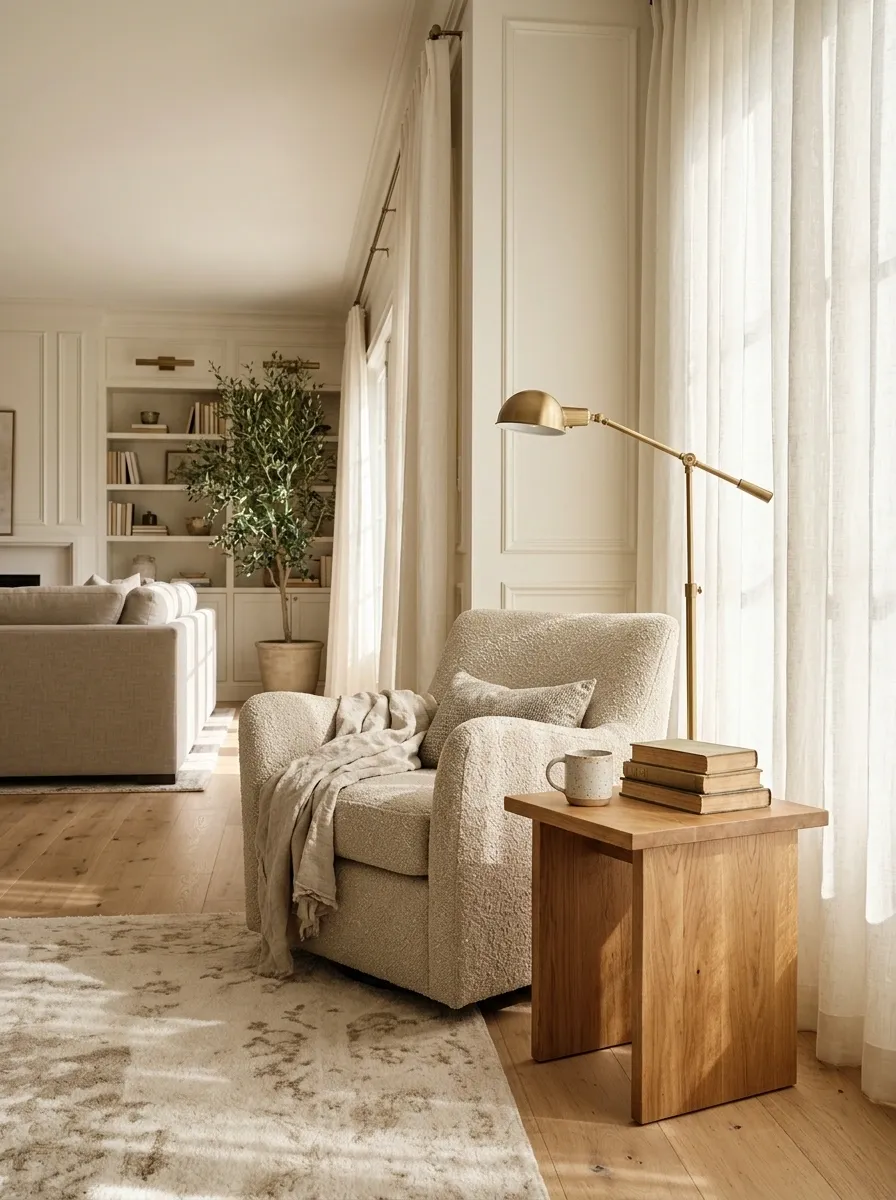
A reading chair, reachable table, and appropriate light can make the far end feel like a destination.
Face it toward a useful view or into the room, rather than automatically pressing it against the window. Check glare and curtain movement. The little area becomes convincing when it supports the activity, not just when it contains a chair that photographs nicely.
Make the Work Area Face Its Own Focal Point
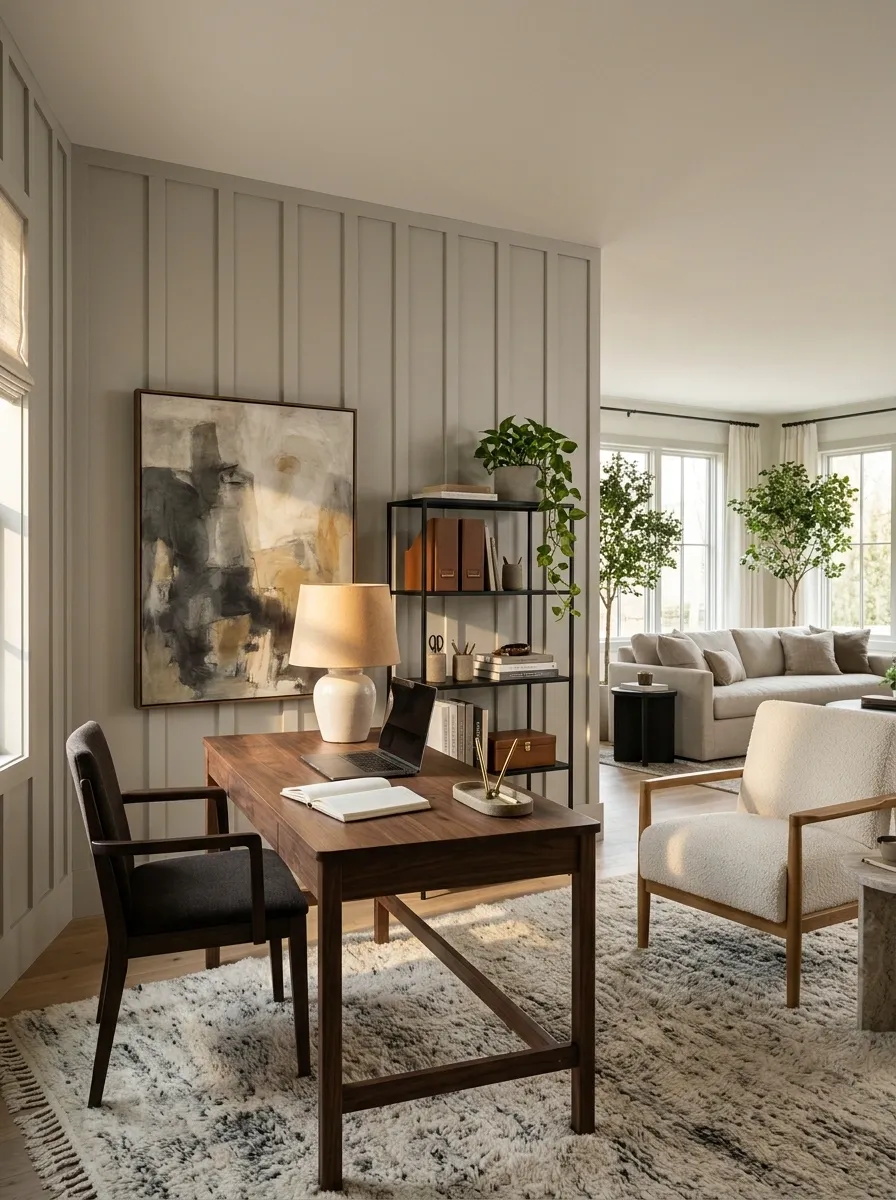
An office corner feels more distinct when its desk has a deliberate orientation.
Position the screen around glare, privacy, and power access. Keep work storage within the zone so documents do not spread across the living area. A visual boundary helps, but shared noise and household movement still need a practical agreement.
| In the work zone | In the living zone |
|---|---|
| Work storage and equipment | Relaxation furniture |
| Suitable task light | Softer general light |
Use Closed Storage to Contain a Family Activity Zone
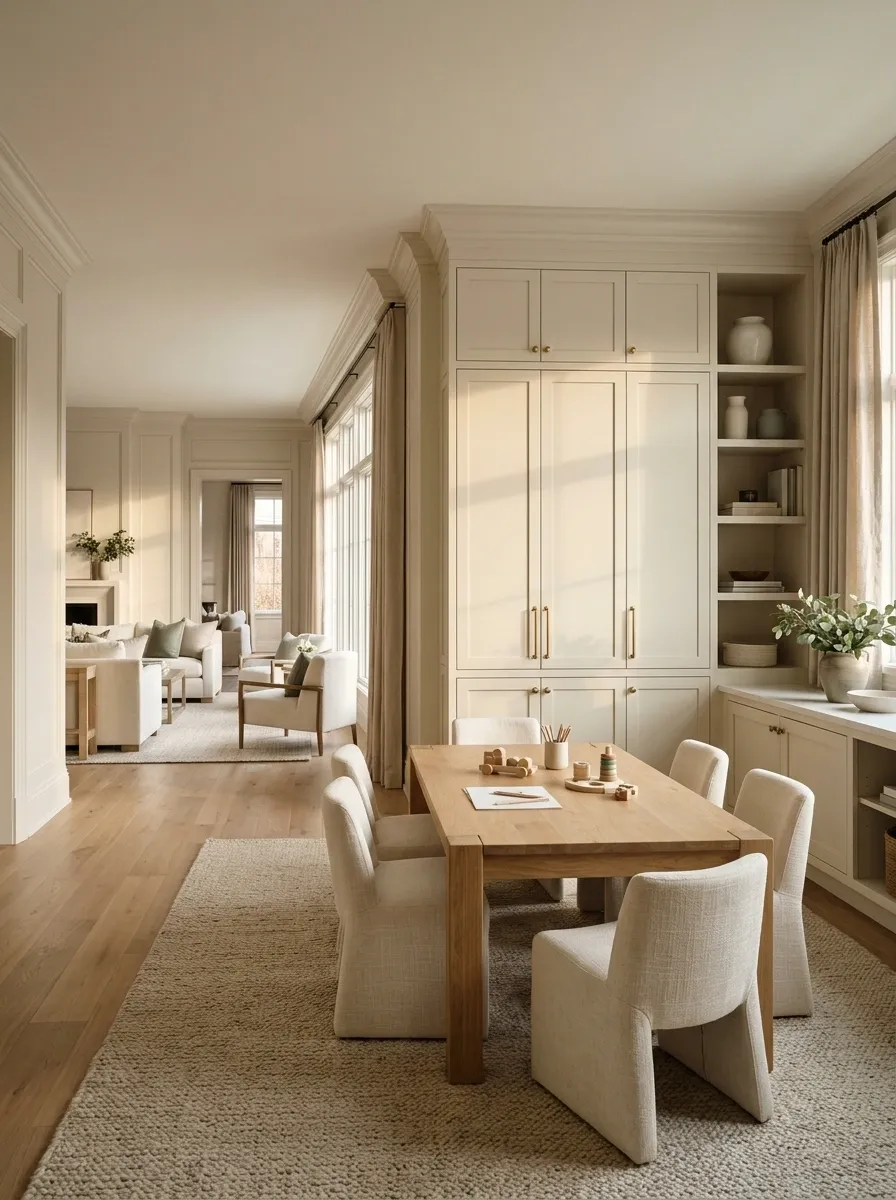
Games, crafts, or children’s materials can occupy one end if their storage belongs there too.
Choose age-appropriate, safely secured furniture and leave a usable activity area. A zone is harder to recognize when its supplies are stored across the room. Give cleanup a simple route instead of relying on decorative baskets that must be carried through the seating group.
Add a Secondary Table Instead of More Seating
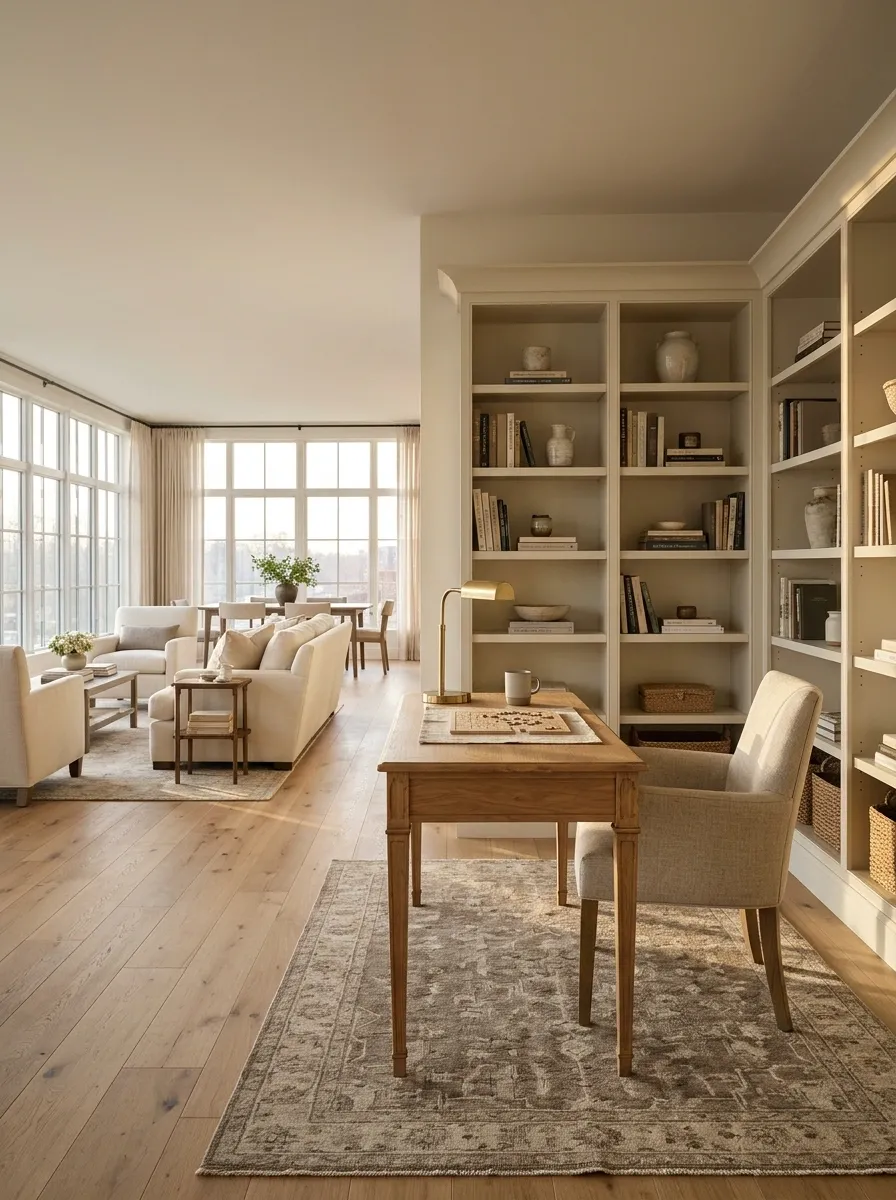
The second space does not have to contain another sofa.
A small table for puzzles, writing, or occasional work can make the room more useful. Choose the table around the real activity and leave adequate chair space. Repeating a seating group at both ends can be less effective than giving the room a genuinely different function.
Try what you own: borrow a suitable table temporarily to see whether the activity earns its place.
Position Furniture Across the Length
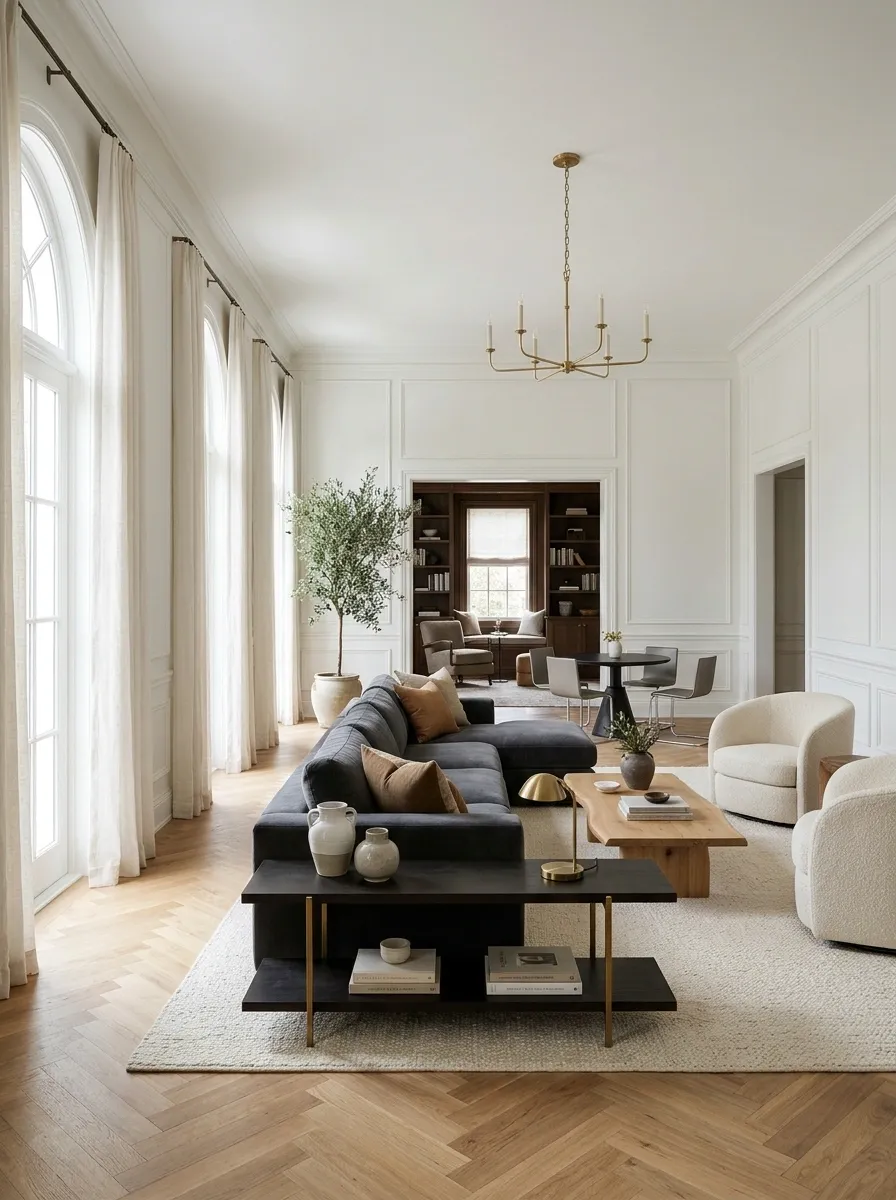
A crosswise sofa, table, or pair of chairs can interrupt the corridor-like feeling of furniture lined along both long walls.
Keep a clear route around the grouping and check doors fully open. The aim is to change the room’s rhythm, not place a barricade across it. Even one well-positioned crosswise piece can help establish a separate end zone.
Keep One Continuous Walking Route
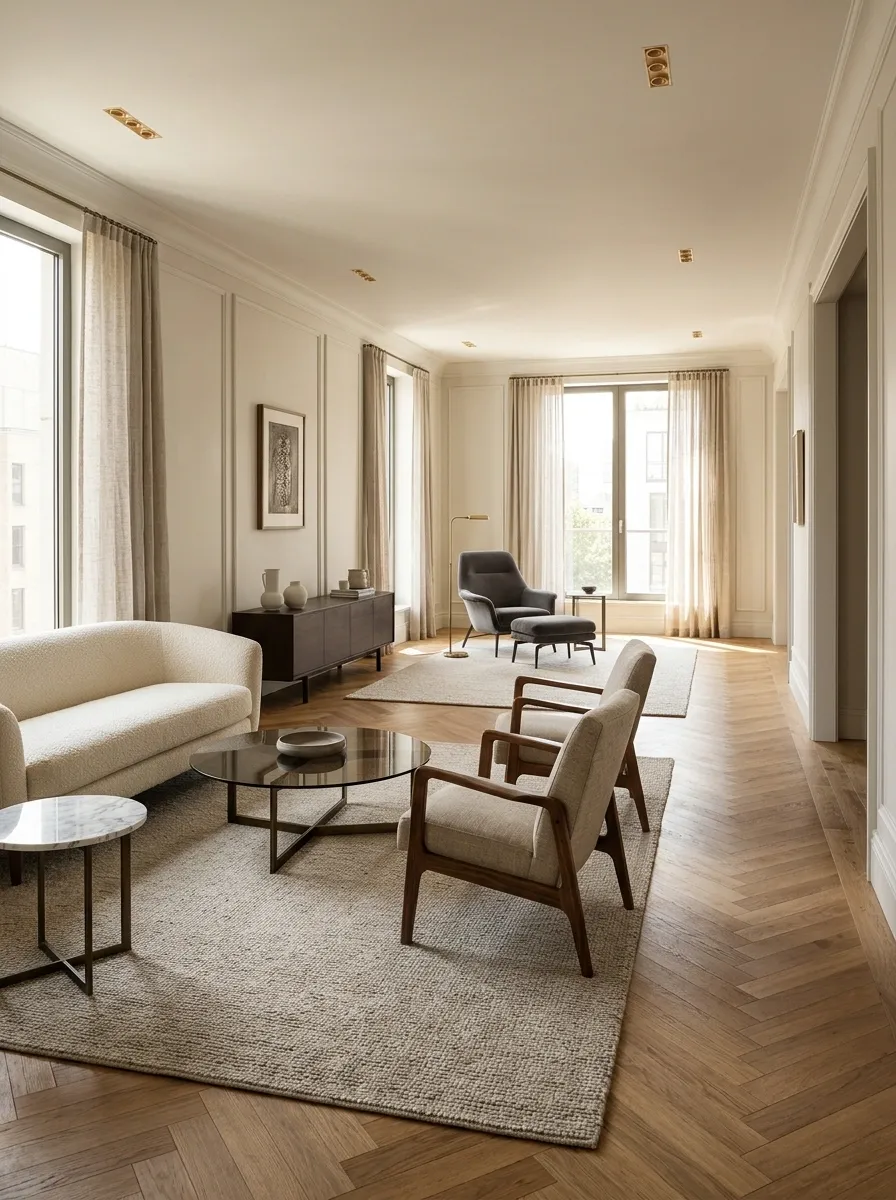
Decide where people move between the entry and the far end, then protect that route.
It may run along one side rather than through both activity groups. Avoid creating a sequence of little detours around coffee tables and chairs. A long room feels more organized when the connection is straightforward, even if the zones themselves are furnished differently.
| Protect the route from |
|---|
| Chair pullback |
| Open cabinet doors |
| Cables and loose baskets |
Give Each Zone Its Own Lighting Emphasis
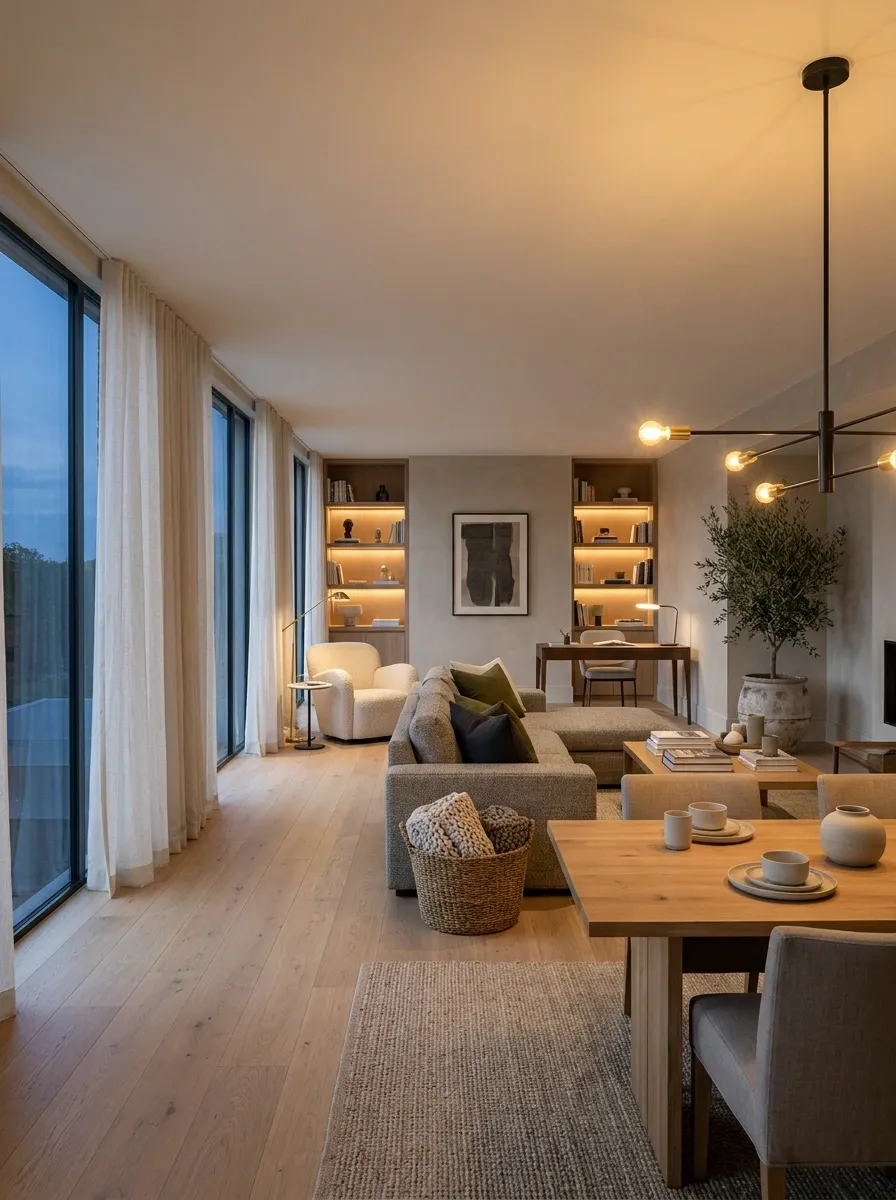
Use light to reinforce the room’s functions: a dining light over the table, reading light near the chair, and appropriate task light at a desk.
Coordinate compatible controls and professional installation where needed. Two distinct lighting groups can make the room feel different after dark without adding another physical divider. Avoid making one end useful and the other a dim decorative afterthought.
Use a Defined Painted Area
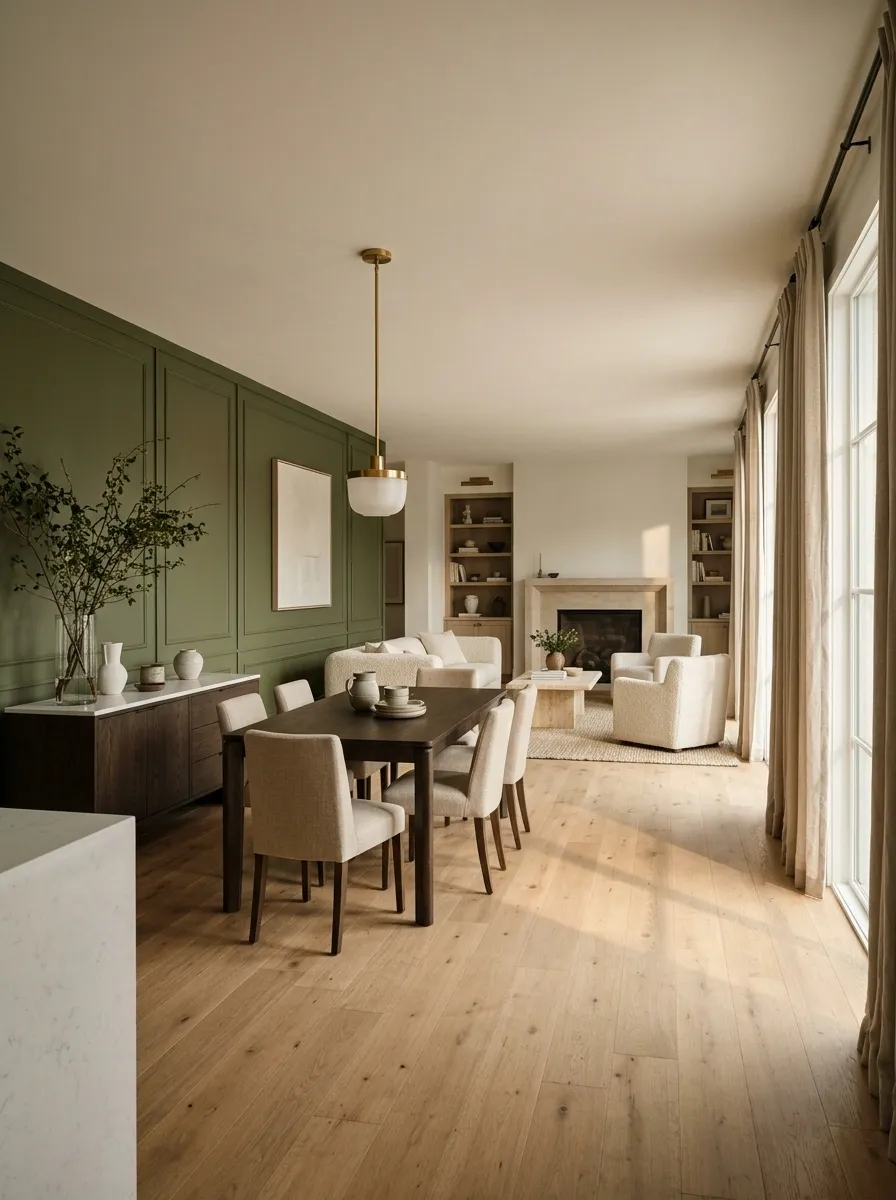
A color change can give one end its own identity while the floor remains continuous.
Choose a stopping line related to architecture, furniture, or the intended zone. A painted rectangle that floats arbitrarily beside the dining table may look less resolved than a full end wall. Test the color from the main entrance so the room still feels connected.
Keep the boundary deliberate: it should look chosen, not as though the paint ran out halfway through.
Frame One Zone With Wallpaper
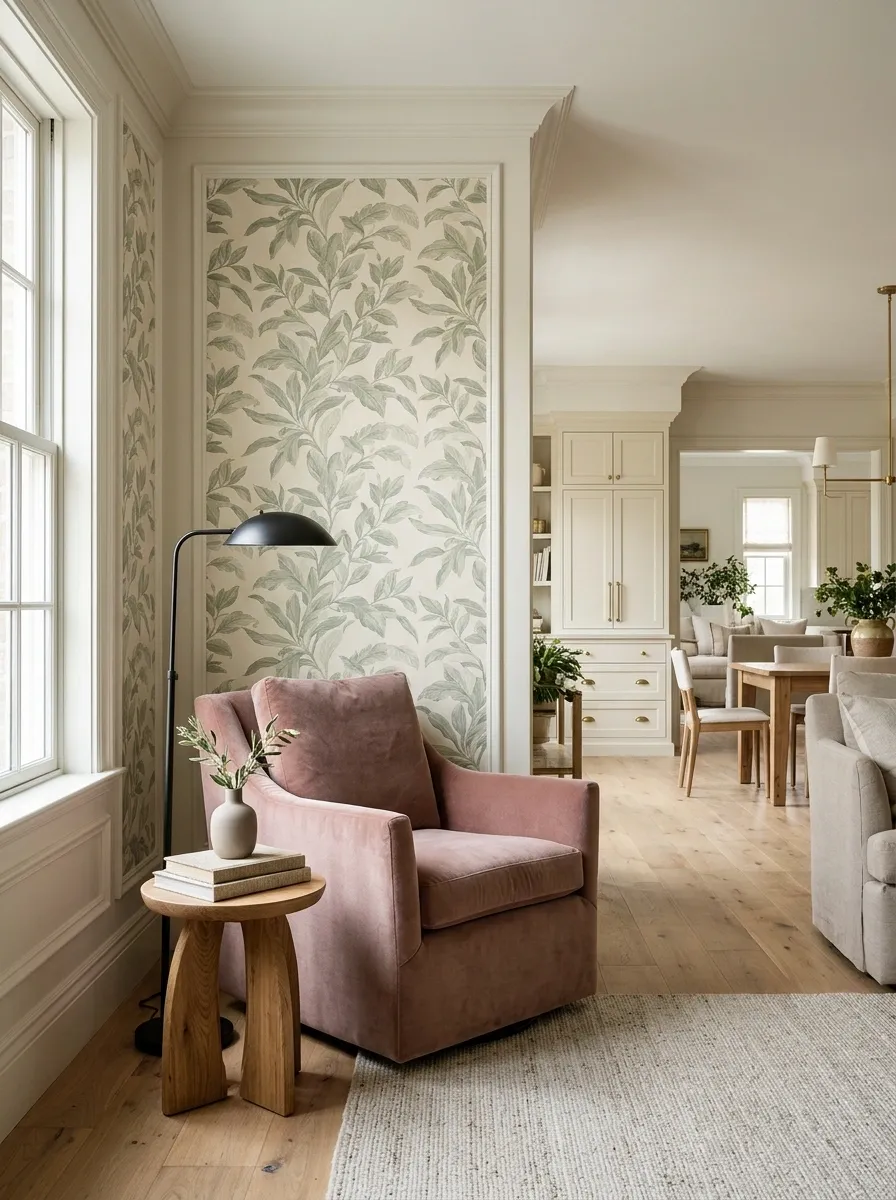
Wallpaper can establish a dining, reading, or work end without requiring a partition.
Keep the pattern related to the room’s scale and the furniture in front of it. If the other zone is already expressive, use a quieter design. A clear background can make the secondary space feel complete without adding more furniture than the room needs.
Coordinate Window Treatments Without Making Them Identical
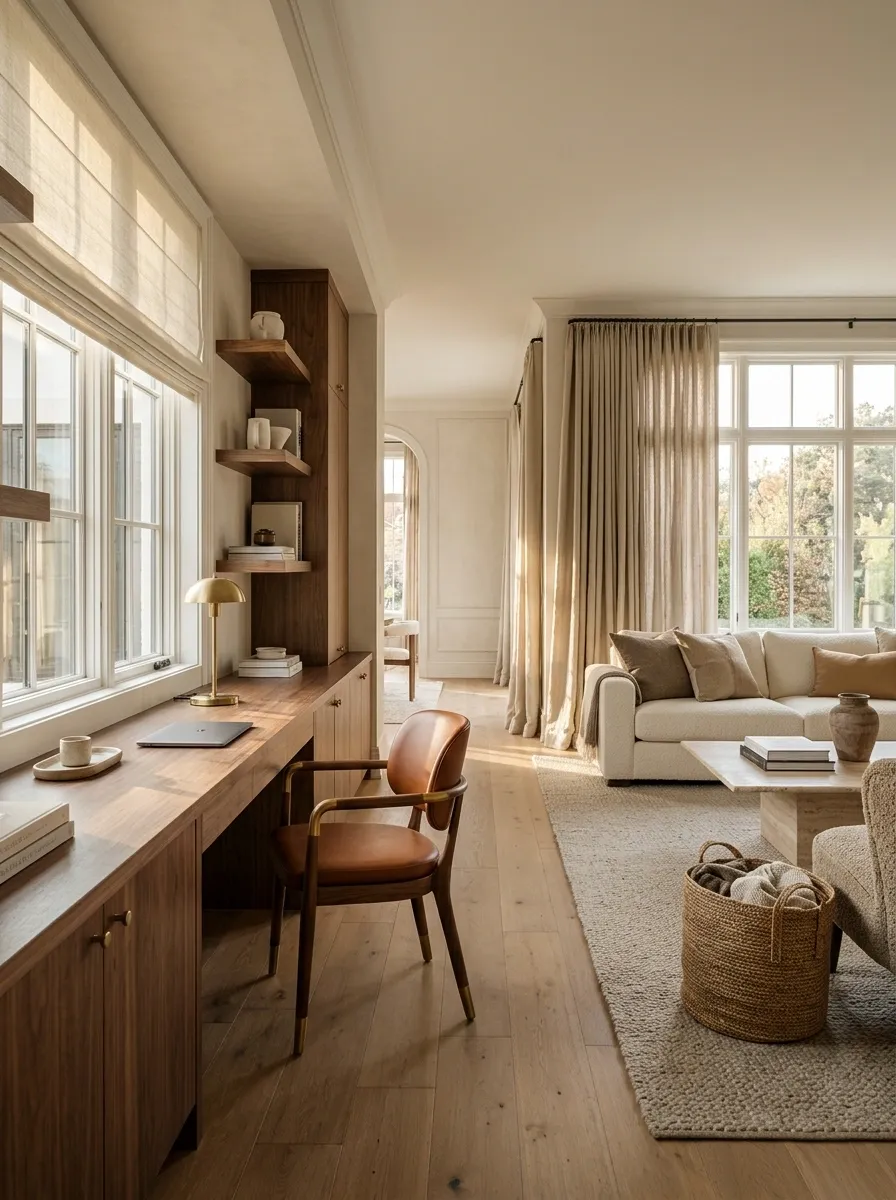
Windows serving different zones can have treatments suited to their functions while sharing a visual link.
For example, a practical blind at a desk and curtains near the sitting area can share a color or material tone. Keep the overall relationship deliberate. The difference should reflect use rather than look like two decorating decisions made without a conversation.
| Share | Adapt |
|---|---|
| Color family or material tone | Light control for each activity |
| A similar level of formality | The form of the treatment |
Repeat One Material Across the Two Spaces
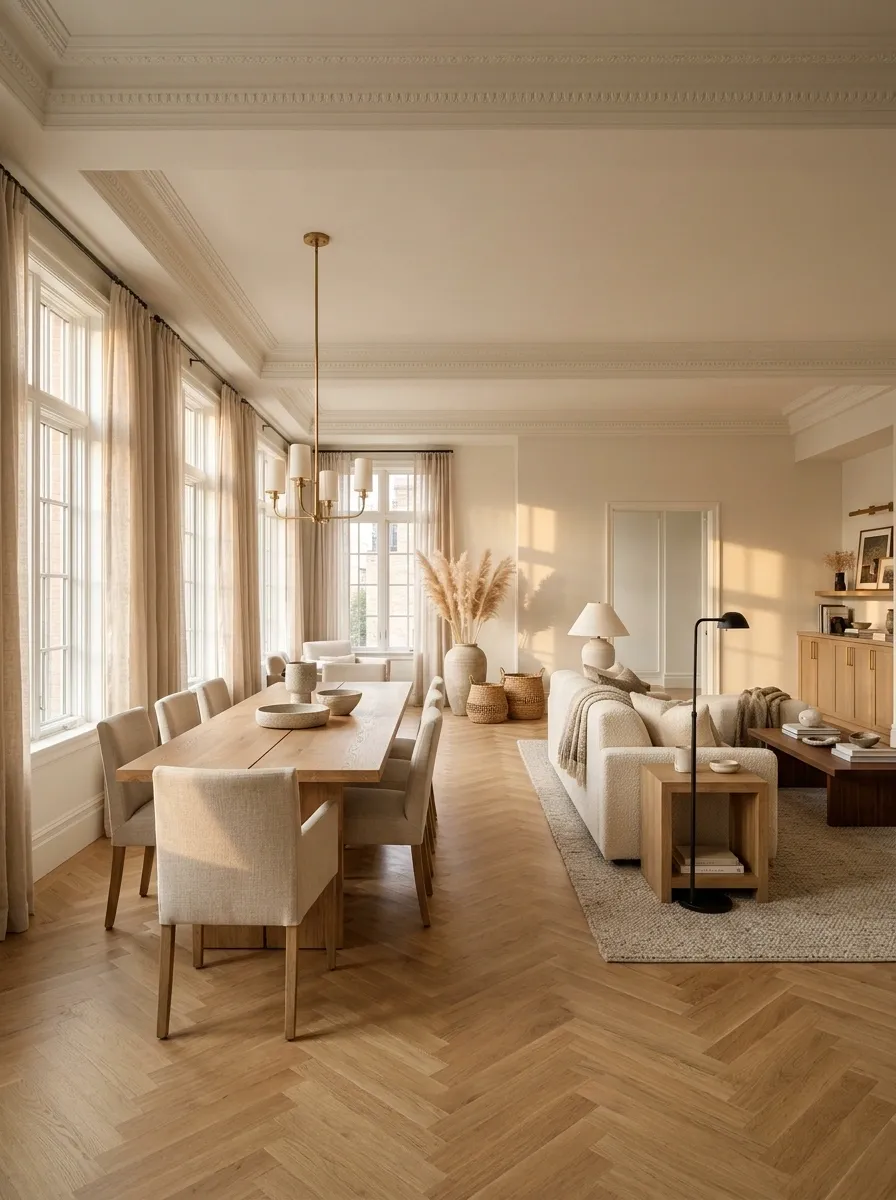
A common timber tone, metal finish, or textile color can connect separate zones.
Use enough repetition to create a relationship without buying matching sets. A dining table and side table in related wood can be sufficient. This allows the zones to remain distinct while belonging to the same room.
One convincing link is enough. The whole room does not need an identical-furniture policy.
Leave a Small Visual Pause Between the Groups
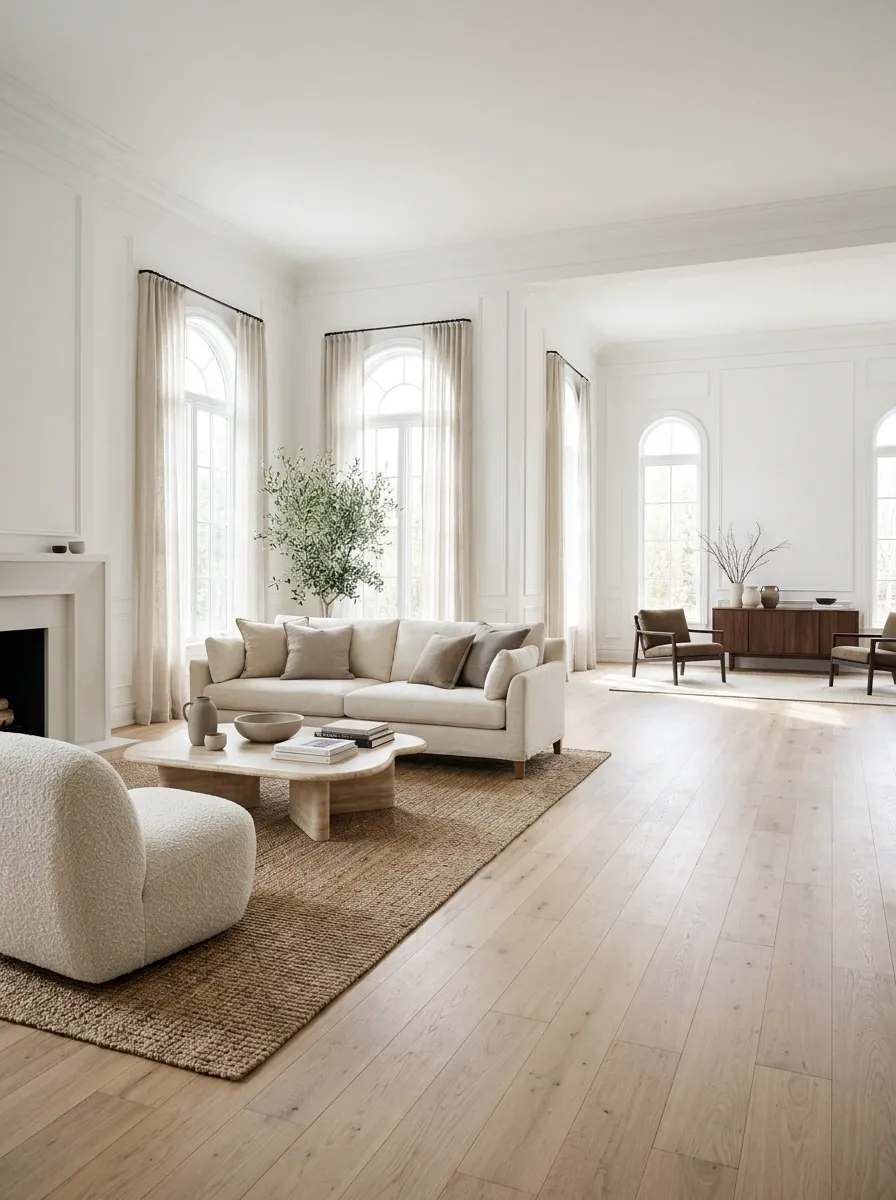
Some unoccupied floor or wall can make the transition easier to read.
Do not automatically fill every gap with a plant stand or side table. Once the walking route works, a little space between furnishing groups can be useful. The room may need less furniture at the boundary rather than a more elaborate divider.
Use a Two-Sided Storage Piece Thoughtfully
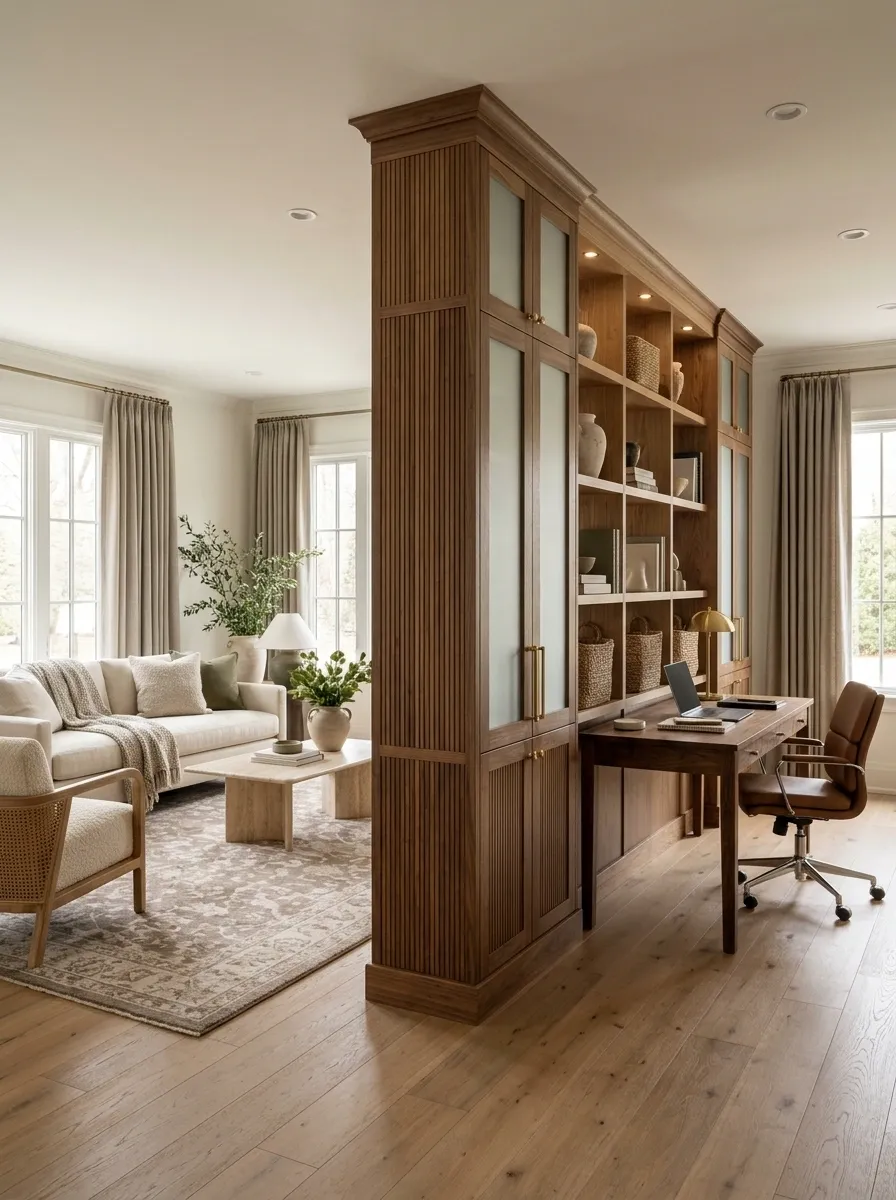
A suitable double-sided unit can serve both zones, such as books toward a sitting area and practical storage toward a workspace.
Choose furniture designed for the position and secure it appropriately. Check door movement and reach from both sides. A unit that only looks attractive from one direction may need a different placement.
Ask of each face: what does it store, who uses it, and how much room does access require?
Test the Division Before Making It Permanent
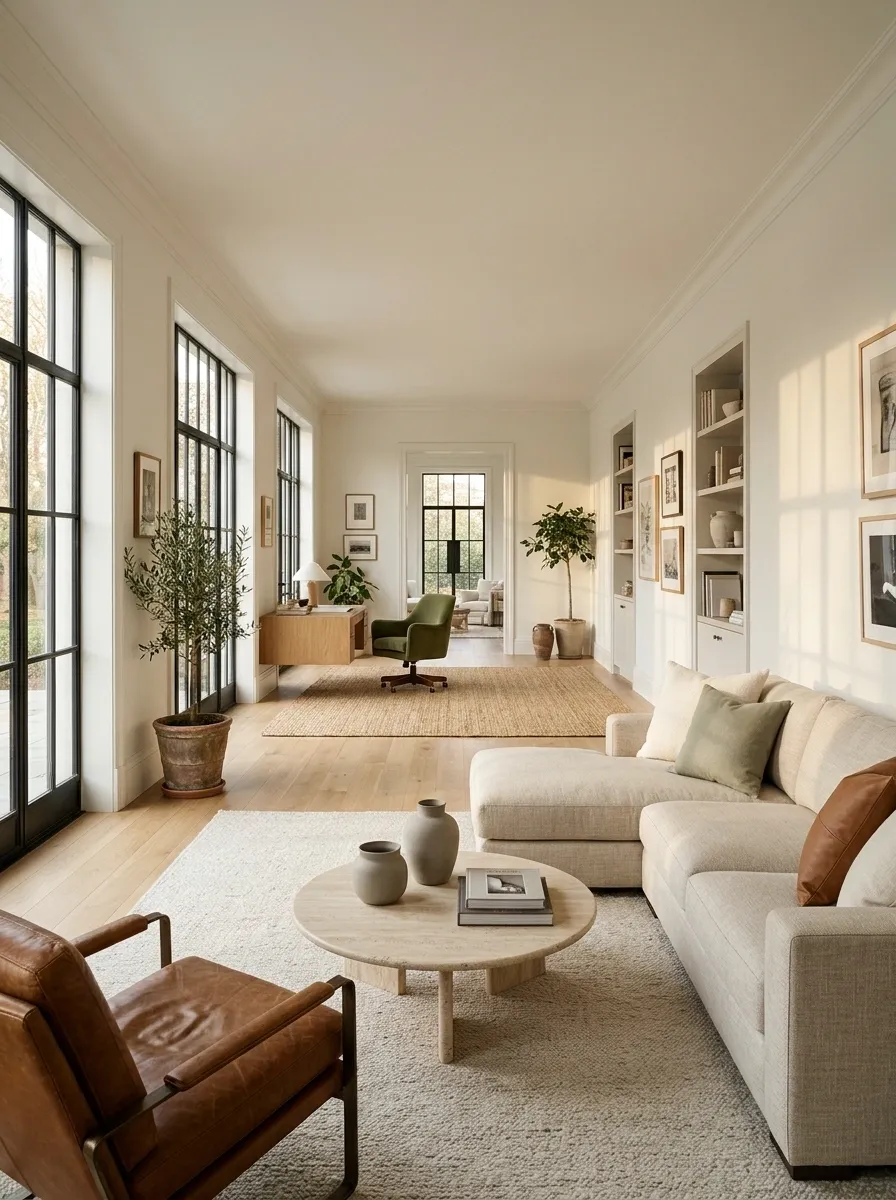
Use existing furniture, paper footprints, or removable layout markers to rehearse the plan.
Live with the arrangement through ordinary activities before commissioning joinery or a partition. Watch where people walk, where bags land, and which seat remains unused. Those observations are more valuable than a perfectly balanced plan that does not support your household.
The goal is not to disguise the room’s length. It is to make that length useful, with two places people actually want to spend time.