
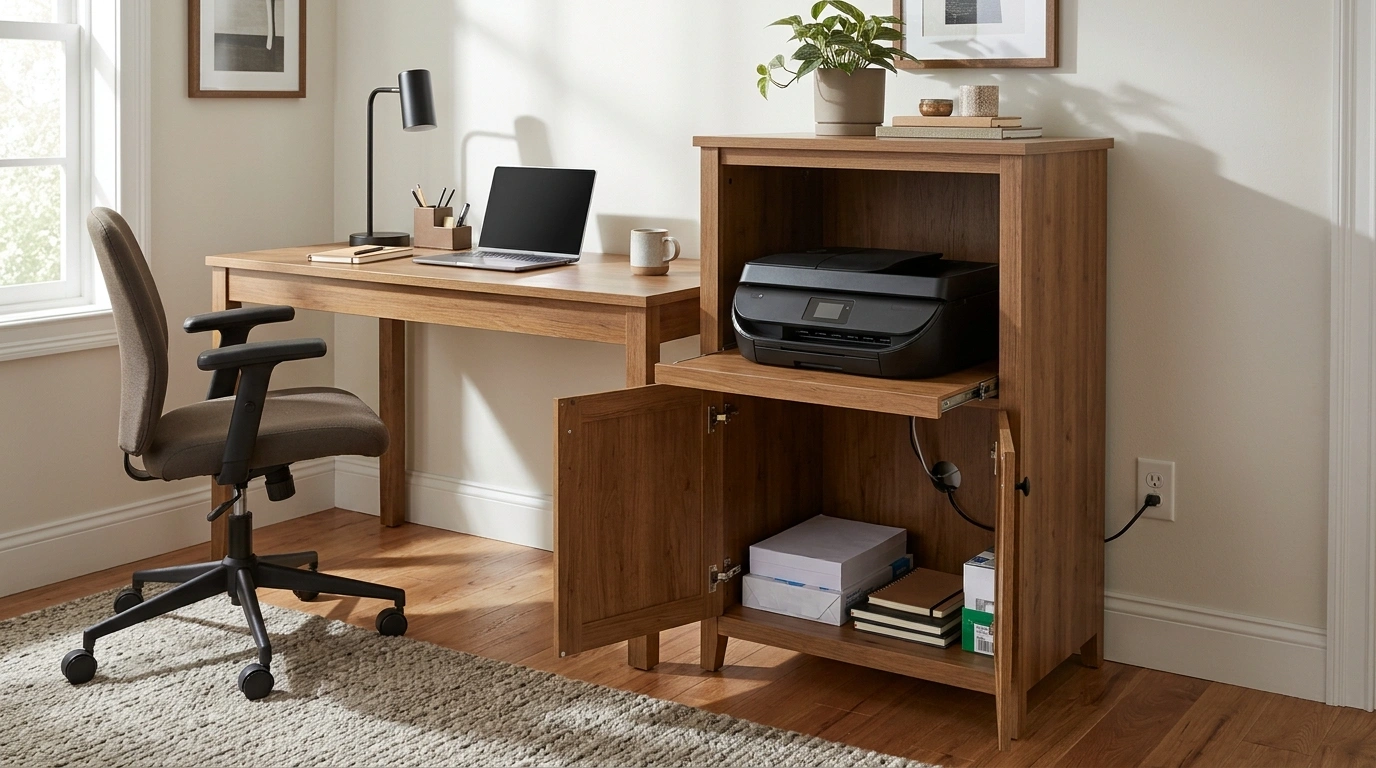
The printer can disappear when you are finished with it. It should not require an expedition every time you need a page.
Measure the machine in its working state: trays open, scanner lid raised, cables connected, and access doors usable. Check the exact manual for operating conditions, ventilation, clearances, and support. HP’s setup guidance illustrates why the closed-box dimensions are not the whole story. (Manufacturer setup example)
Treat the ideas below as furniture and access concepts. A closed cabinet is not automatically suitable for operating a printer; opening a door alone may not satisfy the requirements either. Where necessary, move the printer to an approved operating position before use and follow shutdown and cooling instructions before returning it to storage.
Home Office with Printer Ideas
Use an Existing Credenza With a Dedicated Compartment
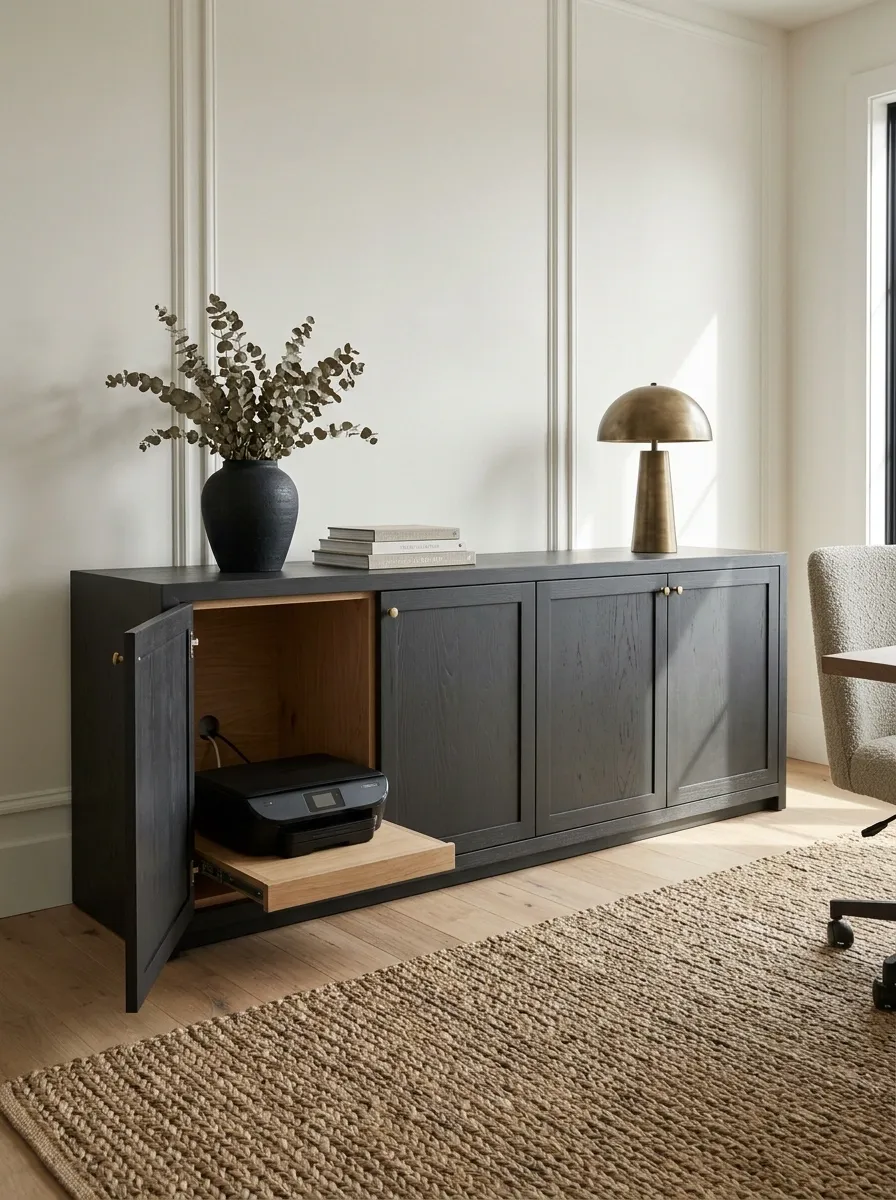
A sideboard can hide a compact printer if its usable dimensions and support suit the machine.
Empty a real compartment rather than squeezing the printer between other objects. Plan the operating arrangement before making cable openings. Keep the furniture useful as a whole; the top can remain a calm office surface while the equipment has its own defined home.
Choose a Purpose-Built Printer Cabinet
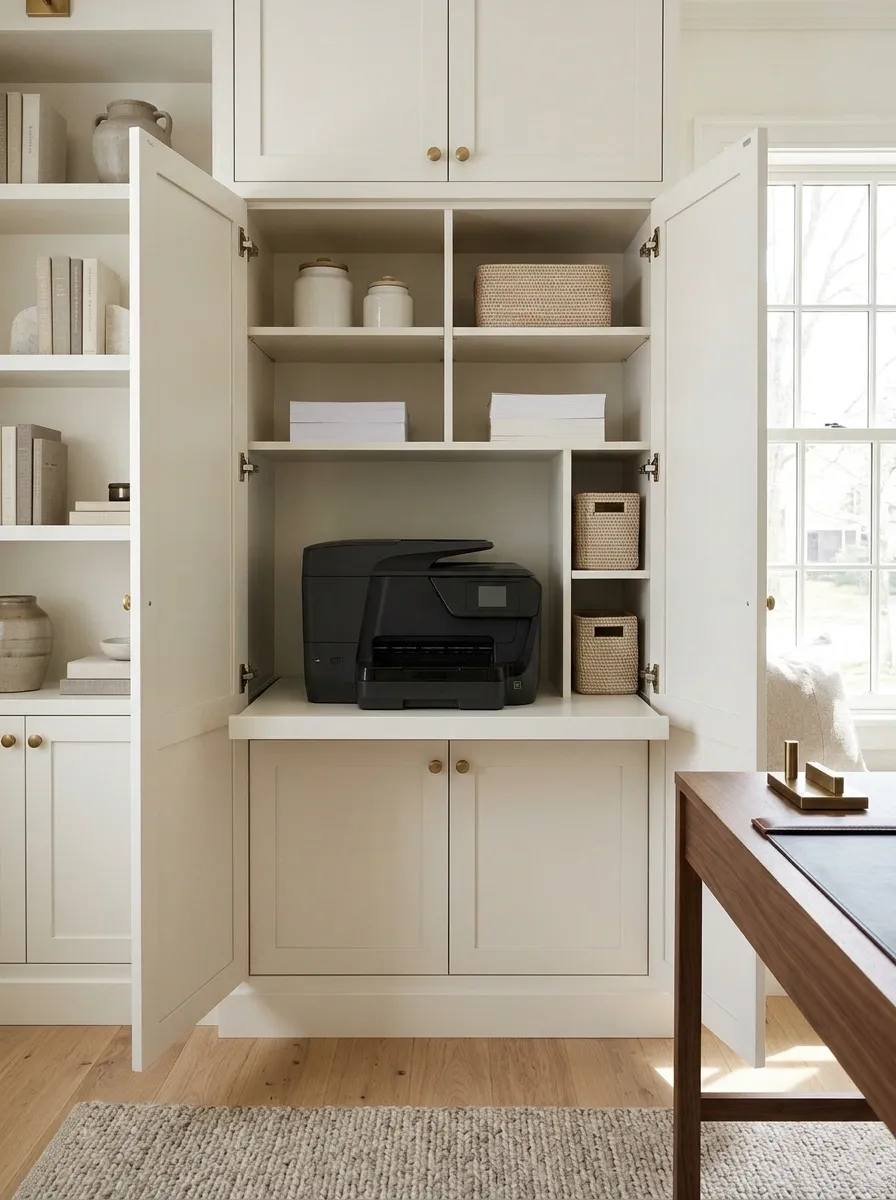
A cabinet designed around printer use may simplify access, but still compare it with your particular machine.
Check shelf loads, internal dimensions, operating position, cable management, and all moving parts. The word printer in a product name does not establish compatibility. A good fit should make ordinary tasks easier, including the less glamorous one where you have to remove a jammed sheet.
| Verify | With the actual printer |
|---|---|
| Loaded support | Machine and supplies |
| Open-state dimensions | Trays, lid, and access doors |
| Operating conditions | Exact manufacturer’s instructions |
Specify a Properly Rated Pull-Out Platform
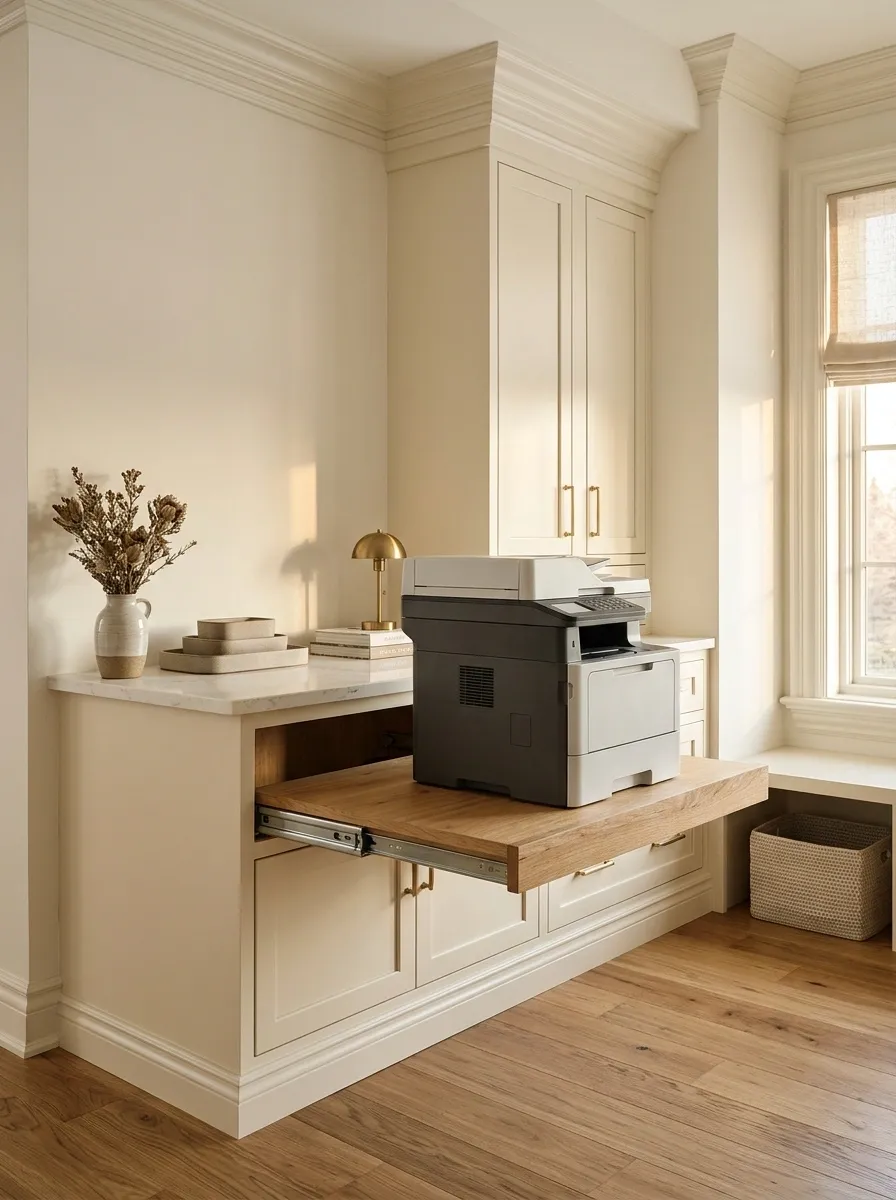
A pull-out can bring the machine into reach while the cabinet stays put. Its hardware needs more consideration than a normal stationery drawer.
Have the design account for:
- The loaded machine weight.
- Extension and locking.
- Cabinet and platform stability.
- The complete operating clearance when extended.
Include the way someone reaches across the printer to scan. The support must suit the actual use, not just the closed weight.
Park a Printer Cart Inside a Cupboard
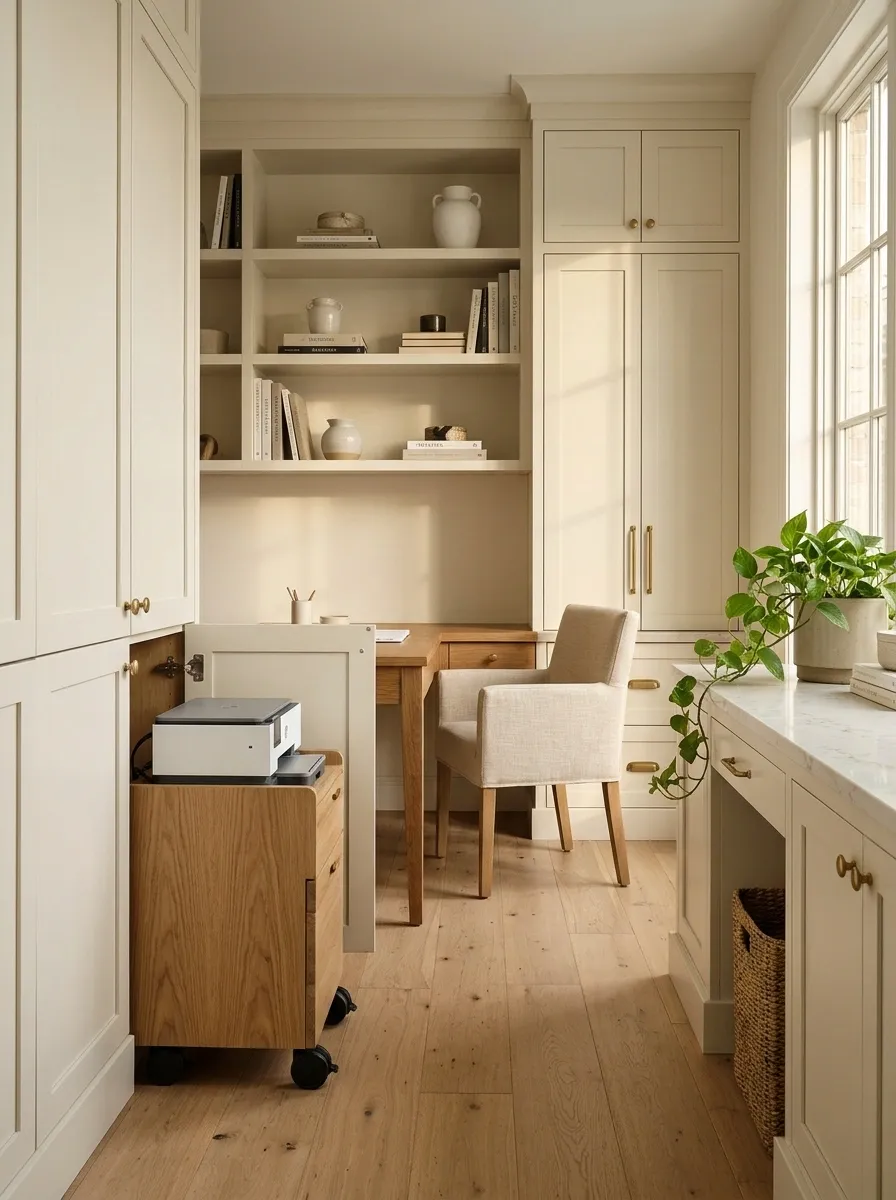
A suitable cart can store behind doors and roll into a permitted working position when needed.
Choose stable construction and appropriate locking castors. Plan cables without stretching or trapping them, and keep the movement route clear. This can be useful for an occasional printer, provided moving it does not become more work than leaving it visible.
Test the routine: move it out, set it up, use it, and return it according to its instructions before committing to the cupboard.
Dedicate a Wardrobe Section to Office Equipment
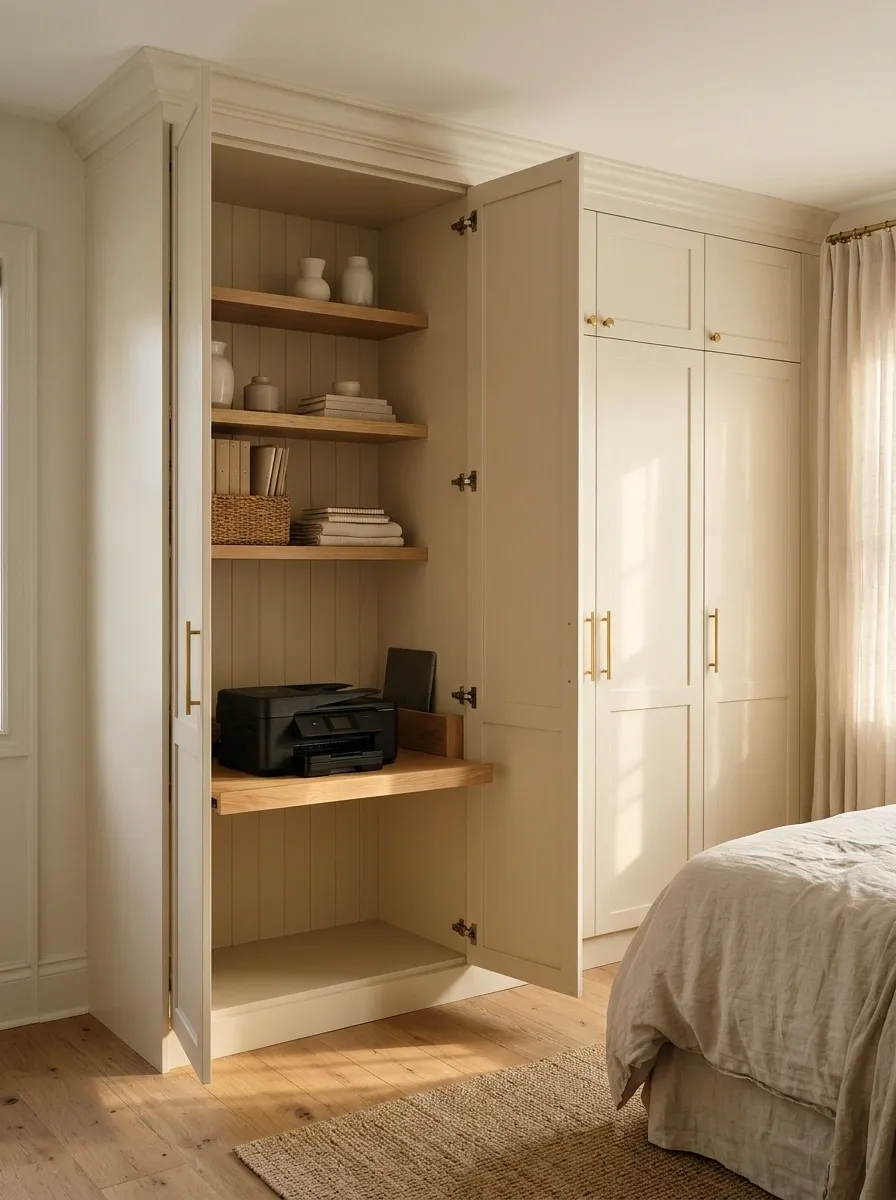
A wardrobe can contain a compact office zone when it has an appropriately supported equipment section.
Keep the printer separate from clothing and loose fabric. Resolve the operating position and ventilation requirements rather than assuming the whole wardrobe can remain closed. This can suit a bedroom office where you want work equipment out of view at the end of the day.
Use Wide-Opening Bifold Cabinet Doors
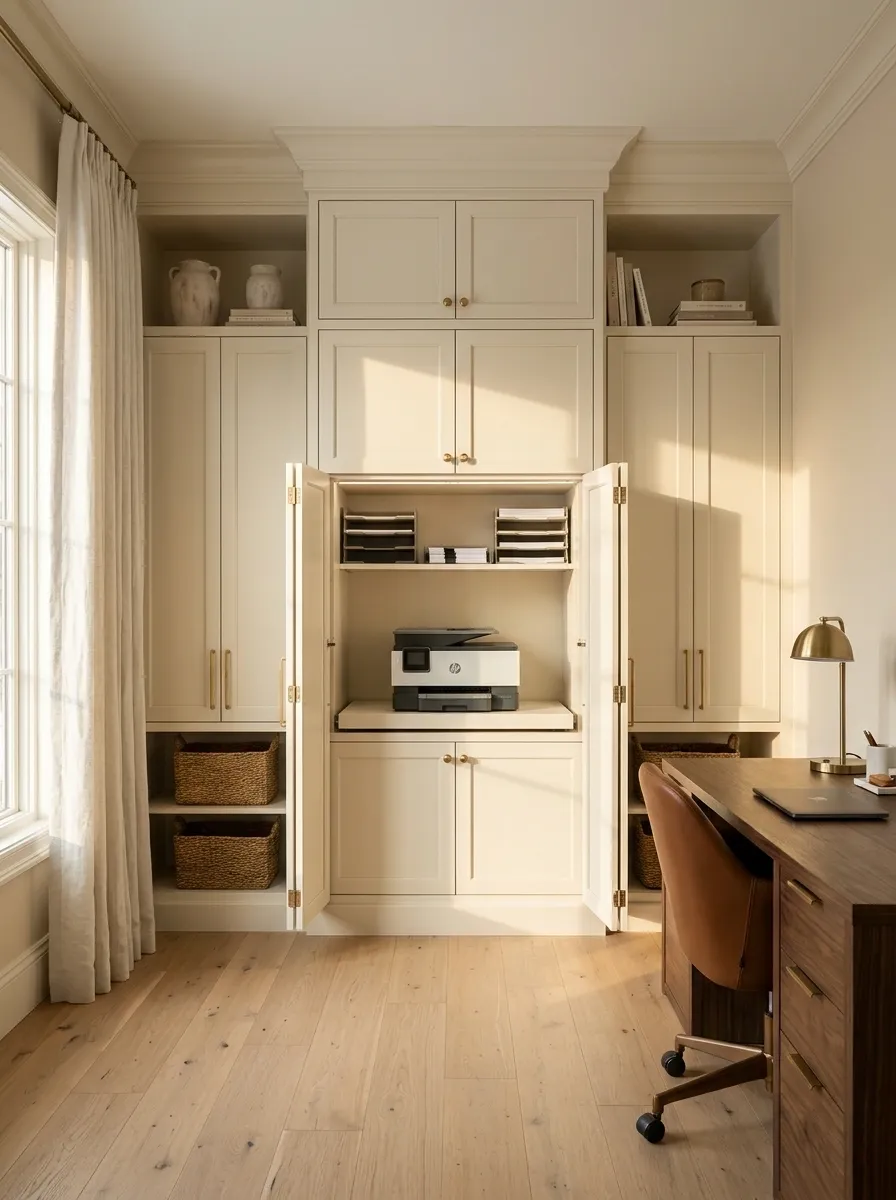
Bifold doors can expose a wider equipment bay without requiring a long swinging door in the room.
Check that folded panels do not interfere with trays, controls, or the machine’s clearance envelope. Plan the door parking position as carefully as the closed appearance. The cabinet should become genuinely usable when open, not merely reveal a printer that remains trapped behind the hinges.
| Closed | Open |
|---|---|
| Equipment out of view | Full working envelope available |
| Calm cabinet front | Doors parked clear of operation |
Let Pocket Doors Disappear Into the Joinery
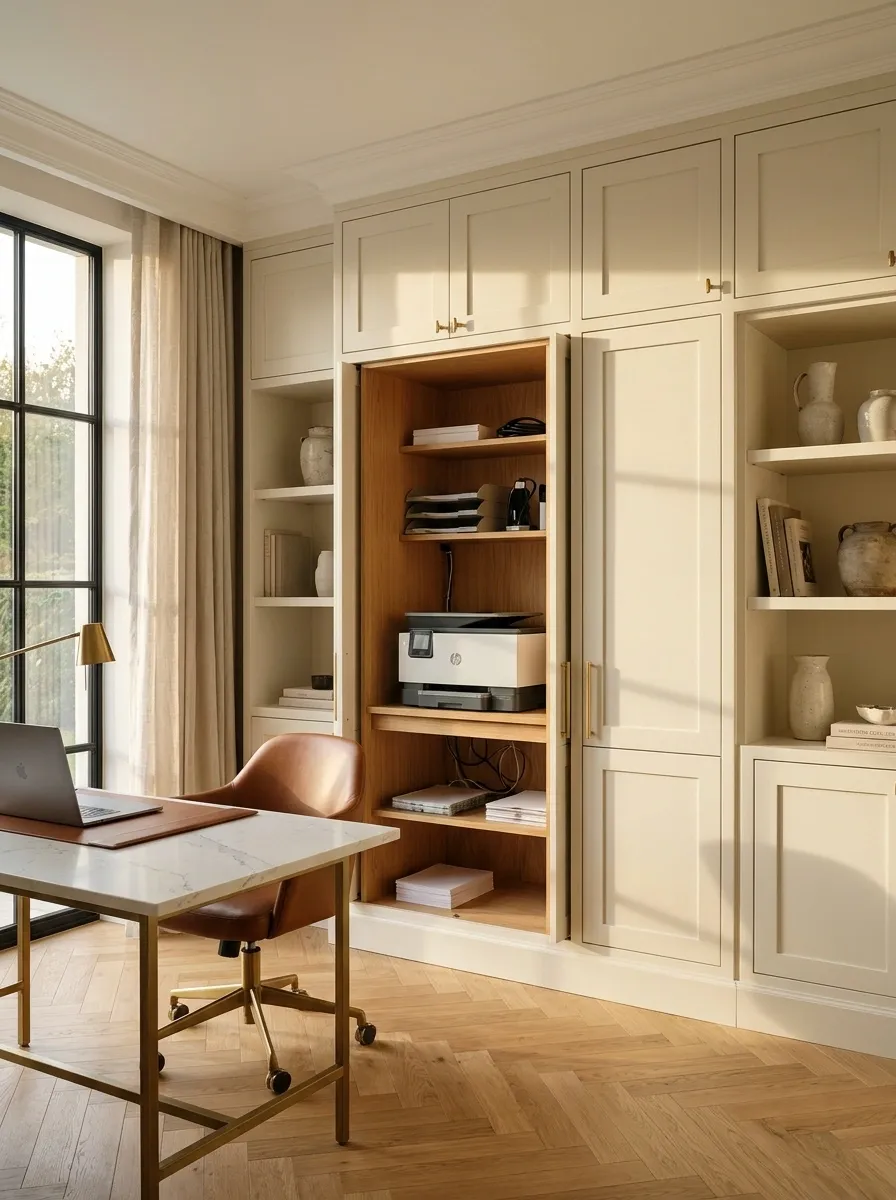
Cabinet pocket doors can keep the working front clear when a printer bay is open.
They need additional planning within the furniture, so use the actual hardware and equipment dimensions. Keep service access and cable paths separate from the moving mechanism. This is a good option for custom cabinetry when you want the office to change between working and nonworking states.
Consider a Tambour-Front Equipment Bay
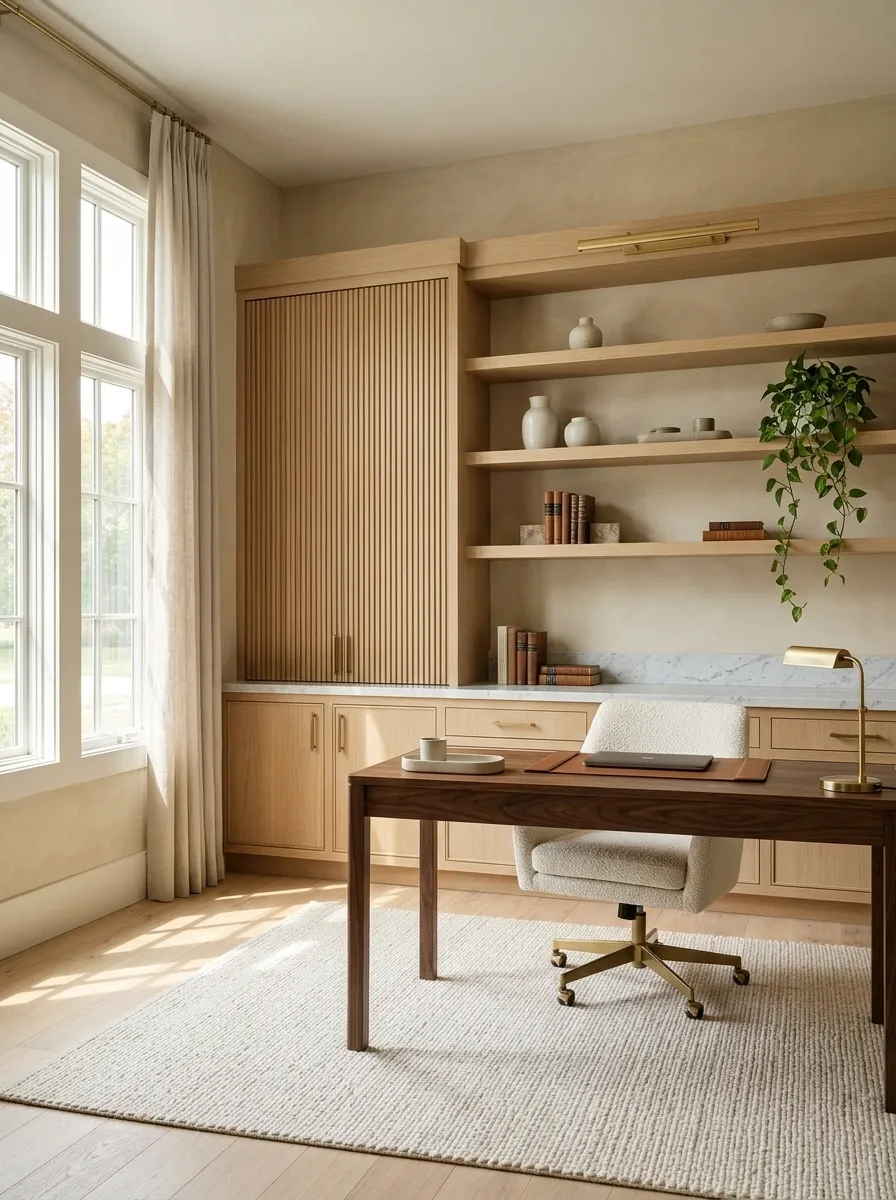
A tambour front can provide a compact visual closure where the cabinet design allows it.
Check the space used by the rolled or parked door and keep it clear of the printer. Do not treat slats or gaps in the front as proof of adequate ventilation. The suitability of the operating setup still comes from the printer’s instructions.
Best evaluated with: a full cabinet drawing showing both the open and closed states.
Use a Drop-Front Door as a Cover, Not an Assumed Shelf
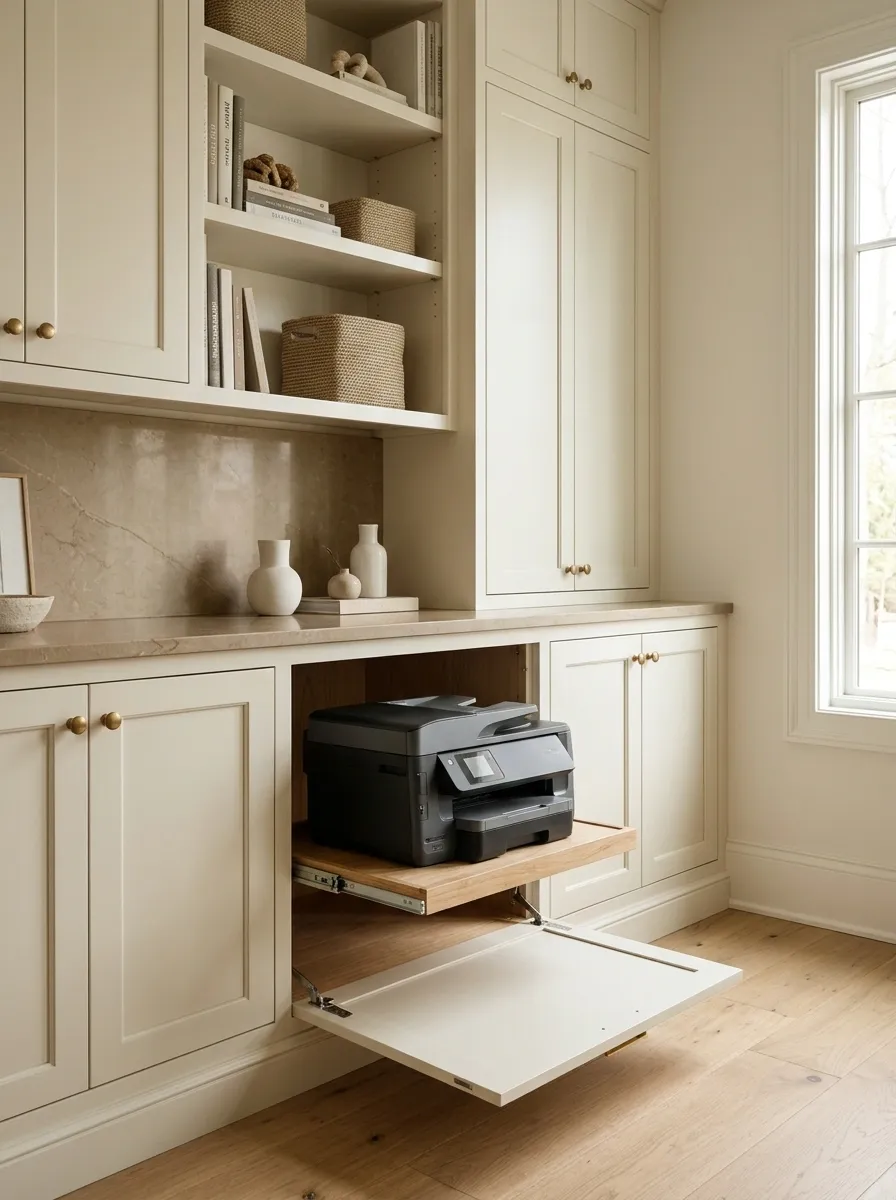
A drop-front can hide a printer neatly while opening the equipment bay.
Do not place the printer on the lowered front unless that assembly is specifically designed and rated for the load and use. Check that the door does not obstruct movement or become an unexpected knee-height obstacle. A conventional supported shelf behind it may be the better arrangement.
Place the Printer in a Side Pedestal Under the Desk
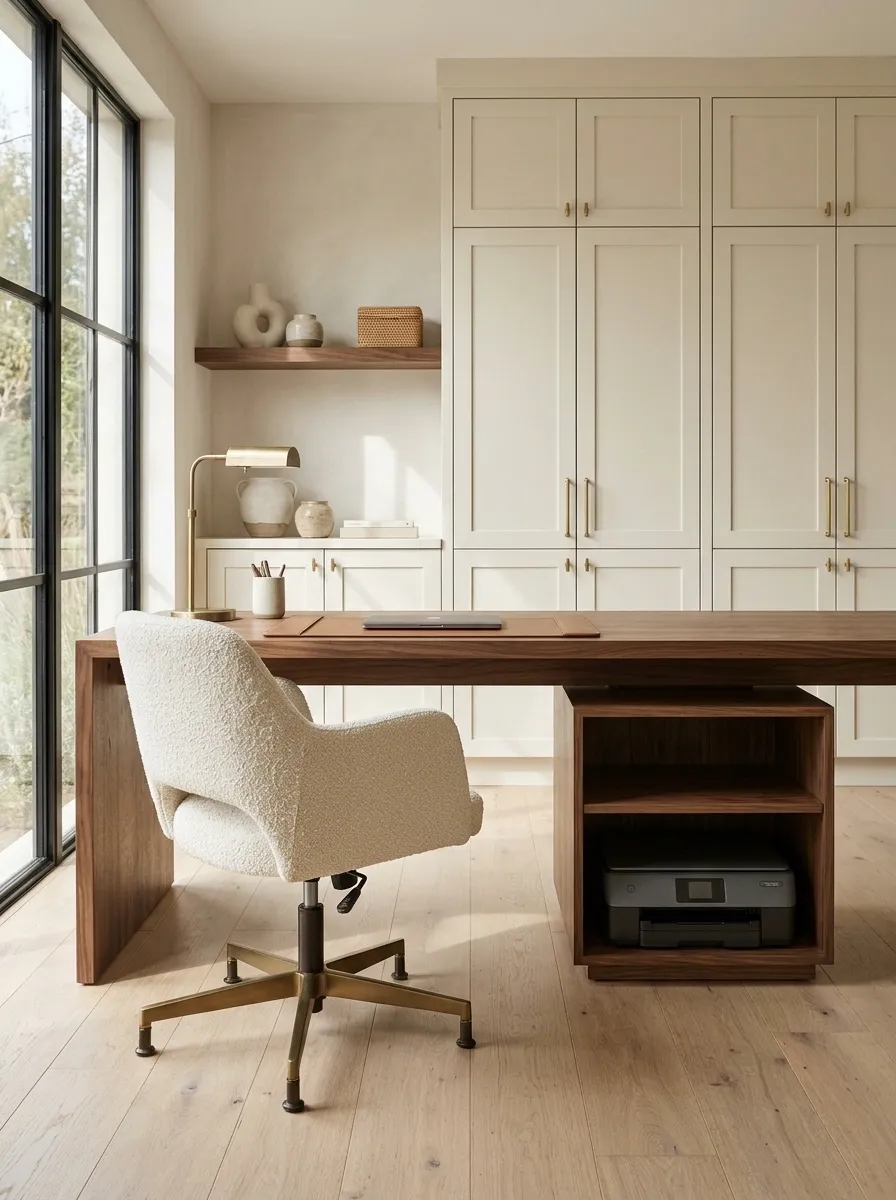
A dedicated side pedestal can keep equipment nearby without occupying the working surface.
Preserve comfortable knee space and avoid putting the machine where it is kicked or blocked by the chair. Measure controls and paper access from the seated position. A printer close to the desk is not necessarily easy to use if every task requires crawling beneath it.
| Keep free | Keep accessible |
|---|---|
| Knees and chair movement | Controls and trays |
| Foot position | The route to servicing |
Hide It in a Desk Return
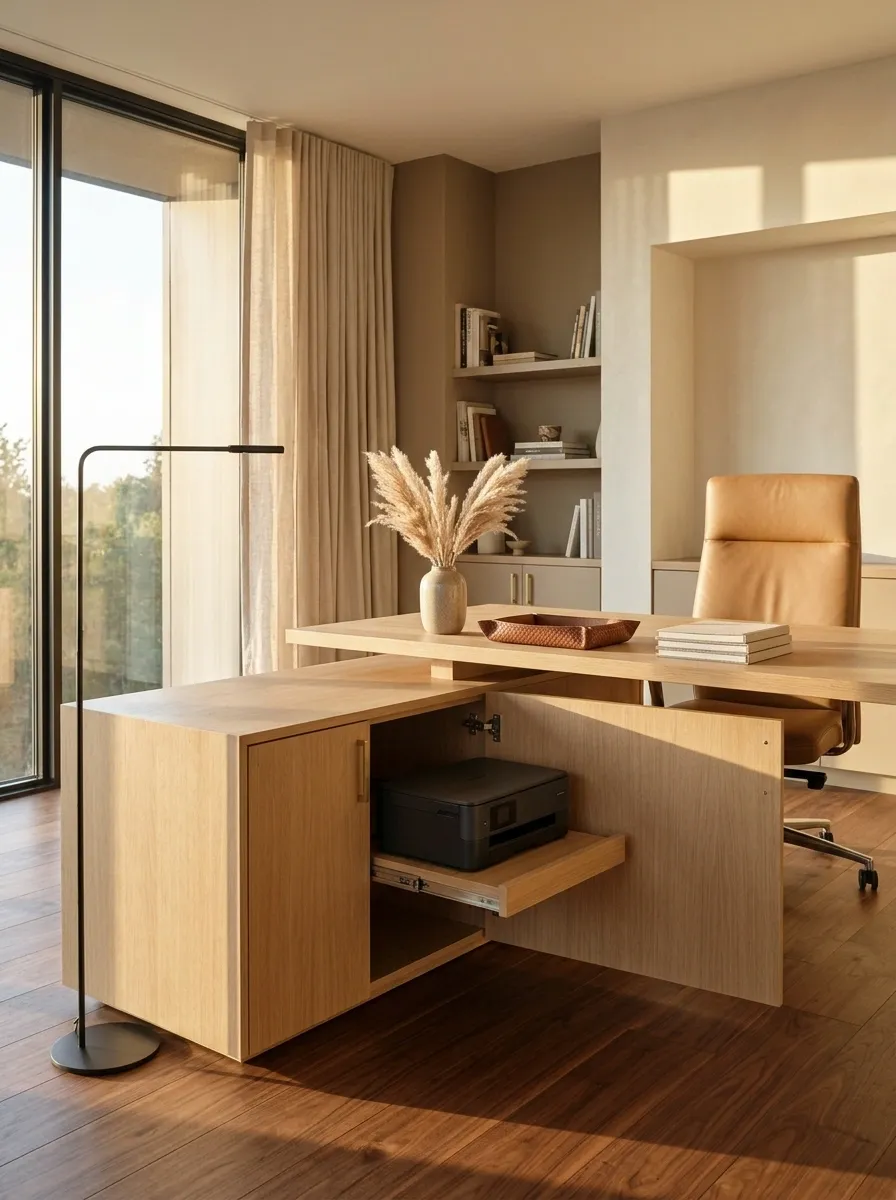
A desk return can hold a printer beside the main workspace rather than directly underneath it.
Use a suitable enclosed or screened arrangement with a resolved working position. Keep the return from narrowing the route through the room. This can provide a more comfortable retrieval height than a floor-level cupboard while preserving the main desk for actual work.
Use the Closed Base of a Bookcase
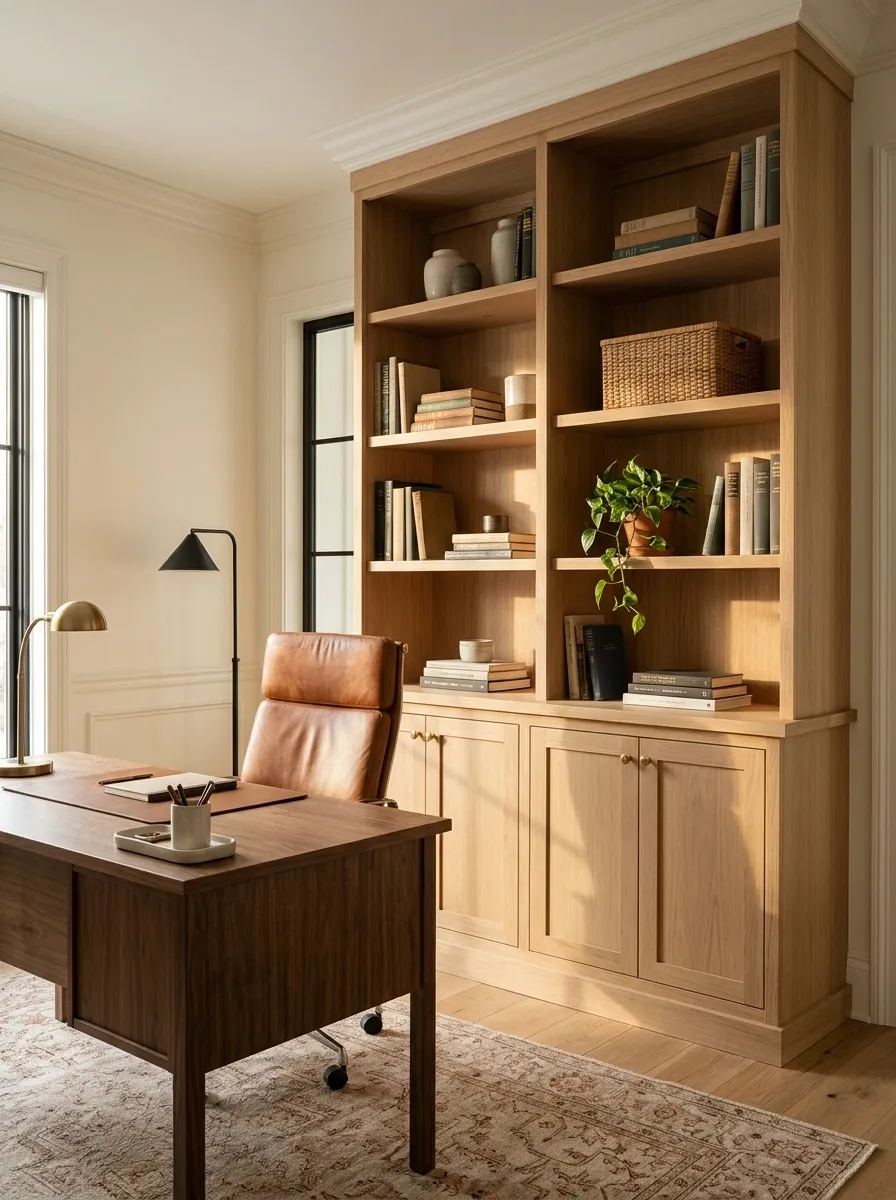
A bookcase with lower doors can combine visible books above with hidden equipment below.
Check that the lower compartment suits the printer’s weight and access requirements. Do not allow books or loose items to drift into the equipment space. The upper shelves can make the furniture feel part of the room while the lower section handles the practical work.
Keep the roles distinct: display above, suitable equipment storage below, and clear access to both.
Give a Closet Office a Separate Printer Bay
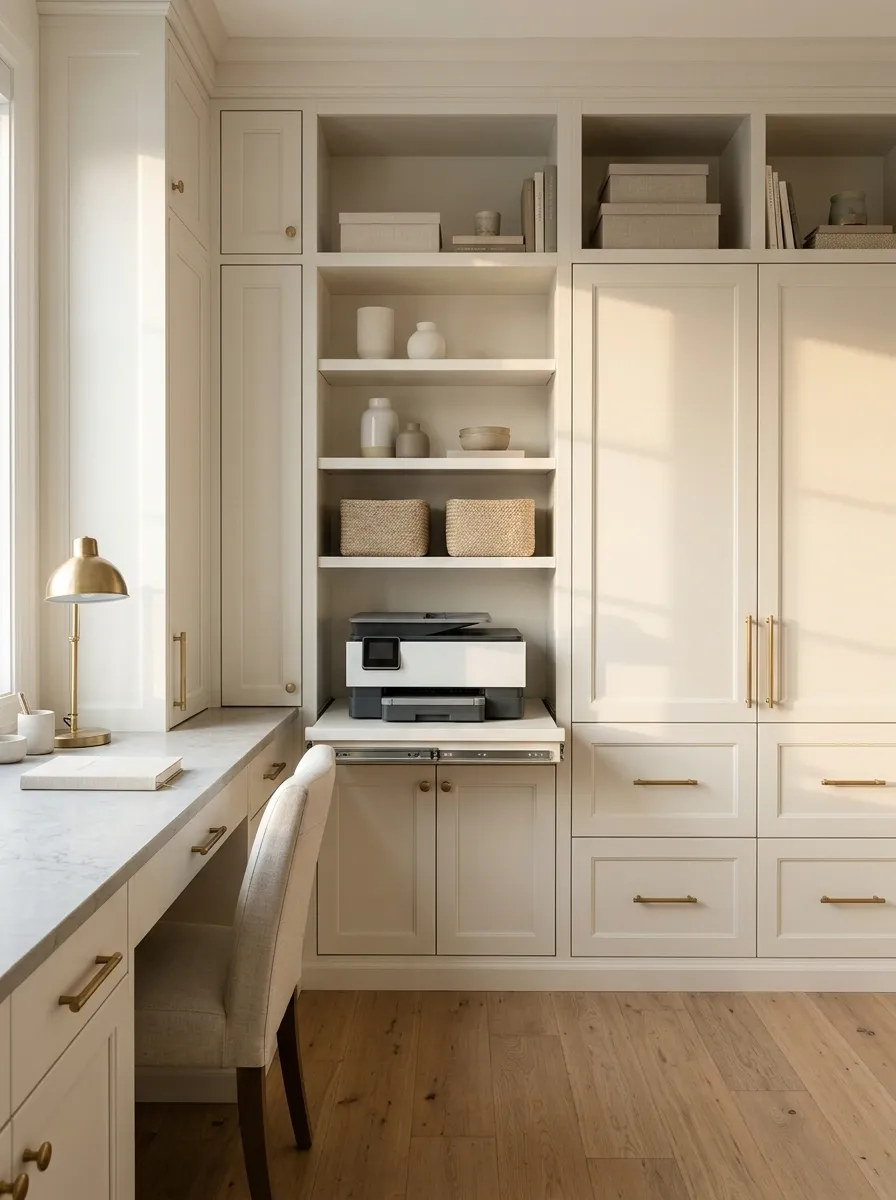
In a closet office, the printer can sit in a dedicated side bay rather than taking over the desk.
Plan the machine’s operating position, doors, and support together. Keep the scanner or paper feed clear of shelves above. The office should be usable when open without moving half the contents onto the bed.
Move Occasional Printing to a Nearby Utility Space
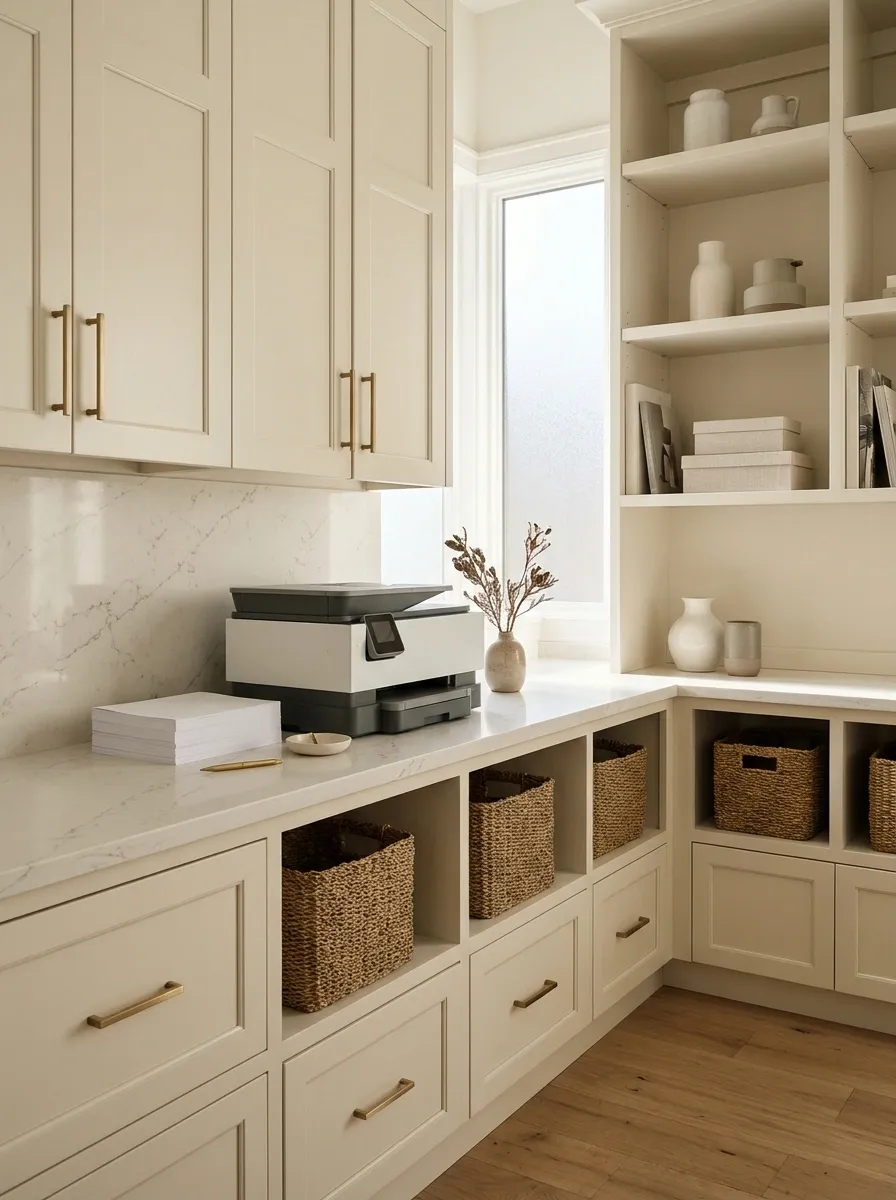
An appropriate nearby room may provide a better location than a cramped office cabinet.
Check environmental conditions, power, connectivity, and access for the actual printer. Keep it away from damp or unsuitable storage areas. If printing is infrequent, a short walk may be less inconvenient than a complicated concealment system beside the desk.
Test first: connection, retrieval route, and whether the location stays suitable throughout the year.
Screen the View Instead of Enclosing the Printer
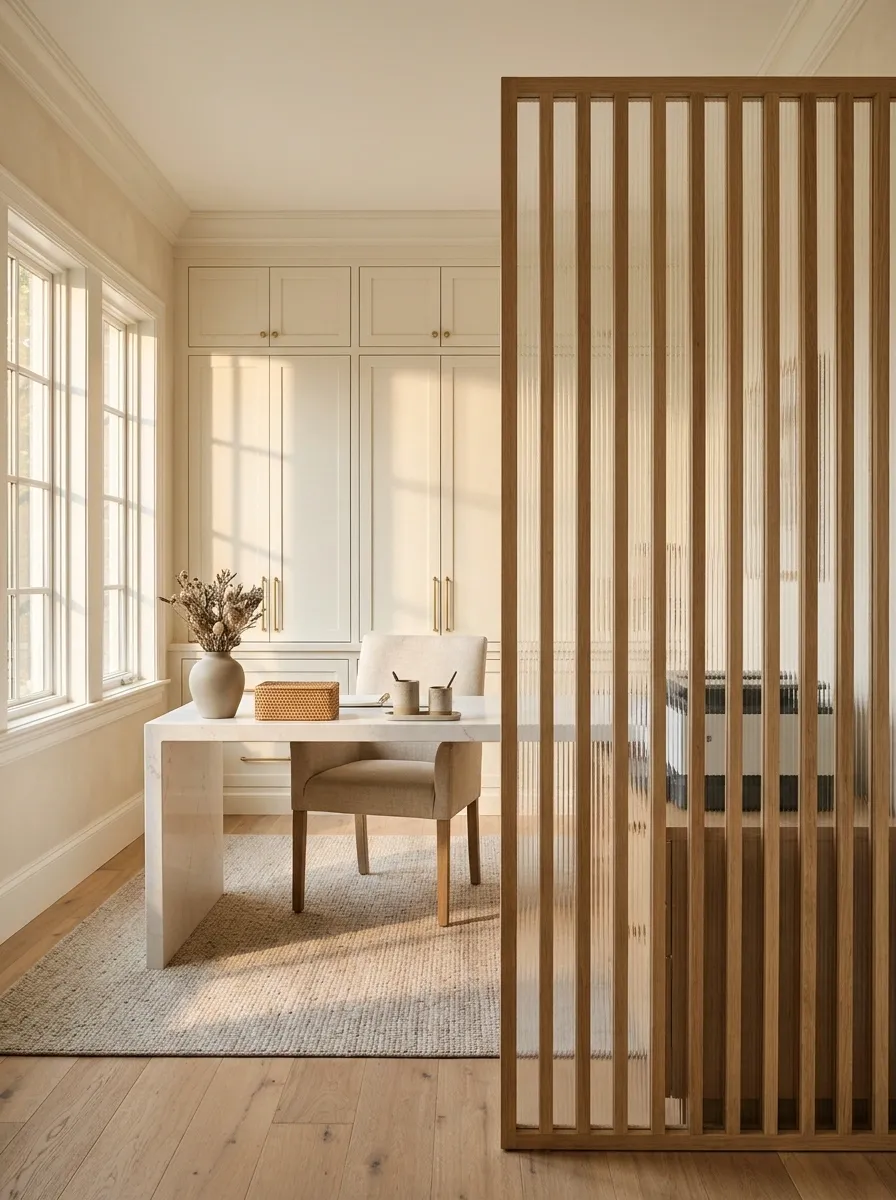
A properly positioned, stable screen can hide the machine from the main room view while leaving its required space clear.
Keep the screen outside the operating and service envelope. Do not drape fabric over the printer or put decorative objects on it. This can be a useful alternative when enclosing the machine would compromise access or ventilation.
Use a Low Stand Behind the Desk
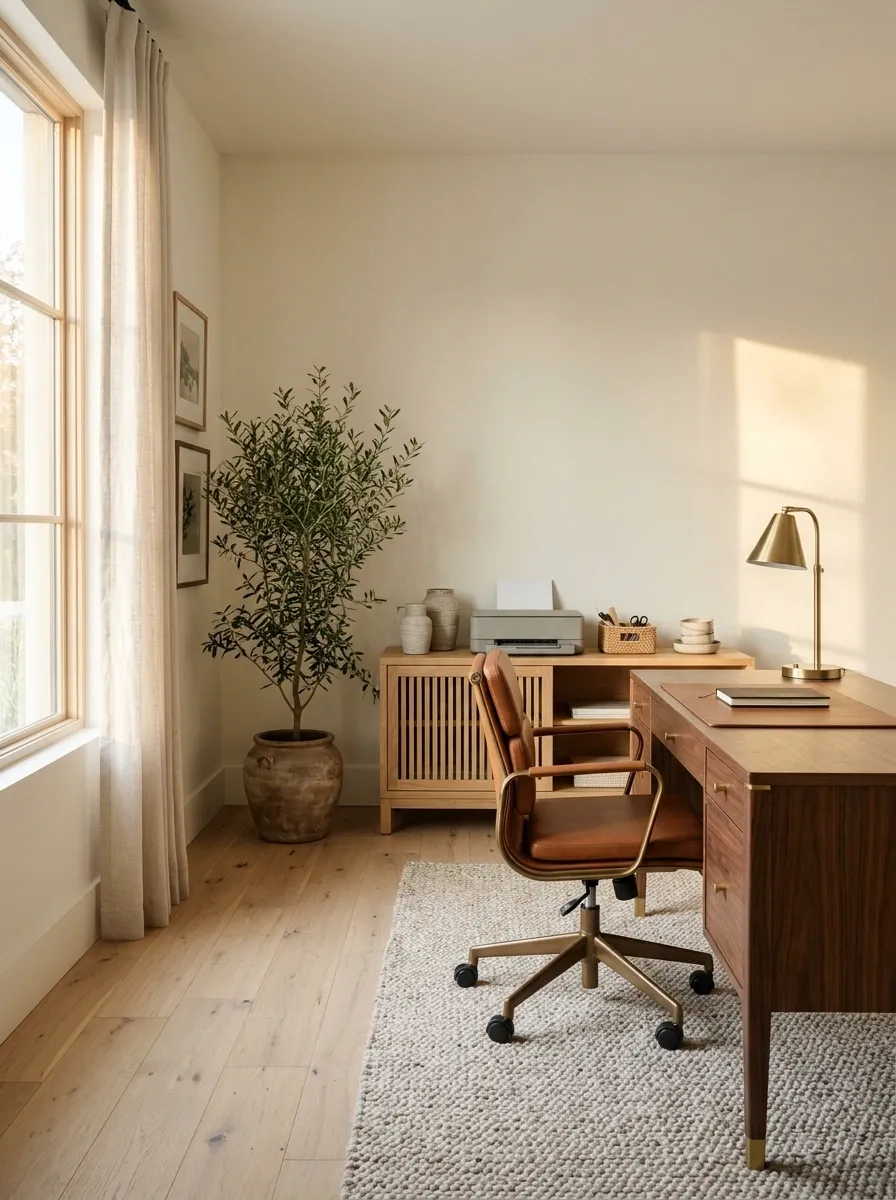
The desk itself can screen a low printer stand from the doorway.
Choose a stable height that still makes retrieving pages comfortable. Keep cables and controls accessible and verify the printer’s operating conditions. The result can be visually discreet without requiring cabinet doors at all.
| From the doorway | From the working position |
|---|---|
| Machine less prominent | Controls and output reachable |
| Desk supplies the visual screen | No awkward lifting or crawling |
Plan a Recessed Bay During a Larger Joinery Project
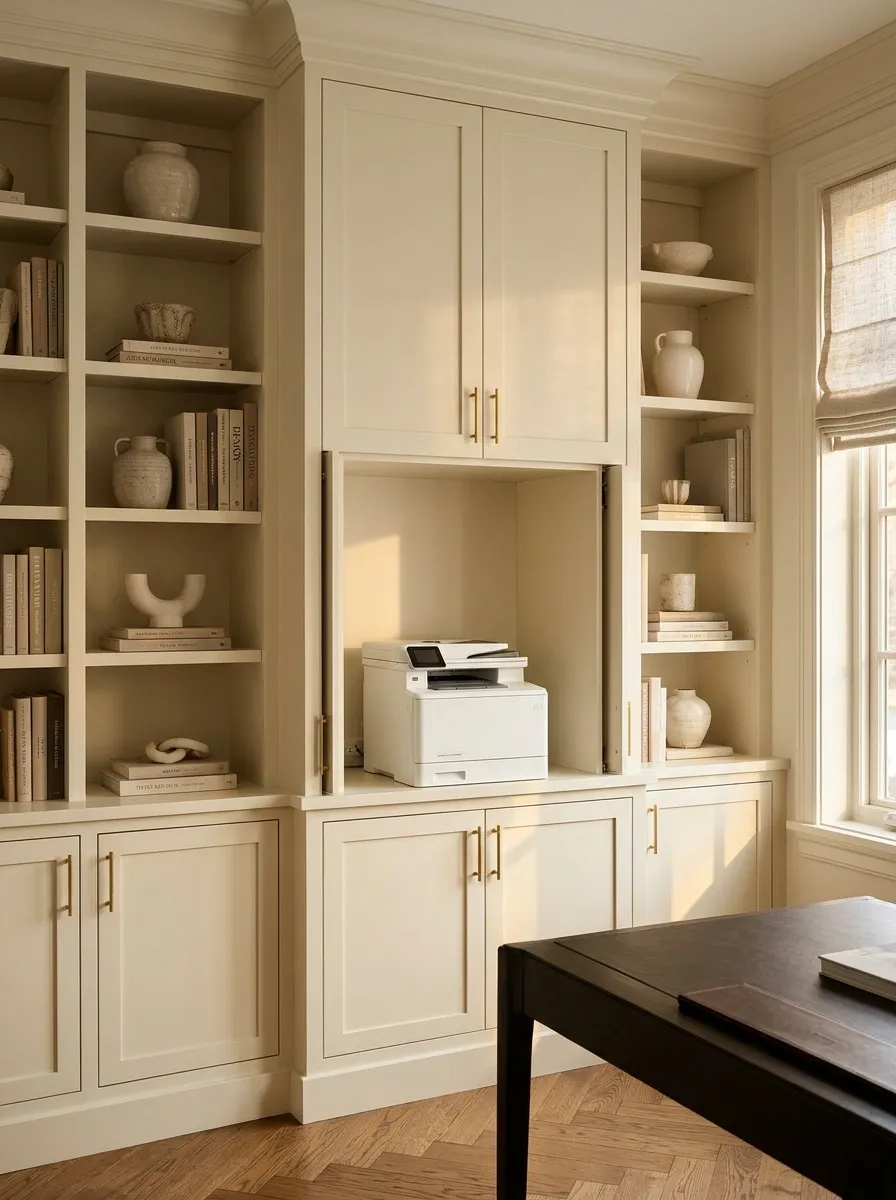
A recessed equipment bay can be integrated when cabinetry or the room is already being redesigned.
Have the structure, services, power, support, and operating environment appropriately assessed. Do not cut into a wall to make space without knowing what is there. The bay should be designed for access, not simply as a hole matching the printer’s closed dimensions.
Use an Angled Corner Bay Where It Improves Reach
A purpose-designed corner unit can turn the printer toward the user instead of hiding it deep in a blind corner.
Check access from the actual chair or standing position and resolve the unused space around the machine. Avoid an arrangement that requires rotating a heavy printer repeatedly. The cabinet should improve reach while preserving its support and clearances.
Check the everyday action: retrieving one sheet should not require opening two doors and moving a stack of paper.
Keep the Printer at a Comfortable Retrieval Height
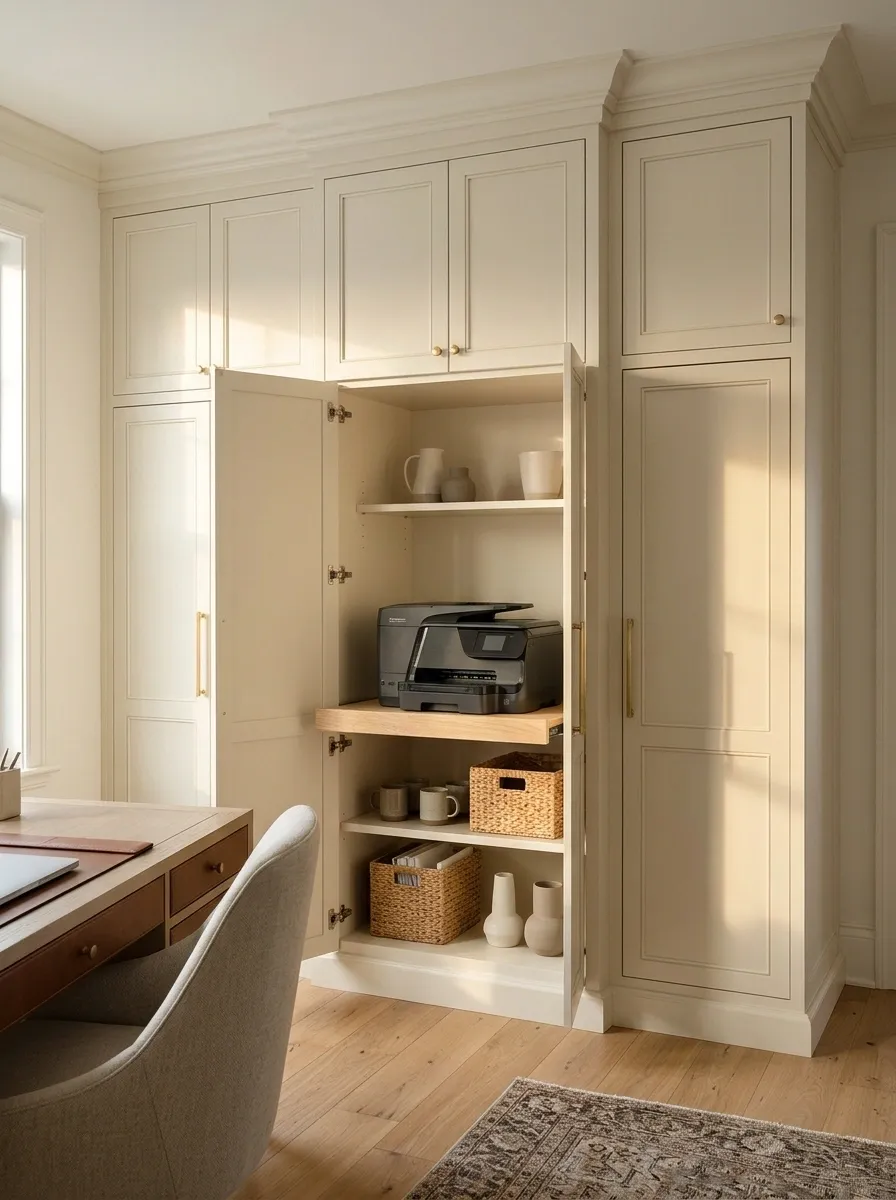
A tall cabinet can include a printer bay at a suitable height rather than relegating it to the lowest shelf.
Choose the position around the users, printer weight, loading needs, and required access. Keep frequently used controls within comfortable reach. Higher is not automatically better if the scanner lid or paper feed then becomes awkward.
Match the Cabinet Front to Existing Joinery
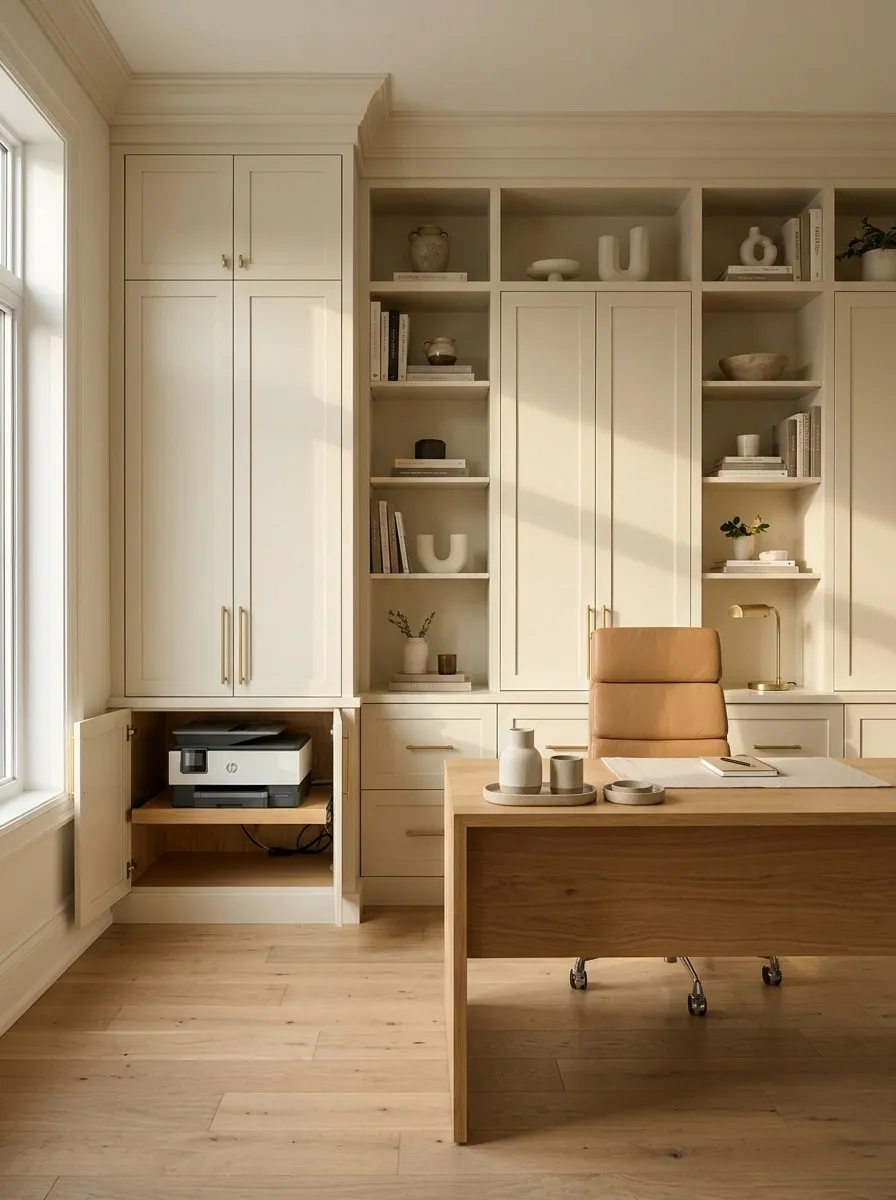
If a suitable equipment cabinet is needed anyway, matching its finish to nearby cabinetry can make it less conspicuous.
Use the same general material language without sacrificing functional requirements. A perfect color match does not compensate for a drawer that cannot open. Resolve the working interior first, then let the exterior help the cabinet belong to the room.
Visual link: finish, handle style, or proportion—one convincing connection can be enough.
Design a Separate Cable Route
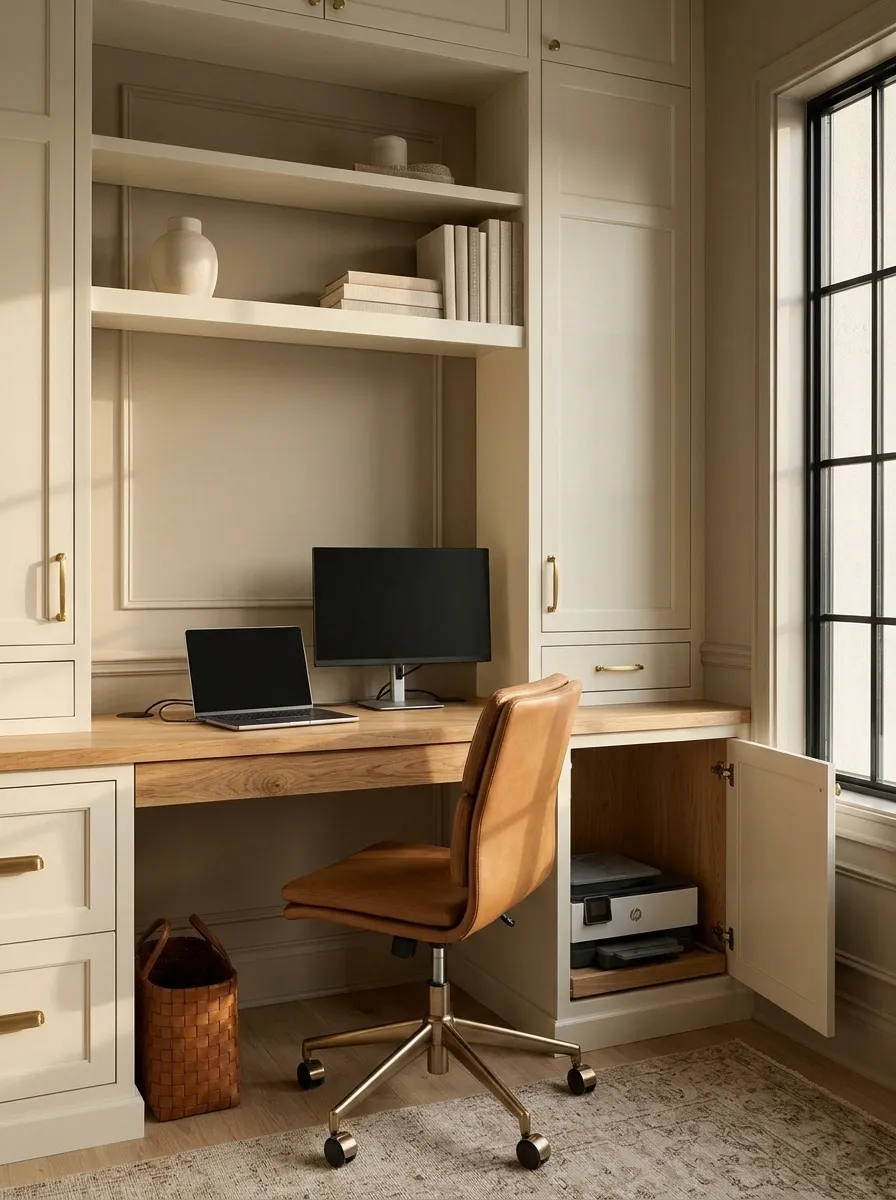
Cables need room to move safely when the printer or platform changes position.
Plan a suitable route that avoids pinching, stretching, and moving hardware. Keep appropriate access to power and connections, using equipment according to its instructions. A neat exterior is not worth creating a tangled, inaccessible compartment behind the machine.
Preserve Full Scanner-Lid Movement
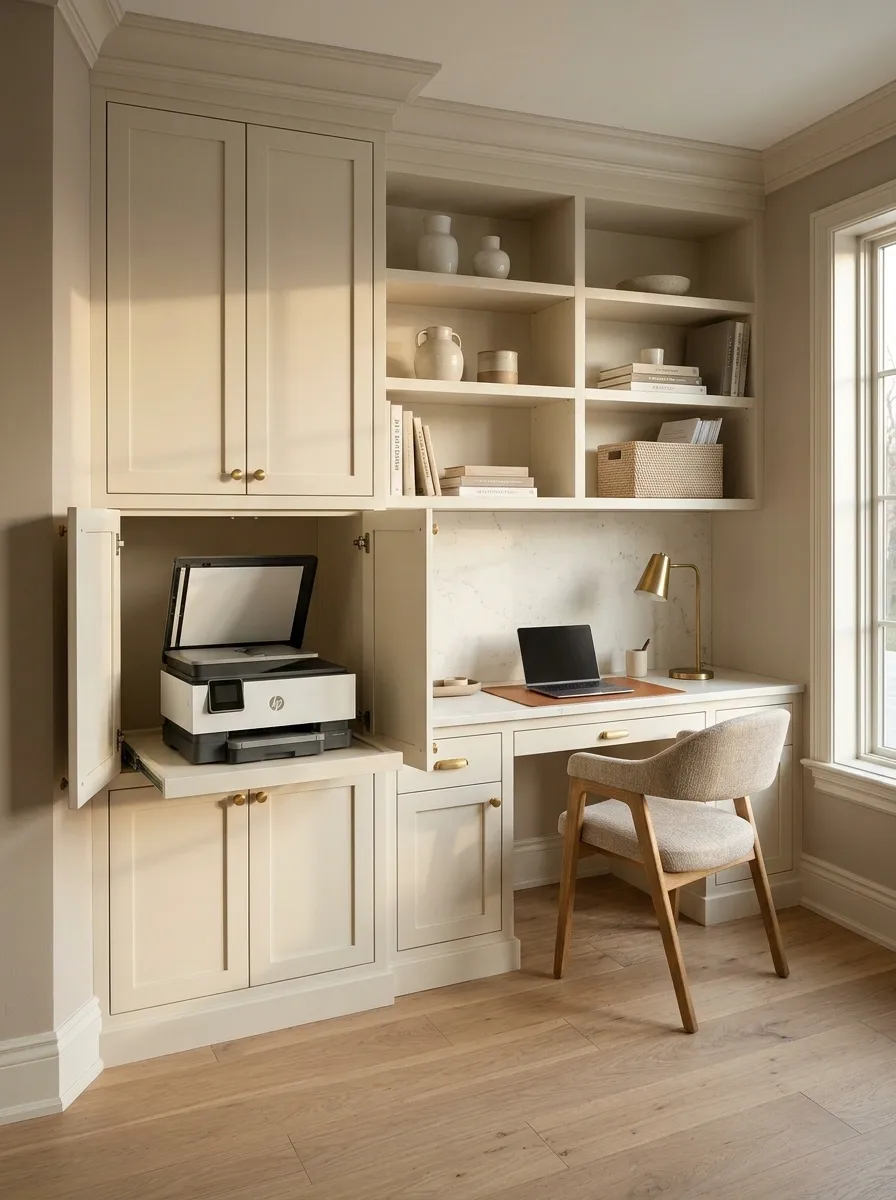
If the printer includes a scanner, measure the space needed to open and use it properly.
Leave room for the documents you actually scan, not just the lid’s hinge movement. A shelf directly above may make the machine technically accessible but practically useless. Check the setup with a book or ordinary paperwork before finalizing the cabinet.
| Measure | Test |
|---|---|
| Lid opening | Positioning a document |
| Space above | Your normal scanning task |
Leave Paper Trays Room to Extend
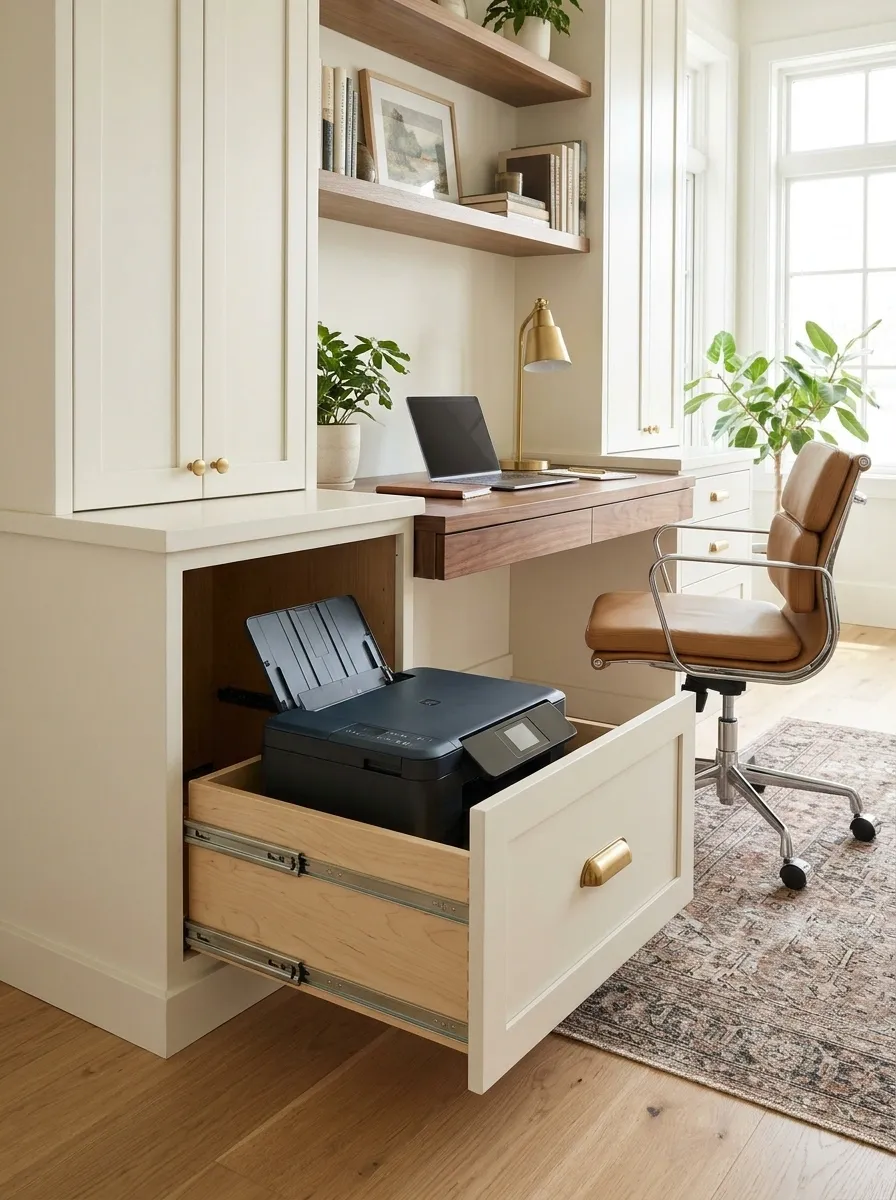
Input and output trays can change the printer’s footprint considerably.
Measure the configuration used for your normal paper, including any rear extension. Keep the output path clear rather than letting sheets collect against a cabinet door. The printer should work in its intended position without you holding a tray at a creative angle.
Store Refills Beside the Machine, Not Around Its Vents
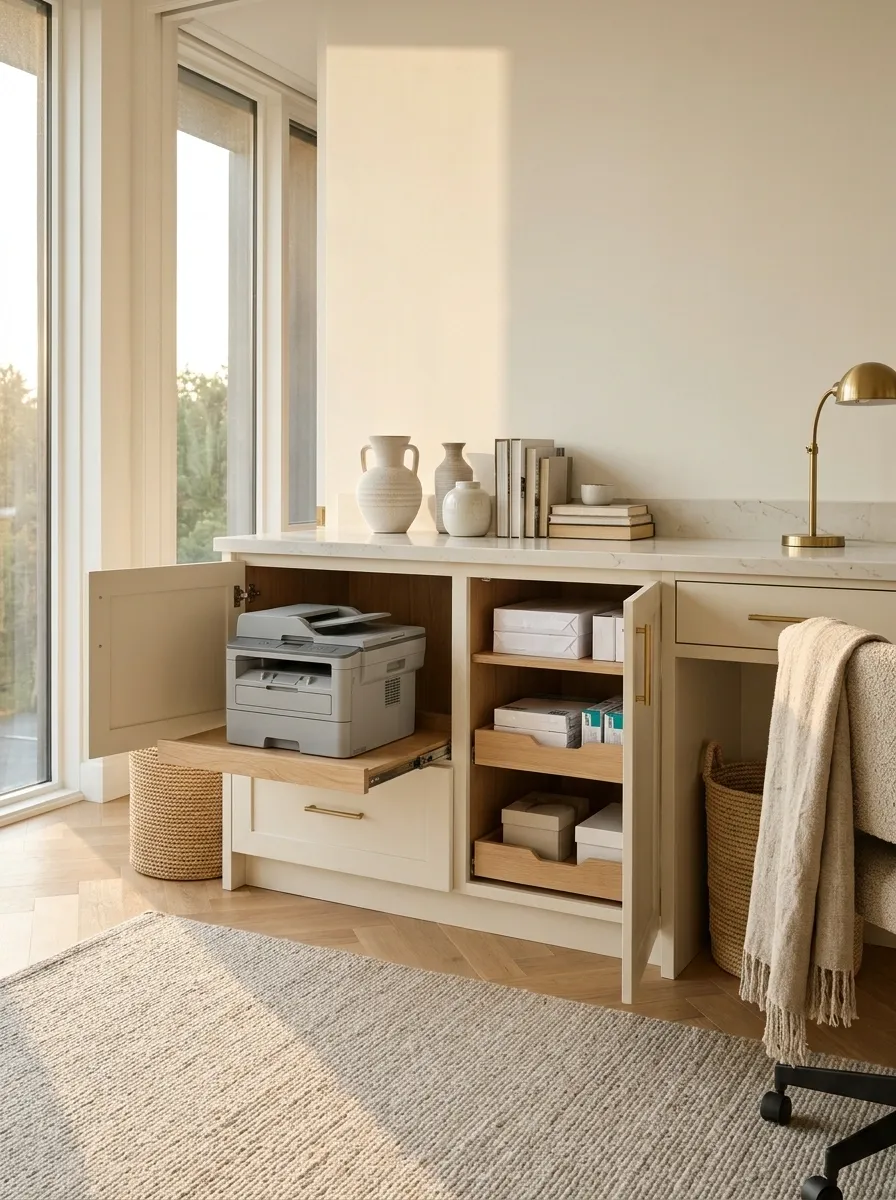
A separate drawer or shelf can hold suitable paper and consumables close to the printer.
Follow storage guidance for those supplies and keep them out of the equipment’s required space. Use a defined quantity rather than filling every gap with spare packs. Convenient supplies are helpful; a densely packed cabinet that obstructs operation is not.
Useful separation: the printer’s working envelope and the supplies’ storage footprint should remain distinct.
Give Finished Pages Their Own Landing Area
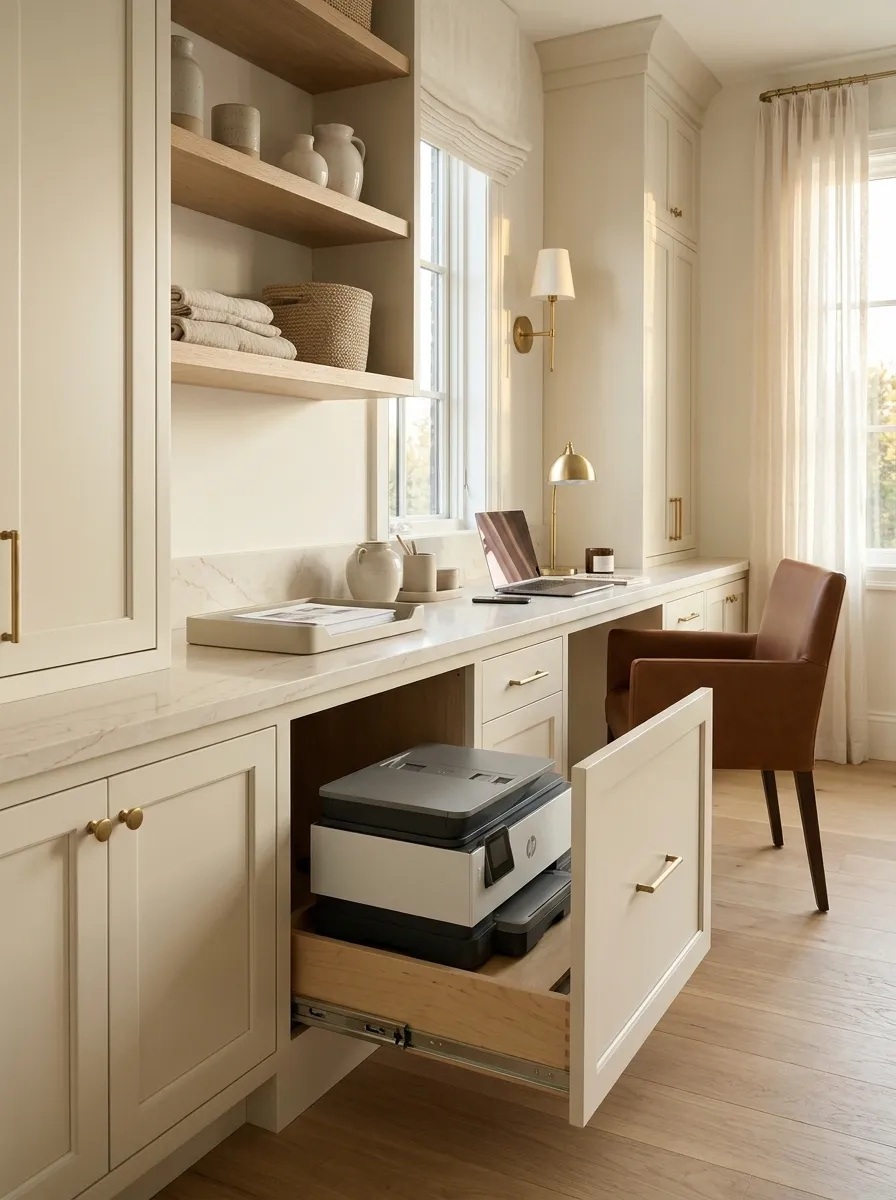
A simple nearby tray can stop printed pages from becoming the cabinet’s permanent clutter.
Keep it outside the printer’s required clearance and use it for current work, not indefinite filing. A concealment setup works best when it can reset quickly after a task. Close or return the furniture only according to the printer’s instructions and the designed routine.
Run through a complete ordinary task before calling the project finished: print, collect, reload, scan if relevant, and reach the service doors. If those actions remain easy, the printer has been hidden successfully rather than simply made inconvenient.