
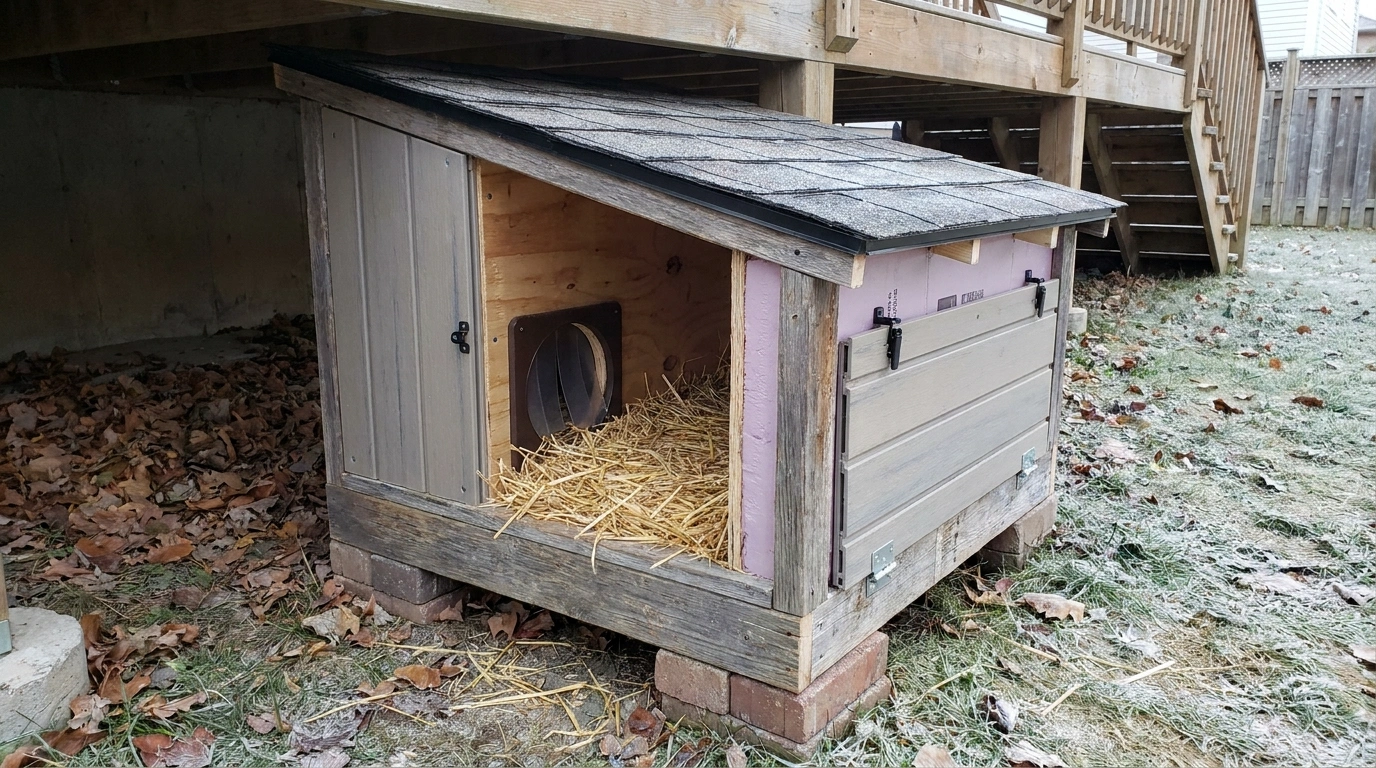
The cat does not care whether the shelter looks like a miniature farmhouse.
It cares whether the entrance feels safe, the sleeping space stays dry, and the whole structure remains where you put it when the weather turns. Start there. Decorative shutters can wait indefinitely.
This guide is for helping community cats or cats that cannot currently be brought indoors. A DIY shelter is not a reason to keep a companion cat outside through severe weather. Cornell’s Feline Health Center recommends keeping cats indoors to avoid cold-related risks; outdoor cats need appropriate shelter, food, and accessible water. (Cornell cold-weather guidance)
Choose a Shelter You Can Maintain
Not the most elaborate one. The one you can inspect, clean, and repair throughout winter.
| Shelter approach | Why choose it | What needs particular attention |
|---|---|---|
| Nested plastic storage bins | Accessible materials and removable lids | Fit, insulation, safe entrance edges, and durability |
| Insulated cooler conversion | An already insulated shell | Clean material, secure lid, and a protected doorway |
| Weatherproof outer box around an insulated sleeping chamber | More control over appearance and weather protection | Joinery, water management, and access for care |
| Existing commercial shelter improved according to its instructions | Less fabrication | Actual winter suitability and compatible bedding |
ASPCApro identifies insulated foam coolers and double-insulated storage-bin shelters as practical options. It also stresses compact sleeping spaces rather than oversized dog houses. (ASPCApro shelter guidance)
The Nested-Bin Build
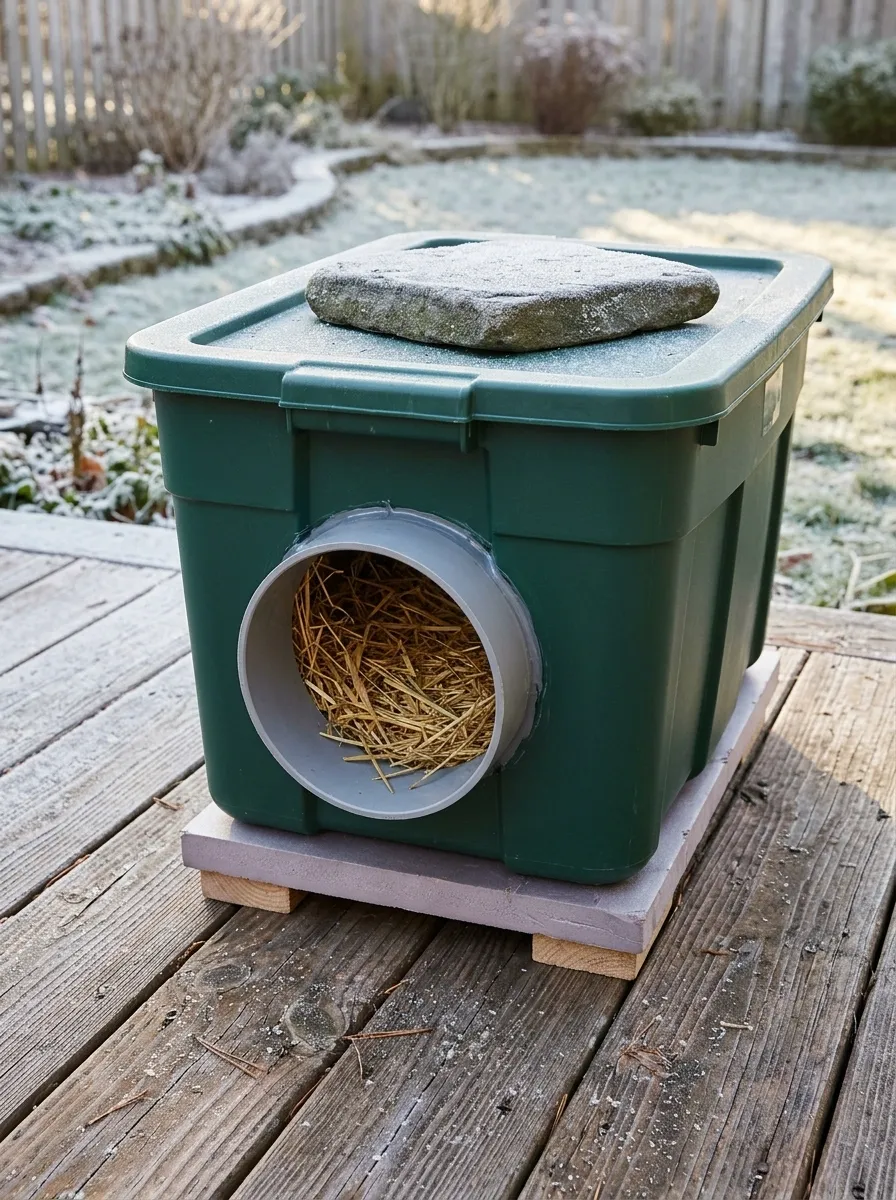
An outer bin manages exposure; an inner bin creates the sleeping chamber. Insulating material occupies the space between them.
Alley Cat Allies publishes a nested-bin design using a foam base, straw between the sides, straw bedding, and an entrance sleeve connecting the aligned openings. Use its full illustrated instructions alongside this planning guide, particularly when selecting compatible bins. (Alley Cat Allies DIY plan)
The sleeping chamber sits inside protection
Insulating layer between the shells · supported insulated base
The Insulated-Cooler Conversion
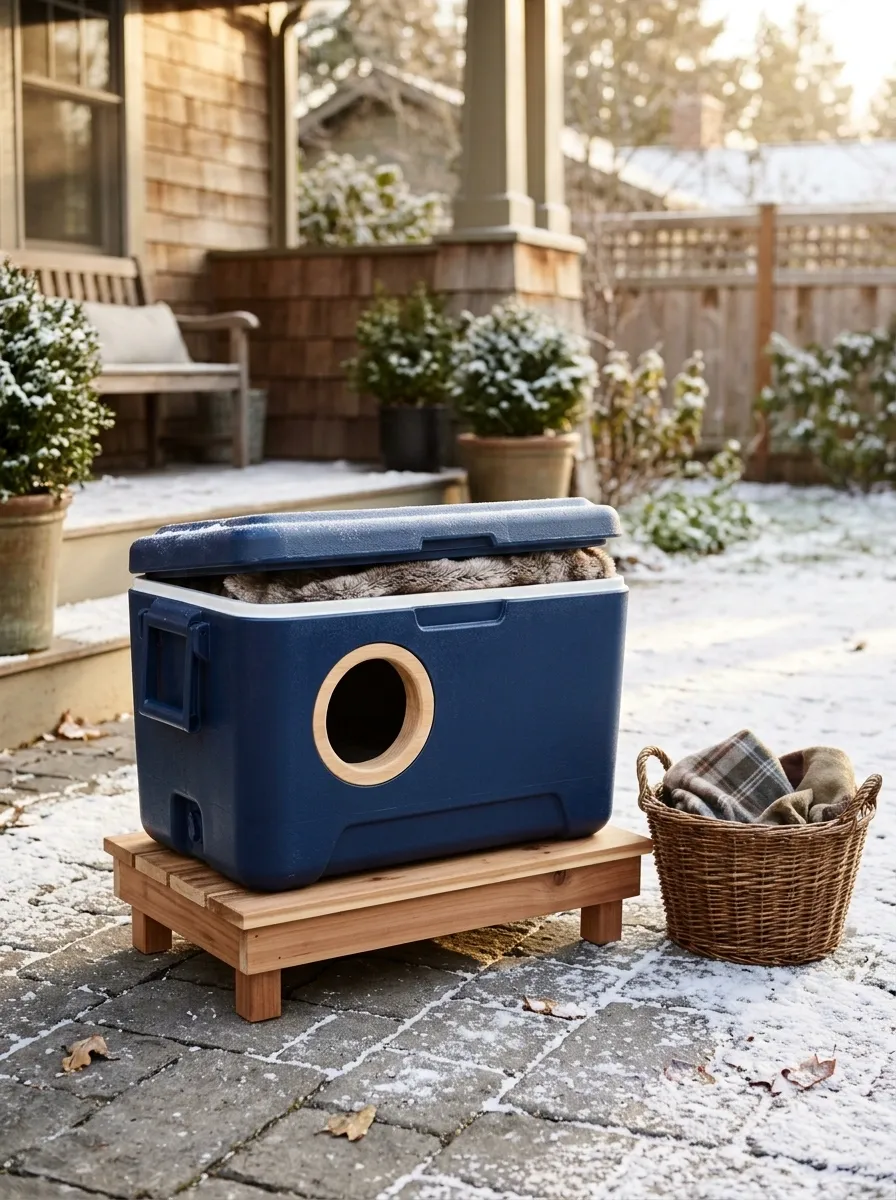
A sound insulated cooler can reduce the amount of assembly, provided its dimensions and materials suit a cat shelter.
Start with a clean container of known history. Reject damaged, contaminated, or crumbling material. The cooler still needs a safe entrance, weather-conscious placement, and a lid that remains secure while allowing inspection.
Salvage standard: Free material is useful only when its condition is good enough for the job. “It was behind the shed” is a location, not a quality assessment.
The Outer Box With a Removable Inner Shelter
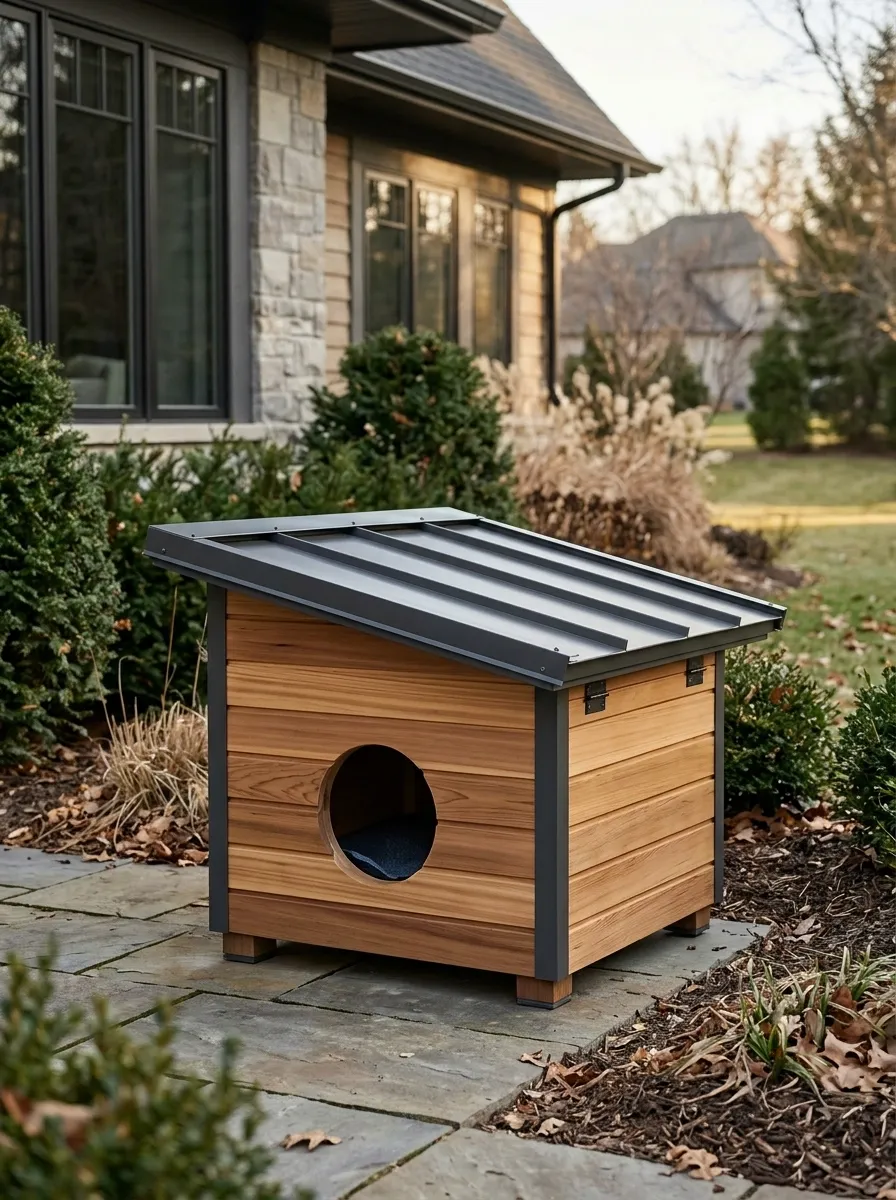
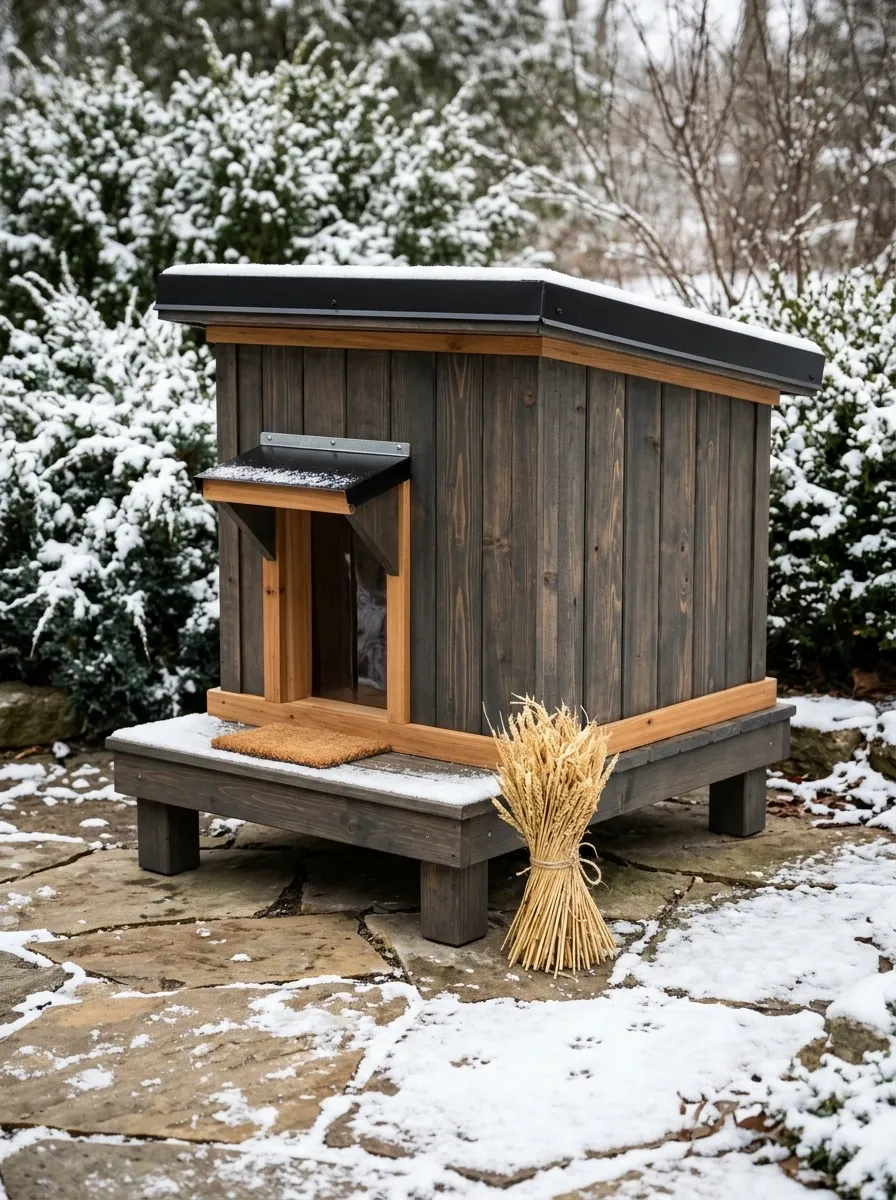
If appearance matters beside your house, place a suitable insulated shelter within a properly designed weatherproof outer enclosure.
Keep the inner shelter accessible and its entrance unobstructed. The outer layer should not trap water or force the cat through a confusing route. Build from a proven shelter plan, then adapt the exterior finish within that plan’s requirements.
| The outer enclosure can do | It should not do |
|---|---|
| Improve weather protection | Hide leaks from inspection |
| Blend with the garden | Reduce the usable entrance |
| Protect the inner structure | Prevent bedding changes |
Put the Location on the Plan Before Cutting
Find the Quiet, Protected Position
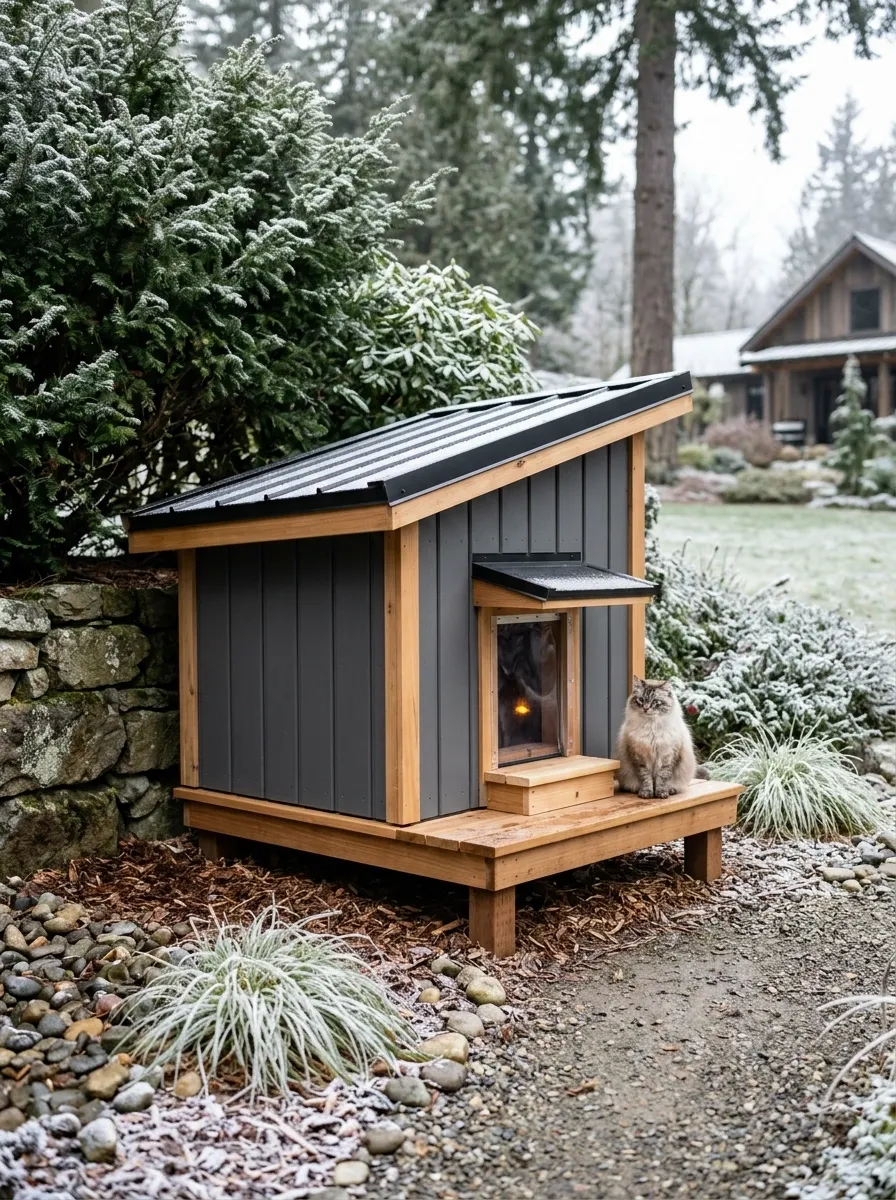
Choose a site away from traffic, dogs, runoff, and places where people repeatedly disturb the cat. Positioning near existing cover can help the shelter feel less exposed.
Walk the route yourself after rain if you can. The tidy corner on a sunny afternoon may be directly beneath a gutter that performs an impressive waterfall routine during a storm.
Use a stable raised support, and secure the shelter so it cannot move. Keep the approach accessible for both cats and maintenance. (ASPCApro placement guidance)
Inspect the site in bad weather, too
Stable support
Quiet approach
Care continues
Decide How the Cat Gets In and Out
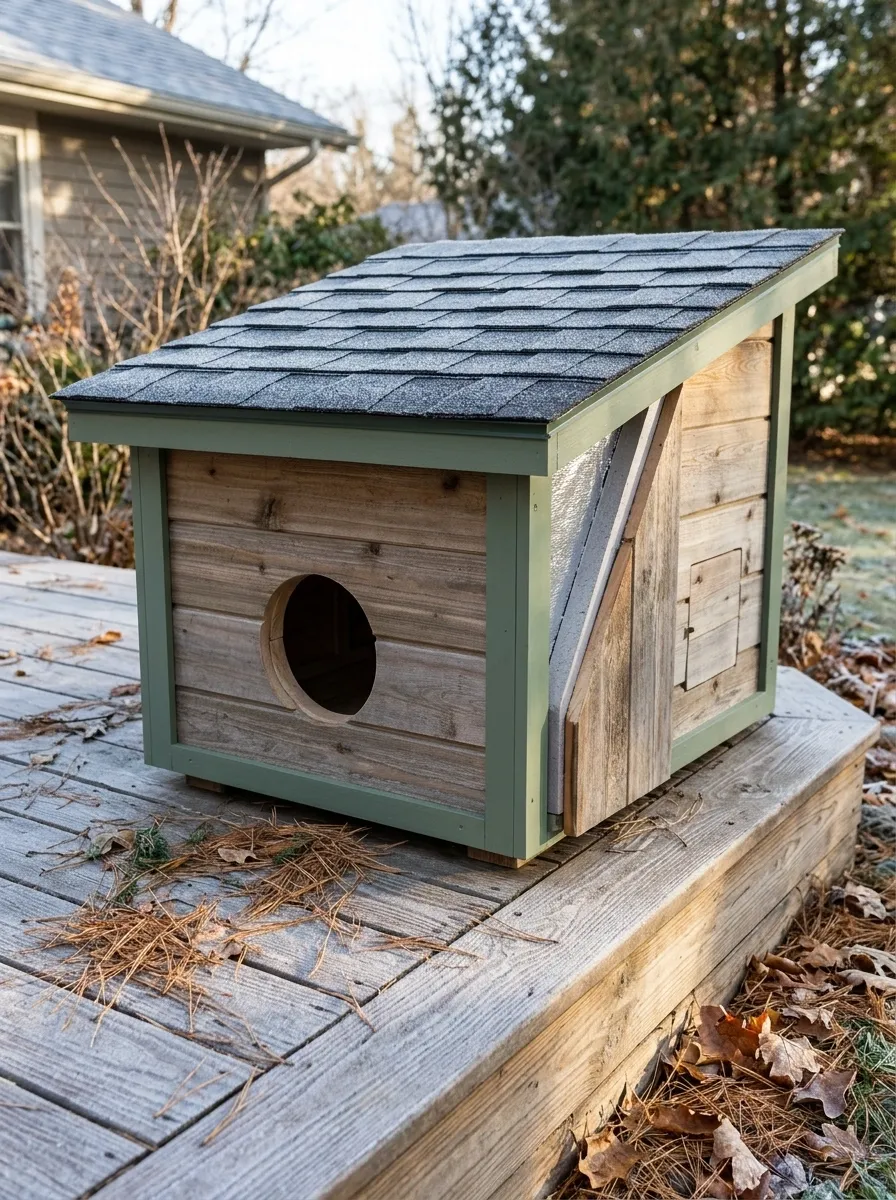
The doorway should fit the intended cat without becoming an oversized opening. ASPCApro suggests an entrance around five and a half to six inches wide as a general guide, with the opening raised above the shelter floor.
One entrance reduces exposure; another may provide an escape route where predators are a concern. That decision depends on the site, not a universal decorating rule. Ask a local rescue or TNR group to review uncertain situations. (Entrance and escape-route guidance)
Before marking: check the cat’s size, the internal floor height, and the alignment of every layer.
Prepare the Build in a Sensible Order
Gather the Whole Assembly Before Making Openings
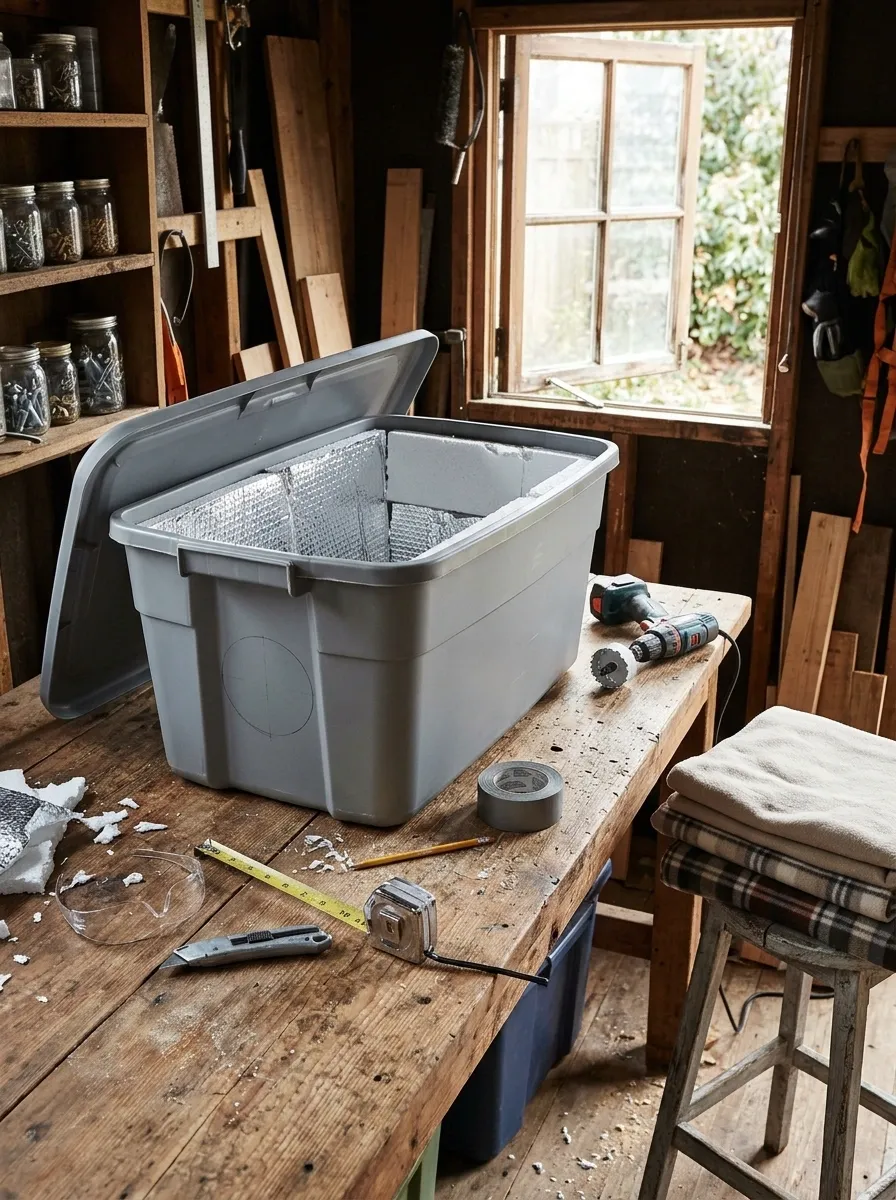
Dry-fit the complete assembly before opening the toolbox.
- Set the inner container inside the outer one.
- Allow for the planned insulation.
- Check lid closure and access.
- Confirm the doorway can align through every layer.
Keep bedding aside during fabrication so it stays clean. Work on a stable surface with tools suited to the material, and keep the cat away from the unfinished project. Forceful cutting into unsupported plastic is an excellent way to make a bad afternoon worse.
| Dry-fit check | Why do it now? |
|---|---|
| Inner container fits | Prevents wasted cutting |
| Lid can close | Keeps access practical |
| Entrance can align | Avoids awkward steps or gaps |
| Base is supported | Prevents rocking or collapse |
Mark, Cut, and Finish the Entrance
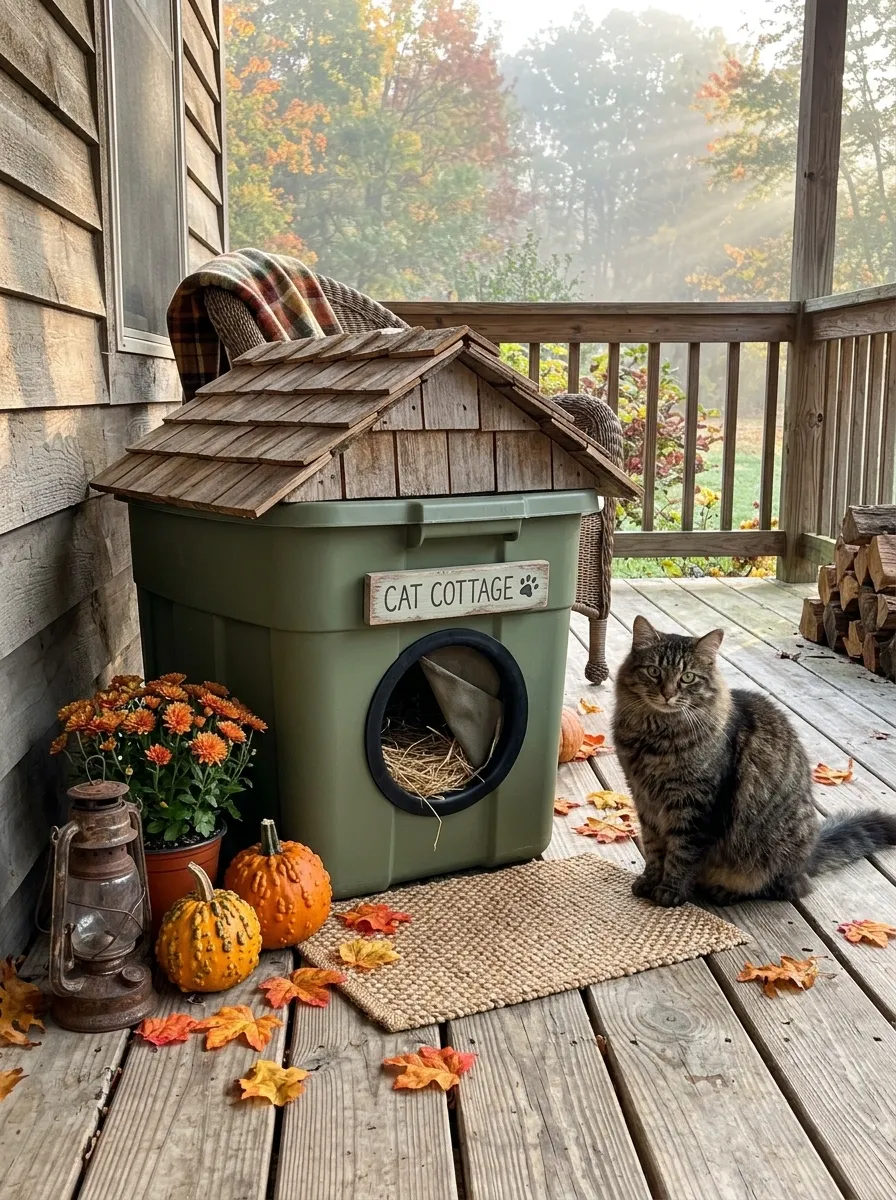
Use the selected plan to mark the opening, then cut with appropriate tools and protection. Finish all exposed edges so no sharp plastic, fasteners, or rough surfaces contact the cat.
For nested bins, the connecting passage needs to remain secure and smooth. Confirm it does not project into the sleeping space awkwardly. Recheck the fit with the insulation in place before closing anything up.
Hand check: Run a protected hand around the entire opening and inspect every edge visually. A neat-looking circle can still have a sharp underside.
Build the Insulating Layer Around the Sleeping Chamber
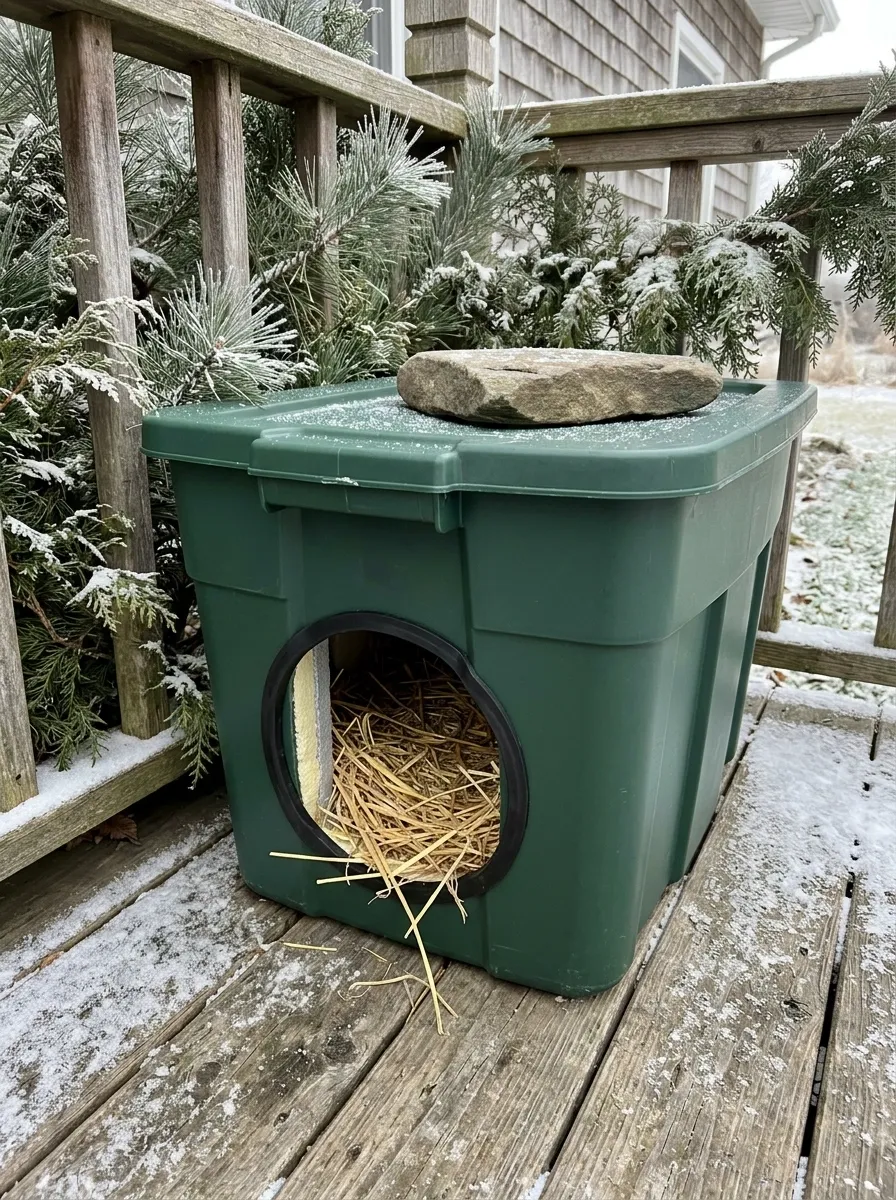
Follow the chosen plan for the base and side insulation. In the Alley Cat Allies nested-bin design, the inner bin sits over a foam base and straw fills the surrounding space.
Keep the entrance passage clear and avoid exposed loose material that can crumble into the doorway. Do not improvise an airtight container: the shelter still needs to function as an occupied animal space, not a sealed storage tub. (Nested-bin construction reference)
Trace the entire entrance route
No sharp edges, blocked sections, or loose pieces along the way.
Add Straw, Leaving Room to Enter and Settle
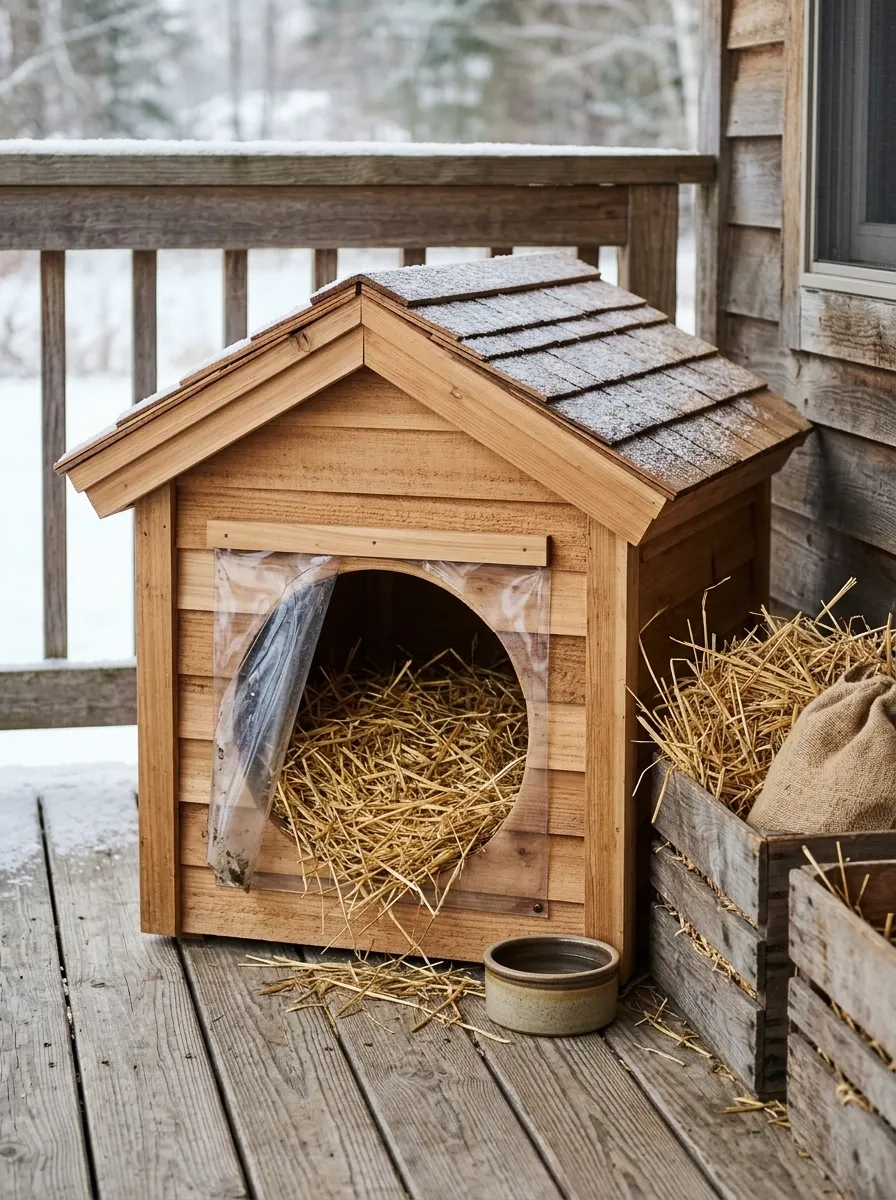
Use dry straw for bedding, not hay, towels, or blankets. Straw is the dry stalk material used for bedding; hay is feed. Ask the supplier if you are unsure what you are buying.
Add bedding that lets the cat burrow without blocking entry. Keep spare straw dry for replacements. A blanket feels like the compassionate choice to a human hand, but absorbent fabric is the wrong instinct for an exposed winter shelter. (Alley Cat Allies bedding guide)
Choose for outdoor conditions
Outdoor shelter bedding
Leave out of this shelter
Close, Secure, and Inspect the Finished Shelter
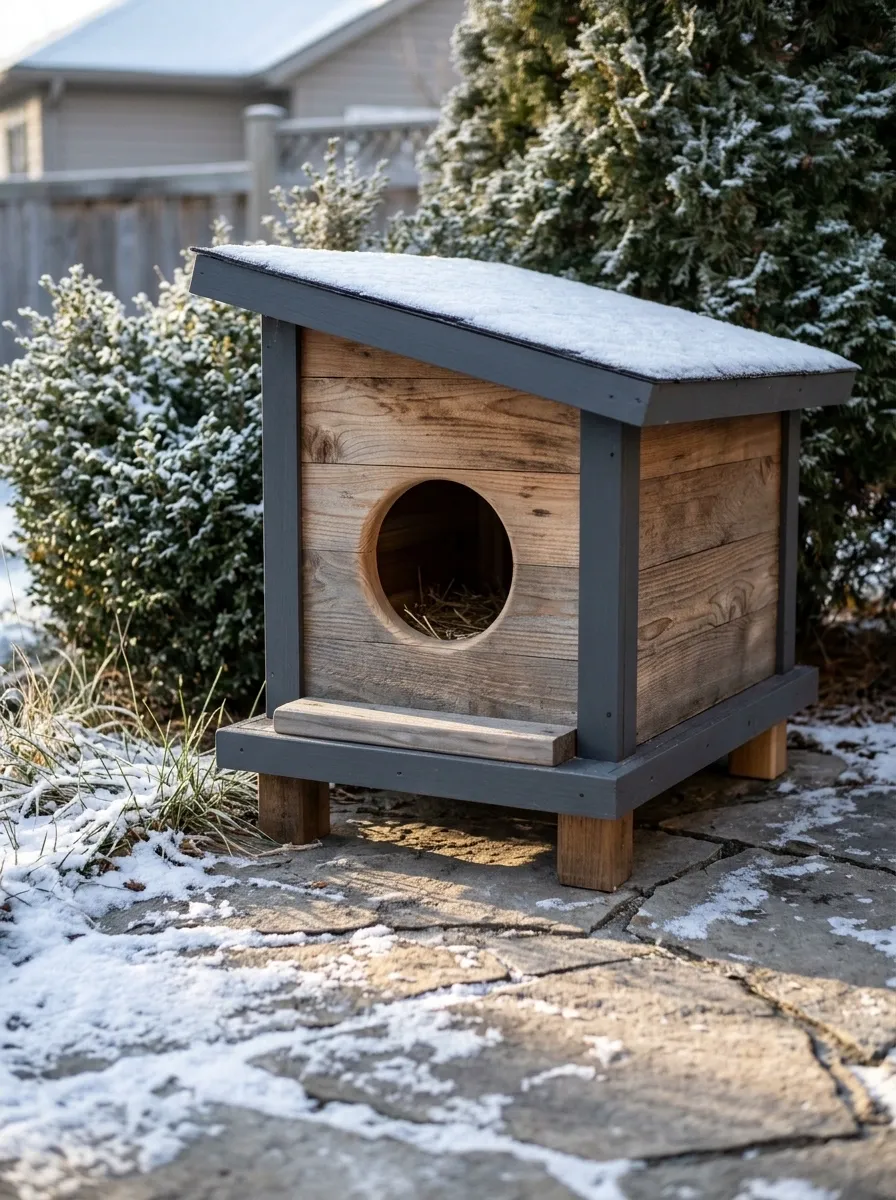
Close every lid according to the plan and check that the shelter does not rock. Make sure the entrance remains usable after the unit is in its final position.
Look from ground level, where the cat will approach. Loose sheets, dangling straps, or a narrow gap behind the shelter may be obvious only from there. Keep any securing method stable, without creating falling weights or snagging hazards.
Final checks: accessible interior, smooth entrance, intact shell, stable support, clear approach.
The Care Routine Is Part of the Project
Check After Rain, Snow, and Strong Wind
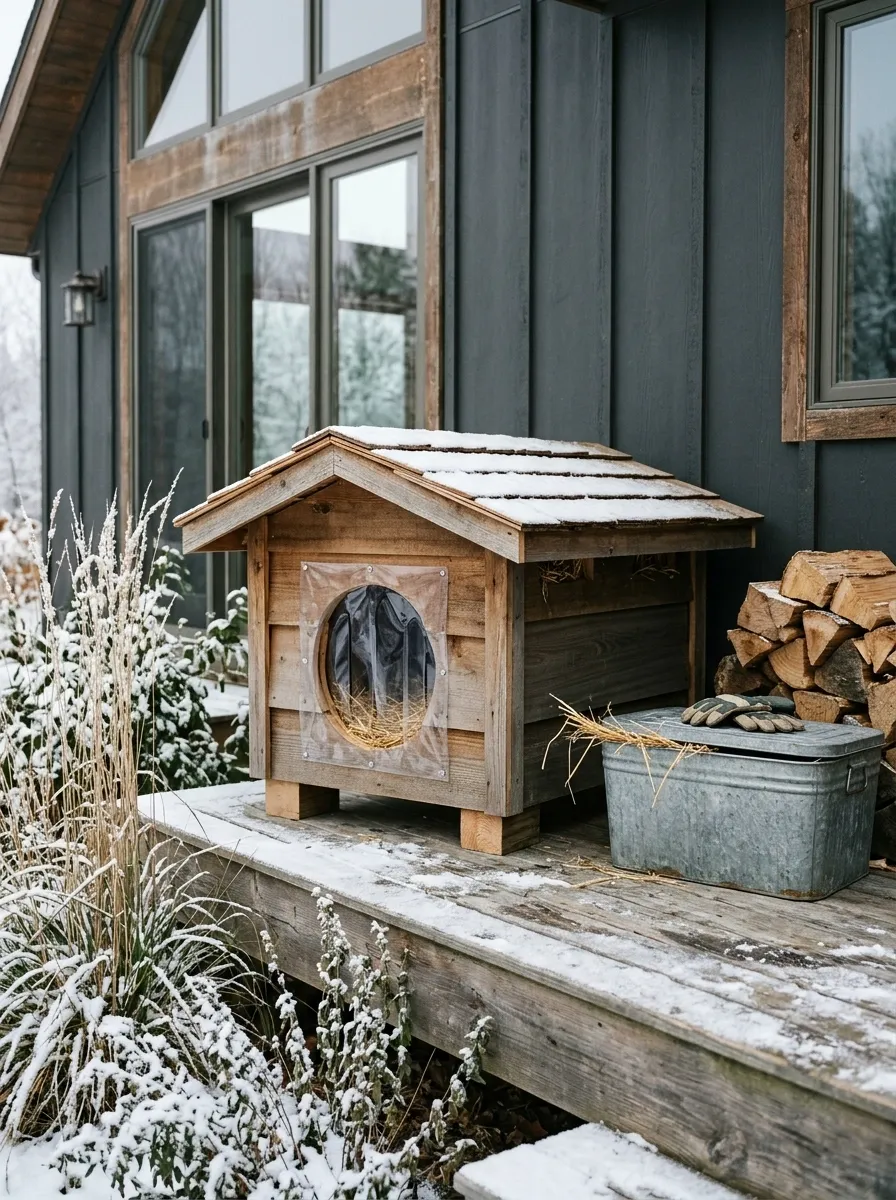
Inspect for wet bedding, leaks, damage, and blocked openings. Replace bedding that becomes wet or dirty, and keep entrances clear after snowfall.
Put spare supplies where you can find them quickly. A labeled bag of dry straw and a spare fastening are not glamorous, but they are considerably more useful than discovering a problem while searching through a garage in the dark. (Winter shelter maintenance)
| Check | Response |
|---|---|
| Wet bedding | Replace it and find the water source |
| Shelter has shifted | Restore and improve secure placement |
| Entrance blocked | Clear the route promptly |
| Damaged shell | Repair safely or replace the shelter |
Keep Food and Water in Their Own Care Zone
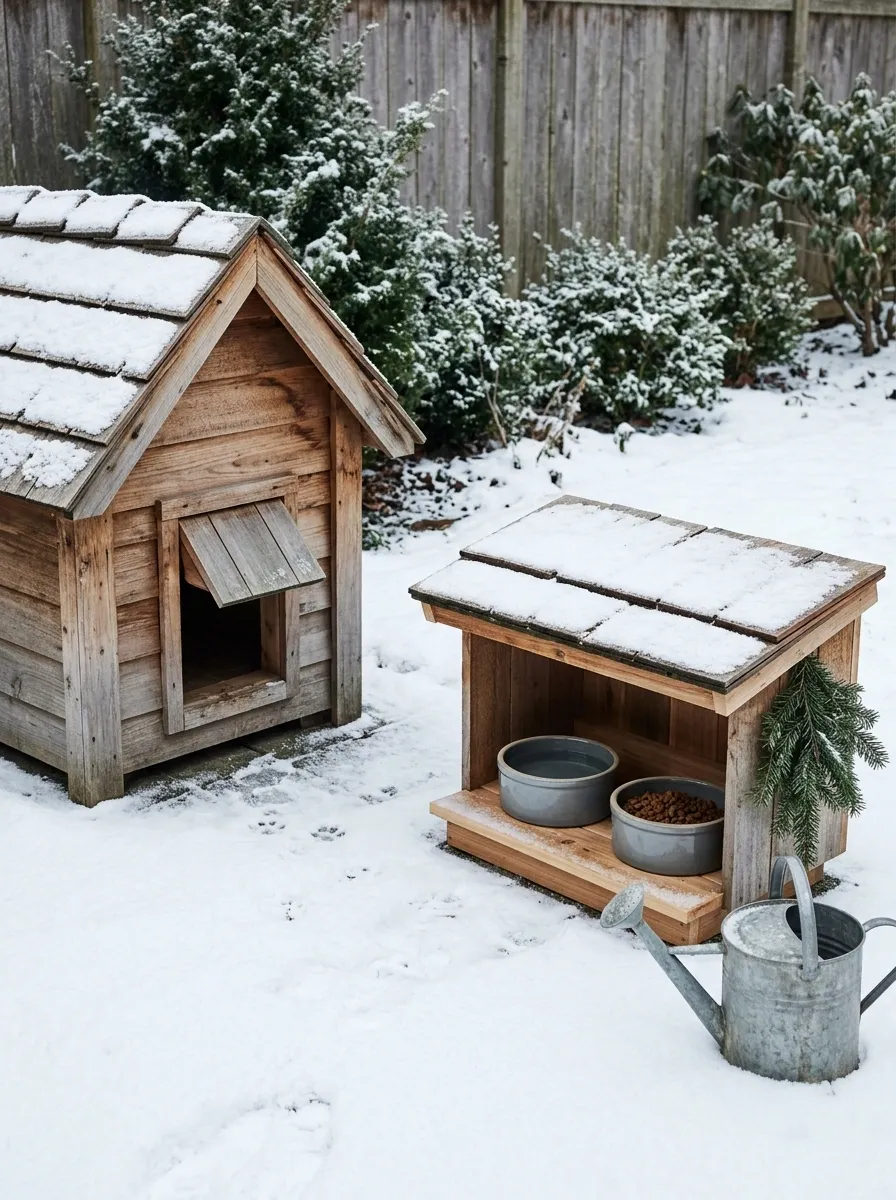
Plan a separate, accessible feeding and watering area so care does not depend on reaching inside the sleeping chamber.
Provide fresh food and water, monitor freezing, and clean up leftovers. Adjust the care plan for severe weather with advice from a local rescue or veterinarian. The shelter is one part of winter support, not a substitute for the rest. (Alley Cat Allies winter feeding guidance)
Sleeping space and daily care
Dry bedding and quiet access
Fresh food and unfrozen water
Skip Improvised Heating
Do not add candles, heat lamps, household electric blankets, or improvised heaters to the shelter.
If considering powered pet equipment, use only a product explicitly suitable for that exact outdoor shelter use and follow its bedding, cord, moisture, and electrical requirements. Seek qualified advice where needed. Do not combine a heating product with a straw-filled shelter unless its manufacturer specifically permits that setup.
Better upgrade first: improve weather protection, correct wet bedding, and review the shelter design with an experienced community-cat organization.
If the Shelter Remains Empty, Revisit the Site

Give the cat space to investigate without being watched closely. Check for an awkward entrance, unfamiliar obstructions, exposure, or nearby disturbance before changing the entire structure.
Alley Cat Allies suggests offering alternatives and considering the places cats already choose to shelter. Do not force a cat inside. A frightened animal needs a safe option, not an enforced tour of your weekend project. (Shelter acceptance tips)
Ask for help when needed: a local rescue or TNR group can often spot site-specific problems that a general online plan cannot.
Make It Reliable Before Making It Pretty
Once the shelter works, a restrained exterior finish can help it sit more quietly beside the house. Keep finishes appropriate, fully cured, and away from the sleeping materials and entrance surfaces the cat contacts.
Then keep checking it. The successful DIY project is the one that still offers a dry, usable refuge after the weather has tested it—not the one with the most impressive roof trim.