
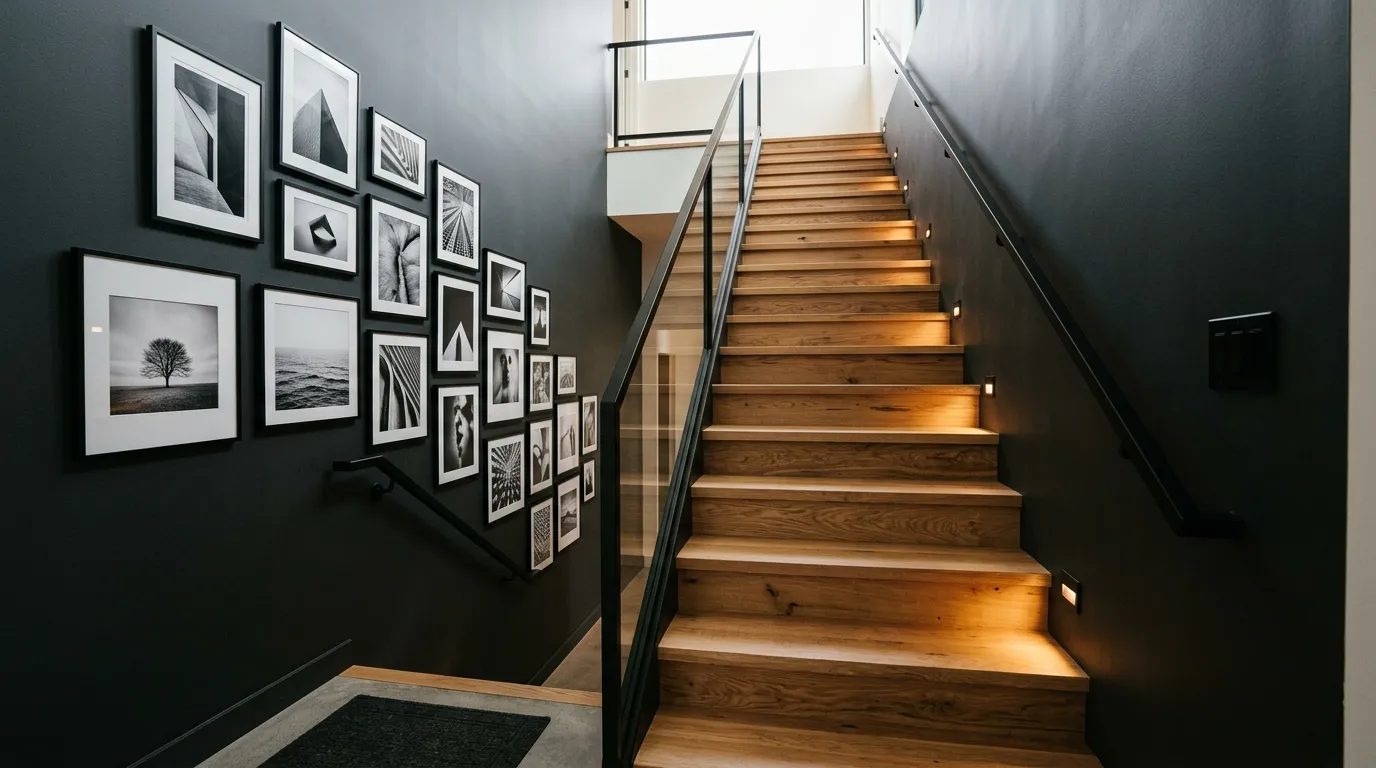
A staircase boxed in by two walls is the part of the house everyone walks past and nobody plans for. It gets treated like a hallway with steps, not a room, and that’s exactly why it ends up dark, bare, and forgettable. Builders frame it for function. Nobody tells you it’s also fifteen feet of wall space you’re staring at every single day.
The real issue isn’t the layout. Stairs between two walls can look just as intentional as any open staircase, but only if you stop ignoring the walls, the lighting, and the transitions at the top and bottom. Most people either leave it blank out of uncertainty or hang one sad framed print halfway up and call it done.
This list skips the vague advice. Every idea here is something you can actually do this weekend or plan for over a season, ranked from quick fixes to bigger commitments. By the end, you’ll have a stairwell that feels designed instead of tolerated.
Ways to Make Stairs Actually Look Designed
Paint the Stairwell Wall a Color Two Shades Darker Than Your Trim
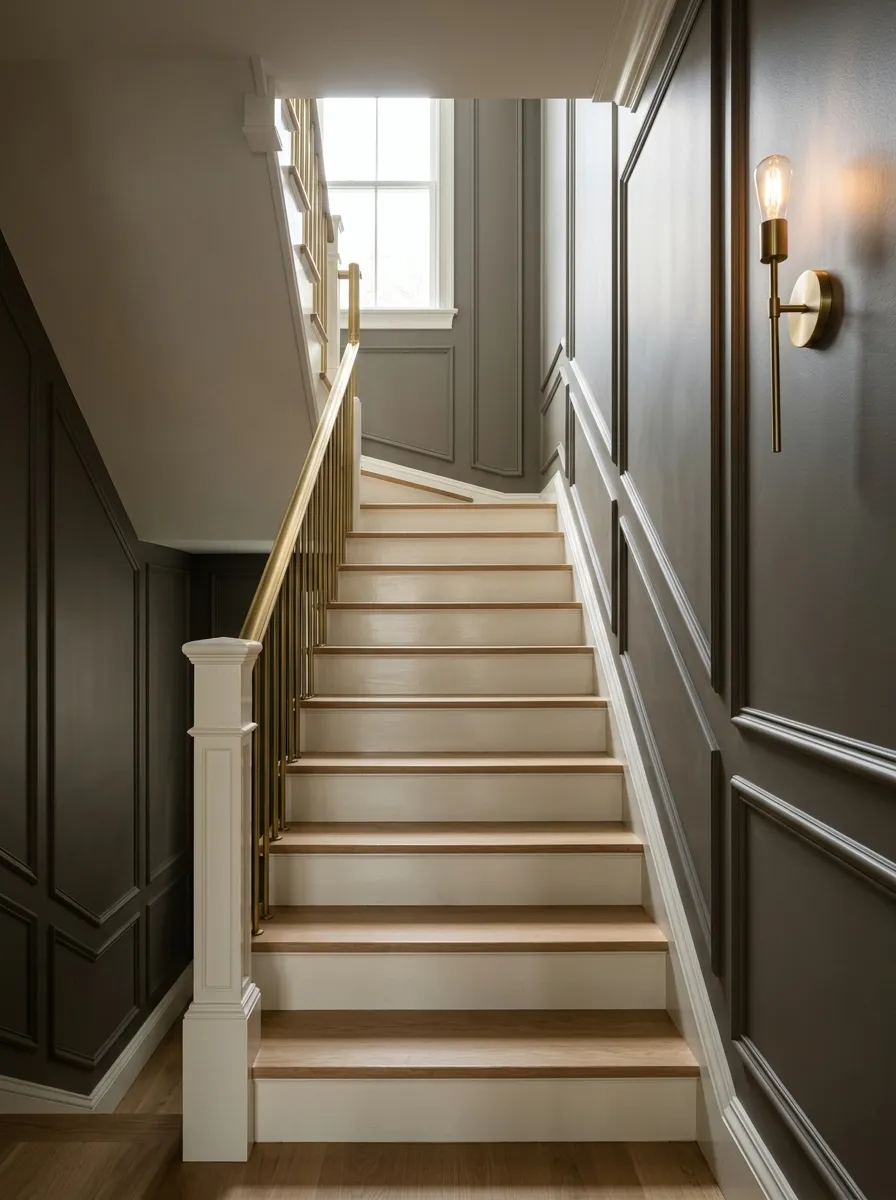
Flat, pale paint is the number one reason boxed-in stairwells look unfinished. Going two shades darker than your trim gives the wall enough depth to read as intentional instead of just “unpainted white.” It’s a small shift on the color wheel that changes the whole feel of the space.
- Test the color at the top, middle, and bottom of the stairs, since light hits each spot differently
- Use a matte or eggshell finish to avoid glare on a narrow wall
- Keep the trim lighter so the contrast stays crisp, not muddy
Best for anyone repainting anyway. This costs almost nothing extra to get right.
Install a Stair Runner With a Contrast Binding Edge
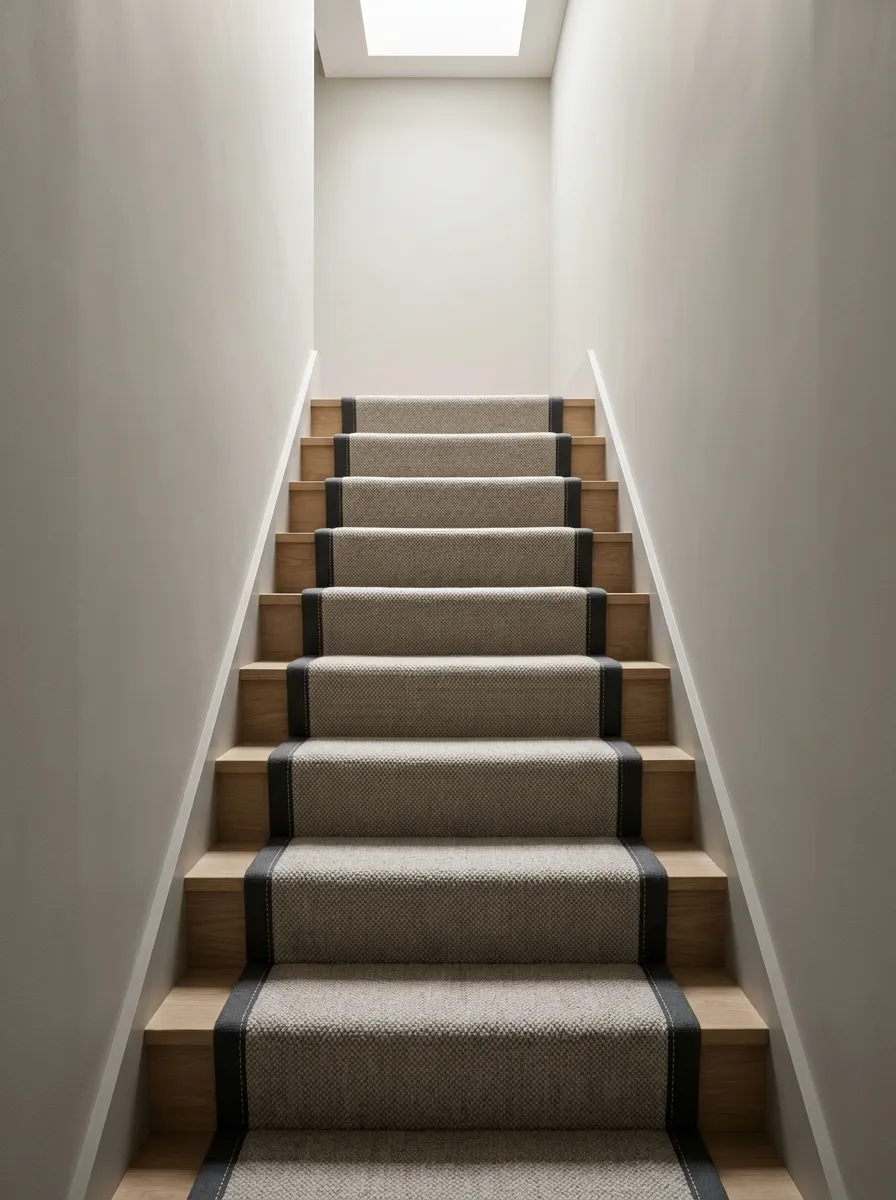
A bare wood staircase between two walls swallows light and shows every scuff. A runner solves that instantly, but the binding edge is what makes it look custom instead of store-bought. Skip the matching edge and pick a contrast color instead.
🧵 Tip: Order the binding in a color pulled from your wall paint, not your flooring. It ties the whole stairwell together instead of just matching the floor below it.
Add Wall Sconces Every Third Step
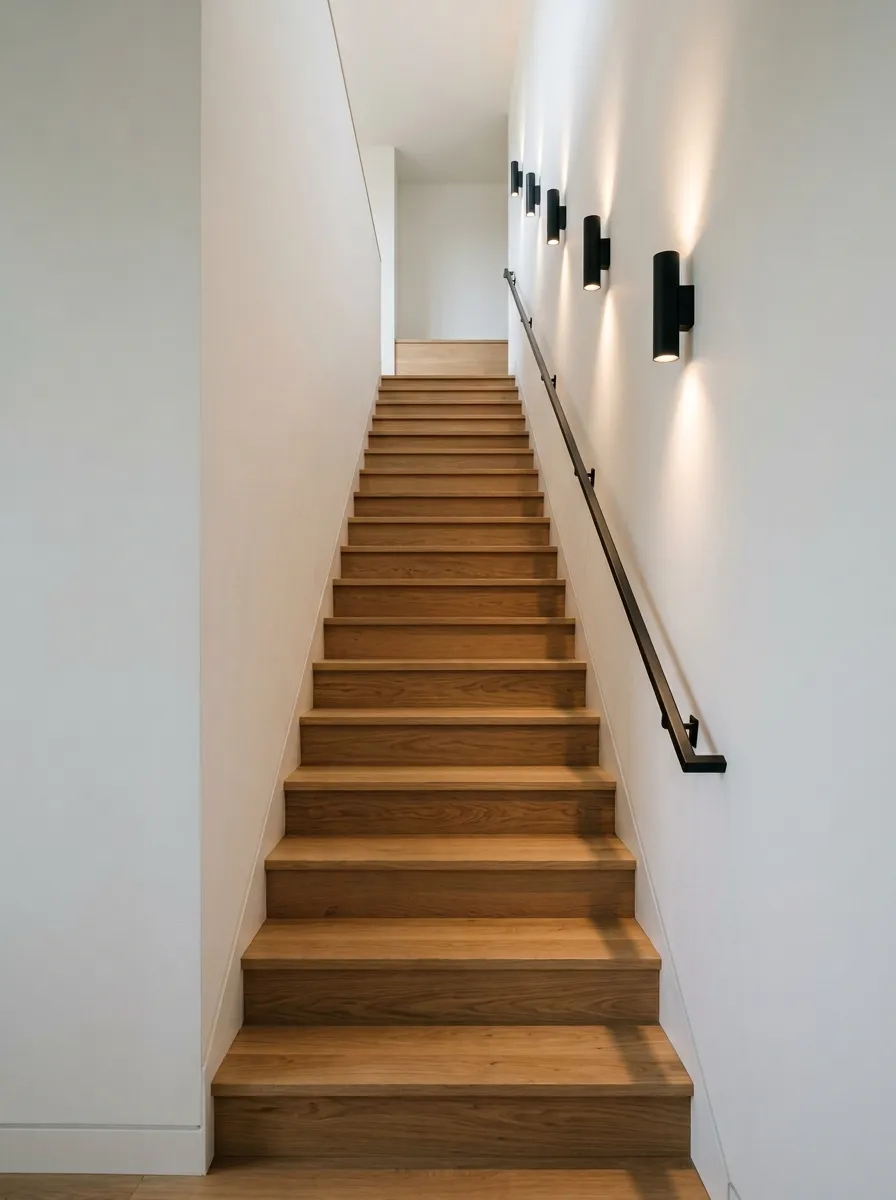
The dim middle section of a boxed-in staircase is almost always a lighting gap, not a design flaw. One fixture at the top and one at the bottom leaves the center steps in shadow. Sconces placed every third step close that gap and cast light exactly where your feet are.
Mount them at roughly 60 inches from the tread, angled slightly downward. That height clears most people’s heads while still washing light across the wall instead of straight into anyone’s eyes.
Wrap the Lower Third of the Wall in Wainscoting
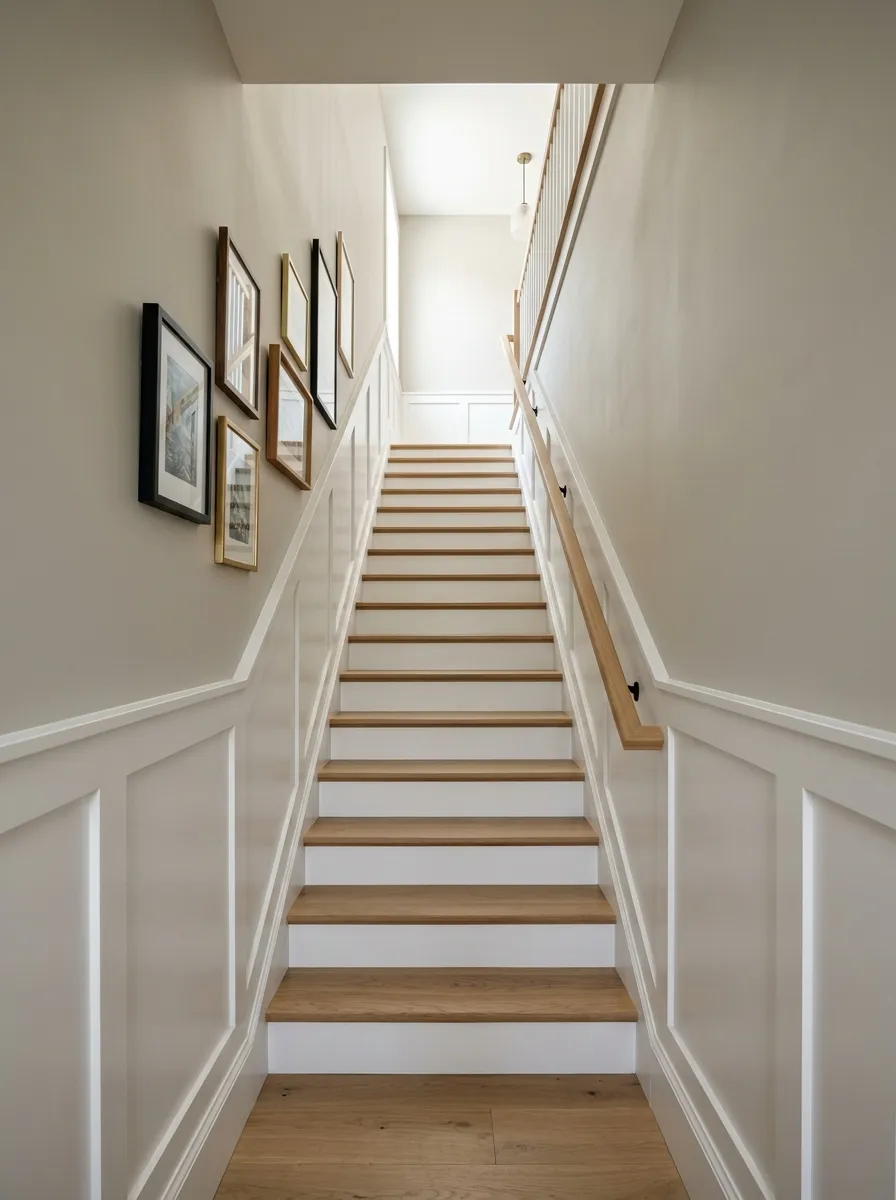
A plain drywall stairwell reads as unfinished no matter how nice the paint job is. Wainscoting on the lower third adds architectural detail without competing with any art or lighting you add above it. It also protects the wall from scuffs, which matters more on stairs than almost anywhere else in the house.
🔨 Tip: Stop the wainscoting at a height that lines up with your handrail, not an arbitrary number. It reads intentional instead of randomly placed.
Use a Bold Wallpaper on the Stair Wall Only
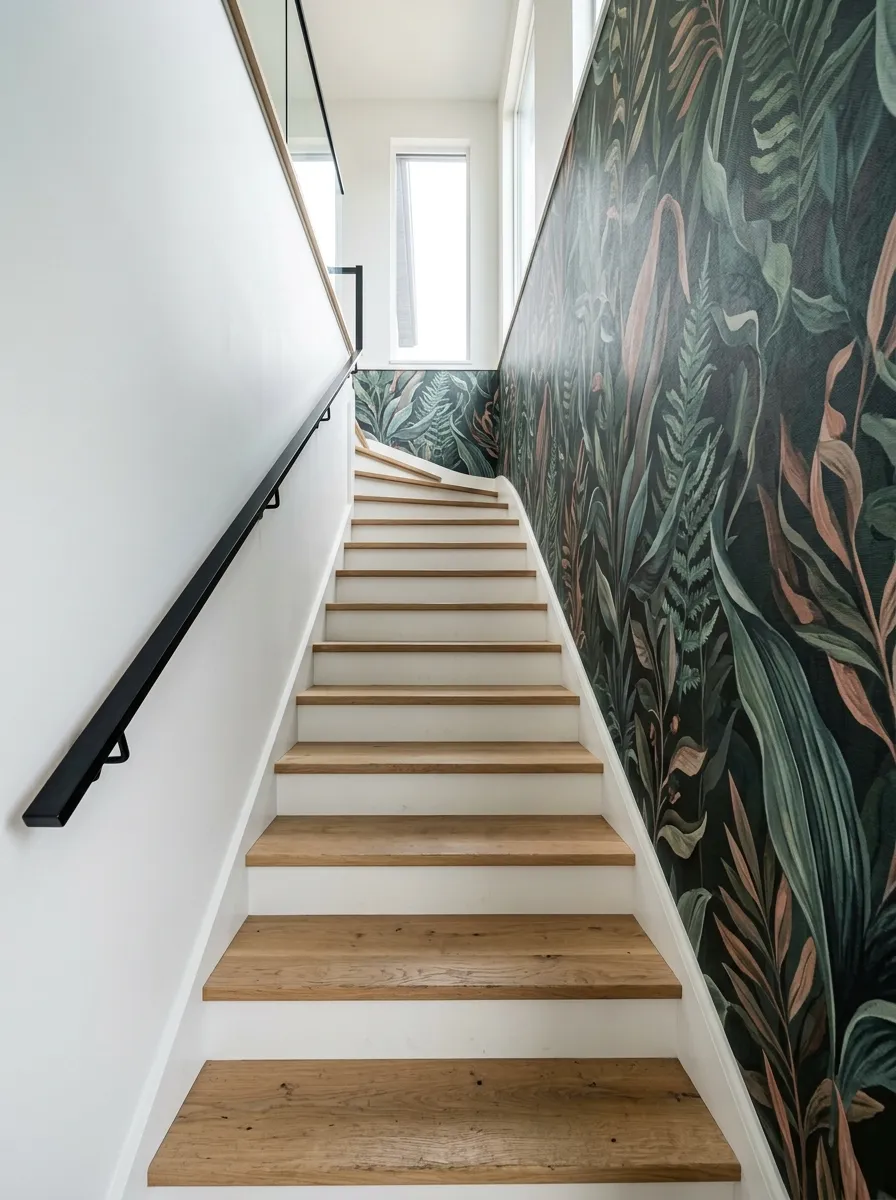
Wallpapering an entire stairwell can feel overwhelming in a tight space, but limiting it to one wall gives you all the impact without the commitment. A large-scale pattern actually works better here than a small print, since you’re viewing it from a distance as you climb.
Choose a pattern with movement, like a botanical or geometric print, since a static wall this size needs something for the eye to follow.
Install Rope Lighting Under the Handrail
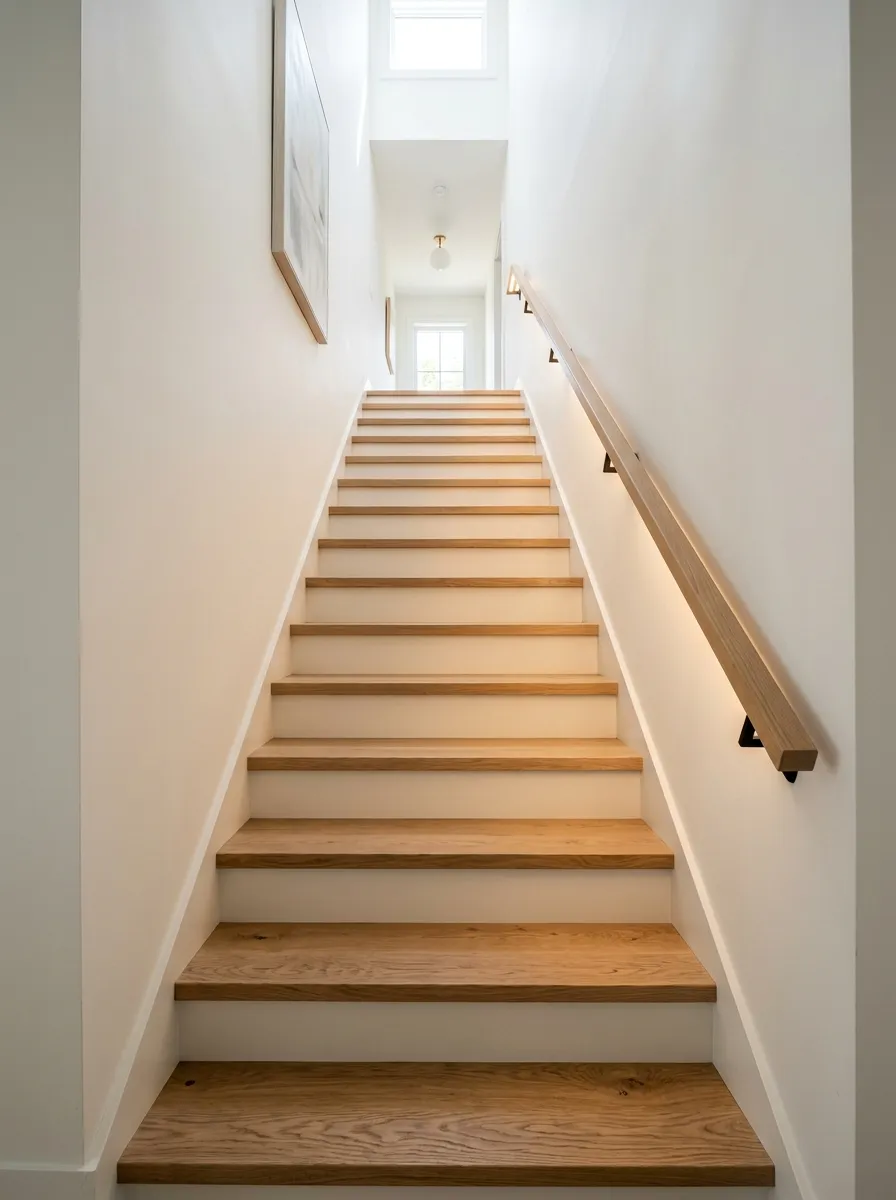
Under-rail lighting is one of the most overlooked upgrades for a boxed-in staircase. It lights the actual tread edges, which is where you need visibility most, instead of throwing light across the wall where it’s less useful for actually seeing the steps.
⚠️ Do not run rope lighting on top of a runner or carpet. Route it along the underside of the rail bracket instead, or you risk a tripping hazard and a fire code issue in some areas.
Add a Narrow Console Table at the Bottom Landing
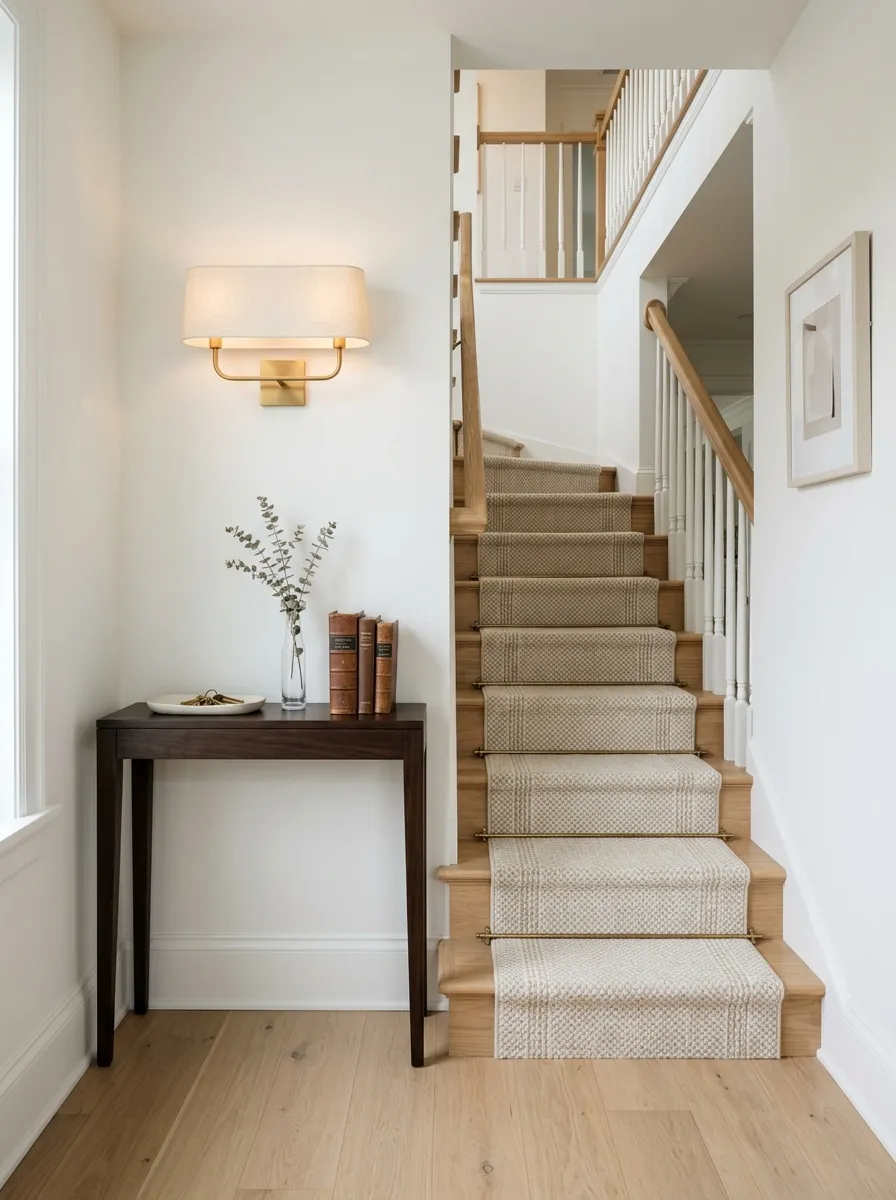
That empty spot at the base of the stairs usually just collects shoes and mail. A console table, even a slim 10 to 12 inch depth one, gives that space a job. It also gives you a spot to drop keys instead of piling them on the nearest step.
Measure your landing width before you shop. A table that’s even two inches too deep will clip the swing of the front door or crowd the first step, so narrow is the rule here, not a suggestion.
Hang One Oversized Art Piece at the Stair Turn
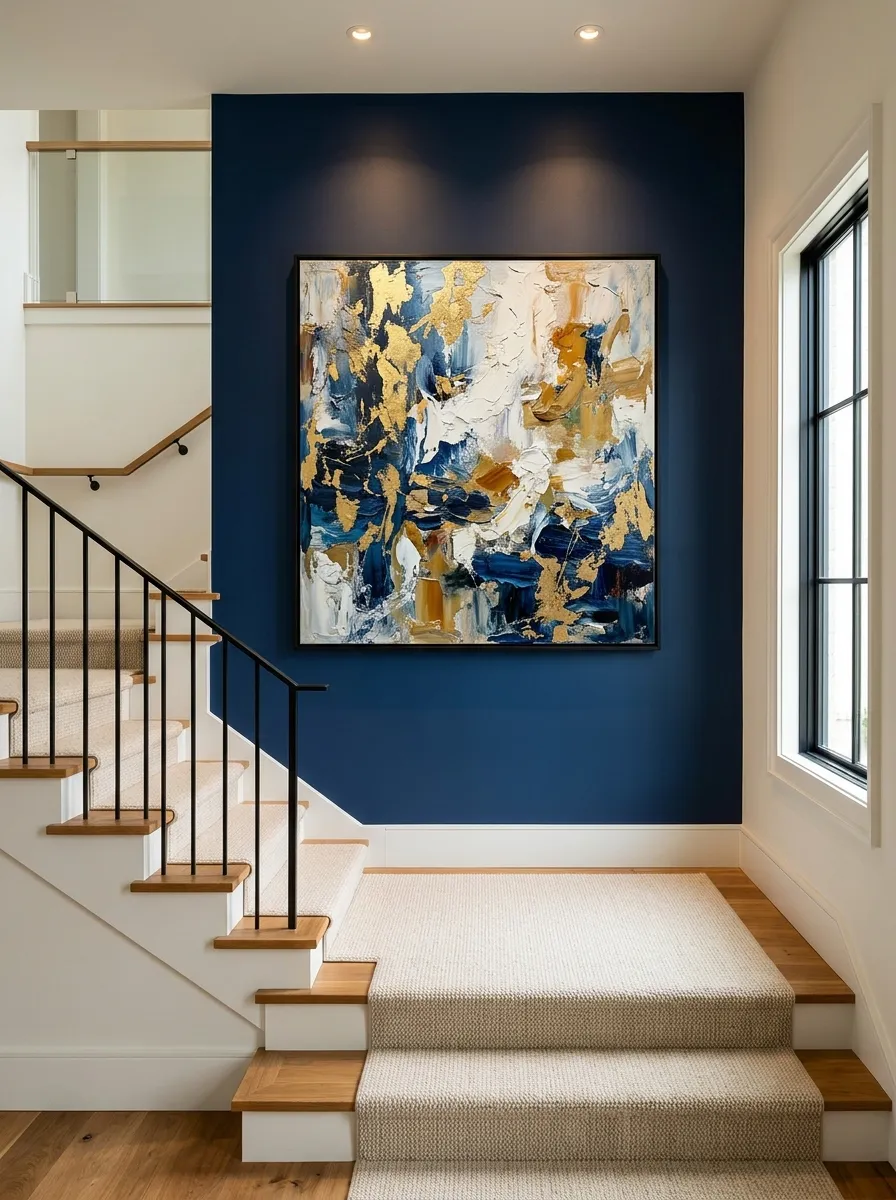
Small frames get lost on a stair wall. One large piece, sized for the wall instead of scaled down out of caution, does more work than a cluster of tiny ones ever could. The turn or landing is the best spot for it, since that’s where people naturally pause.
- Size the piece to fill roughly two-thirds of the available wall width
- Hang it at eye level for the landing, not the bottom step
- Pick a piece with a busy or textured wall paint won’t compete with
Best for a stairwell that already has a bold wall color and needs one anchor instead of several small pieces.
Paint Vertical Stripes to Widen a Narrow Stairwell
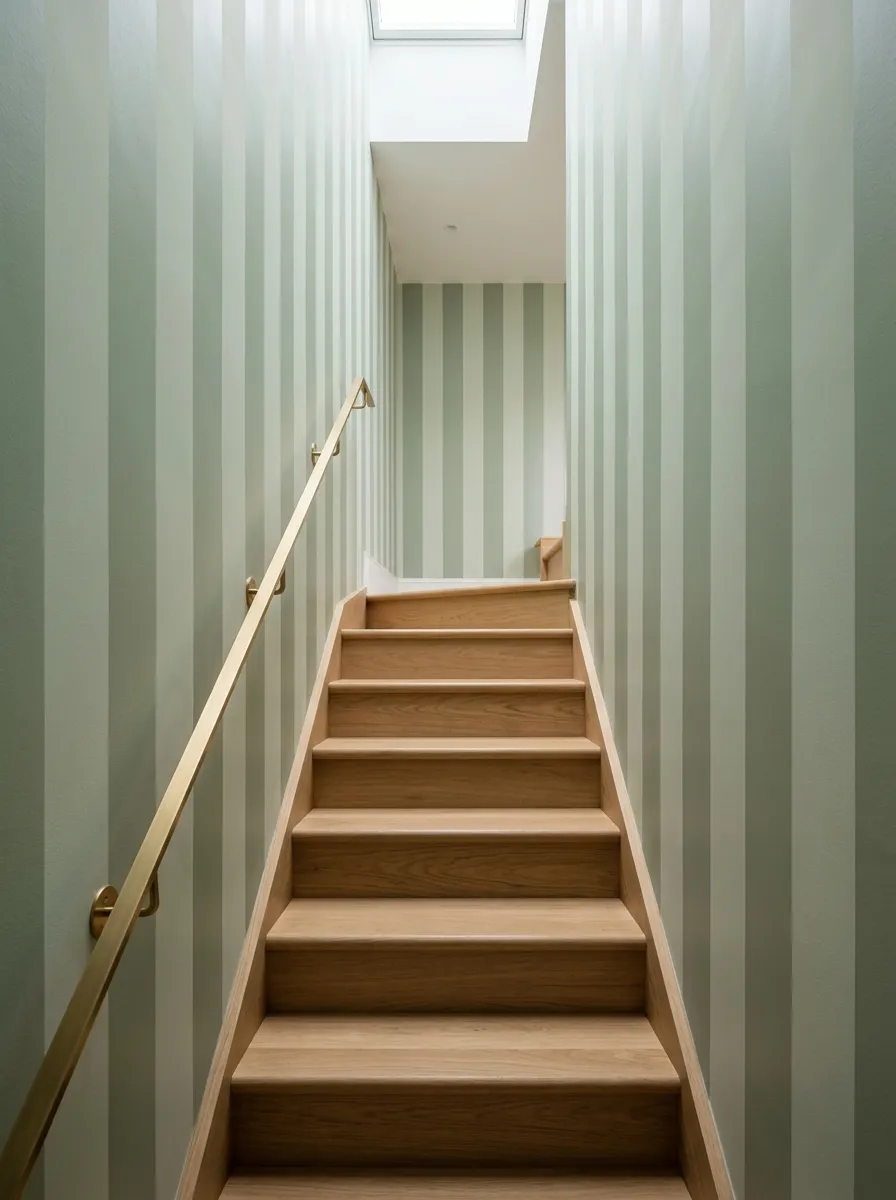
Vertical stripes are one of the oldest tricks for a reason. They pull the eye upward along the stair run and make a tight, boxed-in wall feel taller and less like a chute. Keep the stripes wide, at least eight inches, since thin stripes in a small space just look busy.
Two tones of the same color work better than two completely different colors. It keeps the stripes subtle enough to read as texture rather than a pattern that fights with everything else on the wall.
Add a Mirror at the Base to Bounce Light Up the Stairs
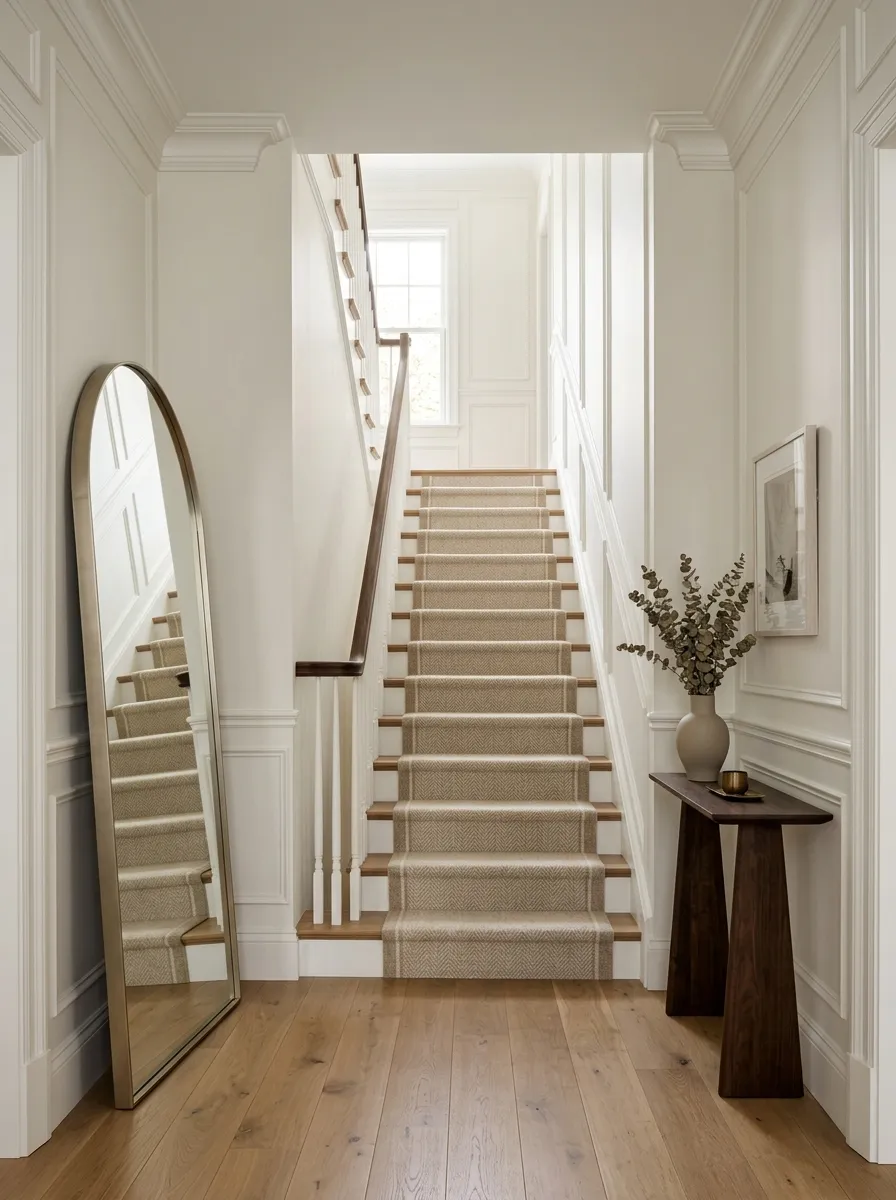
A boxed-in stairwell rarely has a window, which means whatever light hits the bottom landing is all you’ve got to work with. A mirror placed to catch that light and reflect it up the stair run stretches the light further than any single fixture will.
Gather before you hang it:
- ✅ A mirror at least 24 inches tall for real reflective impact
- ✅ A spot directly across from your main light source, window or fixture
- ✅ Sturdy anchors, since stairwell mirrors take more vibration than wall mirrors elsewhere
Install a Plate Rail for Rotating Art Display
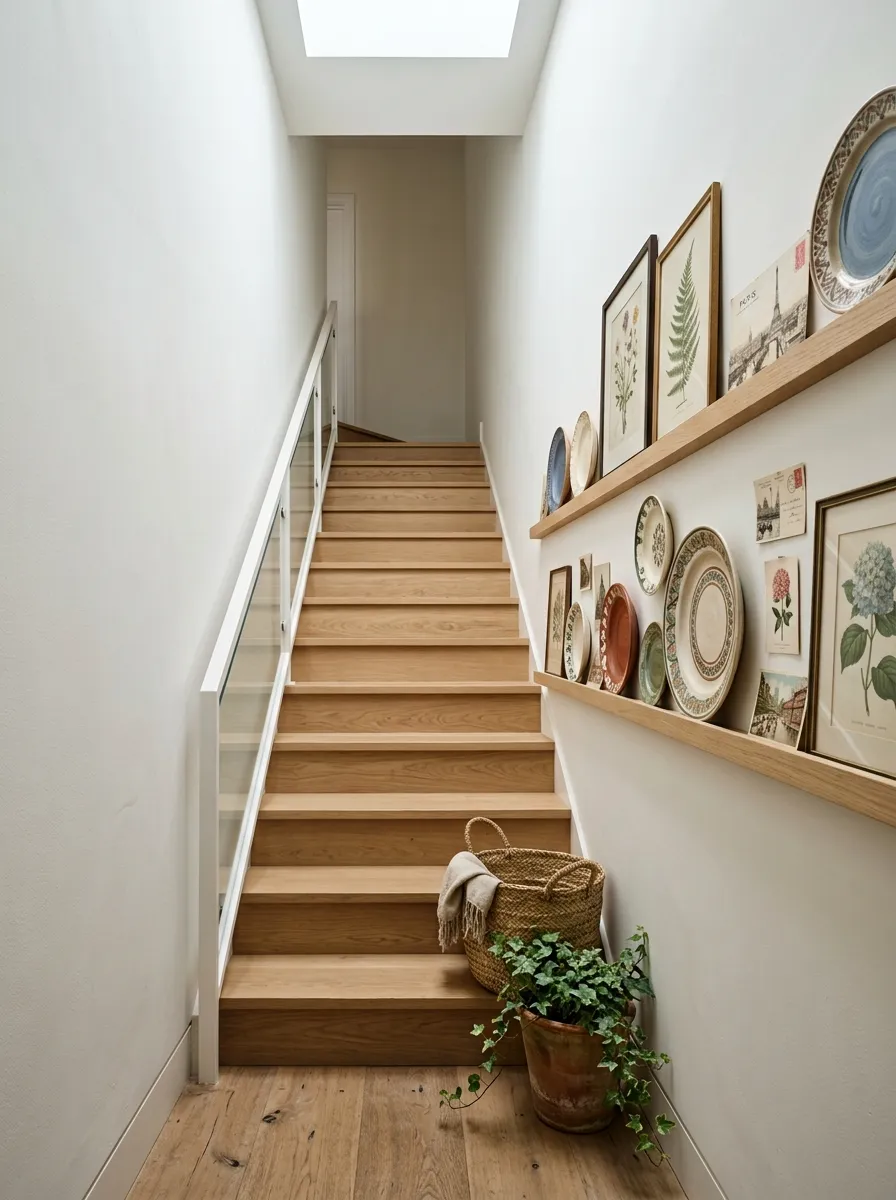
Commitment is the real reason most stair walls stay bare. A plate rail solves that by letting you lean art, plates, or postcards against the wall instead of drilling for every single piece. Swap the display whenever the mood strikes without patching a single hole.
This setup works especially well if you like changing things seasonally or just get bored of the same art fast.
Choose a Handrail Color That Breaks From the Walls
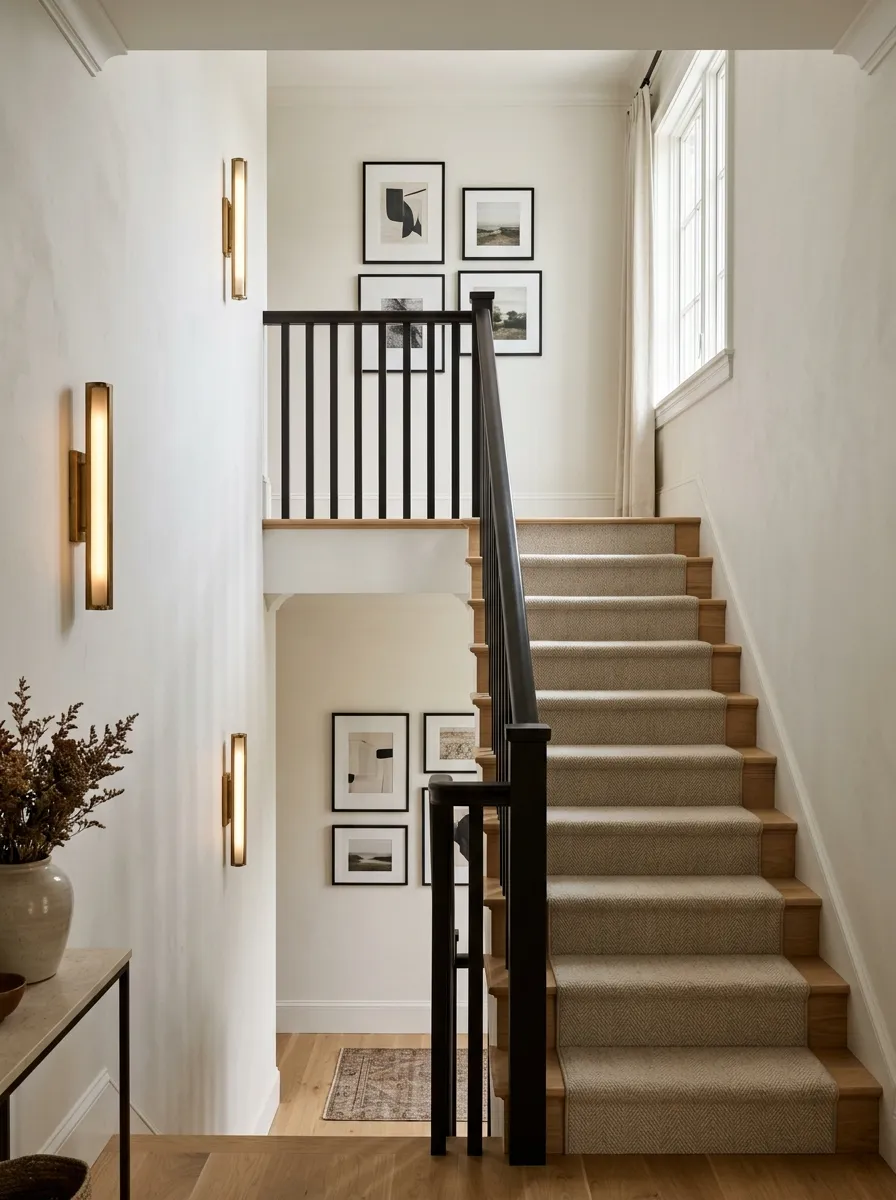
A handrail painted the same color as the wall disappears, which sounds fine until you realize it also flattens the whole staircase visually. A rail in a contrasting tone, especially black, a deep espresso, or a bold accent color, gives the eye a clear line to follow from top to bottom.
- Pick a color already used elsewhere in the room, like window trim or a door
- Use a satin or semi-gloss finish since matte shows fingerprints fast on a rail
- Repaint the balusters to match if they currently blend into the wall too
Add a Bench Nook If the Bottom Landing Allows It
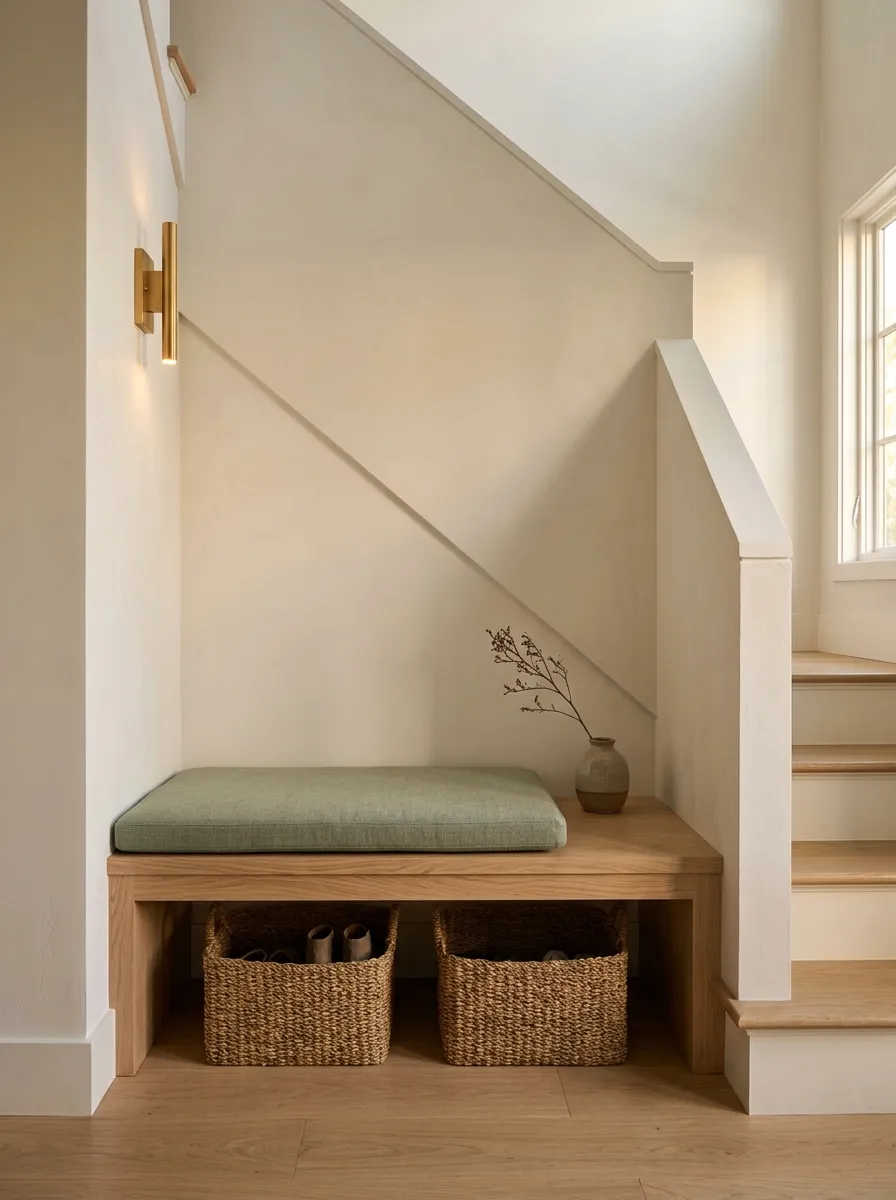
Not every stairwell has the depth for this, but if your bottom landing has even a two-foot pocket of unused space, a slim bench turns dead space into a functional spot for putting on shoes. It also anchors the base of the stairs the way a rug anchors a living room.
A bench under 14 inches deep keeps it from crowding the walkway, and adding a single cushion in your accent color ties it back to the rest of the stairwell design.
Run a Photo Timeline From Bottom Step to Top
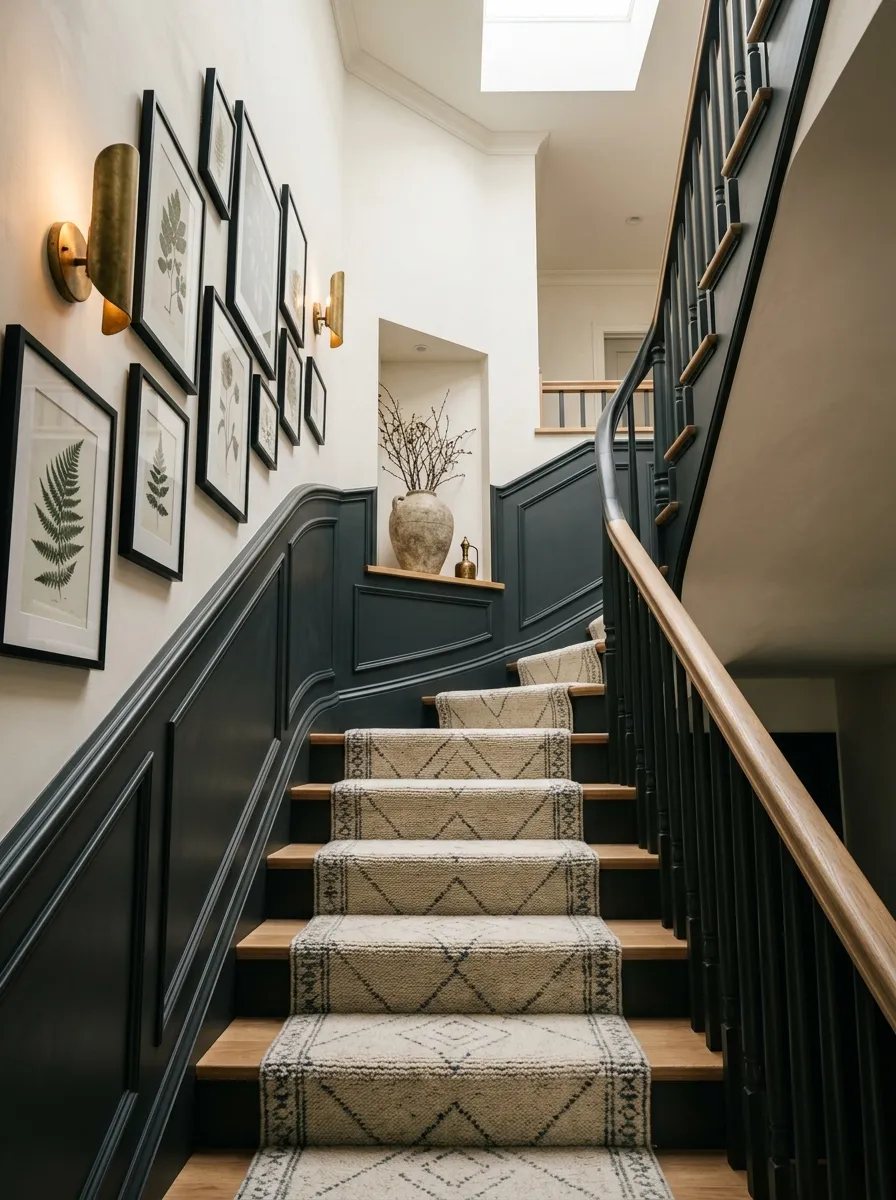
Family photos on a staircase are common, but most people hang them randomly instead of using the climb itself as a storyline. Order them chronologically from the bottom step to the top landing and the whole wall becomes a timeline instead of a scattered collage.
🕰️ Tip: Keep frame styles identical even if the photos span decades. Consistent framing is what makes a timeline read as designed instead of thrown together.
Use Stair Rods Instead of a Glued-Down Runner
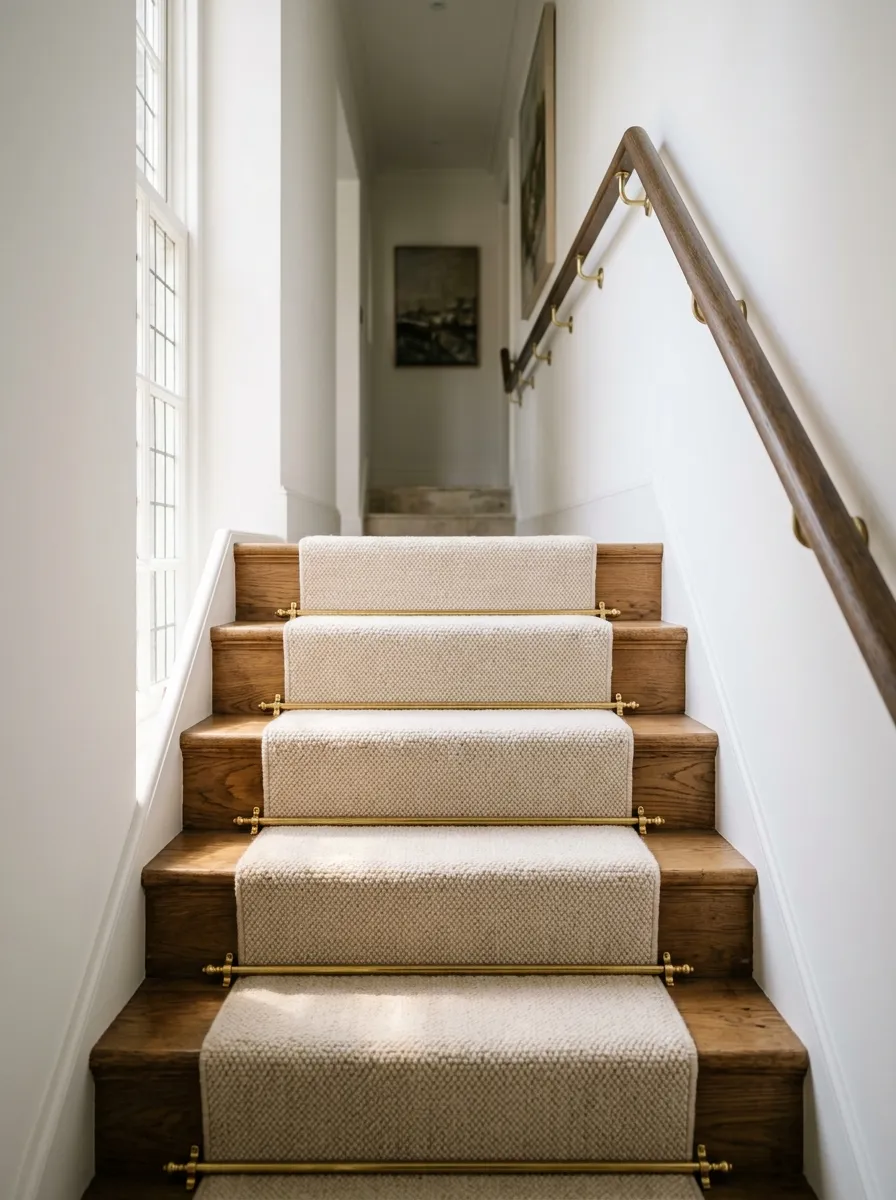
A glued-down runner is permanent and hides the wood underneath completely. Stair rods hold a runner in place without adhesive, which means you can remove it, clean under it, or swap the runner entirely without touching the stairs themselves. They also add a hardware detail most boxed-in staircases are missing.
Brass or matte black rods both work, just match whatever metal you’ve already used on your handrail brackets or light fixtures so it doesn’t feel like a mismatched add-on.
Install a Skylight Tube at the Top If the Roofline Allows
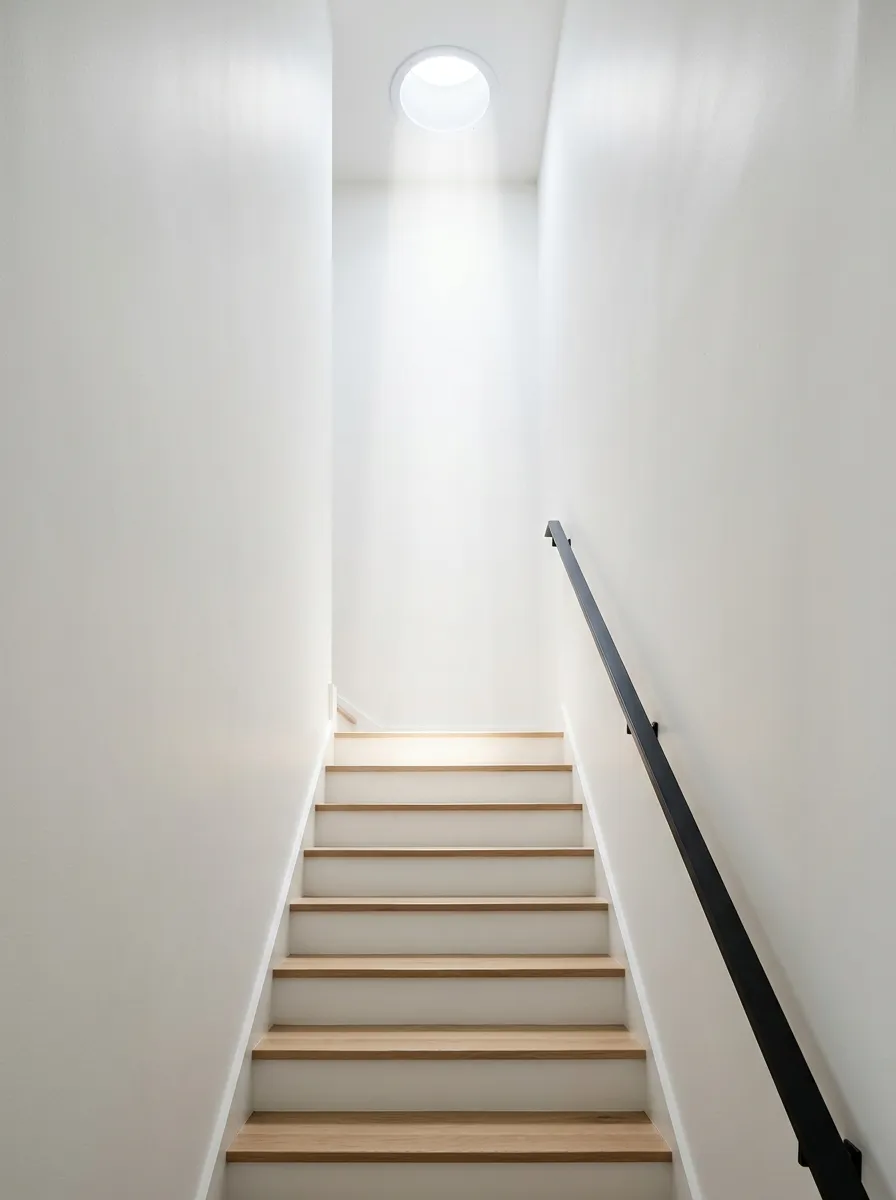
If your stairwell runs up to an attic space or sits directly under the roof, a tubular skylight can pull in real daylight without the cost or complexity of a full skylight installation. It’s the single biggest fix for a stairwell that feels like a dark shaft, but it only works if the roofline above actually allows for it.
Check this before getting attached to the idea. Not every layout has a clear enough run through the attic to make it feasible.
Color Block Half the Wall for a Modern Break
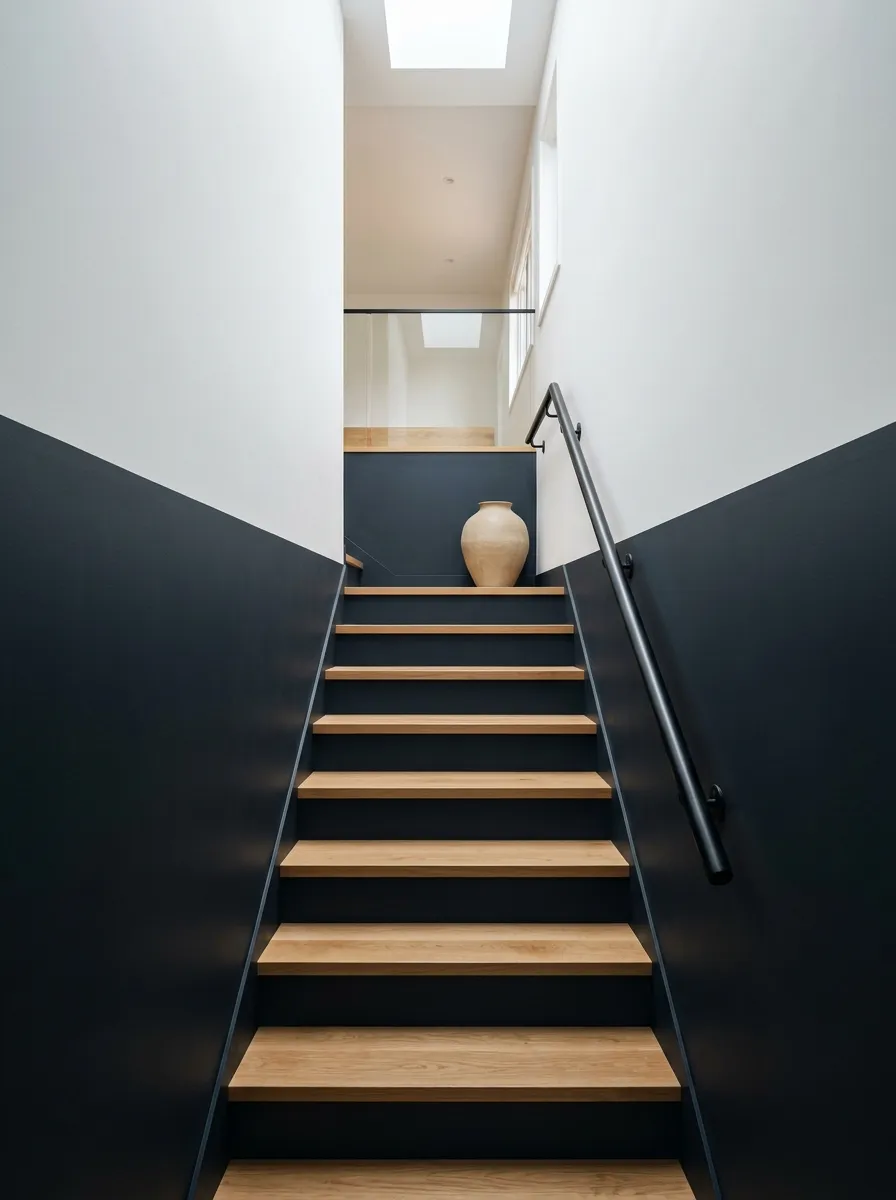
Painting only the bottom half of the stair wall in a bold accent color, with a clean horizontal line partway up, gives a boxed-in stairwell a current, intentional look without committing to color on the whole surface. It also visually lowers a tall, narrow wall, which makes the space feel less like a chute.
Run the line at a consistent height the entire way up the stairs, not parallel to the stair angle. A stair-angled line reads as a mistake, not a design choice.
Conclusion
A boxed-in staircase doesn’t have to feel like the part of the house you rush through. Once you treat the walls, the lighting, and the landings as real design decisions instead of leftover space, the whole stairwell starts pulling its weight. You don’t need every idea on this list. Pick two or three that fit your layout and your budget, and let those do the heavy lifting.
The goal isn’t a Pinterest-perfect staircase overnight. It’s a space between two walls that finally looks like someone planned it, not one that just happened. Save this list for the next time you’re staring at a bare stair wall and wondering where to start.