
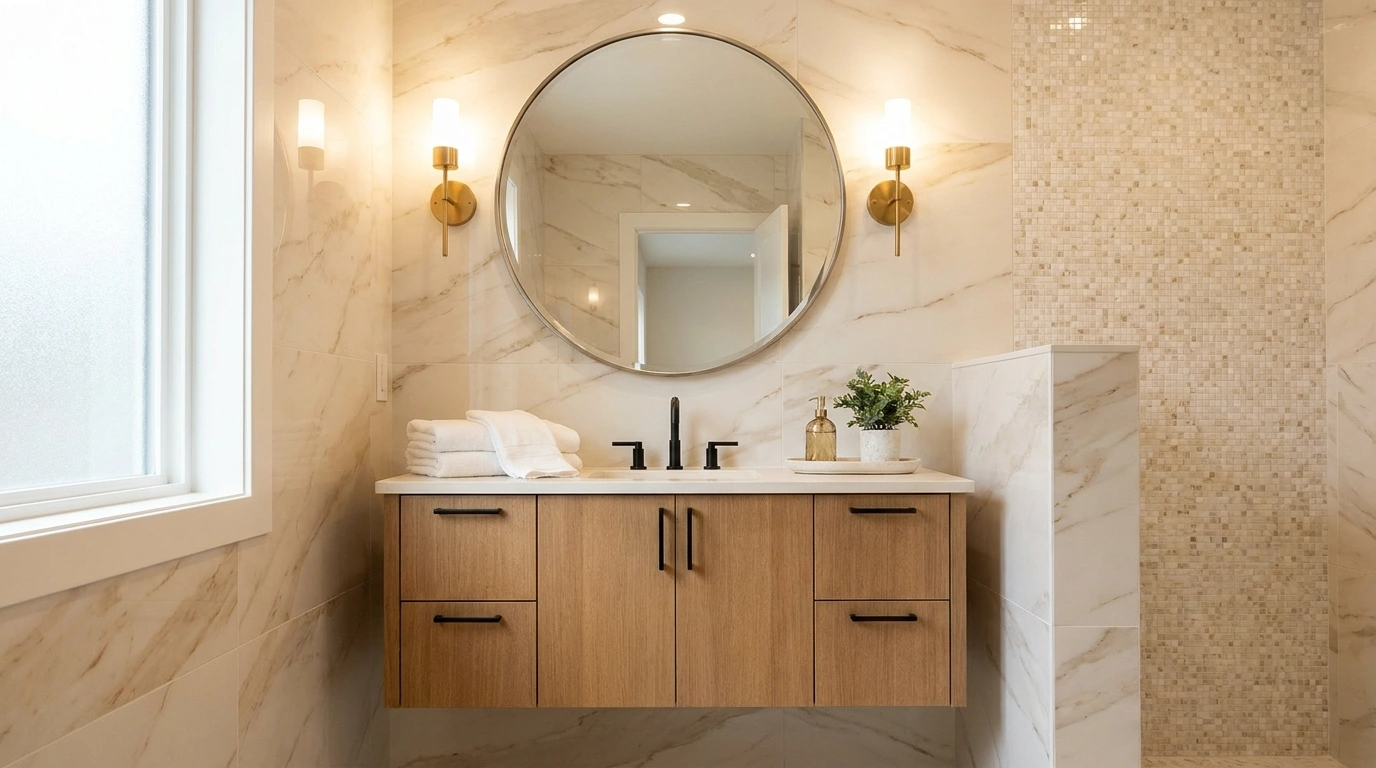
A bathroom can be spotless and still look cheap. The culprit is often a curtain hovering halfway up the wall, a tired mirror, and enough bottles around the sink to suggest a small pharmacy has moved in.
Buying more accessories rarely fixes that. It usually gives the clutter better packaging. What makes a bathroom feel expensive is the relationship between the details: where the light falls, how the towels hang, whether the finishes agree, and how much clear space survives around the basin. None of that requires a marble invoice that ruins your weekend.
Creating a luxury looking bathroom on a budget starts with editing what you already have. Fix the visibly worn parts. Give the room a calmer color story. Then spend on the few things your eyes land on every time you open the door.
Luxury Looking Bathroom on a Budget
Hang the Shower Curtain Higher and Get the Length Right
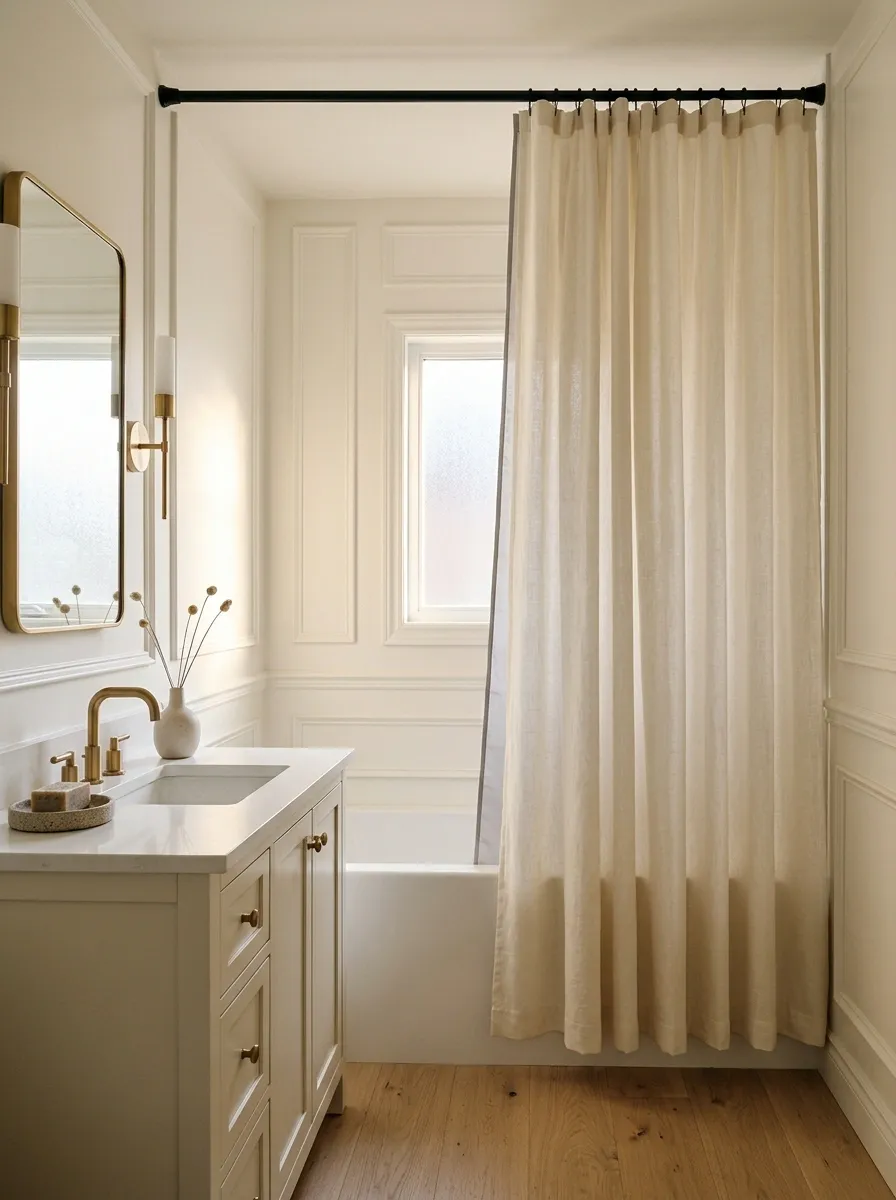
A short shower curtain makes the whole shower look like it outgrew its clothes.
Raise the rod where the wall, ceiling, and fixing method allow, then choose a curtain long enough to finish neatly above the floor. Measure before ordering. “Extra long” isn’t a measurement, despite what the product listing would like you to believe.
Keep the liner positioned so water drains inside the tub or shower. The decorative curtain stays outside. A plain fabric with some weight gives cleaner folds than a thin, shiny sheet that clings to everything.
Check secure fixing points and leave room for the rings.
Allow for the heading, hooks, and the clearance above the floor.
Keep the liner inside the wet area and fabric away from puddles.
Clear the Vanity Until Daily Essentials Have Room
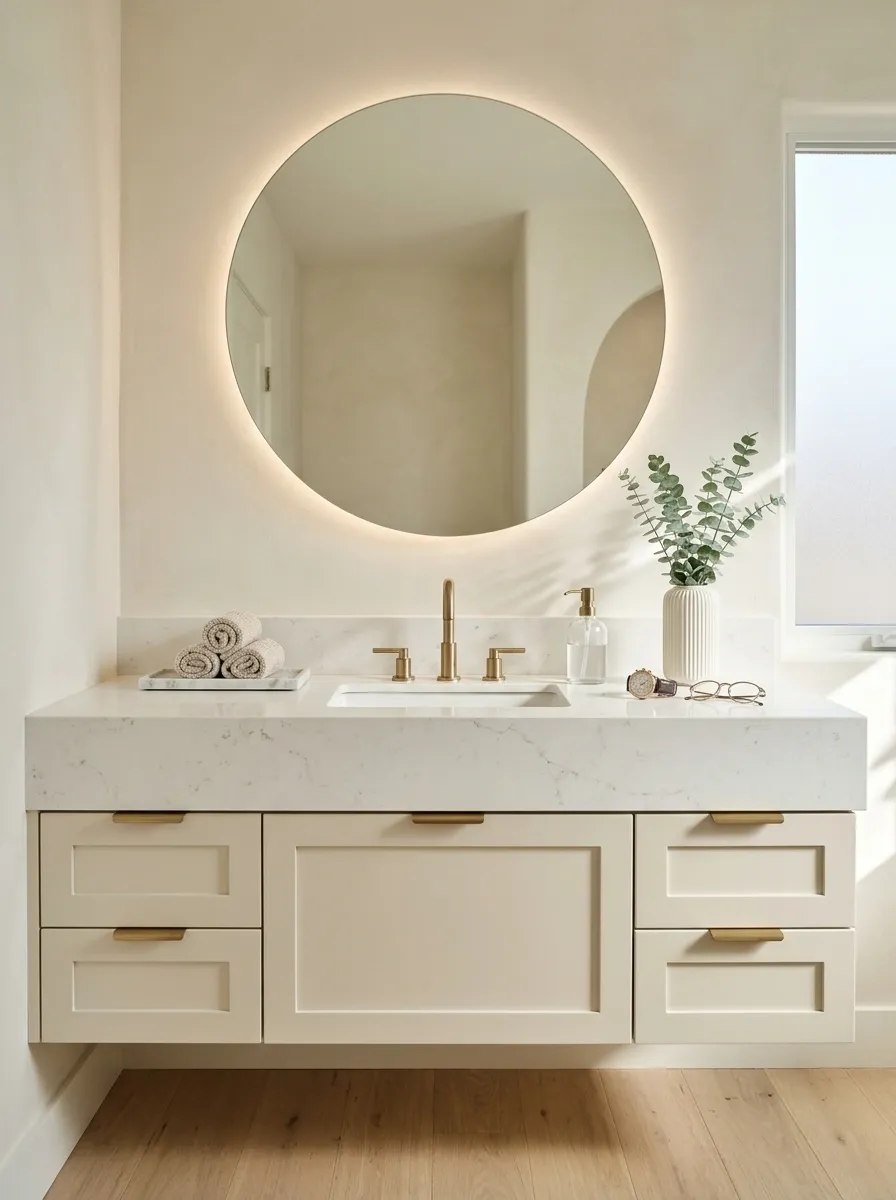
You should be able to wash your face without rearranging an exhibition.
Take everything off the counter, clean the surface, and return only what gets used there every day. Put backups together in a cupboard. Move occasional products somewhere they won’t need dusting between appearances.
Leave a clear landing spot. Glasses, a watch, or a contact lens case need somewhere dry while you use the sink. That empty patch is useful space, and it makes a basic vanity feel more generous without adding a single inch.
- Check expiry dates before finding storage for old products.
- Keep duplicate products together so you stop buying more.
- Use a washable divider for the drawer that catches loose items.
- Reserve a dry patch away from the tap’s splash zone.
Frame a Plain Mirror Without Losing Its Clean Lines
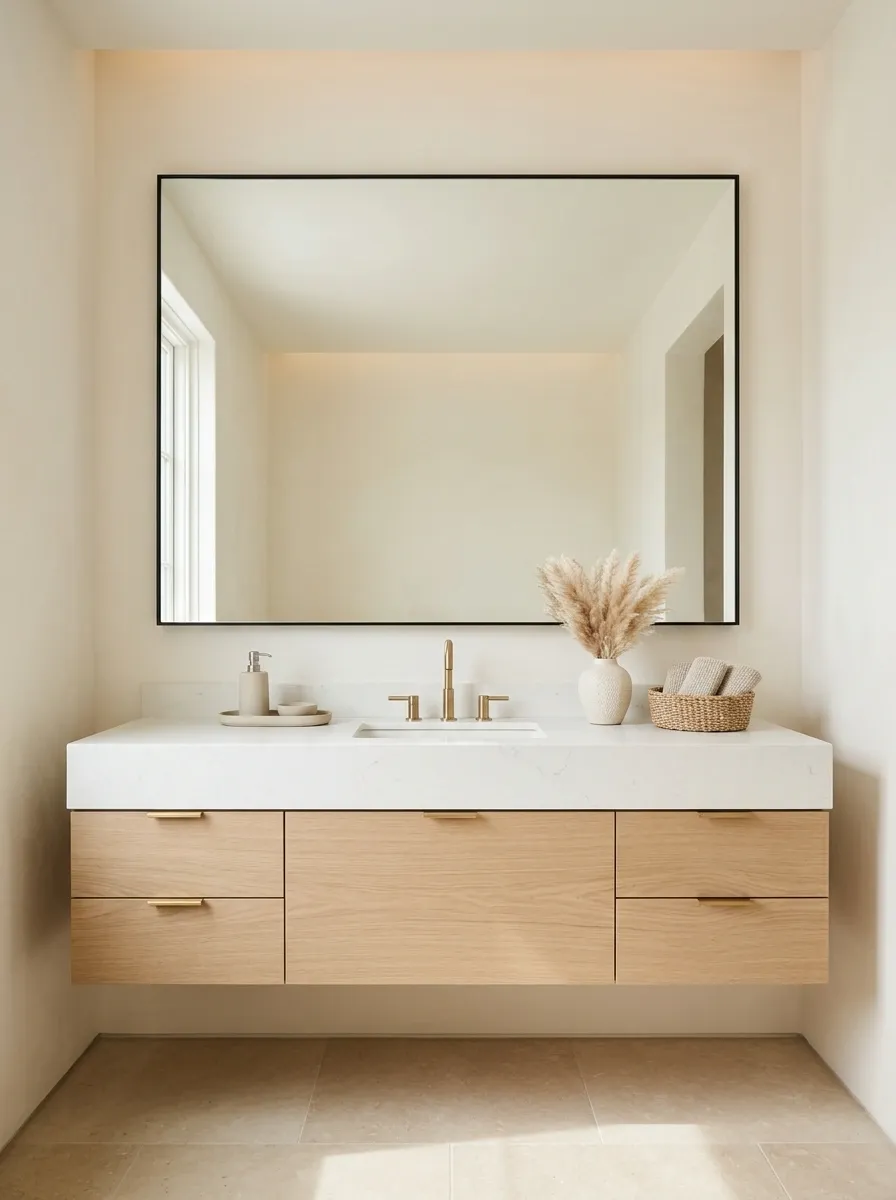
A large plain mirror already does something valuable: it spreads light and opens up the wall. Keep that advantage.
If the edges look unfinished, add a slim frame suited to the bathroom’s moisture and the mirror’s installation. Match its weight to the vanity below. A narrow sink doesn’t need a frame that looks stolen from a ballroom.
Check clips, switches, and nearby cabinets before choosing the profile. Existing mirror clips can stop an off-the-shelf frame from sitting flat. Plan those details before adhesive turns a small project into a permanent regret.
Choose a compatible frame system or a profile designed to clear them.
Open the door fully and check the frame won’t block its travel.
Assess loose fixing, sharp edges, or deterioration before adding trim.
Make Visible Hardware Follow One Finish
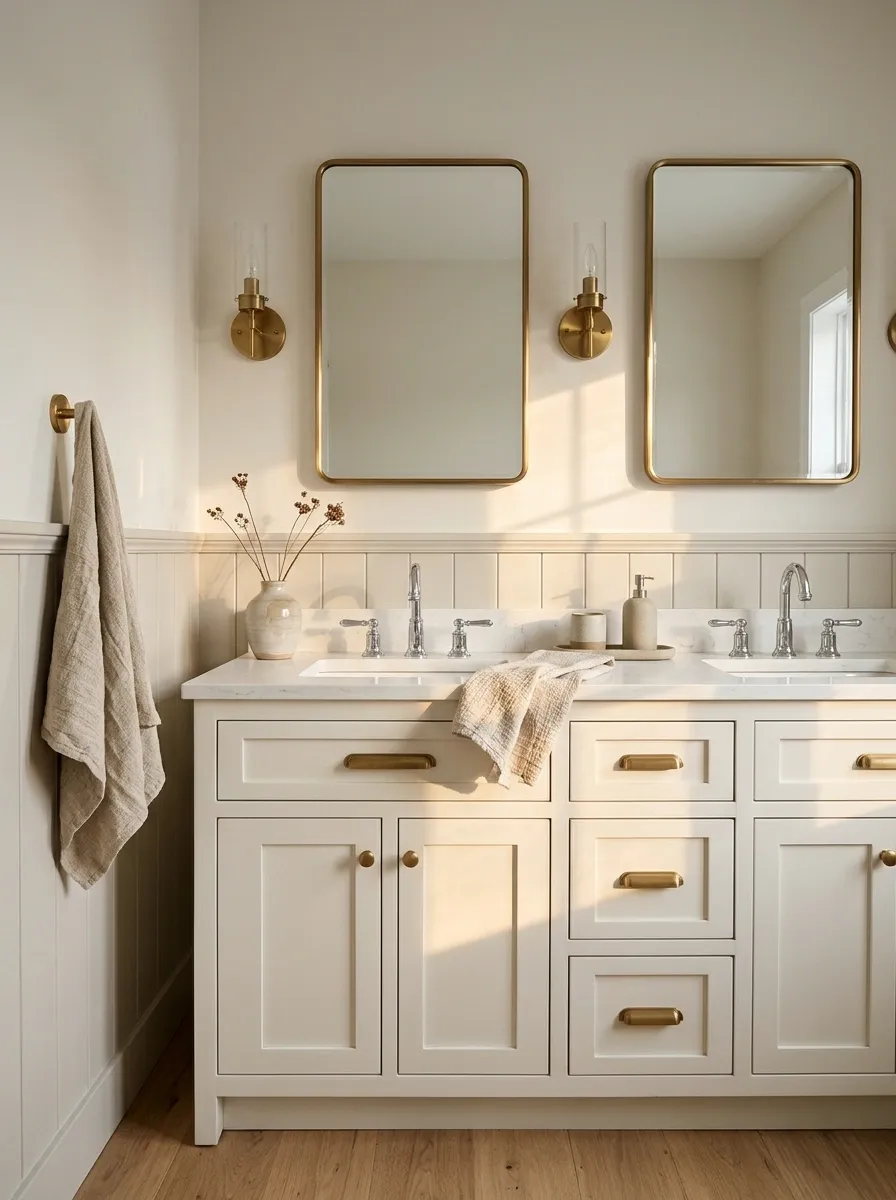
Small fittings have a loud collective voice.
Choose a lead finish for the cabinet pulls, towel hooks, and other easy replacements. Then let the fixed tap or shower fittings sit within that plan. You don’t need to replace working plumbing because a drawer handle has developed expensive tastes.
Compare samples in the room’s actual light. Two products called “brushed brass” can look surprisingly unrelated. Check the fixing distance on cabinet handles too. Reusing existing holes keeps the job tidy and avoids a second project involving filler, sanding, and irritation.
| Finish | Check before buying |
|---|---|
| Warm metal | Compare yellow, pink, and brown undertones. |
| Dark finish | Check coating quality and visible water marks. |
| Silver finish | Choose a consistent polished or brushed surface. |
Replace Harsh Vanity Lighting With an Even Glow
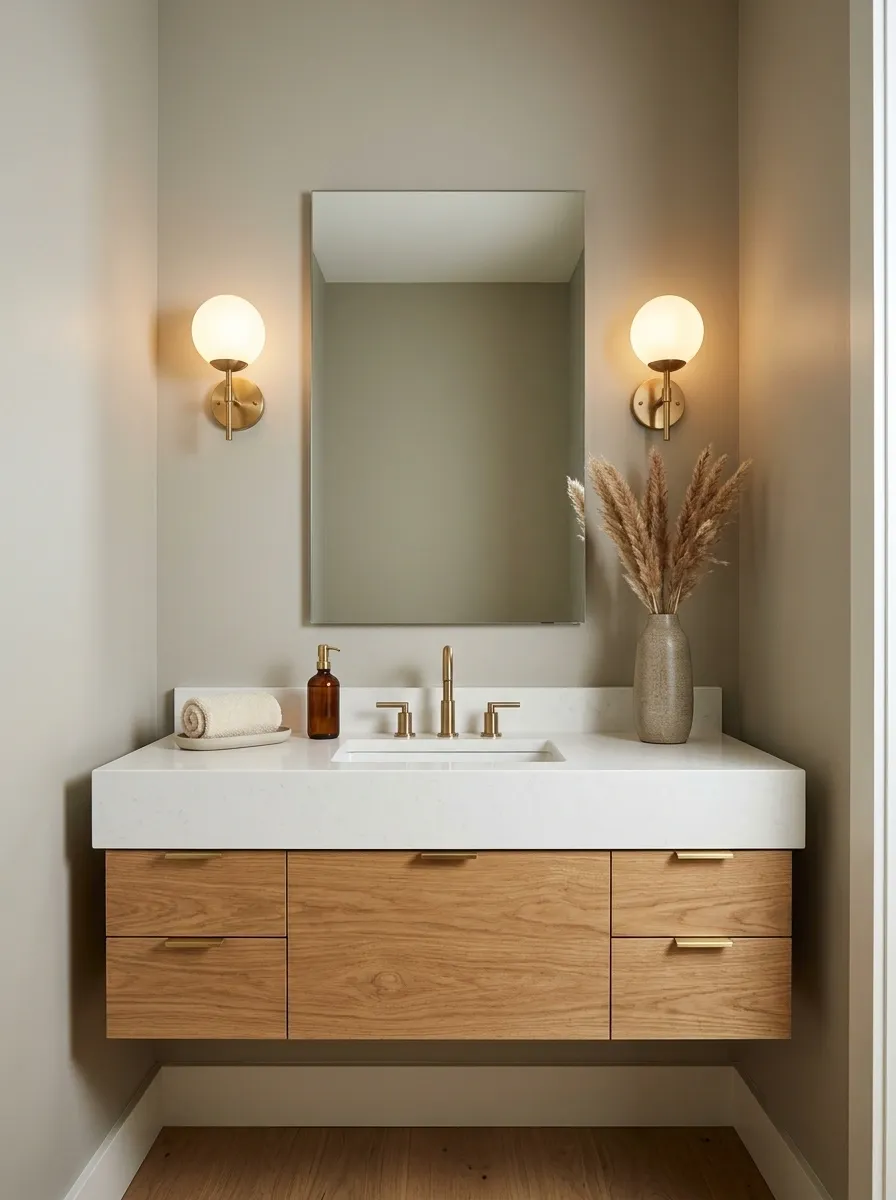
The mirror shouldn’t make you look as though you’ve been questioned overnight.
Start with consistent bulbs that suit the fixtures. Mixing a yellow bulb with a cold white one creates an odd patchwork across your face and the wall. Diffused light is easier on the eyes than exposed glare.
If you’re replacing the fitting, judge how it lights a face, not just how it looks switched off. Use fittings rated for their bathroom location, and have wiring changes handled by a qualified electrician. Budget styling doesn’t need an electrical subplot.
Look for even illumination without a strong shadow under the brow.
Check for bright reflected bulbs that sit directly in your sightline.
Match bulb color across fittings so surfaces read consistently.
Batch two: paint, repairs, daily products, and textiles
Give the Walls One Calm, Intentional Color
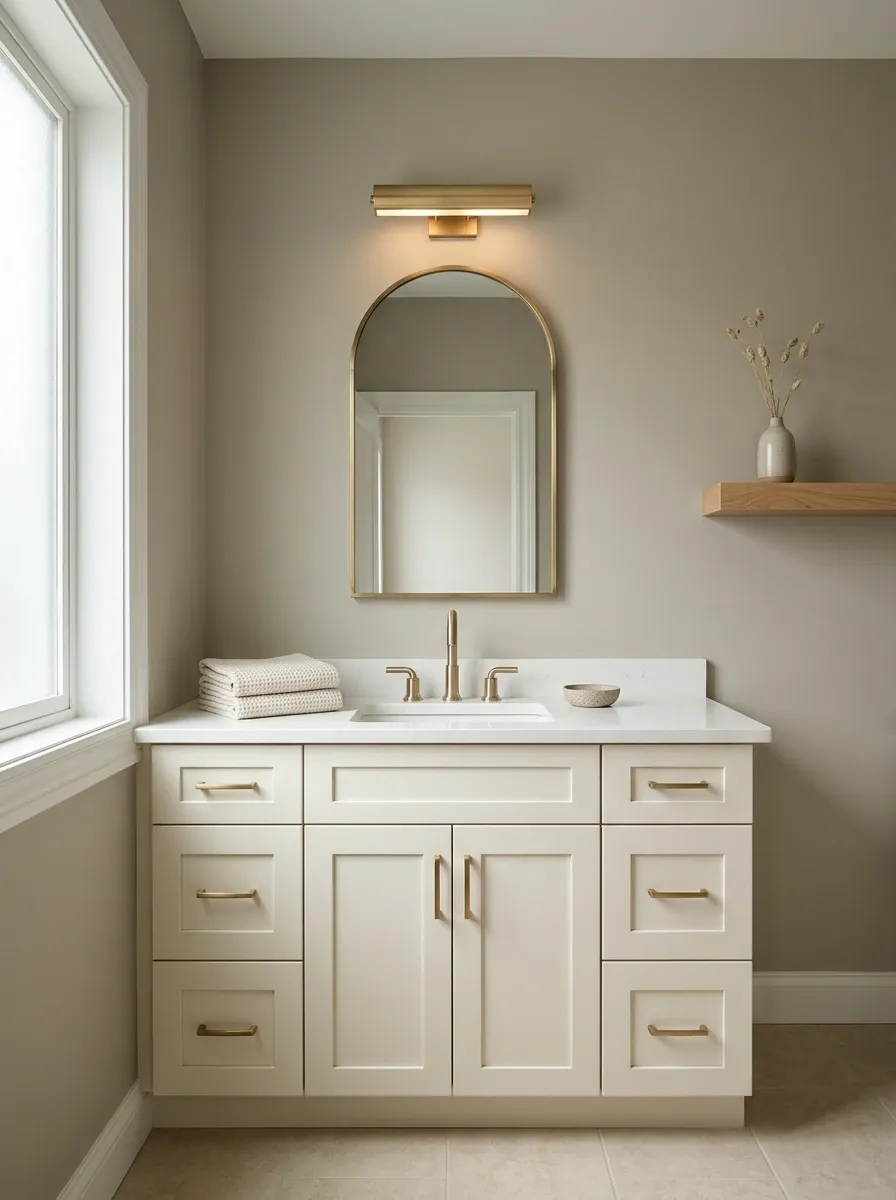
Paint needs to cooperate with the tile you’re keeping.
Hold samples beside the flooring, vanity, and shower surround. A white that looks clean on a shop display can turn strangely pink beside beige tile. Test the color on more than one wall and check it with the bathroom light switched on.
Choose a coating suitable for the room and prepare the surface properly. Paint won’t disguise recurring damp, peeling layers, or greasy patches around the light switch. Deal with those first. A restrained color looks expensive when the finish is sound.
Place the sample where it touches the visual story: tile edge, cabinet side, and door trim. Check it during your usual morning and evening routines before committing.
Refinish a Sound Vanity Before Replacing It
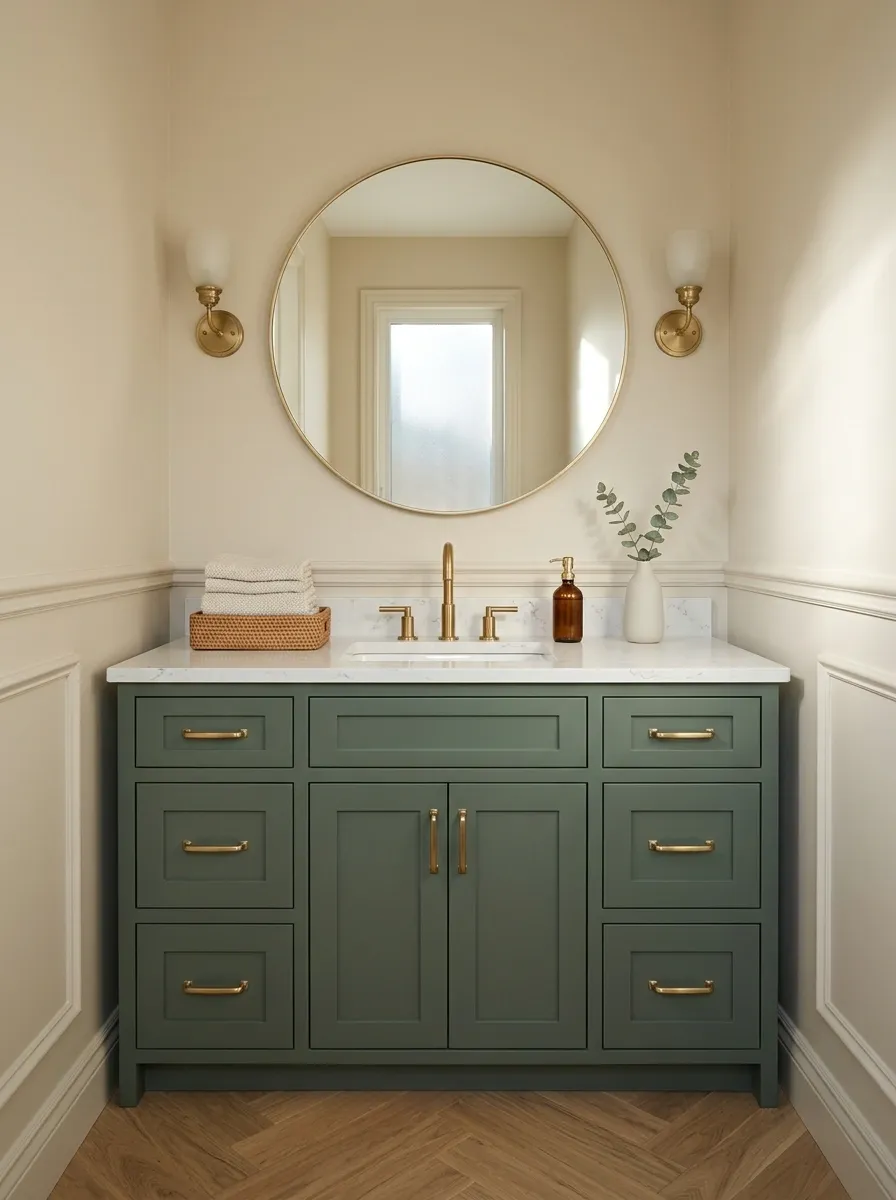
Solid cabinets deserve a second look before they get sentenced to the skip.
If the doors close properly and the carcass is dry and stable, a careful refinish can change the room’s largest block of color. Clean thoroughly, prepare for the existing surface, and follow a compatible primer and coating system.
Give the finish its specified curing time before heavy use. Fresh paint that feels dry isn’t always ready for wet hands and drawer knocks. Replace tired pulls after painting, and adjust crooked doors. Straight gaps make inexpensive cabinetry look far more considered.
Refinishing is worth assessing when panels and joints remain firm.
Identify the material before choosing sanding, primer, and paint.
Find the moisture source and assess repair before decorating.
Replace Worn Caulk Before Buying More Decor
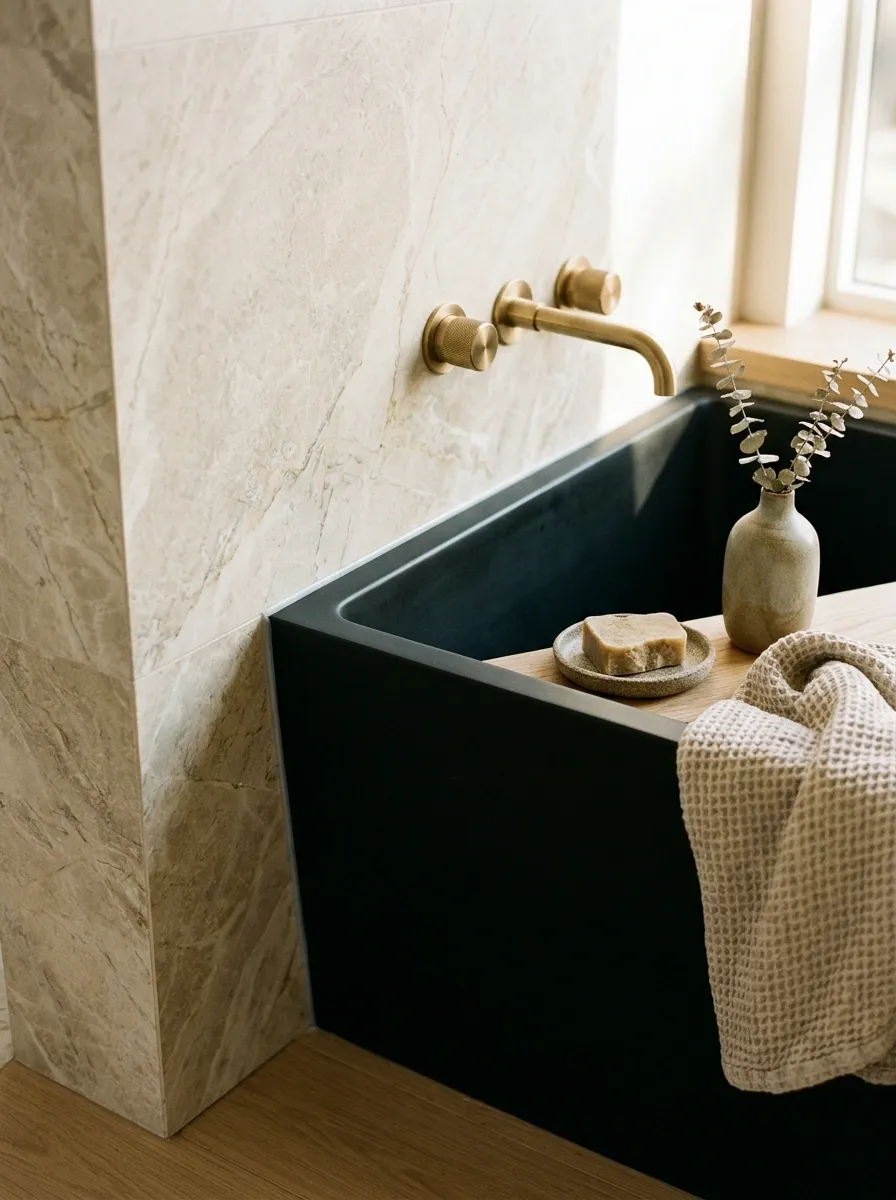
Blackened, split sealant pulls attention faster than a fancy candle.
Inspect the edges around the bath, shower, and basin. If the sealant has failed, deal with the cause and replace it using the right product and method for that joint. Don’t smear a fresh layer over loose old material and call it finished.
A neat joint is a visible upgrade. It gives the whole fitting a cleaner outline. Follow the product’s preparation and curing instructions, and investigate recurring mold or damp. Those problems don’t disappear because the new sealant matches the tile.
- Check for movement, gaps, and loose material.
- Look for staining or swelling beyond the joint.
- Resolve leaks and allow the area to dry as required.
- Respect the full curing time before using the wet area.
Decant Only the Products That Earn Counter Space
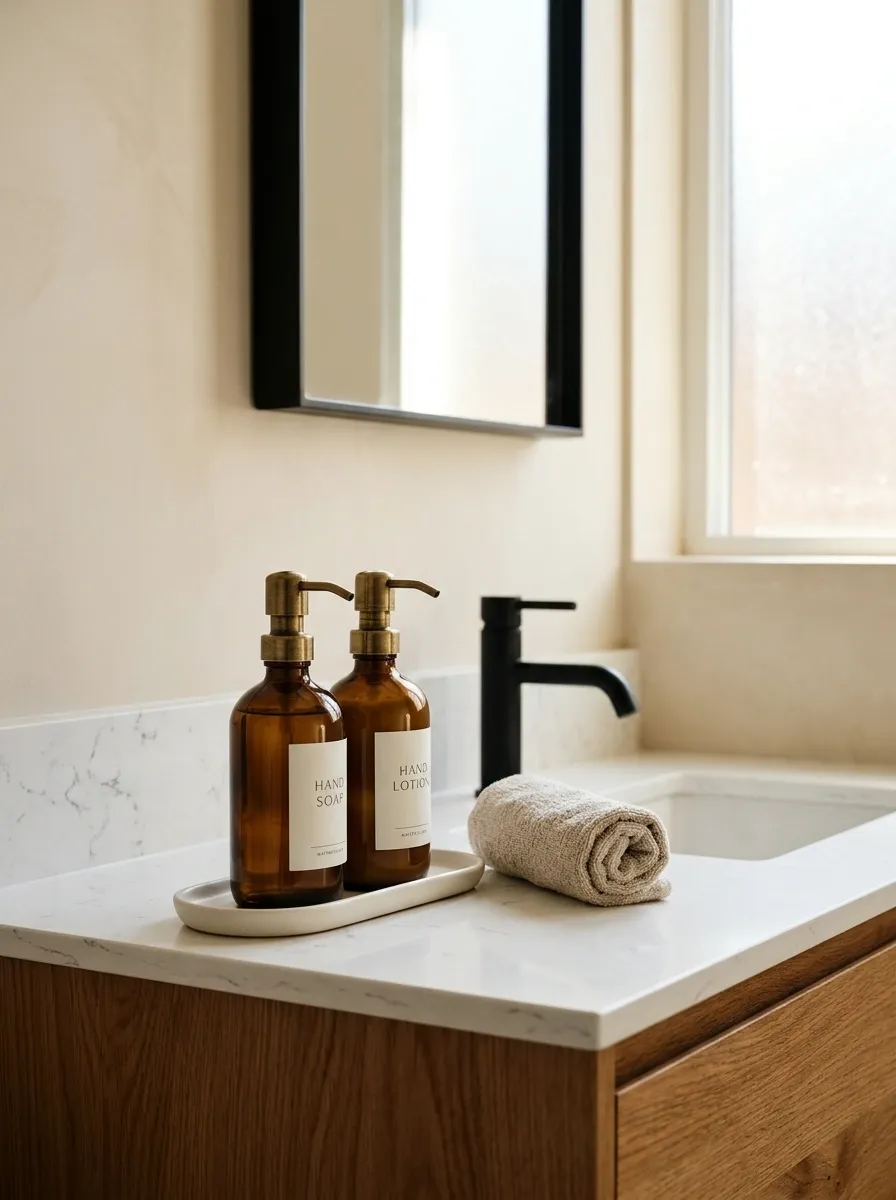
Matching bottles are useful until you can’t tell shampoo from conditioner.
Limit decanting to products you use often and can identify clearly. Choose containers compatible with the contents, label them, and keep any necessary product information. Medicines and products that need their original packaging stay there.
Use washable dispensers with pumps that actually work. A pretty bottle that spits soap sideways has one job and is failing it. Clean and dry refillable containers according to the product guidance, and avoid repeatedly topping up old contents. Keep the setup small enough to maintain.
Use a clear product label and preserve important instructions.
Choose a neck wide enough to fill without coating the counter.
Keep access to the bottle and pump parts that need washing.
Choose a Bath Mat That Lies Flat and Fits the Room
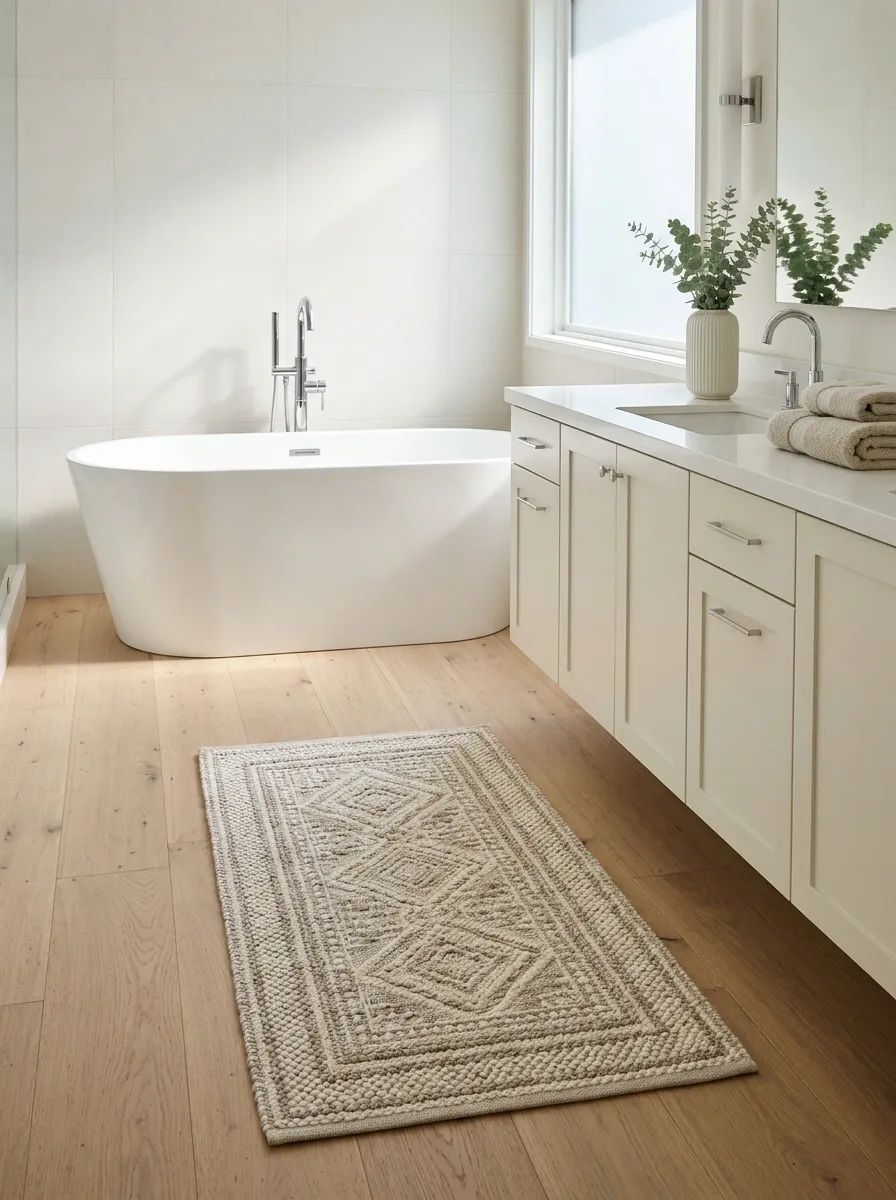
A curled mat makes the room look untidy before anyone drops a towel.
Choose one that fits the standing area without catching the door or folding around the toilet base. Check how you’ll wash and dry it. A thick mat that stays damp all day becomes another household problem with a decorative border.
Let texture do the work instead of a loud slogan. A simple woven or tufted surface gives the floor some softness without competing with patterned tile. Use a secure backing suited to your floor, and replace worn or curling mats.
| Room condition | Buying priority |
|---|---|
| Door opens over mat | Check pile height and full door movement. |
| Slow drying room | Favor a washable mat you can hang to dry. |
| Busy floor pattern | Use a quiet color with a clear edge. |
Batch three: shelves, concealed storage, and useful replacements
Give Open Shelves Breathing Room
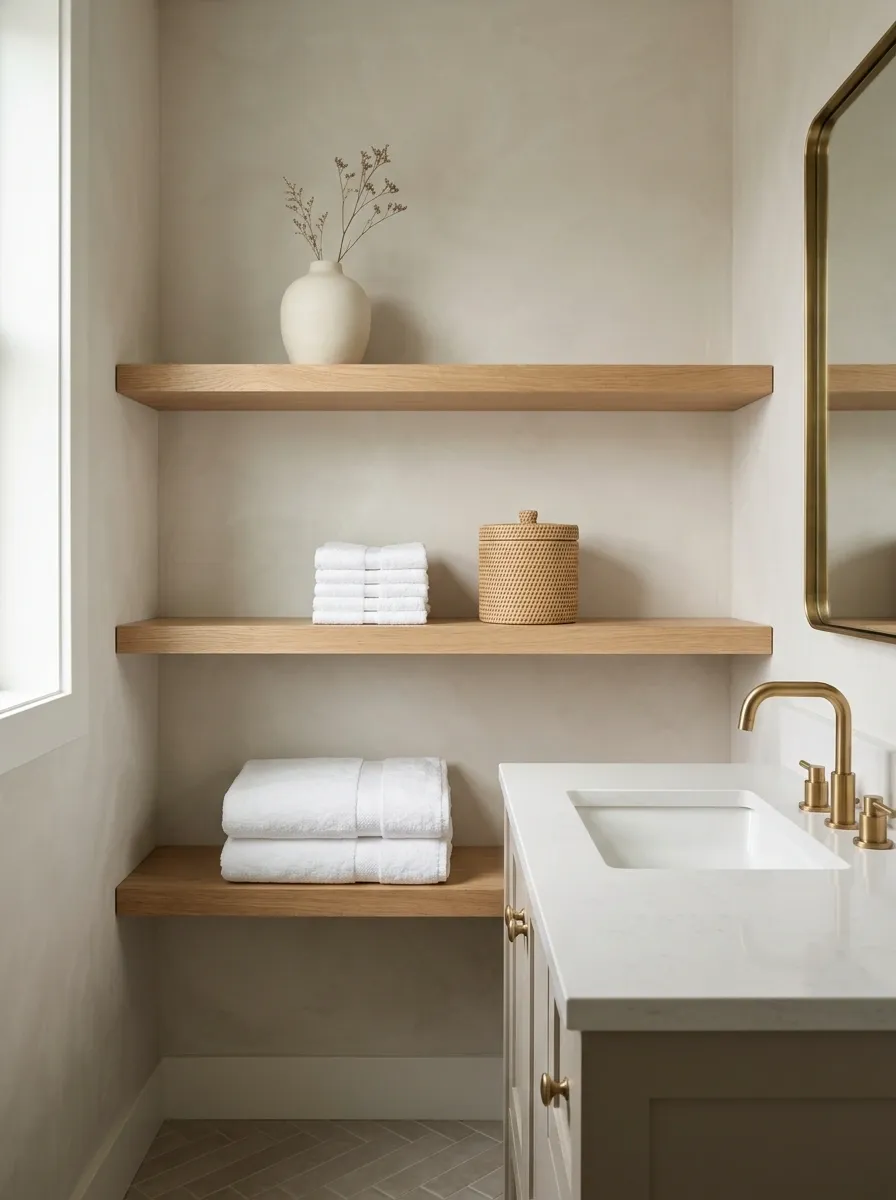
Open shelves reveal your storage habits in high definition.
Group the useful things and leave visible space between them. Fold towels consistently, keep small objects in one washable container, and stop before the shelf looks like a shop display after a busy weekend.
Check the shelf from the doorway as well as close up. A bottle hidden behind a plant is still a bottle you have to reach around. Keep frequently used items at an easy height, and store spare textiles away from direct splashing. Airy shelves need fewer objects, not more styling tricks.
Daily items belong where you can lift them without moving anything else.
Use one container for small pieces that otherwise scatter.
Keep part of the surface open so wiping it takes seconds.
Put Spare Toilet Rolls in One Closed Container
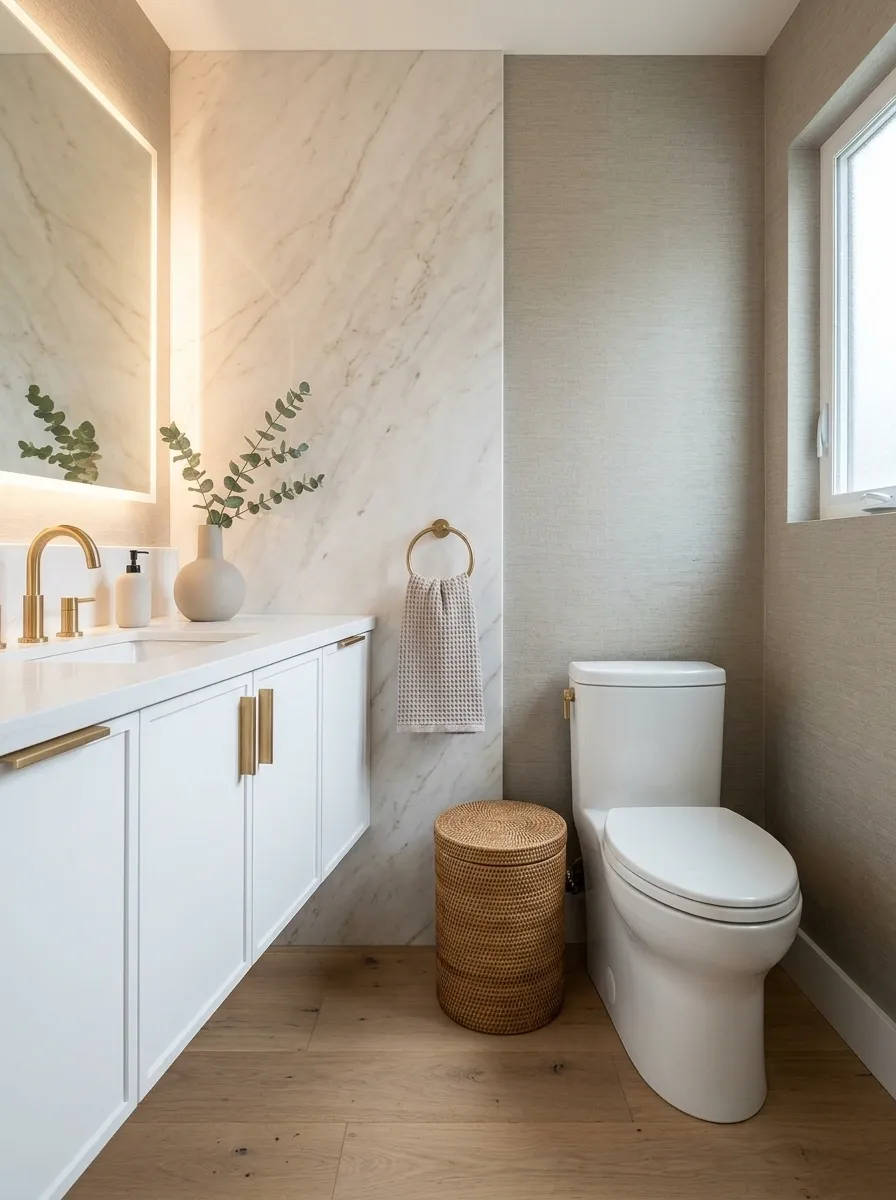
A pyramid of toilet paper doesn’t need to be the room’s focal point.
Keep spare rolls within reach, but give them one enclosed home. A lidded container, cabinet section, or suitable drawer keeps the packaging and cardboard out of sight. Choose something that tolerates the room’s humidity and wipes clean.
Measure the space with the lid or door open. The container has to work when someone actually needs a roll. If it blocks the toilet brush, bumps the door, or requires kneeling beside the toilet, find a better position.
Sit, reach, and open the storage before committing to its location. Keep it clear of floor splashes and leave enough room to clean behind it.
Add a Freestanding Tub Tray Only If You’ll Use It
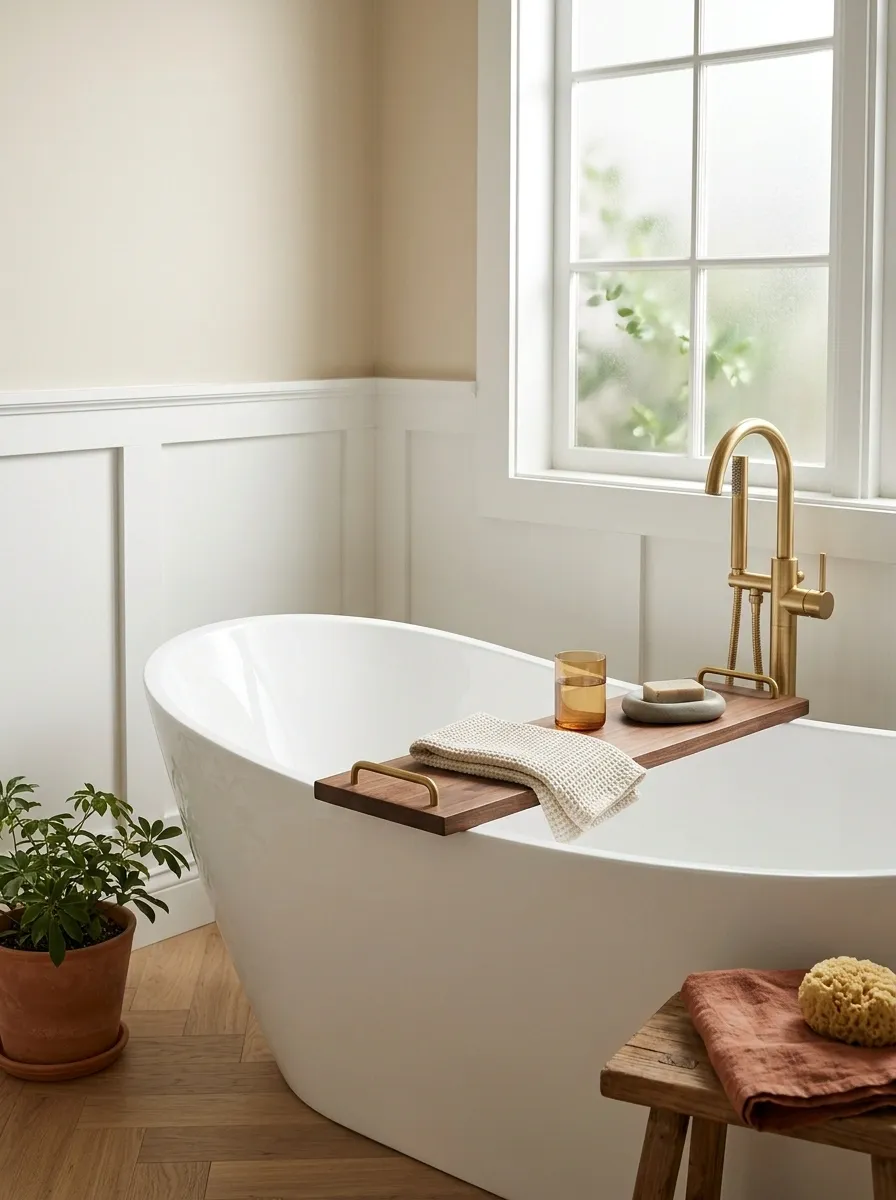
A bath tray earns its space when it supports an actual bath routine.
Choose a stable design sized for your tub, with contact points that won’t damage the finish. Set it up with the things you genuinely use. A washcloth and an unbreakable cup make more sense than a decorative book you’re afraid to splash.
Lift the tray off afterward so the contact areas can dry. If you mostly shower, skip this purchase. Empty staging props are still clutter, even when they have a slot for a wine glass.
Check stability with the tray empty before adding belongings.
Plan a dry home for the tray between uses.
Put the money toward a detail you’ll use every morning.
Replace a Chipped Toilet Seat With a Properly Fitted One
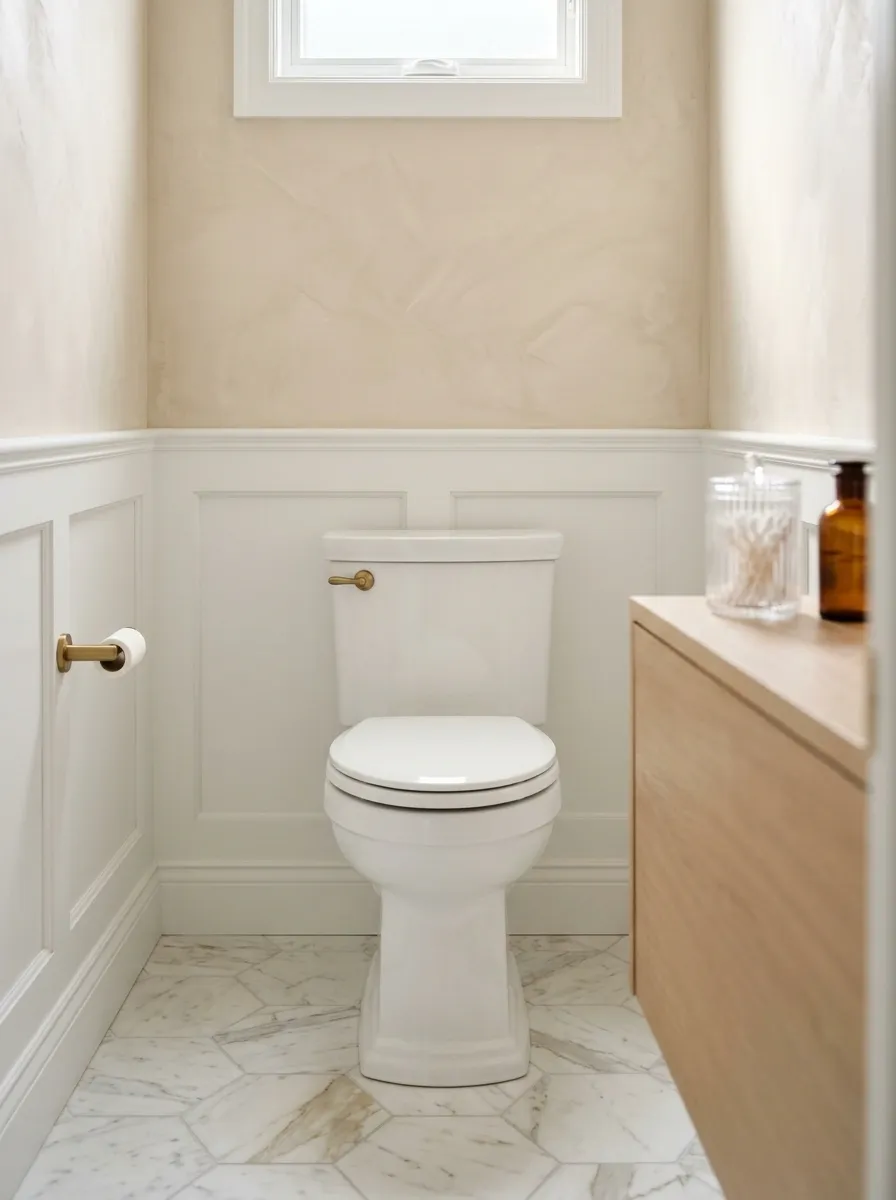
Few upgrades are less glamorous to shop for. Few are more obvious when ignored.
A chipped, stained, or sliding toilet seat makes a clean bathroom feel neglected. Replace it with a well-fitting model that matches the bowl’s shape and has fixings compatible with your toilet.
Measure before shopping and check how the hinges are accessed. Some pans make underside fixings awkward or inaccessible. Choose a seat you can clean around easily, then follow the fitting instructions. A secure, aligned seat quietly improves the room every day without demanding a decorative explanation.
- Identify the bowl shape.
- Measure length, width, and fixing-hole spacing.
- Check top-fix or underside fixing requirements.
- Compare adjustment range and cleaning access.
Hide the Waste Bin Beneath the Vanity Where It Fits
A bin beside the doorway gets more attention than it deserves.
If your vanity has a suitable open section, tuck a compact bin beneath it. Keep it easy to reach and empty. The goal is to reduce its visual presence without turning rubbish disposal into an obstacle course.
Check clearance around pipes, doors, and stored products. Don’t wedge a bin against plumbing or block access to valves. If concealment doesn’t work, choose a plain, washable model that sits neatly against the wall. A good fit matters more than an elaborate lid mechanism.
Leave room to lift the liner and wipe the floor.
Protect clear access to plumbing and inspect for moisture.
Test the door swing and any pedal before settling the position.
Batch four: towels, wall treatments, hooks, art, and materials
Use Fewer, Better-Coordinated Towels
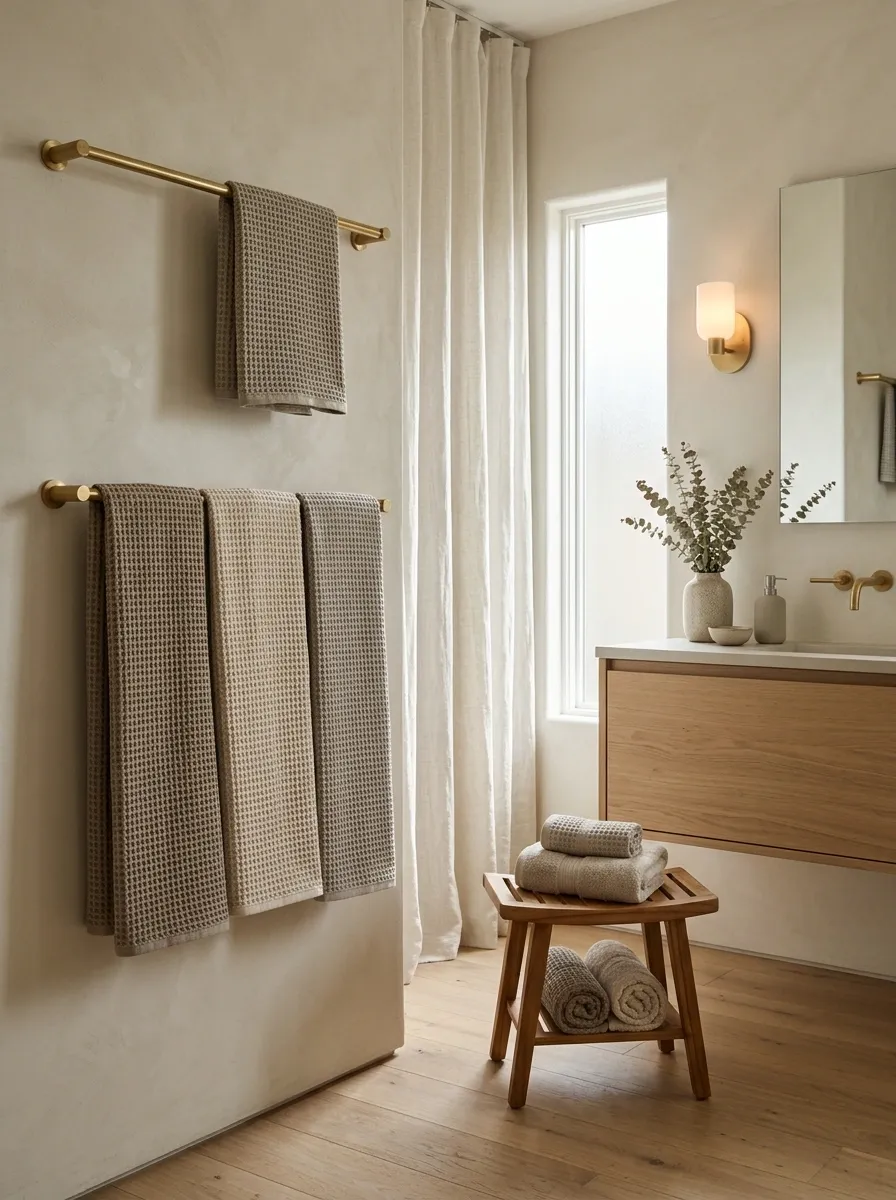
Your towels don’t need to match the bath mat, curtain, soap, and your entire personality.
Choose a restrained color group and retire the visibly frayed towels from guest-facing duty. Keep only the towels currently needed on display. Folded stacks look tidy until someone pulls the bottom one out before breakfast.
Prioritize absorbency, comfortable texture, and a laundry routine you can sustain. Very thick towels aren’t automatically the right choice for a room where nothing dries. Give each towel enough hanging space to open up, and store clean spares somewhere dry.
- In use: Hang open enough to dry.
- Clean spare: Store away from splashes.
- Ready for washing: Move to the laundry system promptly.
- Worn out: Retire it instead of hiding it under the good ones.
Add Wall Molding Where Splashing Won’t Ruin It
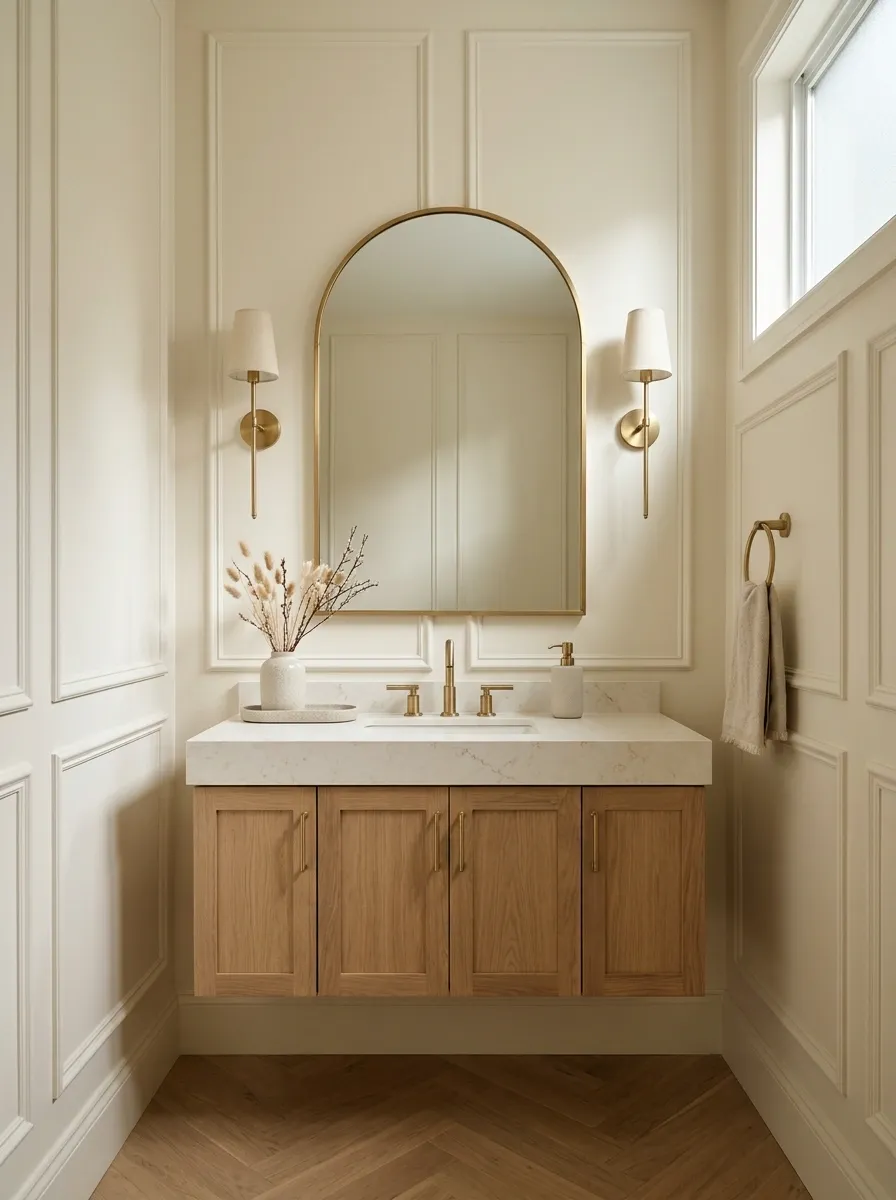
Simple molding gives a plain wall a sense of structure.
Use it where the wall stays relatively dry, and choose materials, fixings, and finishes suited to the conditions. Sketch the layout around the vanity, toilet, switches, and existing trim before buying lengths. Tiny leftover panels beside a socket look accidental.
Keep the profile restrained. A modest bathroom rarely needs enough ornate trim to suggest a state reception. Paint the molding and wall together for a quieter result, and leave wet-zone detailing to systems designed for direct water exposure.
Assess humidity, material suitability, and the existing surface.
Check joints, edges, and the finish’s suitability before proceeding.
Use a properly specified wet-area wall system.
Swap the Builder’s Towel Bar for Hooks That Fit Your Routine
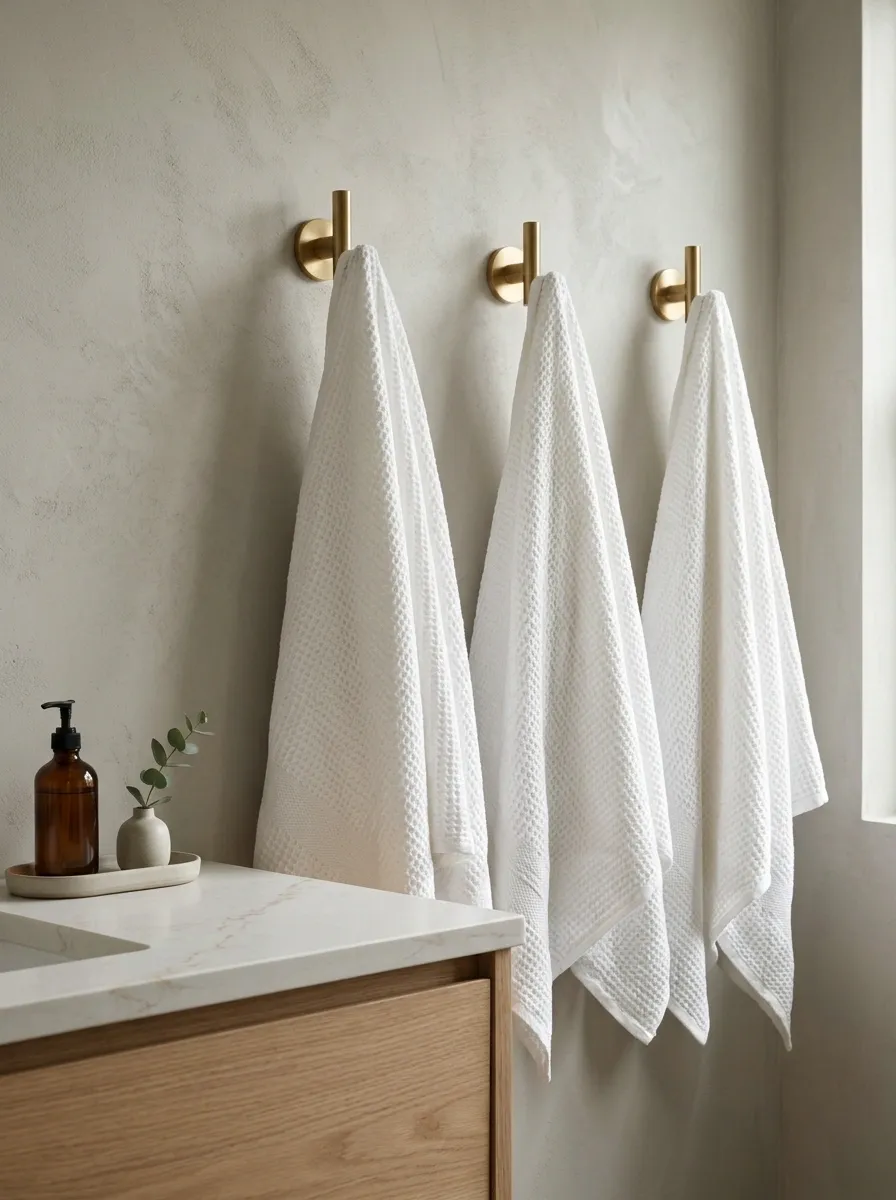
A towel bar works when people use it properly. That condition deserves attention.
If towels keep landing on the door, install hooks where people naturally reach. Space them so towels don’t bunch together, and check that your towels hang securely. A hook buried behind an open door is storage by technicality.
Use fixings suitable for the wall and expected load. In a rental, choose a permitted mounting method with an appropriate rating. Keep a rail where spreading a towel helps it dry. The right arrangement follows the household’s habits instead of arguing with them.
| Daily pattern | Useful arrangement |
|---|---|
| Shared bathroom | Separate hanging places with room between towels. |
| Towels dry slowly | A rail that allows the towel to spread. |
| Hand towel near sink | A fitting reached without dripping across the room. |
Let One Oversized Artwork Carry the Wall
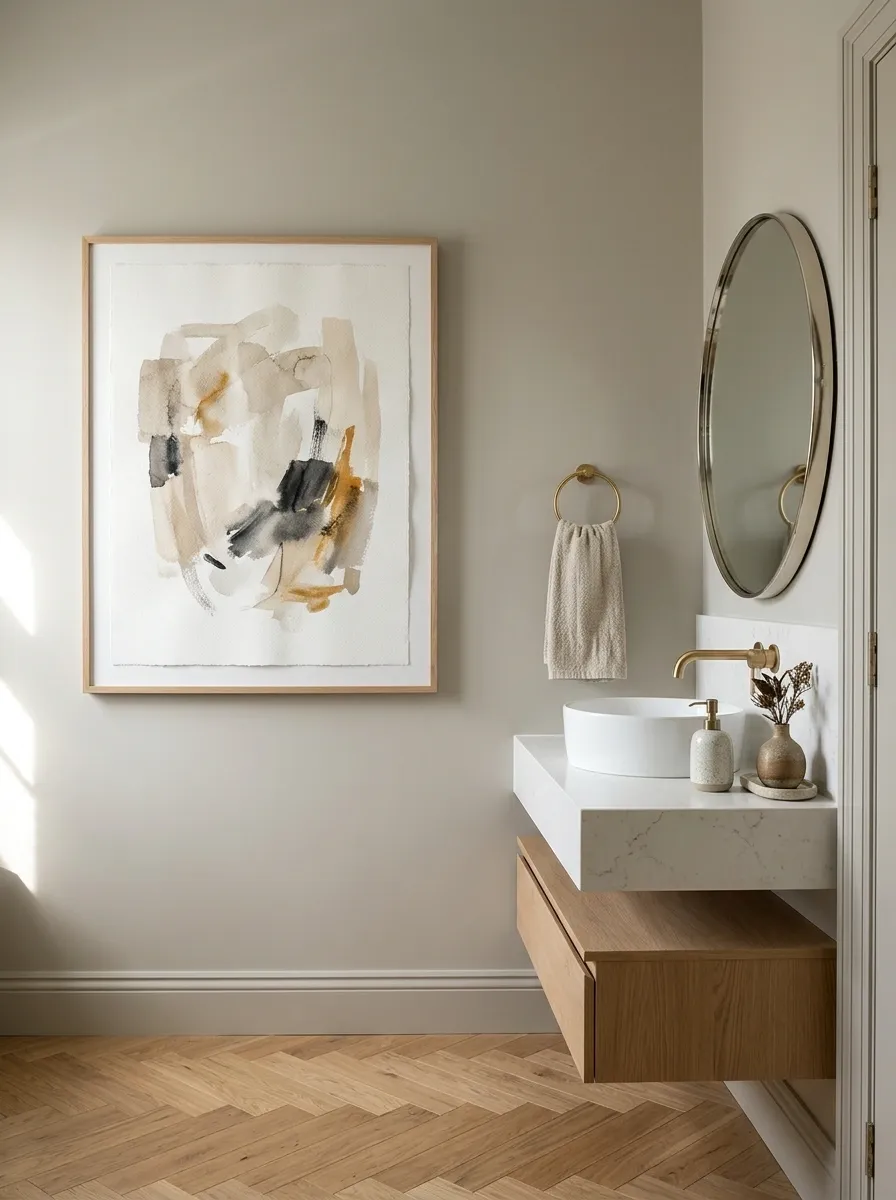
One substantial piece gives the eye somewhere to settle.
Choose a print or other piece suited to the room’s conditions, then size it to the usable wall. Keep it clear of switches, towel movement, and direct splashes. A frame that barely squeezes between the mirror and door looks uncomfortable because it is.
Use a paper template to test the scale before making holes. Walk back to the doorway and check it there. Keep valuable or moisture-sensitive originals in a better environment. The bathroom can have personality without becoming a risky storage location for irreplaceable art.
Check the artwork balances the wall without crowding nearby fittings.
Leave space for towels, doors, and anyone leaning toward the mirror.
Select the piece and mounting method for the humidity and wall.
Replace Brittle Plastic Accessories With Easy-Clean Materials
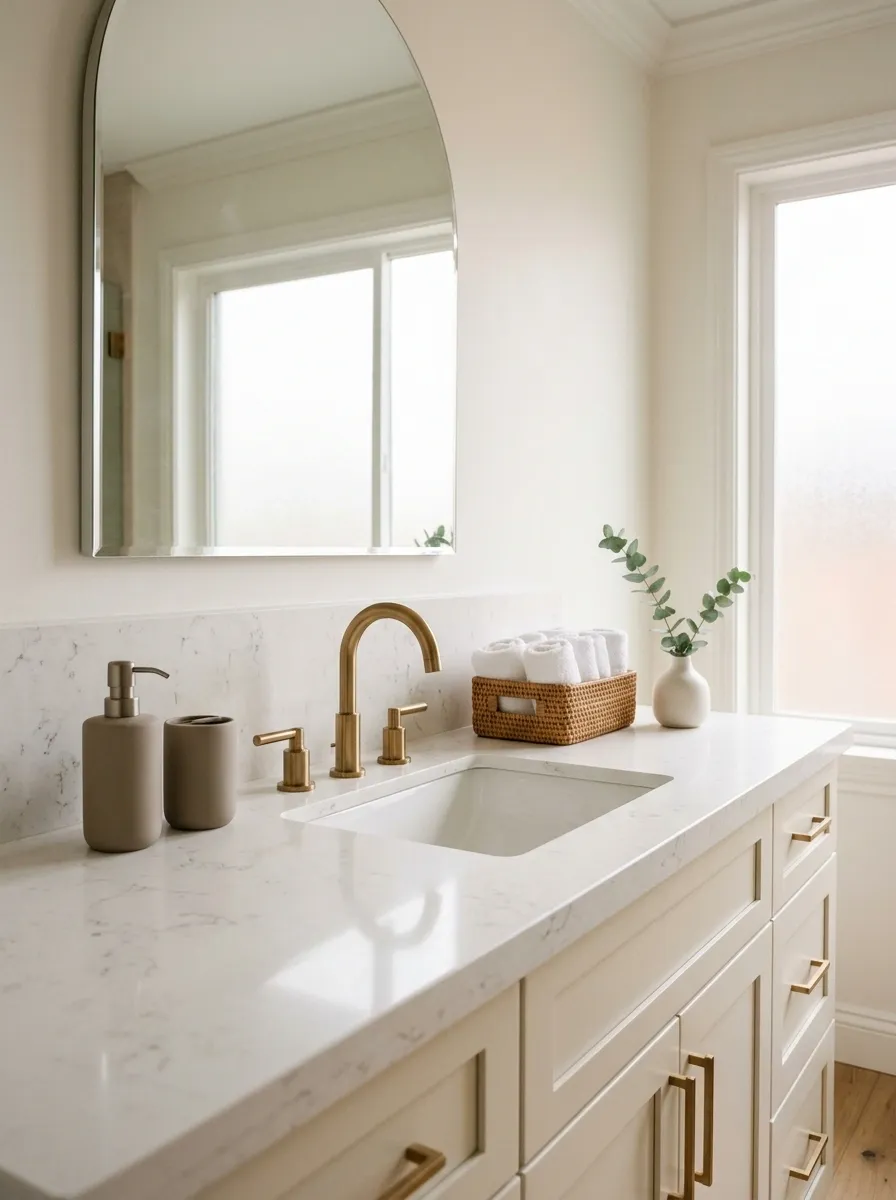
Cracked plastic makes a bathroom feel tired even when the color scheme behaves.
Replace the visibly worn items first: the cloudy tumbler, split soap tray, or brush holder that no longer cleans properly. Choose durable pieces with smooth, accessible surfaces. You’ll appreciate that more than a sculpted ridge that collects toothpaste.
Material choice needs some common sense. Glass near slippery floors brings breakage concerns, and absorbent materials need care around water. A well-made plastic item can still be sensible. Judge condition, cleaning, and daily use instead of assuming the heaviest accessory automatically looks the most expensive.
Before buying, check the underside, inside corners, drainage, and any removable parts. If you can’t reach the places where water will collect, leave it on the shelf.
Batch five: cabinet lighting, privacy, plumbing, doors, and the final edit
Add Light Inside a Dark Vanity Cabinet
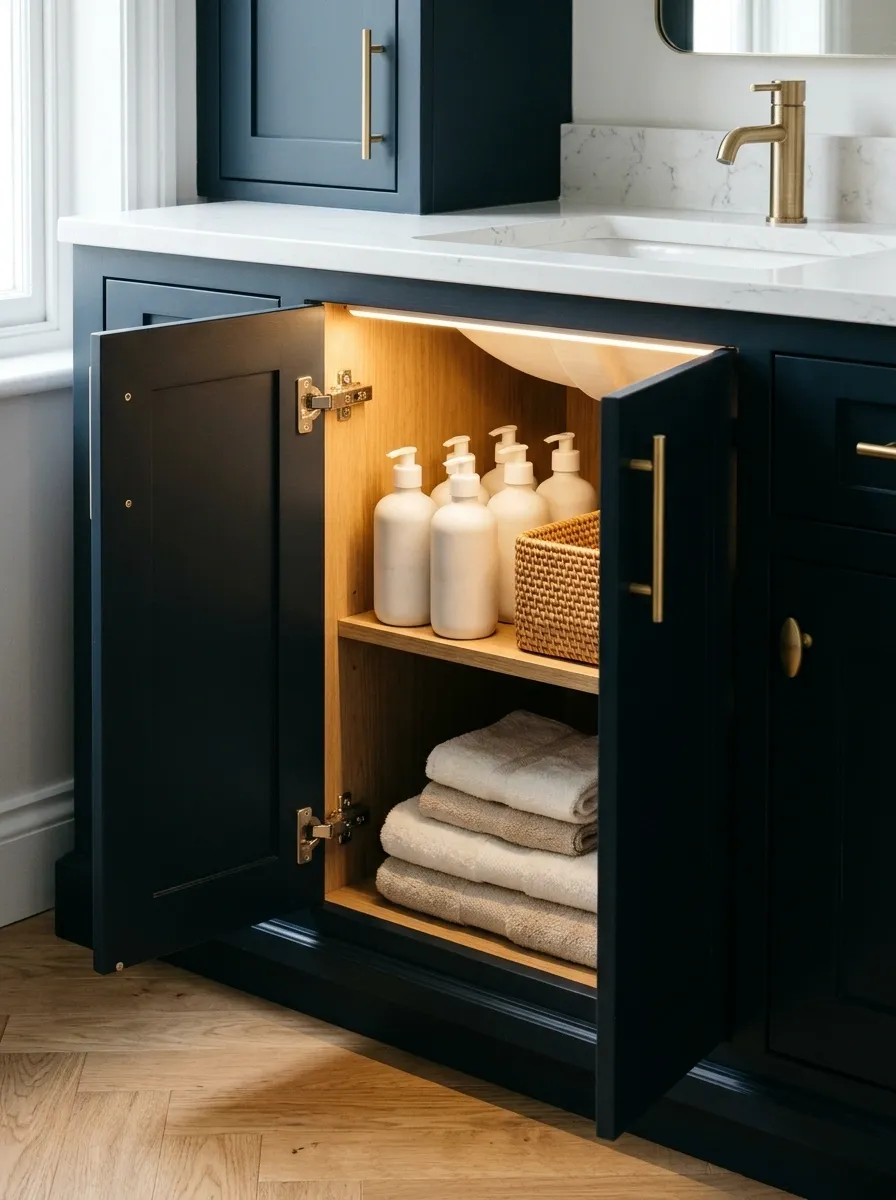
Finding a spare razor shouldn’t require your phone torch.
A suitable battery-powered cabinet light can make dark storage easier to use without changing the room’s main wiring. Choose one intended for the cabinet’s conditions and place it where doors or stored bottles won’t block the sensor.
Keep it away from potential leaks and wet storage. Check how you’ll remove it for charging or battery changes before mounting it. The useful position is often near the front, aimed into the cabinet. Test the light temporarily first, then load the cupboard and check again.
Check that tall bottles don’t cast the lower shelf into shadow.
Leave space to remove the unit without unloading everything.
Follow the light’s mounting and environmental requirements.
Dress a Bathroom Window Without Blocking Its Light
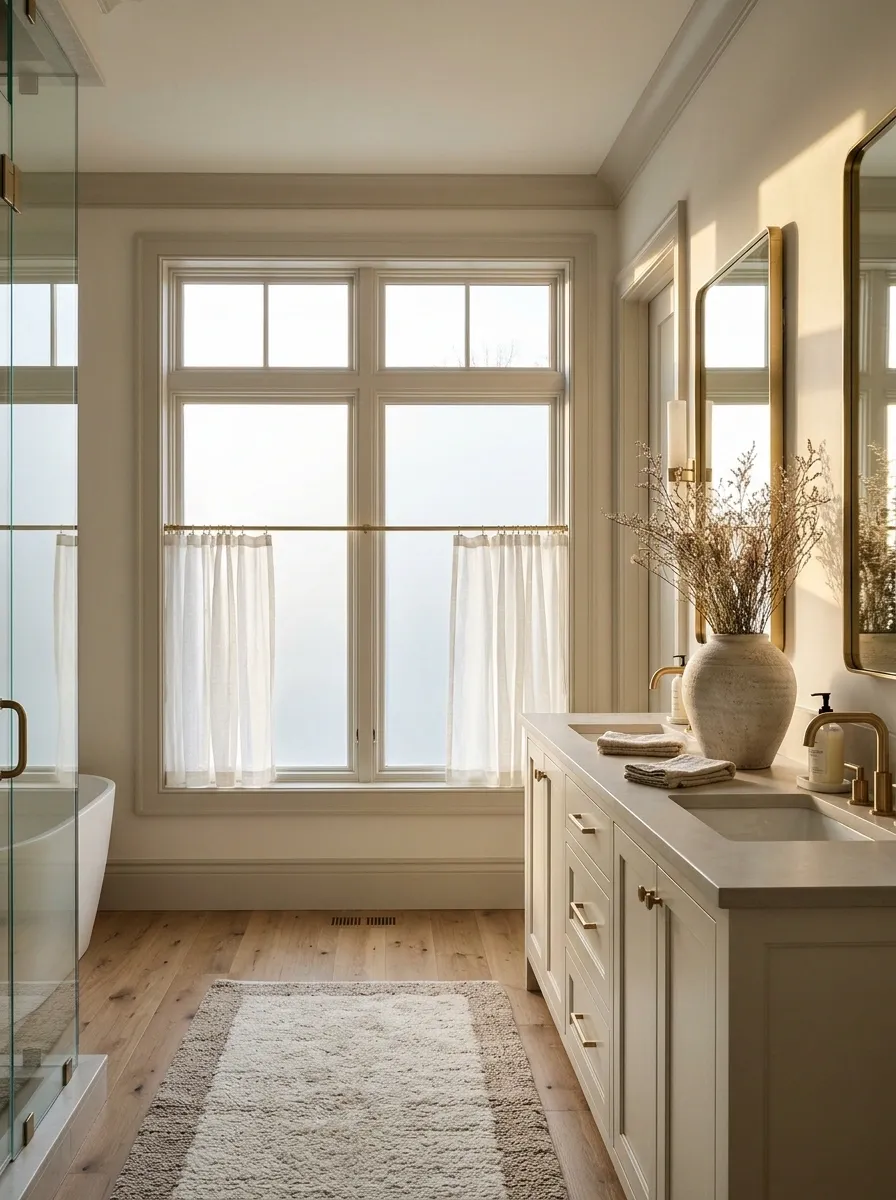
Privacy shouldn’t turn the bathroom into a cupboard.
Choose the treatment according to who can see in and when. A window overlooked from above needs a different solution from one facing a blank wall. Check privacy after dark with the bathroom light on. Daytime impressions don’t tell the whole story.
Use a treatment that tolerates the window’s conditions and allows the opening to work. Keep fabric clear of wet surfaces, and confirm any film is suitable for the glazing. The best result gives you privacy without stealing the daylight you were lucky enough to have.
- Overlooked window: Check coverage at standing height and from higher sightlines.
- Window near splashes: Prioritize a suitable, easy-clean treatment.
- Opening window: Preserve handle access and full operation.
- Rental: Check permission and removal requirements first.
Give Pedestal Sink Plumbing a Cleaner Visual Backdrop
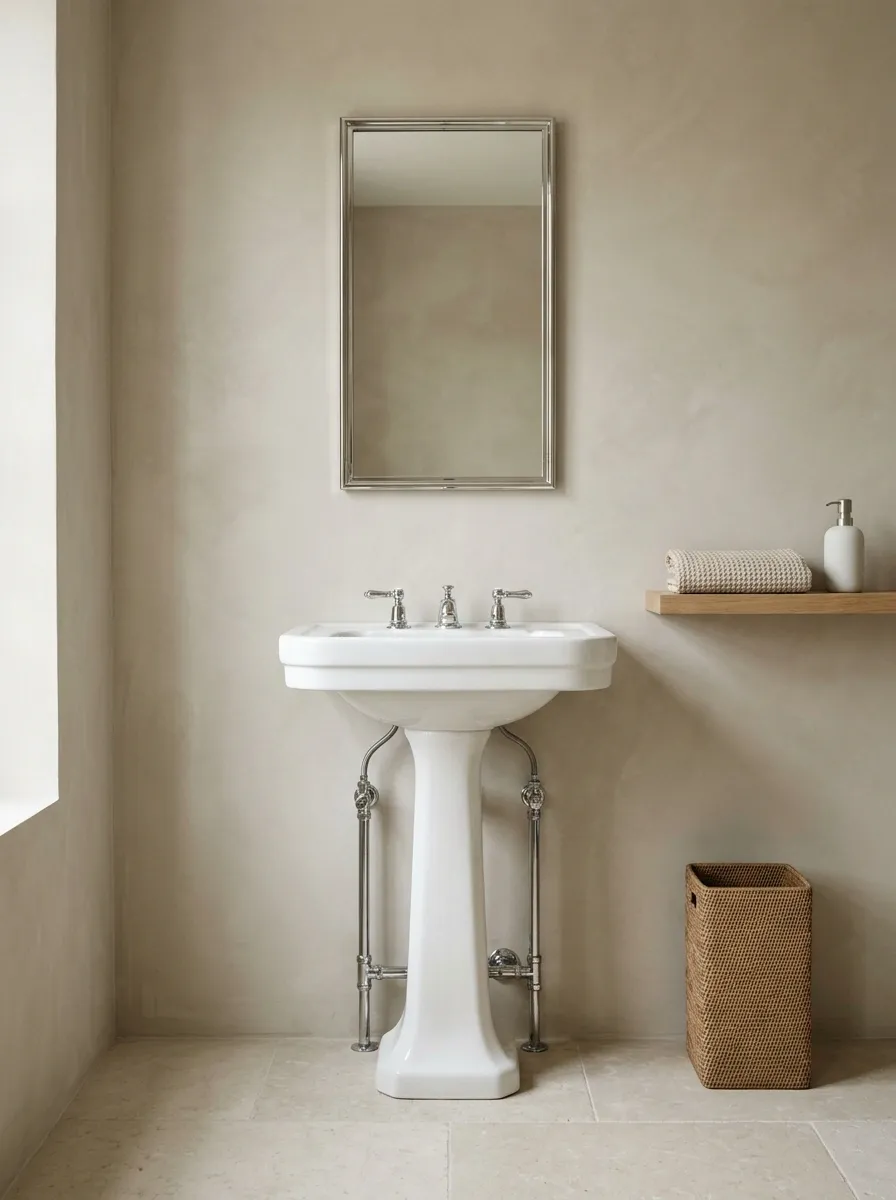
A pedestal sink exposes more of the room than a vanity does.
Start by clearing the floor around it and giving the wall behind the pipework a clean, consistent finish. Strong contrast can draw attention to every bend and connection. A calmer backdrop helps the basin read as one clear shape.
Store toiletries elsewhere so the pedestal doesn’t become the center of a ring of bottles. If pipes are damaged, leaking, or poorly secured, have that addressed. Paint and storage can improve the view, but neither should interfere with plumbing access or hide an unresolved problem.
Use a sound, consistent wall finish around visible pipework.
Place storage where it leaves comfortable access to the basin.
Keep the floor and service points reachable for cleaning and inspection.
Make the Bathroom Door Look Finished on Both Sides
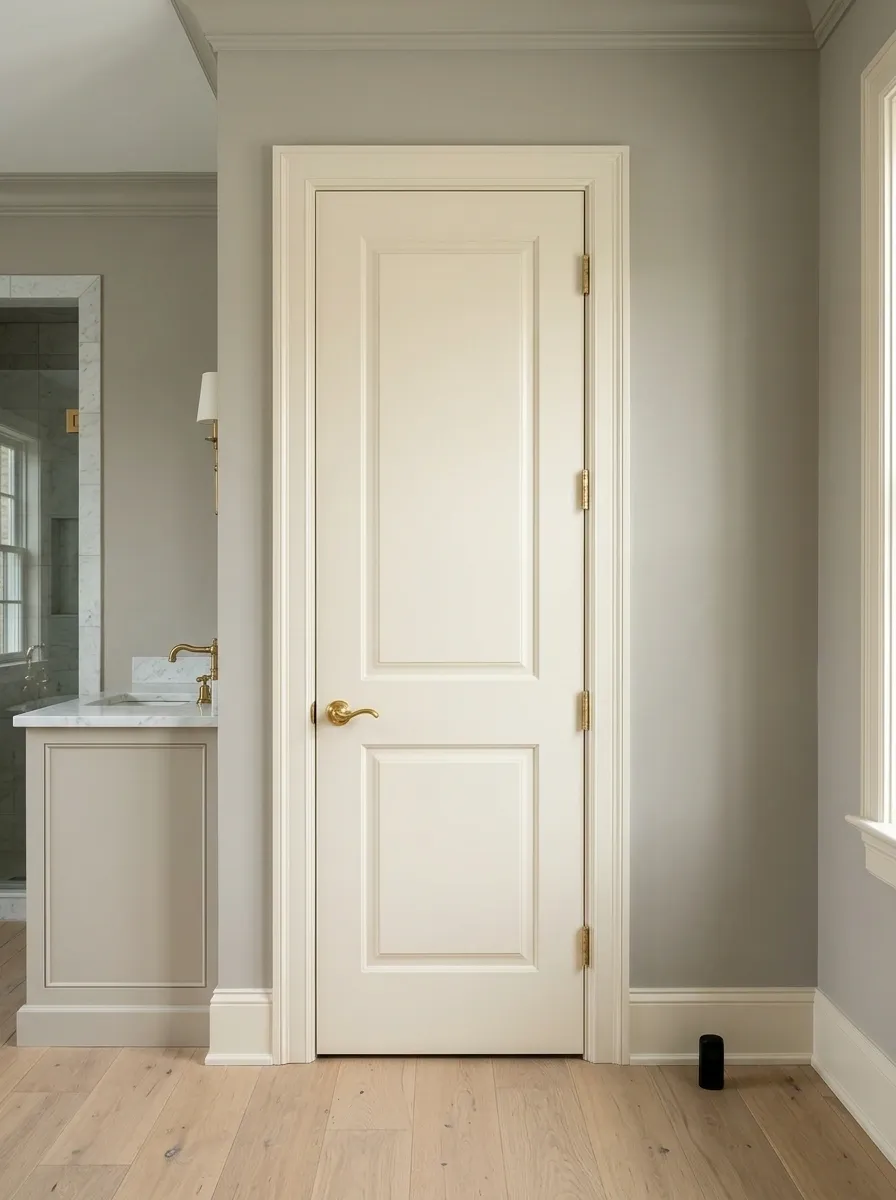
The back of the bathroom door spends plenty of time in view.
Clean the marks around the handle, assess chipped paint, and tidy up the hardware. A fresh wall beside a battered door makes the unfinished job more obvious. Use a finish suited to the existing door and the room’s conditions.
Check the doorstop and any over-door hooks too. Hooks that scrape the frame or stop the latch working aren’t clever storage. Preserve existing ventilation openings and required clearances. A door that closes properly and looks cared for gives the room a much more complete finish.
| Visible problem | First action |
|---|---|
| Marks around handle | Clean gently before deciding it needs paint. |
| Loose hardware | Check and secure compatible fixings. |
| Hooks catch frame | Remove them and choose a suitable storage position. |
Style One Small Tray and Leave the Rest of the Counter Alone
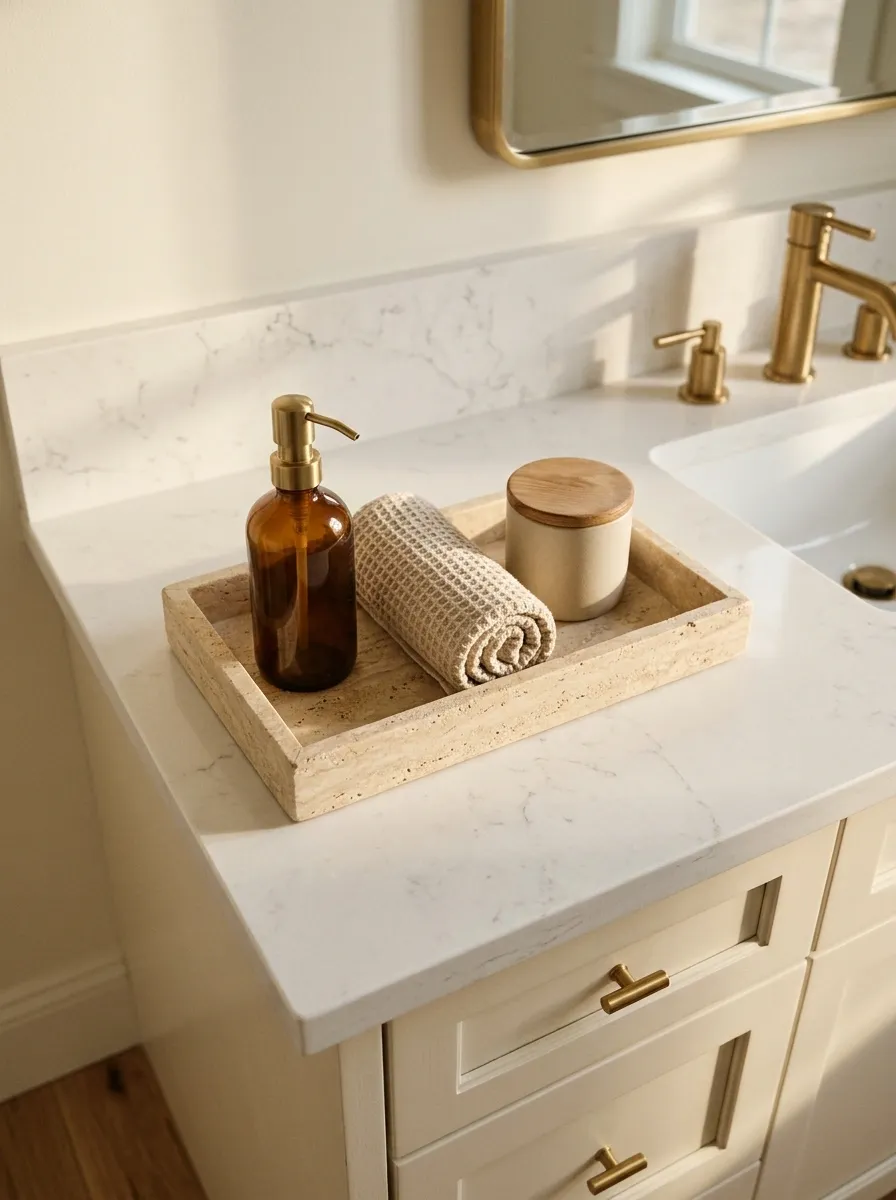
A tray gives a few loose essentials a clear boundary.
Choose one that fits beside the basin without stealing the space your hands need. Group the daily items on it and stop there. The moment you need another tray to organize the overflow, the counter edit has expired.
Pick a washable material with a stable base, then lift it regularly to dry underneath. Keep the arrangement easy to move for cleaning. That small, practical grouping makes the vanity feel finished because the objects have a place and the surrounding surface gets to breathe.
Leave the basin edge and a dry landing area clear.
Keep the whole setup light enough to lift for cleaning.
Remove anything that’s there only because it matches.
Spend on the Details You’ll Notice Every Day
A luxury looking bathroom on a budget starts with a hard edit. Fix the split sealant, clear the counter, and deal with the light that makes the room feel harsh. Then choose the improvement that changes your first view through the doorway.
You don’t need every idea here. A longer curtain, a sound vanity in a better color, and towels that dry properly can do more than a trolley full of accessories. Finish each change neatly before starting another.