
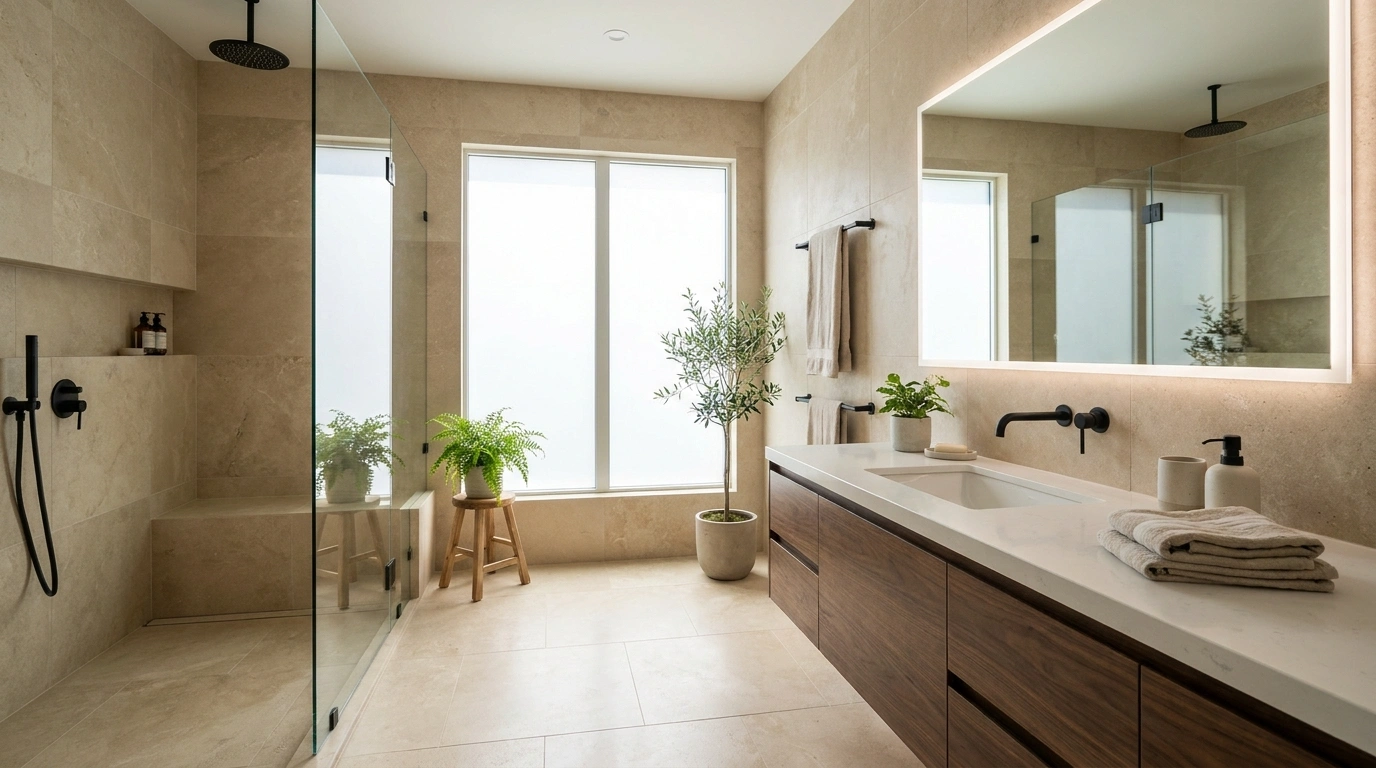
A bathroom can have beautiful tile, a new vanity, expensive fixtures, and still look strangely unfinished. The problem usually isn’t the budget. It’s the lack of a clear visual hierarchy. Too many finishes compete. The mirror is too small. The lighting feels like an afterthought. Then every inch of the counter gets filled with little things that were supposed to make the room feel styled.
Modern bathrooms work differently. They rely on strong proportions, restrained materials, useful storage, and a few details that have enough presence to carry the room. That’s why the best modern bathroom ideas don’t start with accessories. They start with the surfaces and shapes you see first.
The Modern Bathroom Formula
Make the Vanity Wall the First Thing You Notice
Frame the Vanity With a Full-Width Backlit Mirror
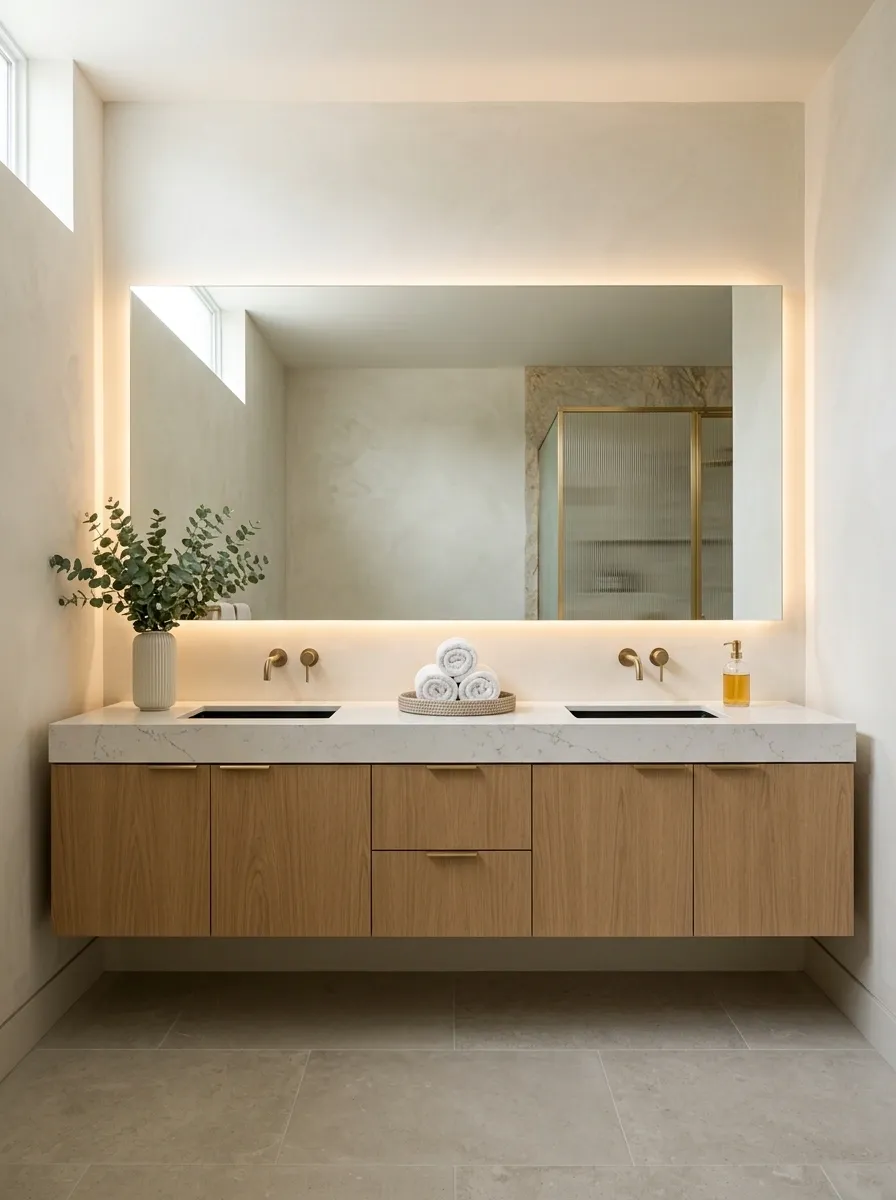
A small mirror over a wide vanity instantly makes the room feel chopped into pieces. Go wider and let the mirror stretch close to the vanity edges. The bathroom suddenly reads as one strong horizontal zone.
Backlighting makes the move even better. Keep the glow soft and hidden, not bright enough to look like a vanity sign.
Best placement: center the mirror with the vanity, then leave enough breathing room above it for the ceiling line to stay visible.
Pair Warm Oak With Crisp Stone for Instant Contrast
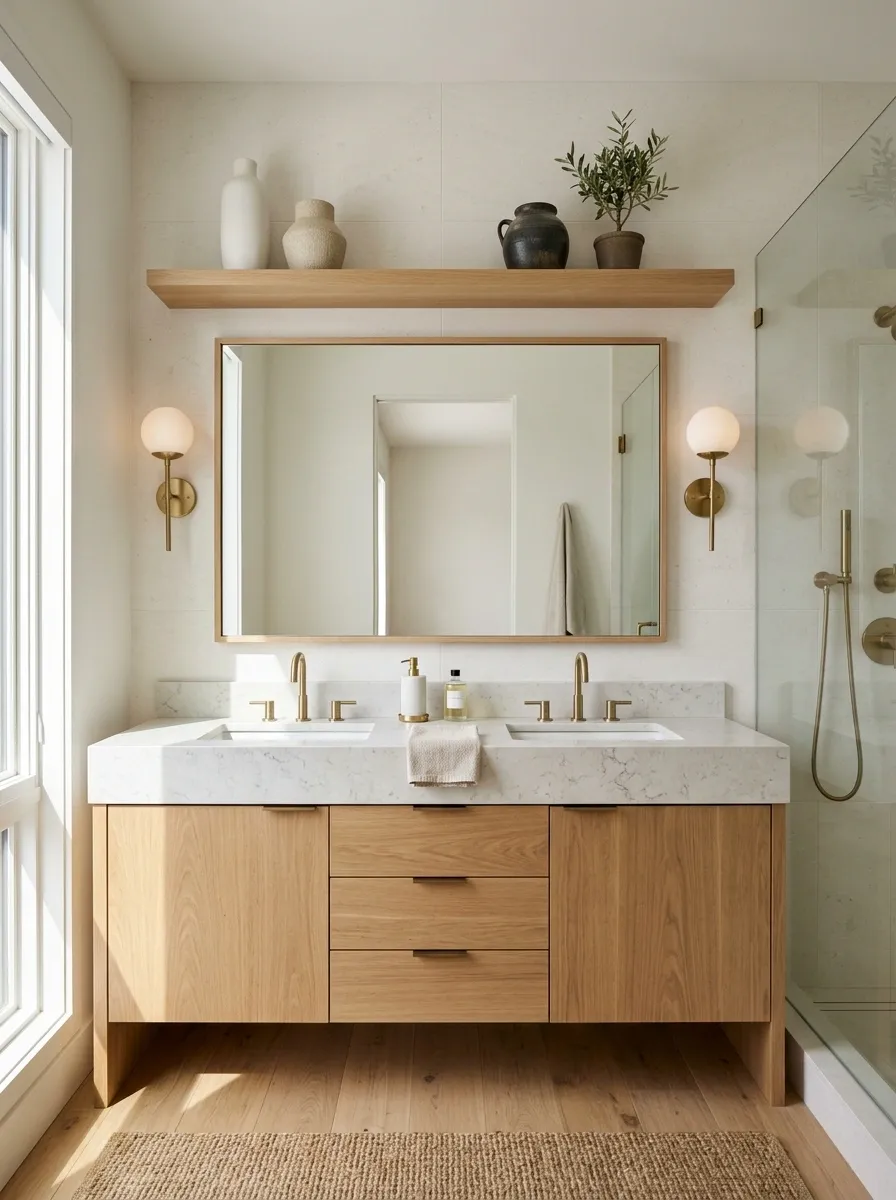
Bathrooms get cold fast when every surface is gray, white, and glossy. Warm oak fixes that without making the room rustic. The trick is to use it in a clean, modern form.
Think flat-front oak drawers, a slim oak shelf, or a wood vanity against a pale stone surface.
Use this pairing:
- Warm oak vanity
- Cream or soft-white stone
- Simple brushed metal
- Plain neutral walls
- One textured towel
The contrast should feel deliberate. Don’t add a second wood tone. One is enough.
Run Large-Format Tile From Floor to Shower Wall
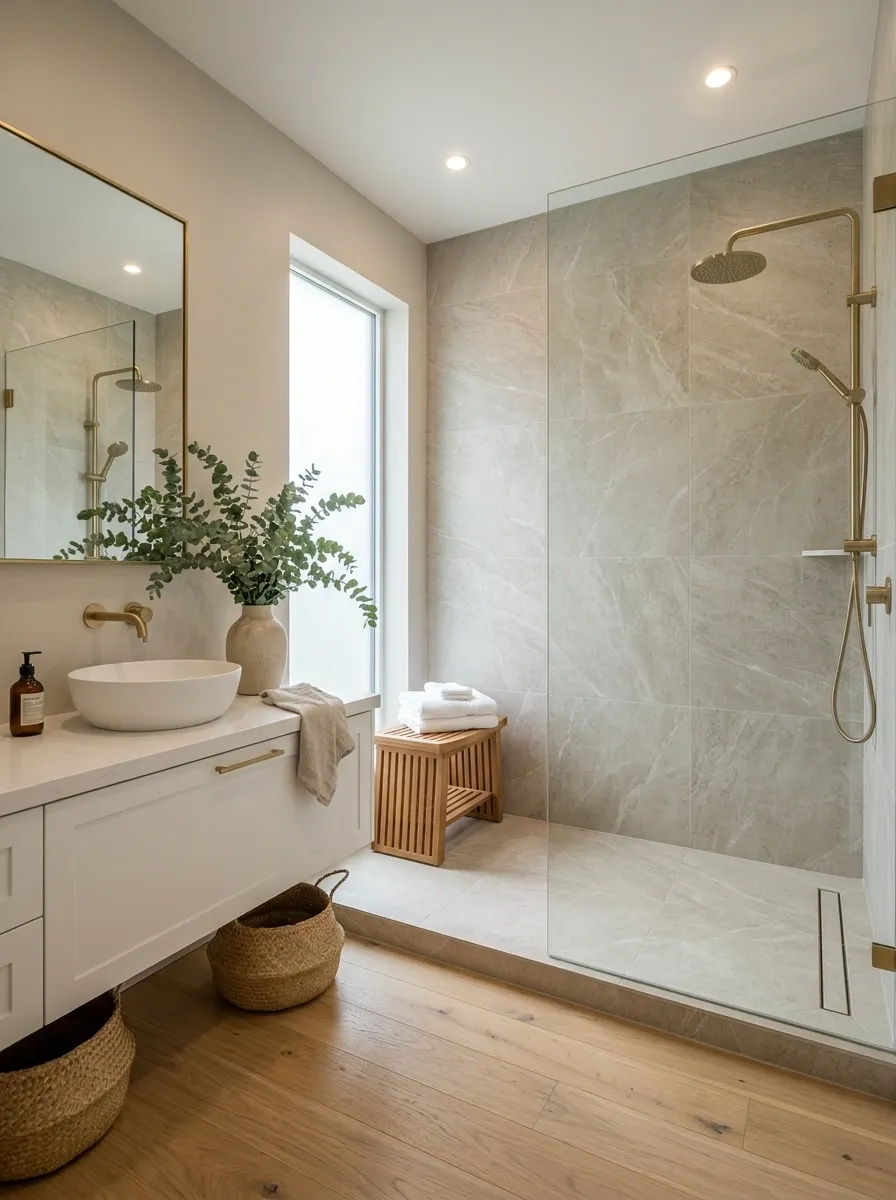
Tiny tile grids create visual noise. Large-format tile does the opposite. With fewer grout lines, the room gains longer visual stretches, which makes a modern bathroom feel calmer and more architectural.
Use the same finish across the main floor and the shower wall when the layout allows it. A stone-look porcelain with subtle movement works especially well because it adds texture without creating a busy pattern.
Use Fluted Vanity Doors to Add Texture Without Clutter
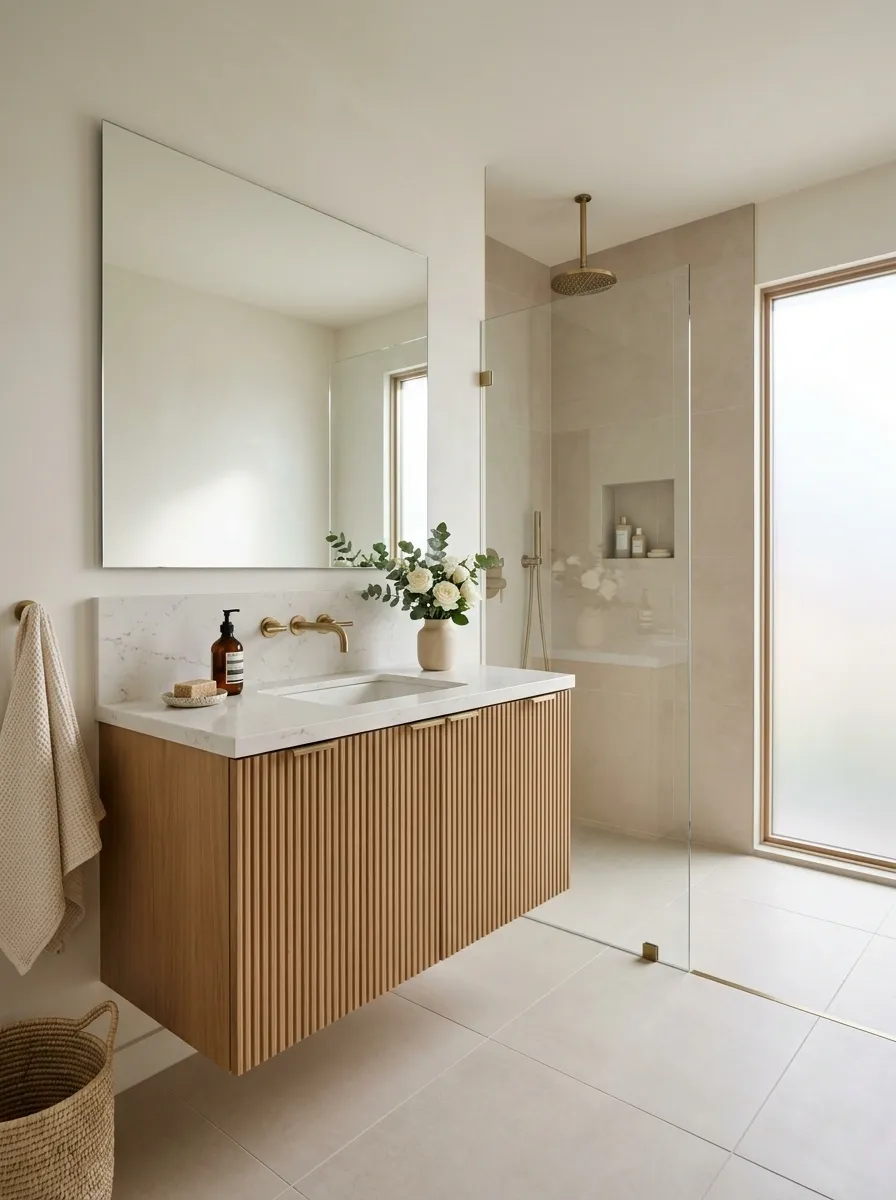
Flat cabinetry is clean, but an entirely flat bathroom can feel a little lifeless. Fluted or reeded vanity doors add texture without introducing another color, pattern, or decorative object.
Keep everything around them quiet.
The rule: let the cabinet texture be the interesting detail.
Skip patterned wallpaper, busy shower tile, and several competing hardware finishes. With a restrained countertop and simple mirror, those vertical grooves give the vanity enough character to stand on its own.
Choose Matte Black Fixtures for a Sharper Silhouette
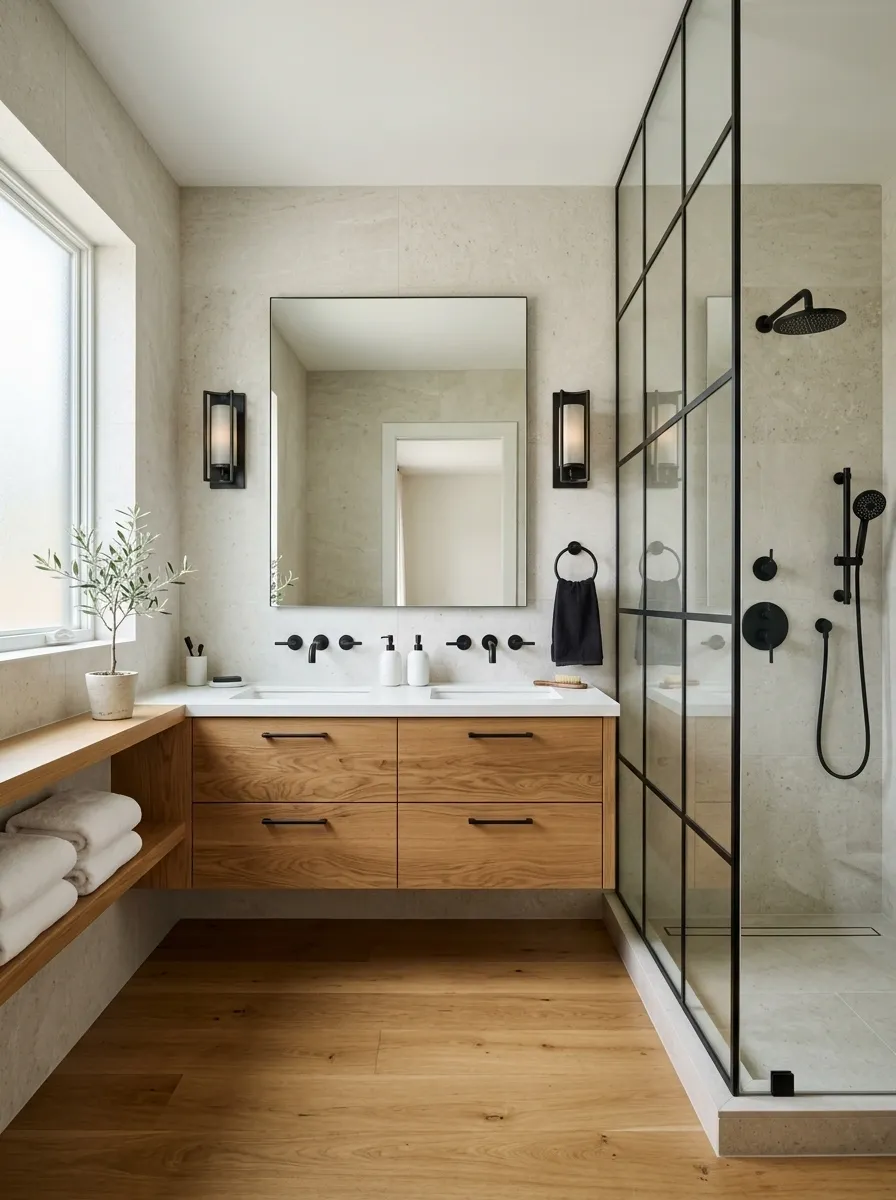
Matte black works because it gives the eye a strong outline. Against pale stone, warm oak, or light tile, the dark finish makes faucets, handles, and shower hardware look crisp instead of disappearing into the background.
The mistake is using black randomly. Repeat it in several functional spots so it feels intentional.
Make the Room Feel Larger Without Adding Square Footage
Float the Vanity to Make the Floor Feel Larger
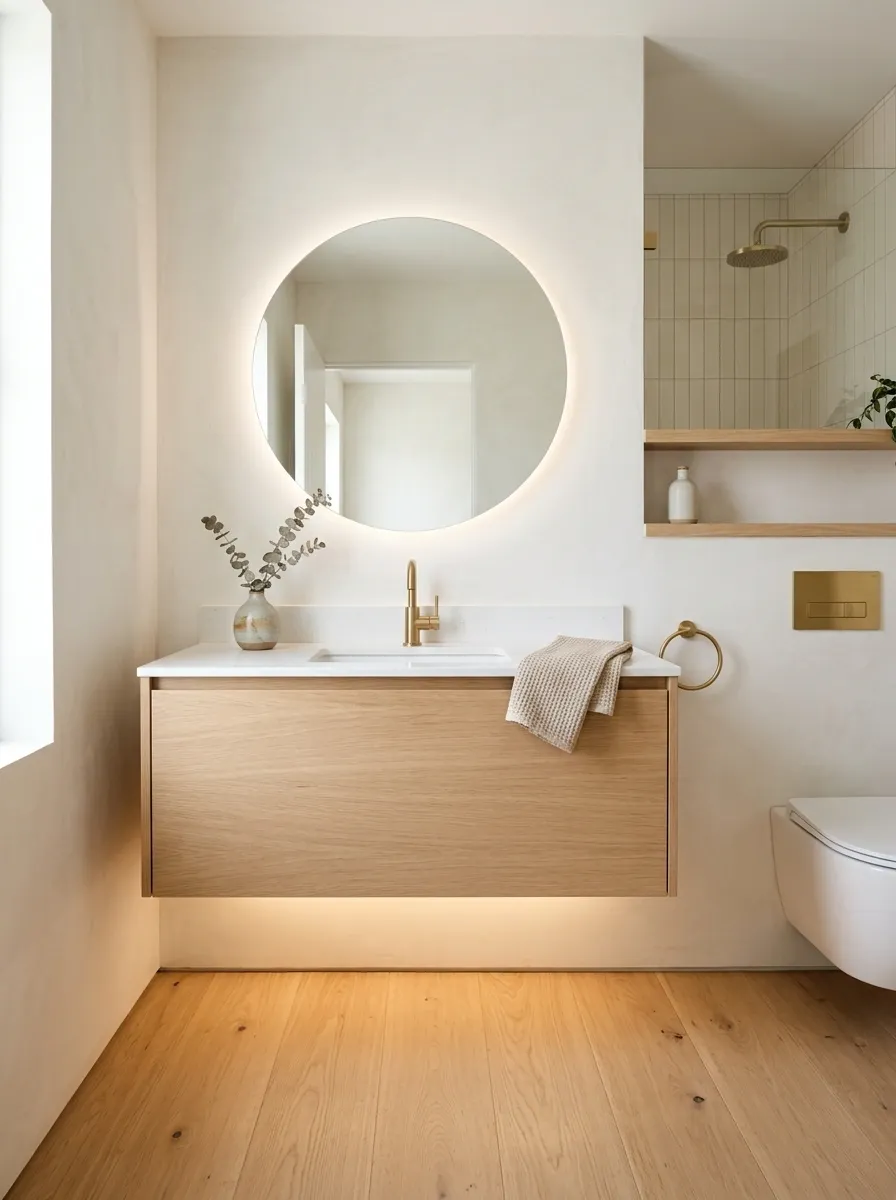
Floor space matters more than people think. A floating vanity leaves a clean strip of flooring underneath, and that gap makes the cabinet feel lighter instead of planted heavily on the floor.
This works especially well in a small bathroom where every visual interruption counts.
Use the space underneath wisely:
- Keep the floor completely clear.
- Run the flooring underneath the vanity.
- Choose a simple drawer front without bulky legs.
- Hide plumbing so the wall stays visually clean.
That little band of visible floor does a surprising amount of work.
Bring in One Oversized Statement Light
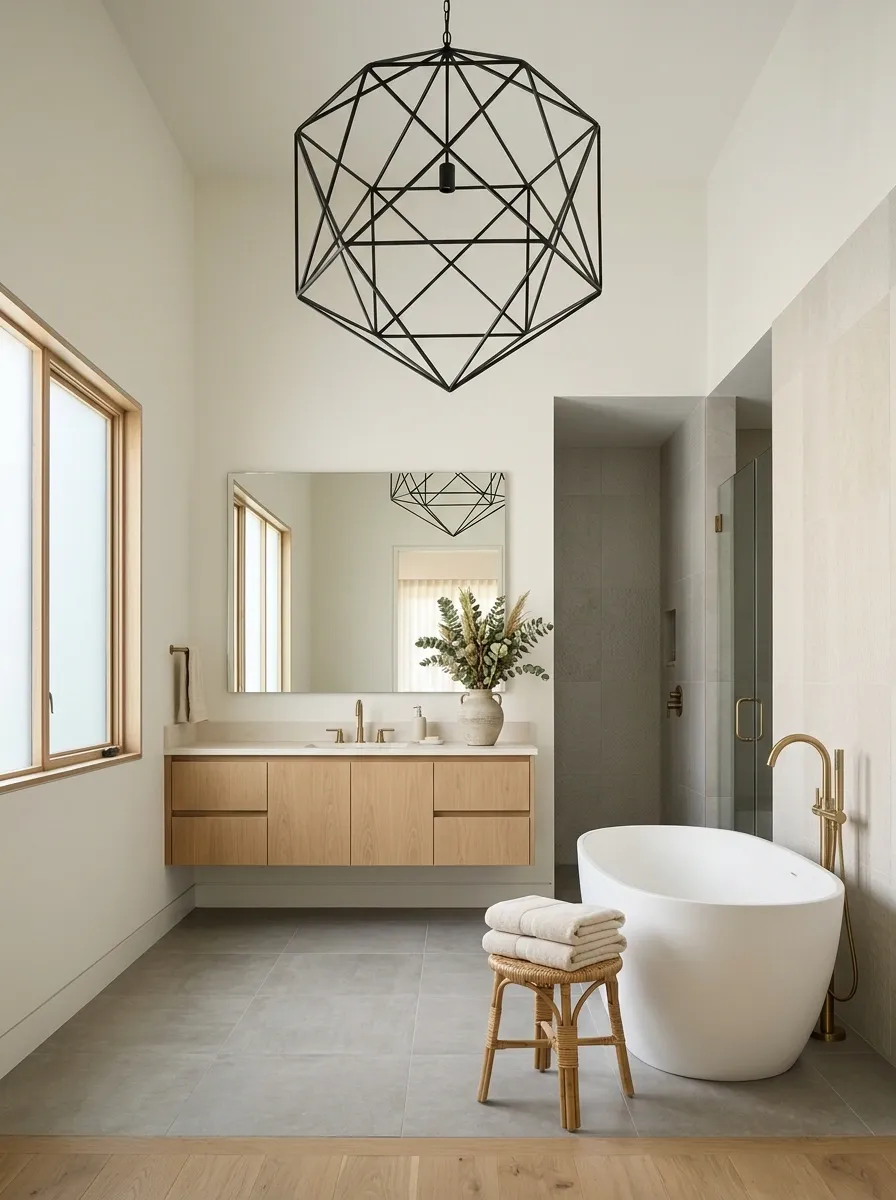
A bathroom doesn’t need three decorative light fixtures fighting for attention. One oversized pendant or sculptural ceiling light gives the room a focal point and keeps the rest of the fixtures quiet.
Scale is the secret here. A tiny fixture over a broad vanity looks timid.
Choose a shape with clean geometry, then let it hang over a vanity, beside a freestanding tub, or near the center of the room where the ceiling needs more presence.
Let a Curved Mirror Break Up Hard Bathroom Lines
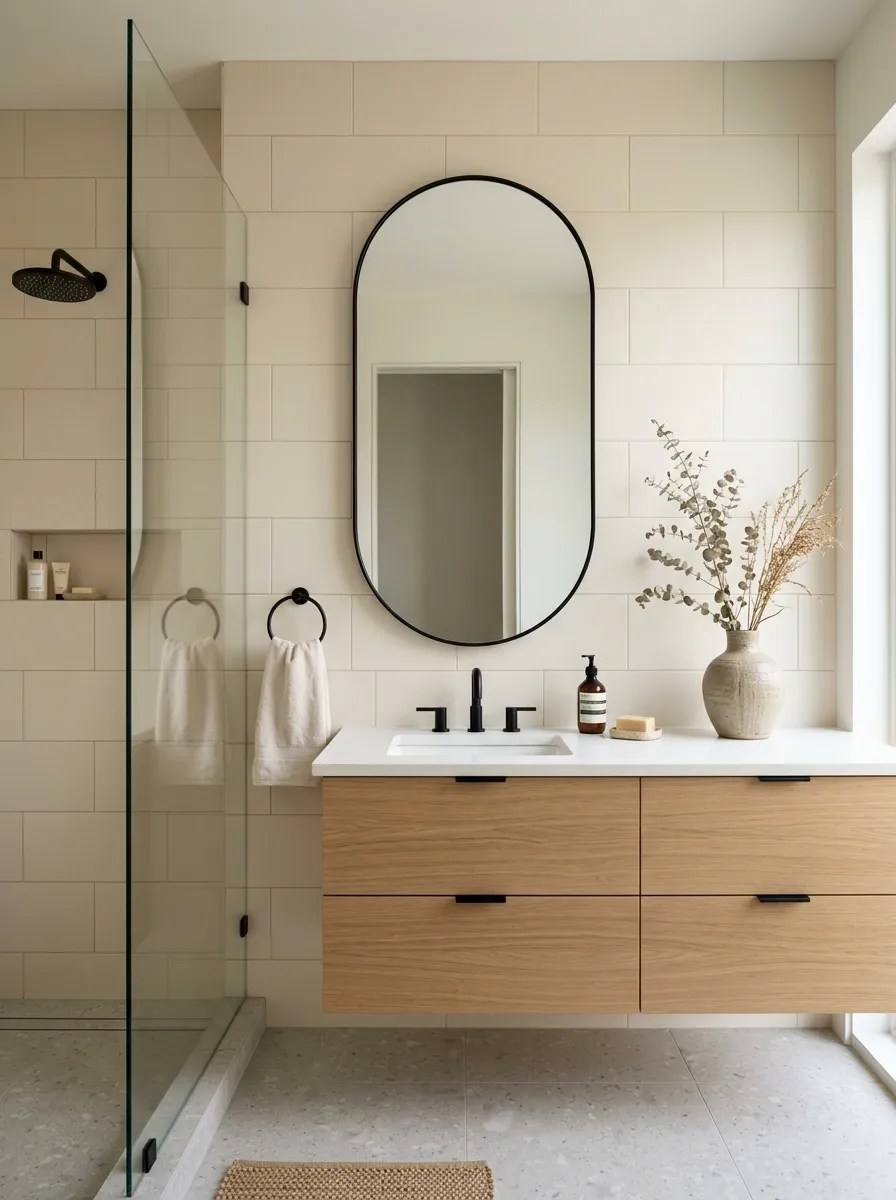
Most bathrooms are rectangles stacked on rectangles. Rectangular vanity. Rectangular mirror. Rectangular tile. Rectangular shower.
A curved mirror breaks that repetition immediately.
Use a rounded arch, pill shape, or softly curved rectangle above a straight vanity. The contrast feels intentional without adding another loud pattern.
Quick pairing: straight vanity + curved mirror + simple wall tile.
That combination gives the room movement while keeping the overall design disciplined.
Use Microcement-Look Surfaces for a Seamless Finish
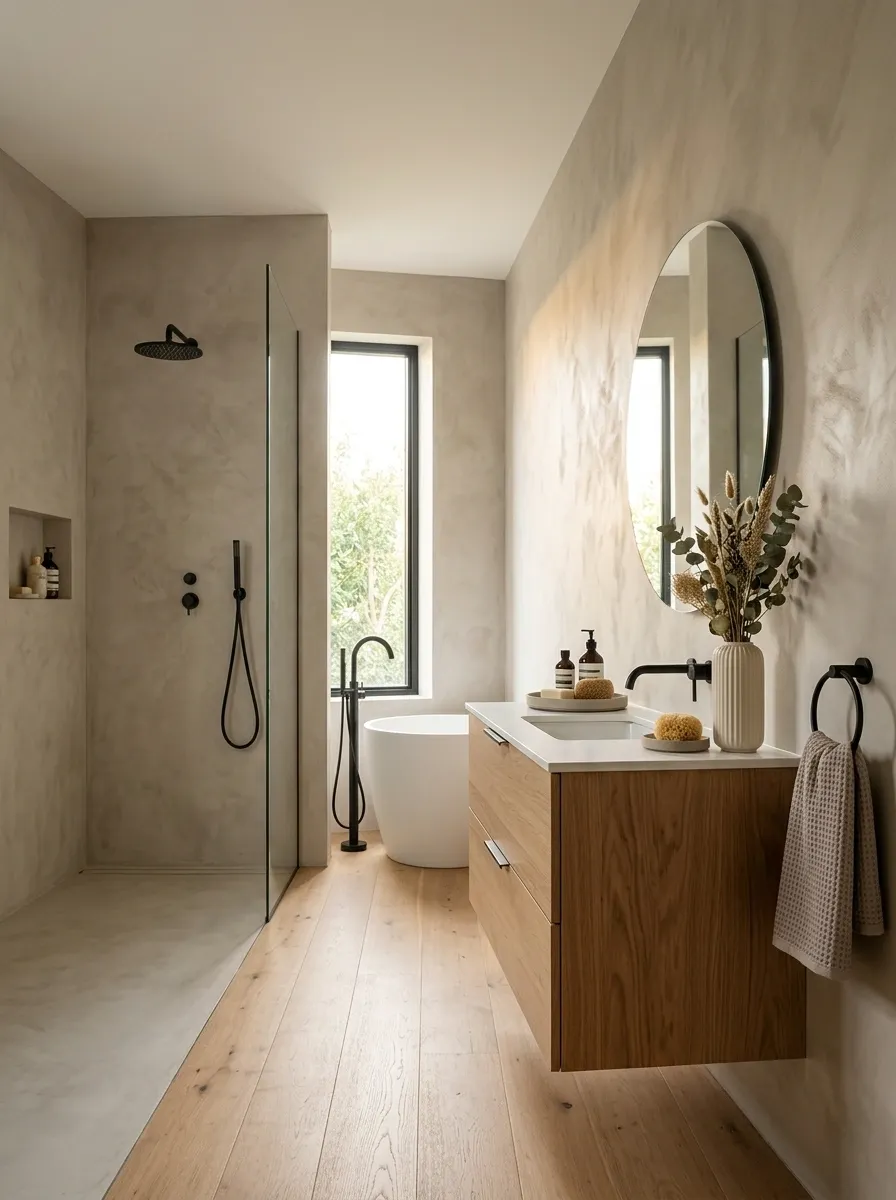
For a bathroom with a sleek architectural feel, fewer visual breaks are better. A microcement-look finish creates that continuous effect across walls, shower zones, and sometimes floors.
The goal isn’t to make every surface identical. It’s to reduce the number of competing seams.
Choose a softly mottled finish rather than a perfectly flat solid color. That subtle movement gives the walls depth while preserving the clean appearance modern bathrooms need.
Keep the rest simple: slim hardware, a floating vanity, and one warm material such as oak.
Build a Shower Niche That Looks Deliberately Designed
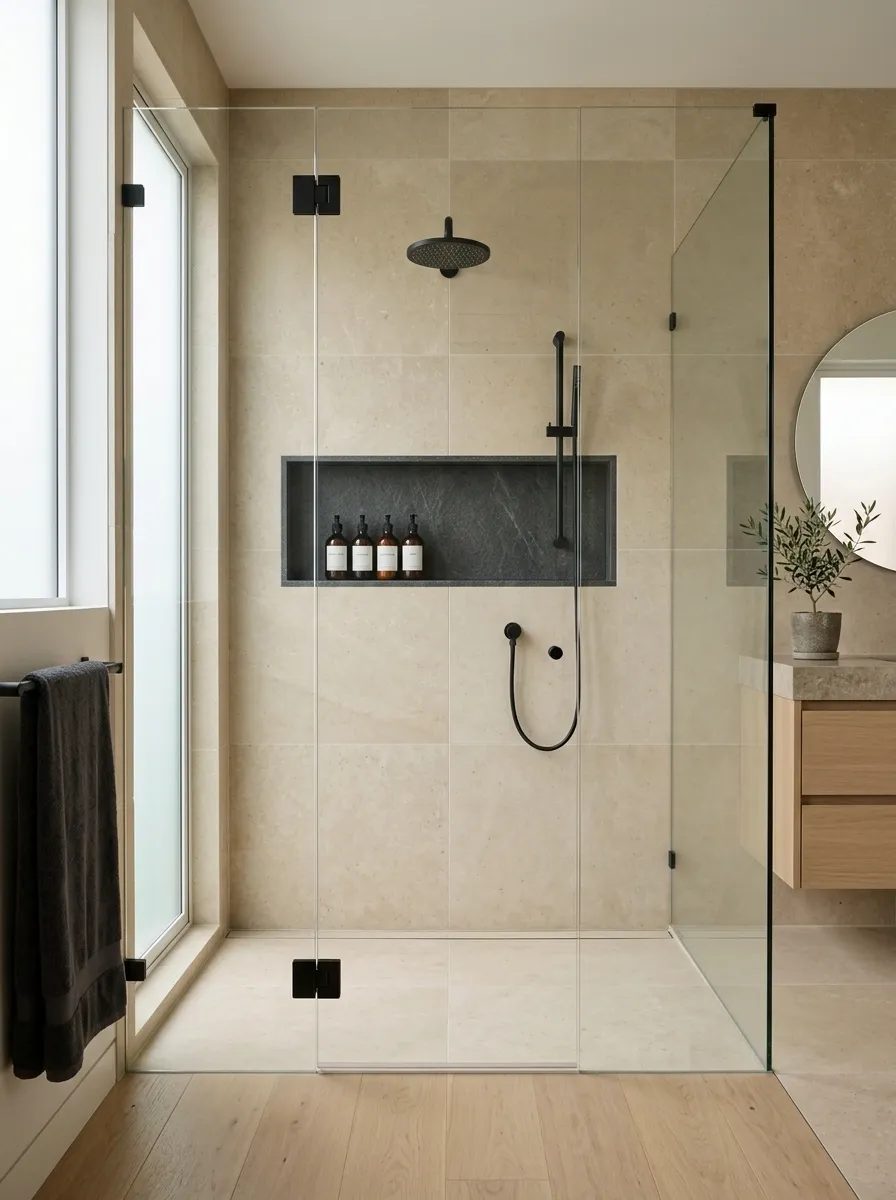
A shower niche shouldn’t look like someone cut a rectangle into the wall at the last minute. Treat it as part of the architecture.
Line it up with the tile pattern when possible, keep its edges crisp, and give the inside a finish that relates to the shower walls. A darker stone interior can work beautifully, but it should still belong to the same material story.
Best rule: store the bottles inside the niche, not on the shower floor.
That single change keeps the whole shower looking cleaner every morning.
Add Texture Without Making the Bathroom Busy
Mix Two Tile Textures Instead of Five
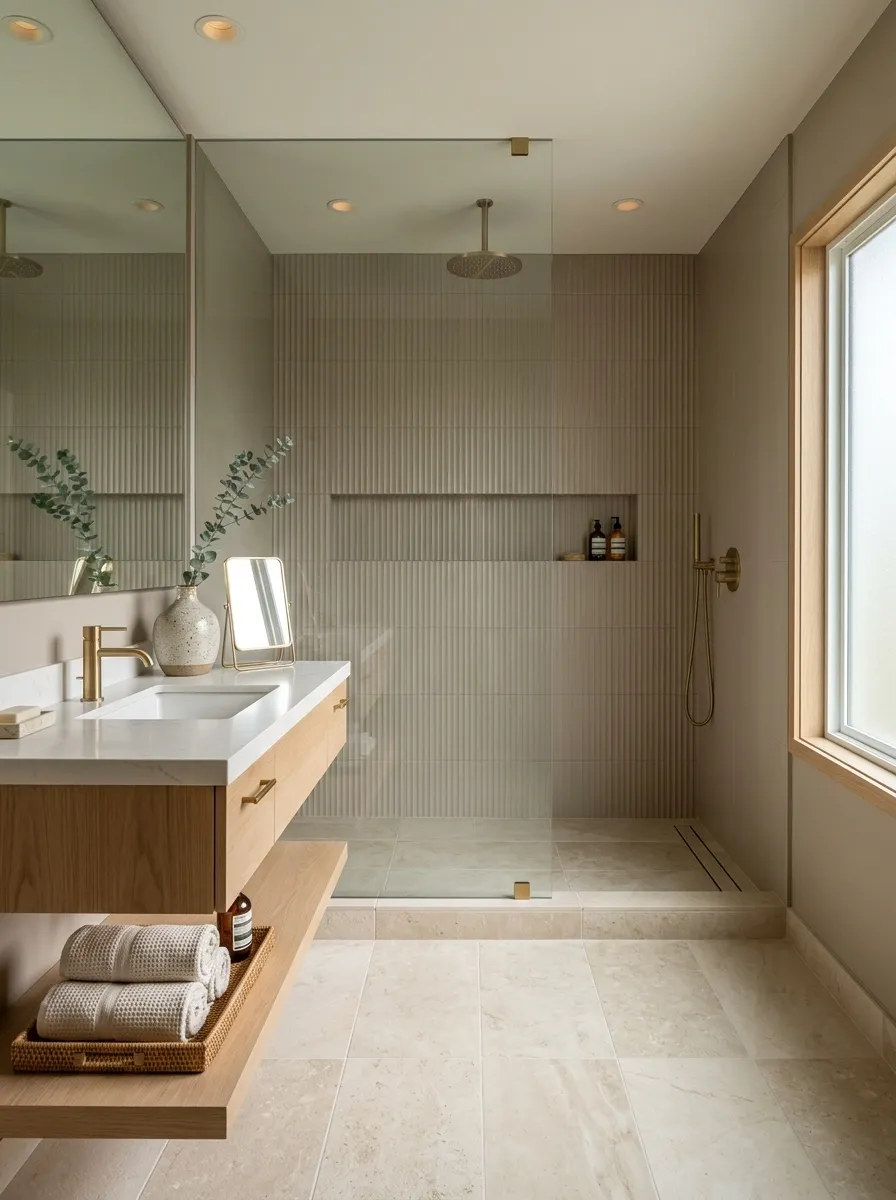
More tile doesn’t mean more design. In fact, too many finishes usually make a bathroom feel undecided.
Pair one smooth surface with one textured surface. That’s enough contrast to keep the room interesting without turning every wall into its own feature.
A reliable combination is smooth large-format floor tile with lightly textured shower tile. Keep the colors closely related so the texture, not the pattern, does the talking.
Swap Tiny Accessories for One Strong Countertop Moment
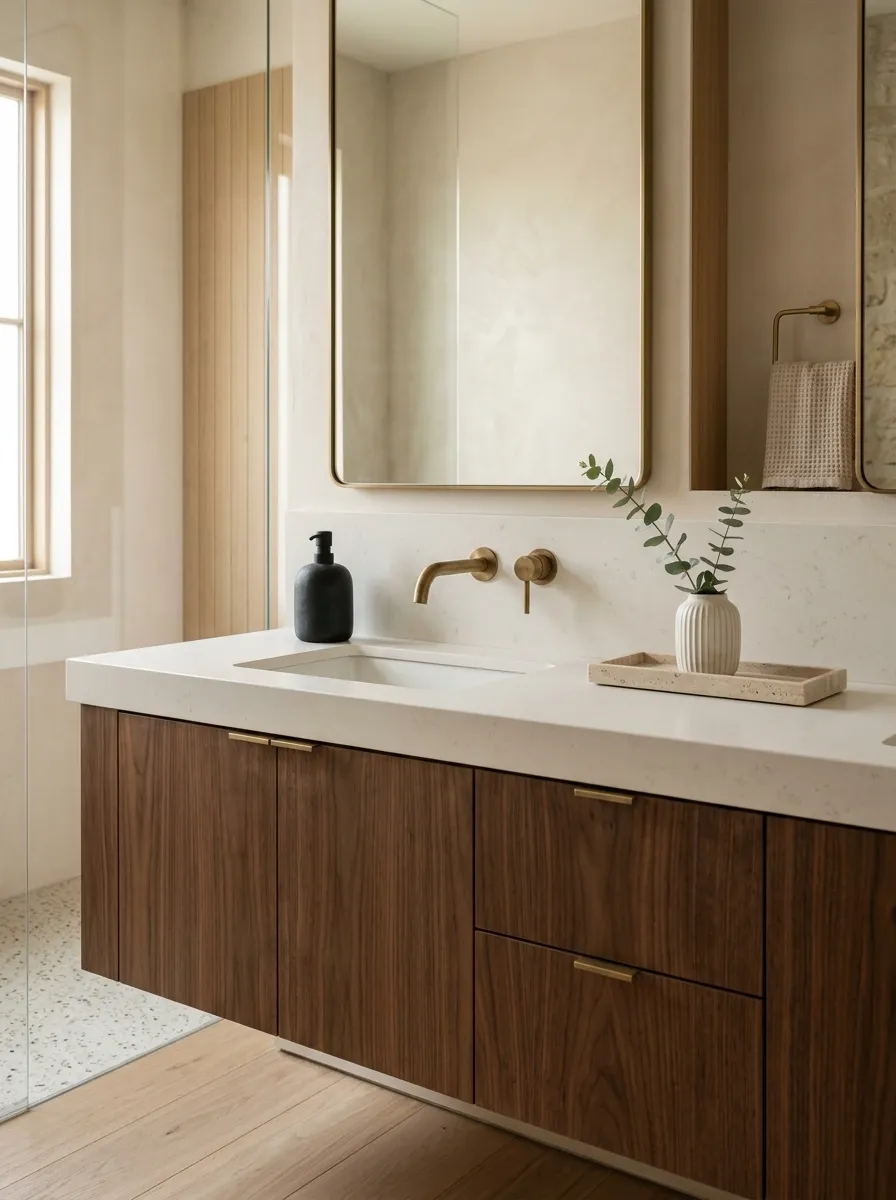
Bathrooms collect little things fast. Candle here. Trinket there. A decorative tray stuffed with products. Suddenly the vanity looks like a display shelf.
Strip it back.
Keep the things you actually use, then choose one intentional accent such as a low stone tray, a sculptural soap dispenser, or a small ceramic vessel.
Keep: one useful object, one decorative object, plenty of visible counter.
Remove: loose bottles, random jars, and anything that needs moving before you wash your face.
Use Warm Under-Vanity Lighting After Dark
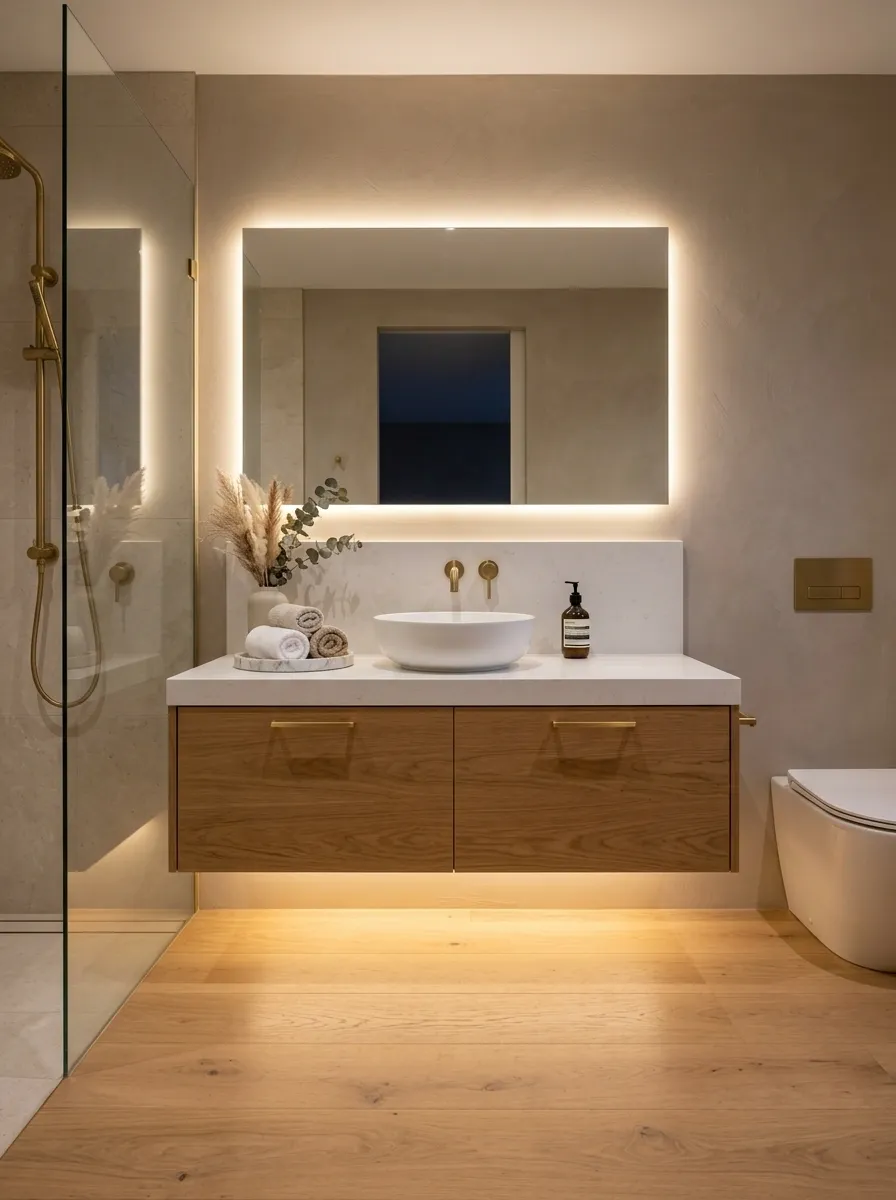
The main ceiling light doesn’t need to do every job. A concealed glow beneath a floating vanity creates a softer second layer and makes the bathroom easier on the eyes at night.
It’s especially effective when the vanity appears to hover above the floor.
Keep the light hidden from direct view. You want the glow to be visible, not the LED source itself.
Choose a Tone-on-Tone Neutral Palette With One Dark Accent
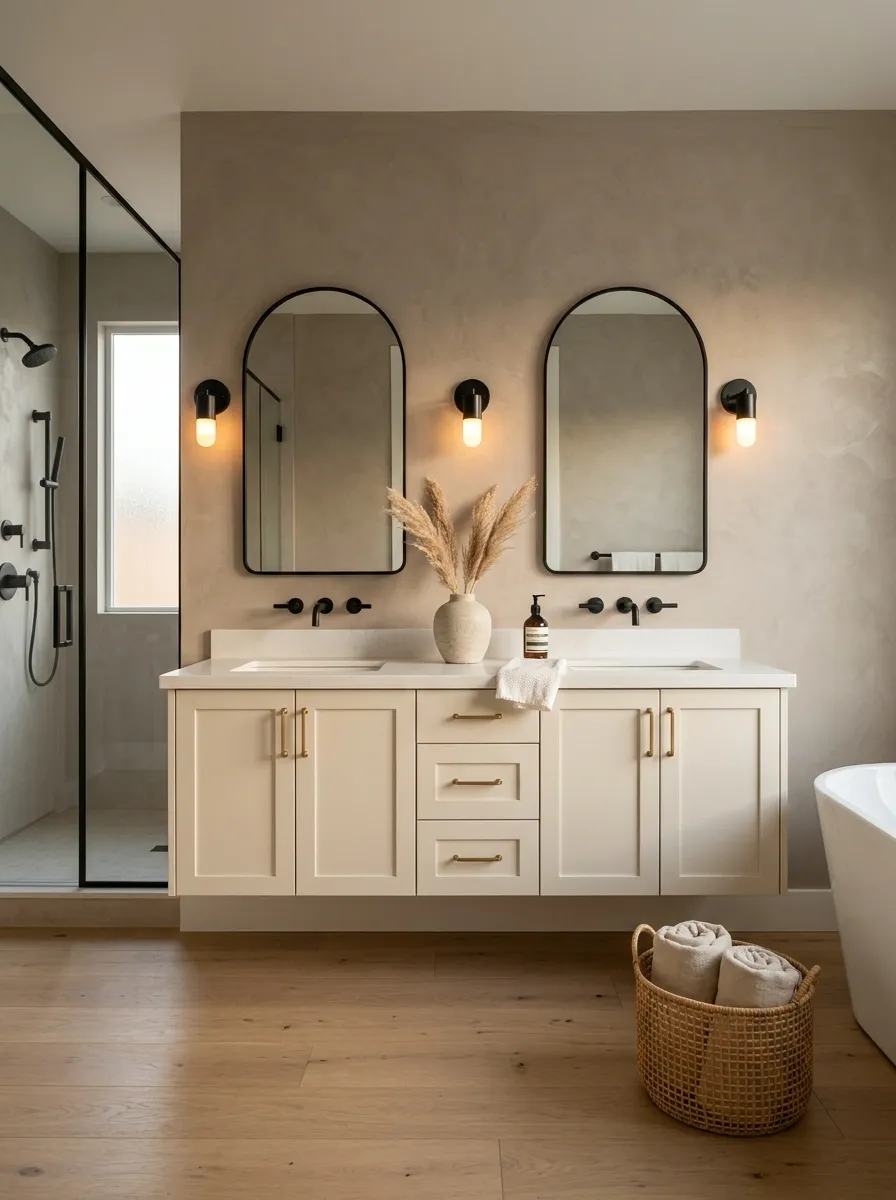
Neutral doesn’t have to mean flat. The difference comes from changing the depth and texture of your neutrals instead of adding more colors.
Use cream, warm gray, soft taupe, or pale stone as the main family. Then bring in one darker note through the mirror frame, faucet, vanity hardware, or lighting.
| Approach | What you see | Better move |
|---|---|---|
| Flat neutral | Same pale tone everywhere | Vary finish and depth instead |
| Layered neutral | Related shades with visible texture | Add one dark anchor for contrast |
The room should feel tonal, not colorless. That’s a much harder look to fake.
Make the Shower Glass Nearly Disappear
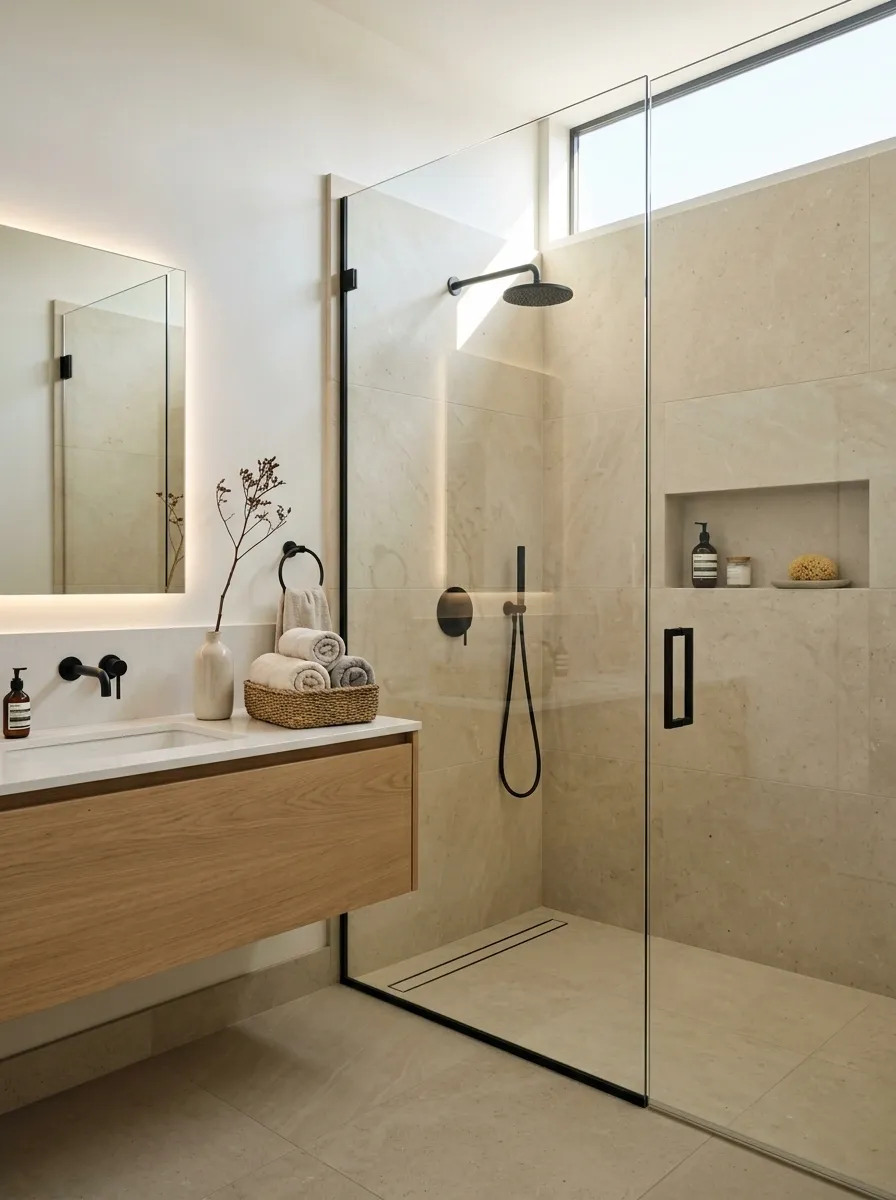
Heavy shower frames interrupt the room with another obvious border. Frameless or minimally framed glass keeps the sightline open, especially in a compact bathroom.
The difference is most noticeable when the shower tile continues behind the glass without a visual break.
Choose clear glass, keep the hardware restrained, and let the tile become the feature. Suddenly the shower feels less like a separate box and more like part of the room.
Use Storage and Materials to Keep the Design Calm
Add a Slim Vertical Storage Tower Beside the Vanity
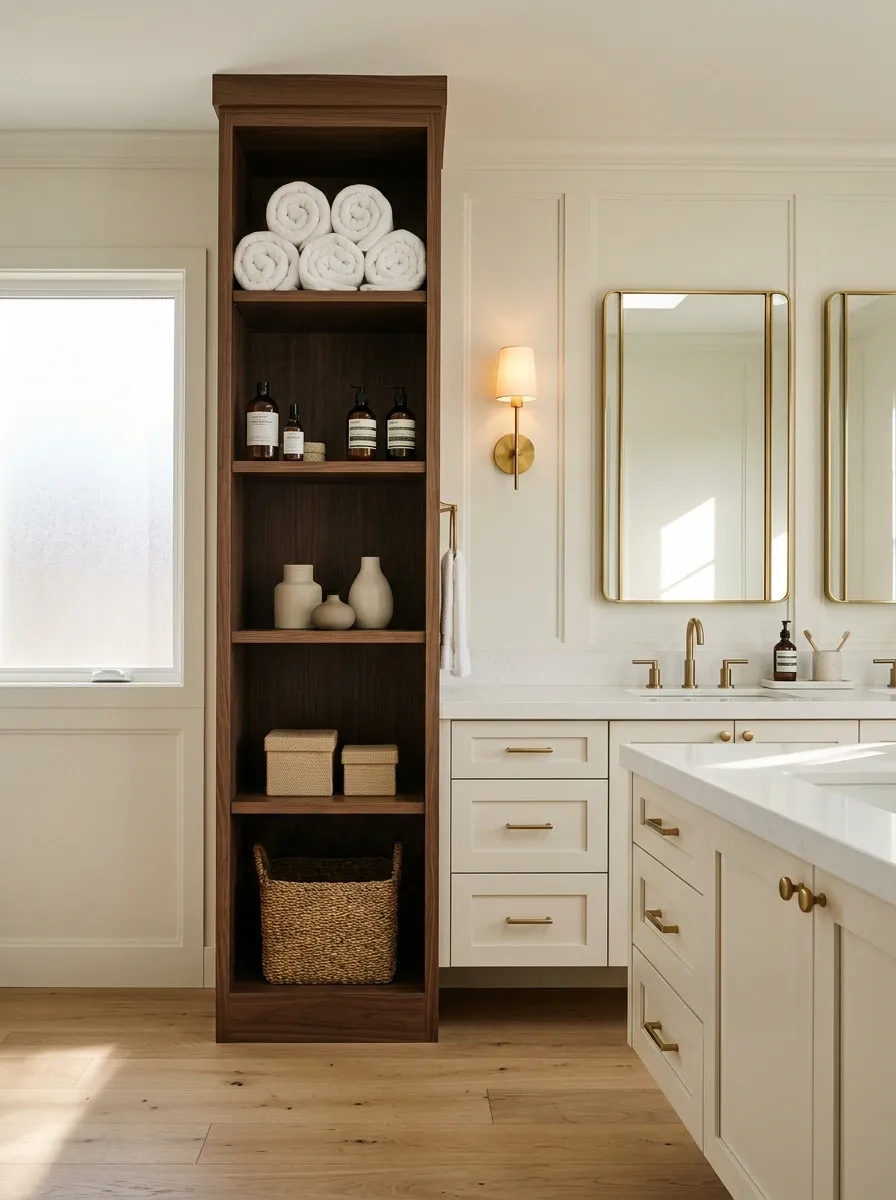
Dead wall space beside the vanity is often wasted. A narrow storage tower turns that awkward strip into useful storage without making the room feel packed.
Choose a tall, shallow cabinet with a finish that matches the vanity. Keep the shelves adjustable so towels, bottles, and spare toilet paper don’t end up crammed together.
Set it up like this:
- Put daily-use items at eye level.
- Store extra linens above.
- Keep cleaning supplies lower down.
- Leave a little empty shelf space so it doesn’t look stuffed.
Vertical storage works because it uses height instead of stealing more floor area.
Use Travertine or Stone-Look Finishes Without Going Rustic
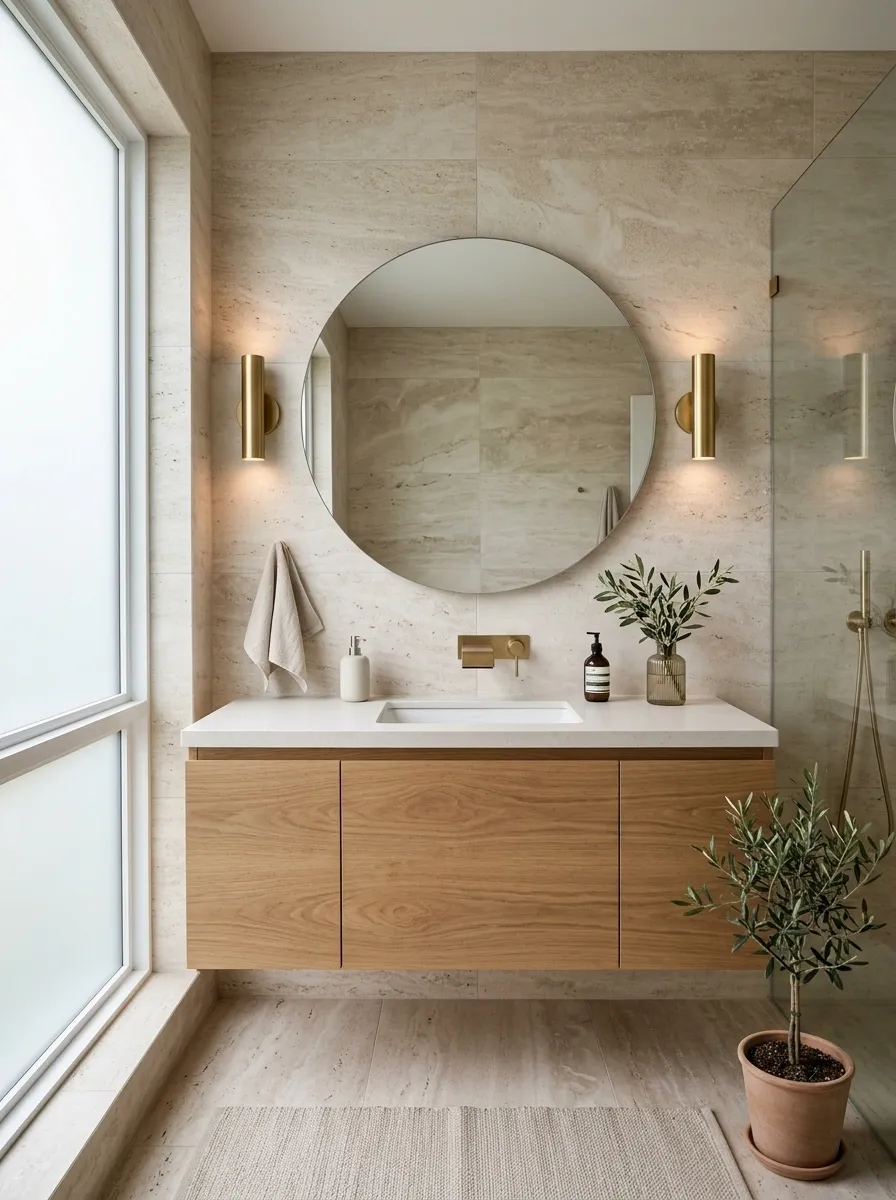
Natural stone can look wonderfully modern, but only when the rest of the room keeps its discipline. Too much rough wood, distressed texture, or decorative hardware pushes the bathroom into a completely different direction.
Pick stone with restrained movement and pair it with clean cabinetry, simple lighting, and streamlined fixtures.
The modern combination: warm stone + flat-front vanity + crisp mirror + minimal hardware.
Travertine-inspired tones work particularly well with warm whites and soft taupes. The room gets texture without relying on busy patterns.
Repeat One Metal Finish Across Every Fixture
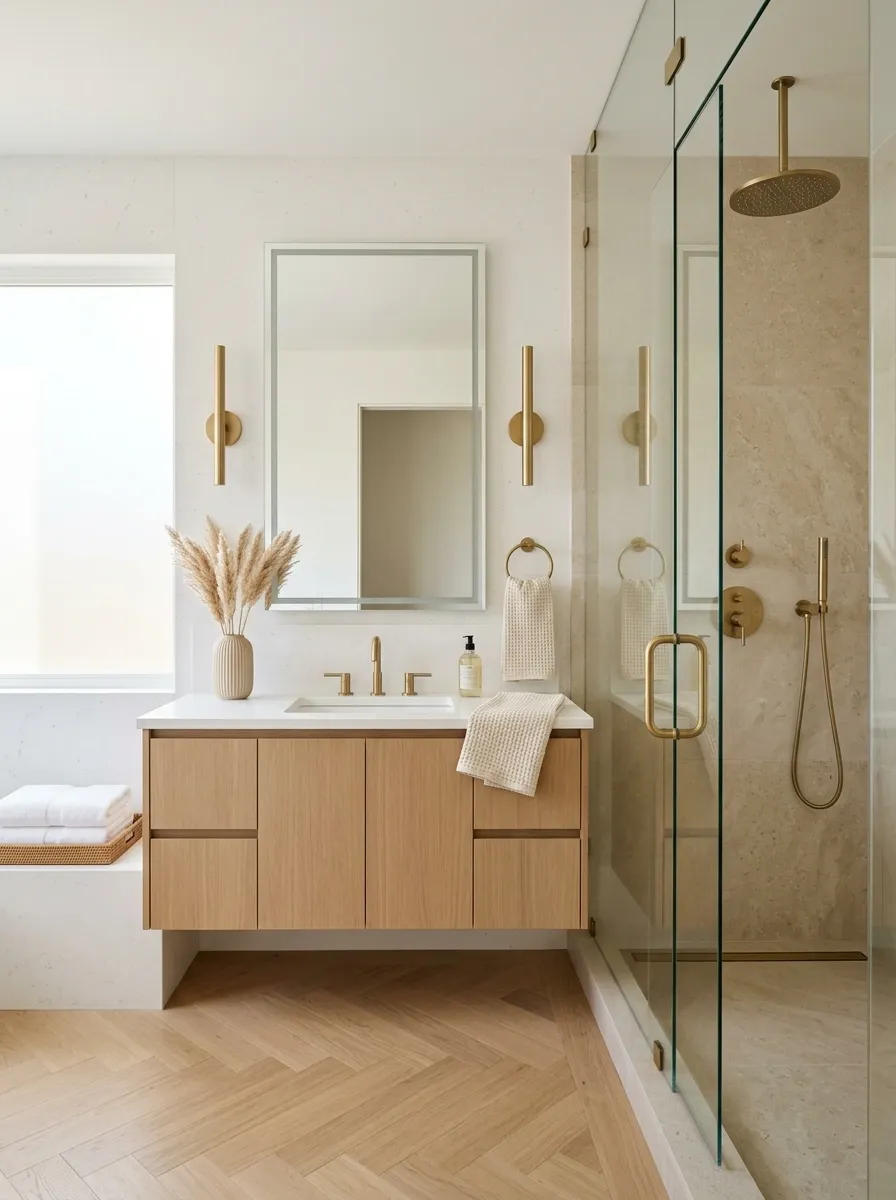
Mixing metals can work, but it’s not where I’d start. For a bathroom that needs to look polished without a lot of styling, repeat one finish everywhere.
Use the same finish on the faucet, shower controls, cabinet pulls, towel hardware, and visible light fixtures.
Here’s the simple rule:
One room, one dominant metal.
That repetition creates visual order. If you already have several finishes that can’t be changed, choose the strongest one and make that the finish you repeat from this point forward.
Install a Wall-Mounted Faucet for a Cleaner Vanity Wall
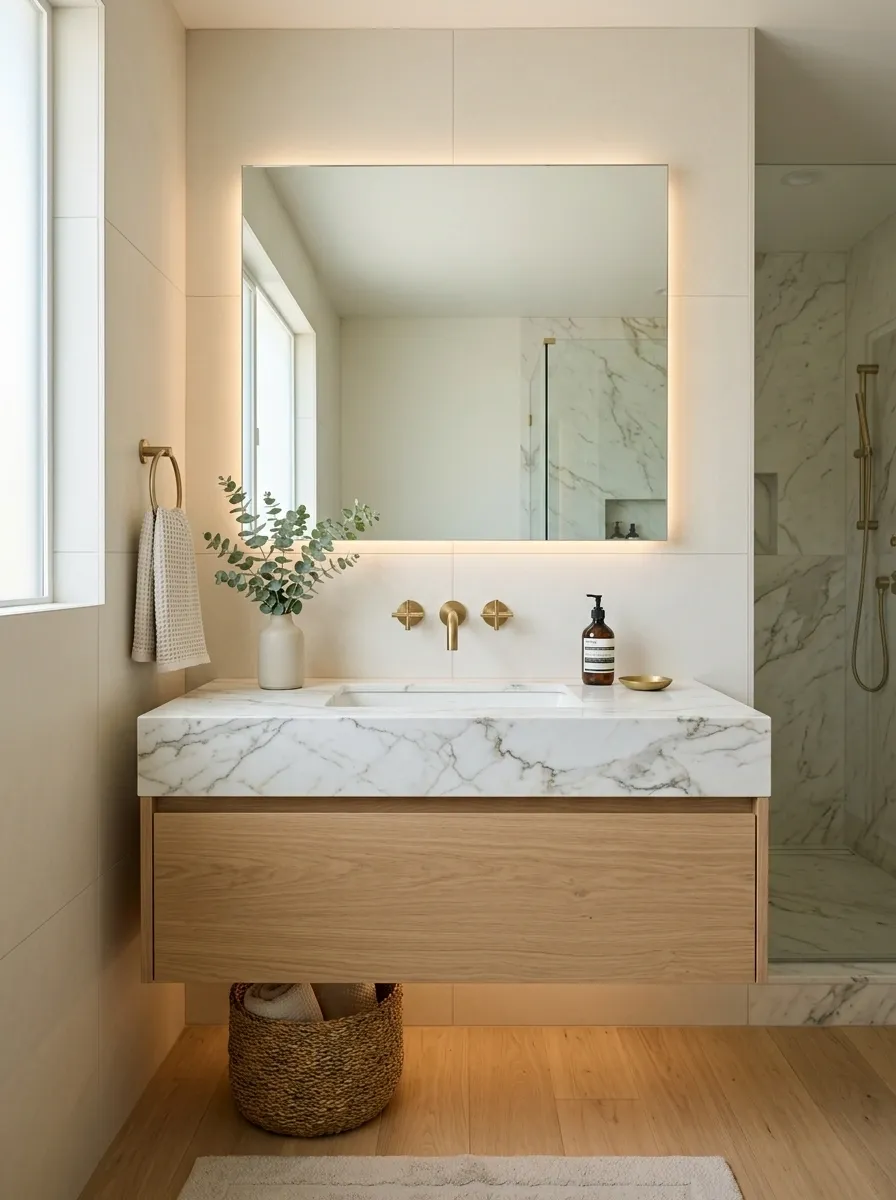
A deck-mounted faucet takes up valuable visual space on the countertop. Moving the faucet onto the wall creates a cleaner sink area and gives the vanity a more architectural look.
It also lets the countertop remain visually quiet, which matters when you’re working with stone or a statement surface.
Give a Small Bathroom One Oversized Material Moment
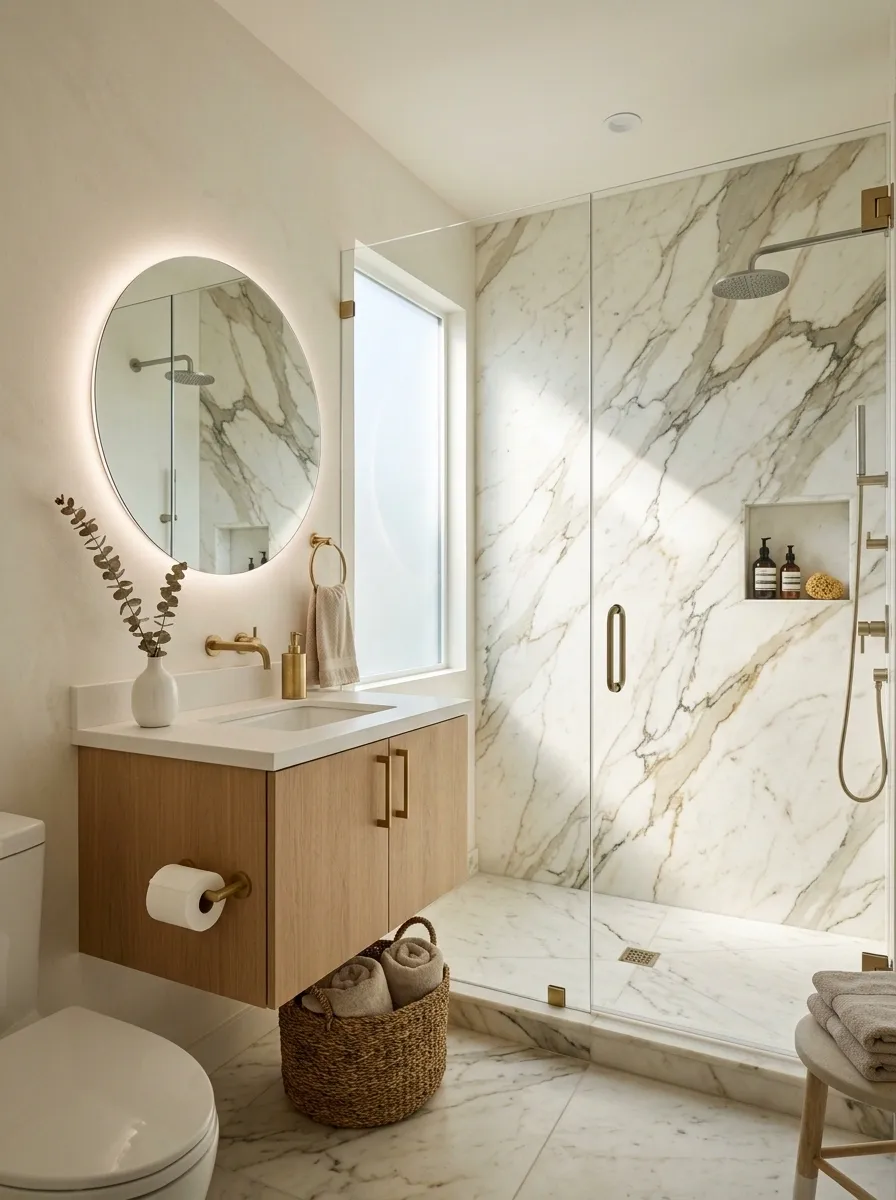
Small bathrooms don’t need small ideas. They need one large idea.
Choose one surface that gets to dominate, such as oversized wall tile, a broad stone vanity top, a dramatic mirror, or a large slab-style shower wall.
Then make everything else quieter.
Choose one focal material:
- Large-format stone-look tile
- Bold vanity stone
- Full-width mirror
- Strong wood vanity
- Oversized wall finish
The key is restraint. One memorable surface has far more impact than five competing accents squeezed into a compact room.
Make Storage Look Like Part of the Architecture
Use Ribbed Glass to Hide Clutter Without Closing In the Room
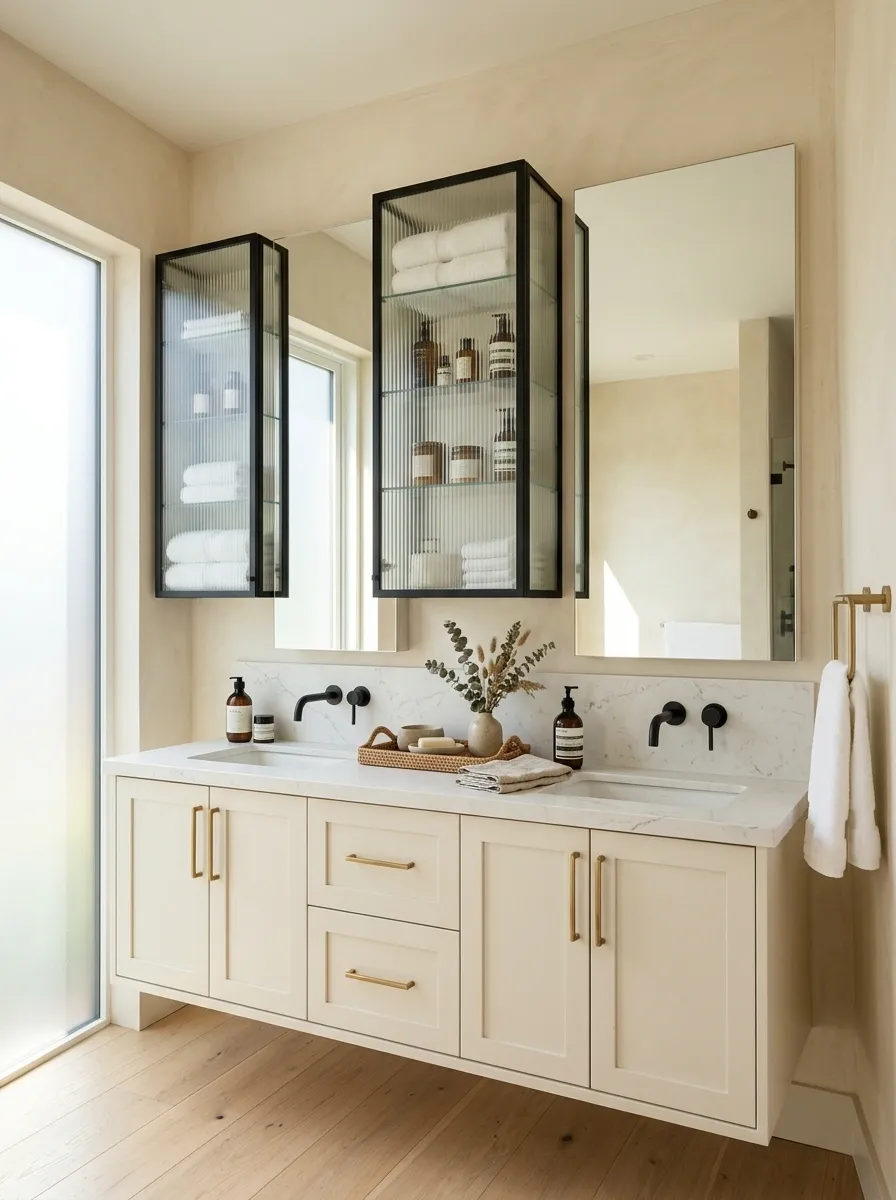
Open shelving looks good in photos until you have to keep it tidy every single day. Ribbed or fluted glass gives you a smarter middle ground.
It softens the view of towels, toiletries, or storage while still letting light move through the cabinet. The texture also adds interest without requiring another decorative finish.
Use it on an upper cabinet, shower partition, or linen storage door. Keep the frame slim and let the glass texture do the work.
Replace Busy Decor With One Sculptural Object
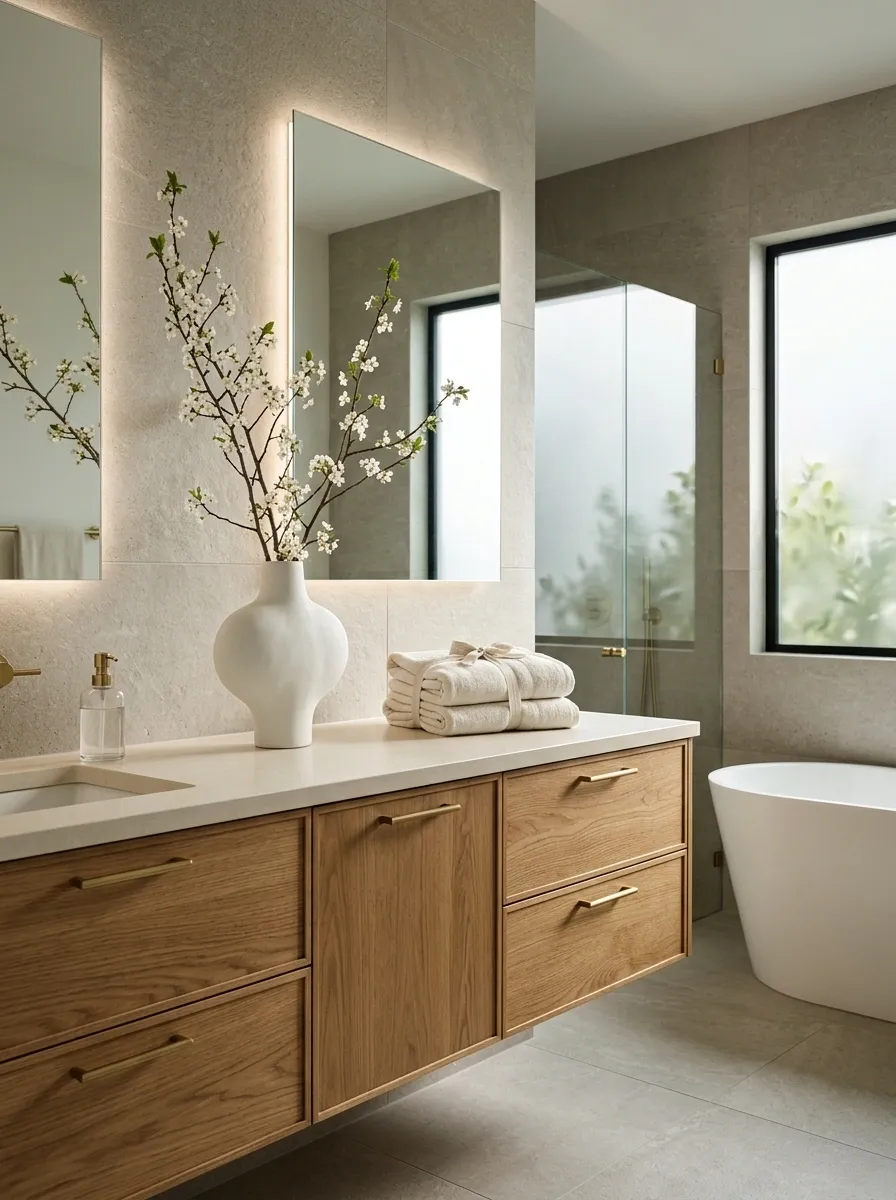
A modern bathroom doesn’t need a countertop full of accessories to feel finished. One sculptural piece has more authority.
Choose a rounded ceramic vessel, a tall stone object, a simple branch in a narrow container, or another shape with enough presence to stand alone.
The styling formula is simple:
- Keep the object low or slightly off-center.
- Give it empty space around it.
- Remove smaller decorative pieces competing beside it.
The bathroom should still feel functional. You shouldn’t have to move half the vanity just to reach the sink.
Carry the Same Floor Tone Into the Shower Area
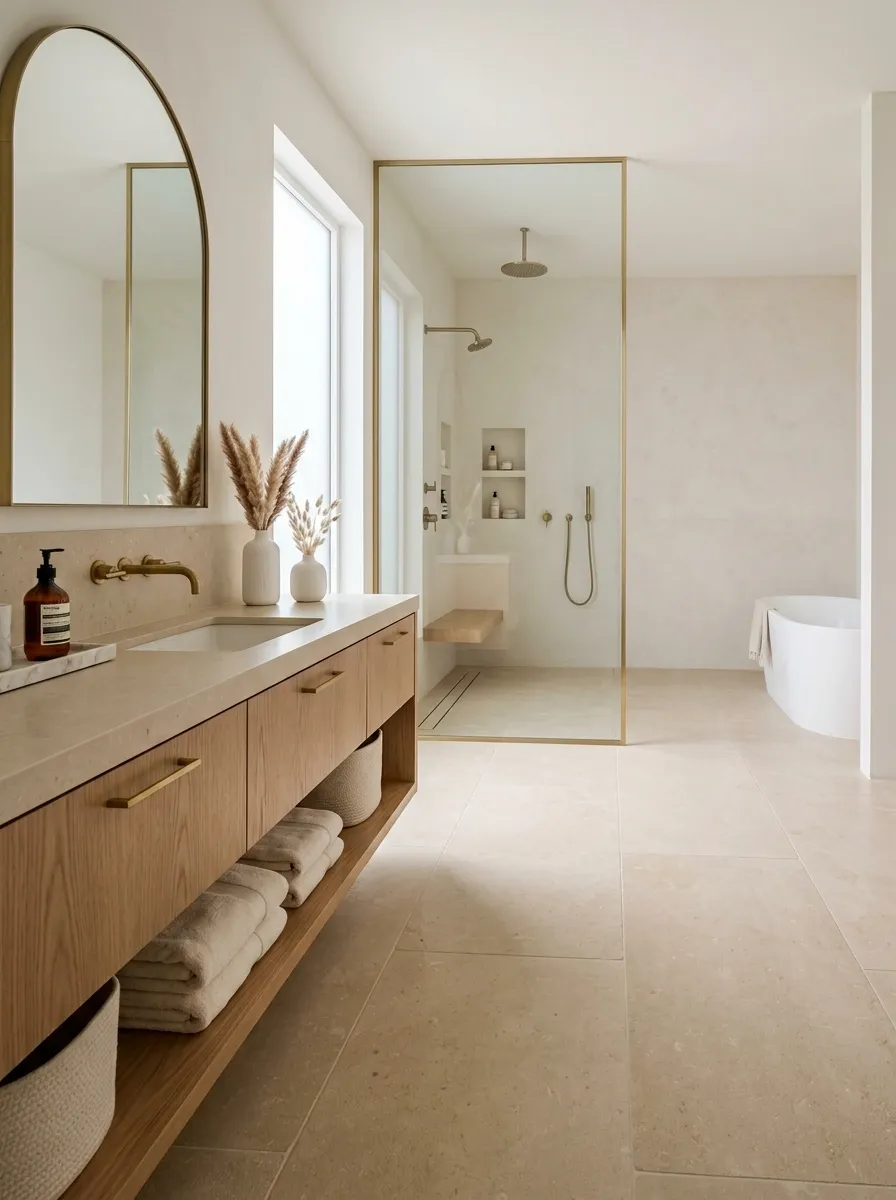
Visual continuity makes a bathroom feel larger because the eye doesn’t stop every few inches. One easy way to get that effect is to carry the floor’s tone into the shower.
The finishes don’t have to be identical. They simply need to belong to the same color family.
Warm beige floor? Use a related warm stone tone in the shower. Cool gray floor? Keep the shower within that same family.
Choose a Thin-Profile Vanity for a Sleeker Footprint
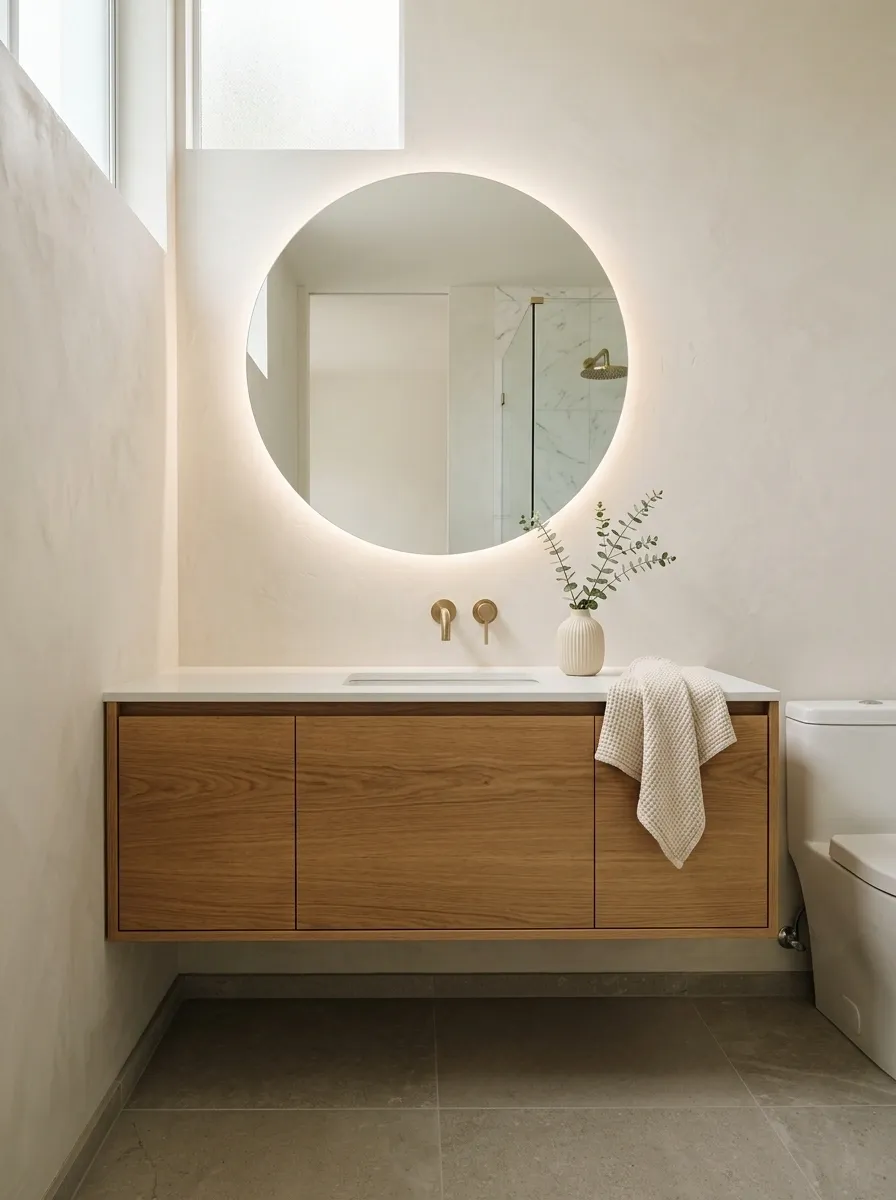
Bulky cabinetry can swallow a bathroom before you’ve even added a towel. A thin-profile vanity gives you the storage you need without making the room feel dominated by one heavy block.
Look for a shallow cabinet with clean drawer fronts and minimal hardware. In a narrow room, that difference matters every time you walk past it.
Before ordering, check:
- Door and drawer clearance
- Plumbing depth
- Sink size
- Walking space in front
- Wall space for the mirror
A slimmer vanity works hardest in small bathrooms where circulation is already tight.
Finish the Room by Editing Hard
Finish the Room With Soft Lighting and Almost No Countertop Clutter
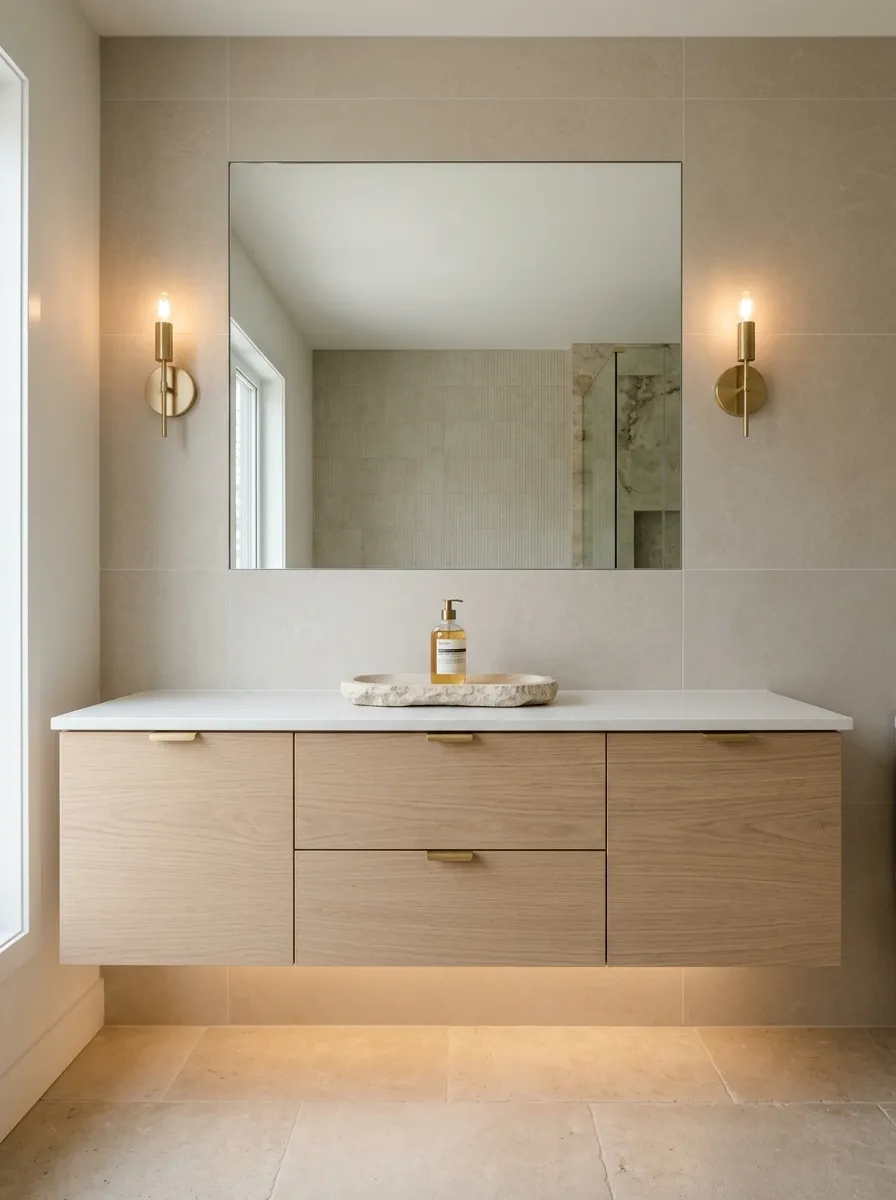
The last step is also where many modern bathrooms go wrong. The room gets redesigned, then covered with products, decorative jars, cords, and random containers.
Don’t undo your own work.
Keep the countertop visually quiet. Use concealed storage for backups, leave only the products you use constantly, and rely on layered lighting to keep the room comfortable after dark.
Conclusion
A modern bathroom doesn’t need to announce itself with a pile of trendy finishes. It should look controlled. The vanity has a clear shape. The mirror belongs to the wall instead of floating awkwardly above it. The tile gives the room a strong backdrop. The lighting works at night. Storage takes care of the ugly stuff before it ever reaches the counter.
That’s the difference between a bathroom that was decorated and one that was actually designed.
Start with the largest visual decision, then work downward. Pick the vanity. Set the mirror. Choose the main surface. Repeat the hardware finish. Add one warm material. Then stop.
Save these modern bathroom ideas for the next time you’re choosing tile, planning a vanity wall, or standing in your bathroom wondering why it still doesn’t look quite right.