
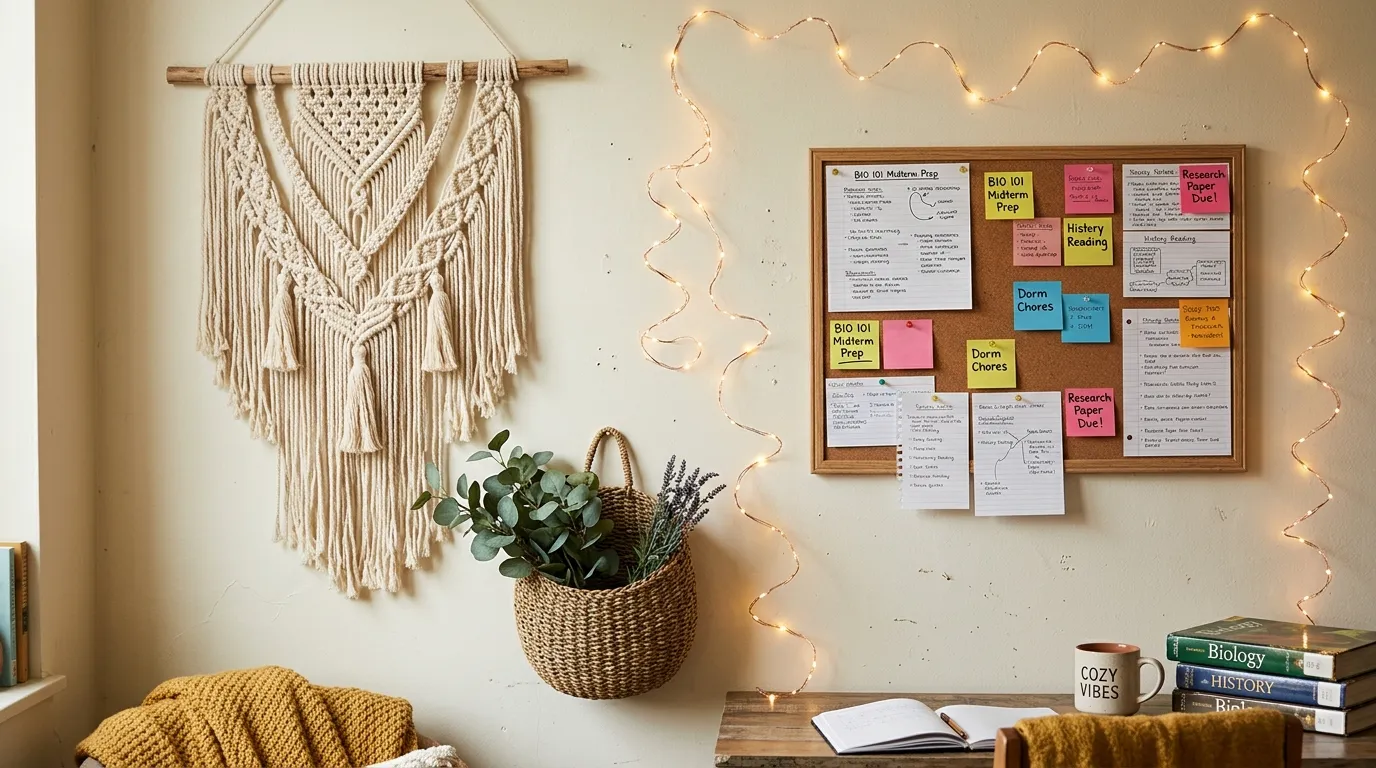
Dorm walls have a way of looking unfinished even after you’ve bought plenty of decor. The problem usually isn’t that you need more stuff. It’s that the pieces don’t have a clear relationship to each other.
Good dorm wall decor gives the room a focal point, adds personality, and still leaves enough empty space for the wall to breathe.
That’s where most rooms go wrong. A few tiny prints get taped up wherever there’s space. Then a poster fills another gap. Then photos get added around it. Nothing is technically bad, but the whole wall starts looking accidental.
You don’t need expensive art or a massive makeover to fix that. You need a better plan for what goes where.
The ideas below focus on dorm-friendly changes that can make a basic room feel much more personal without turning the walls into visual clutter. You’ll find options for beds, desks, empty corners, study areas, and those awkward blank sections that never seem finished.
Dorm Wall Decor Ideas
Recycle cans into hanging bud vases
Empty cans don’t have to go straight to the recycling bin when they can become your next wall feature. Clean them out, mount them securely to the wall in a grid, and fill them with lightweight dried stems or fresh wildflowers.
Mixing different beverage brands creates a playful, colorful pattern that adds personality to an otherwise boring corner. It’s an unexpectedly chic way to bring nature indoors on a budget.
Keep the arrangements light and airy so the focus stays on the clever container mix rather than a heavy mass of foliage.
Turn postcards into a clean rotating display
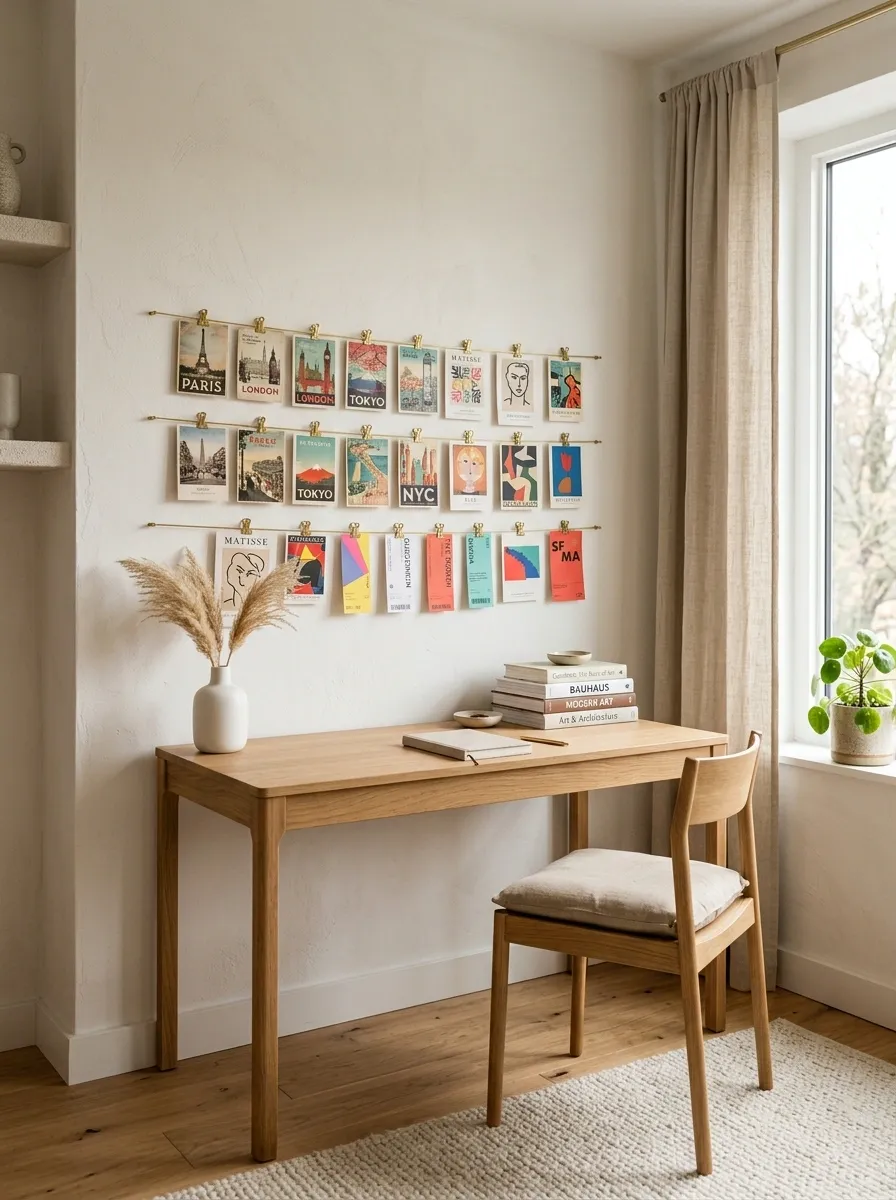
Postcards are an easy way to decorate without making the wall feel permanent.
Collect cards from places you’ve visited, local artists, favorite shows, museums, or little moments you want to keep visible. Then give them one dedicated display area instead of spreading them around the room.
A clip line, slim board, or narrow ledge works well.
Quick rule: Keep a few cards in storage and rotate them. Your wall gets a fresh look without a full redecorating session.
Grow a vertical faux ivy wall
Empty dorm walls practically beg for some greenery, and cascading vines make it easy to cover massive amounts of space without any maintenance.
Suspend individual strands of faux ivy vertically behind your bed to create a lush, canopy-like effect that instantly warms up cinderblock walls. Frame the arrangement with fairy lights at the ceiling for a dreamy glow.
Weave in a few small framed prints or polaroids directly among the leaves so the foliage feels integrated into your room rather than just tacked on.
Hang a fabric tapestry behind the bed, not randomly
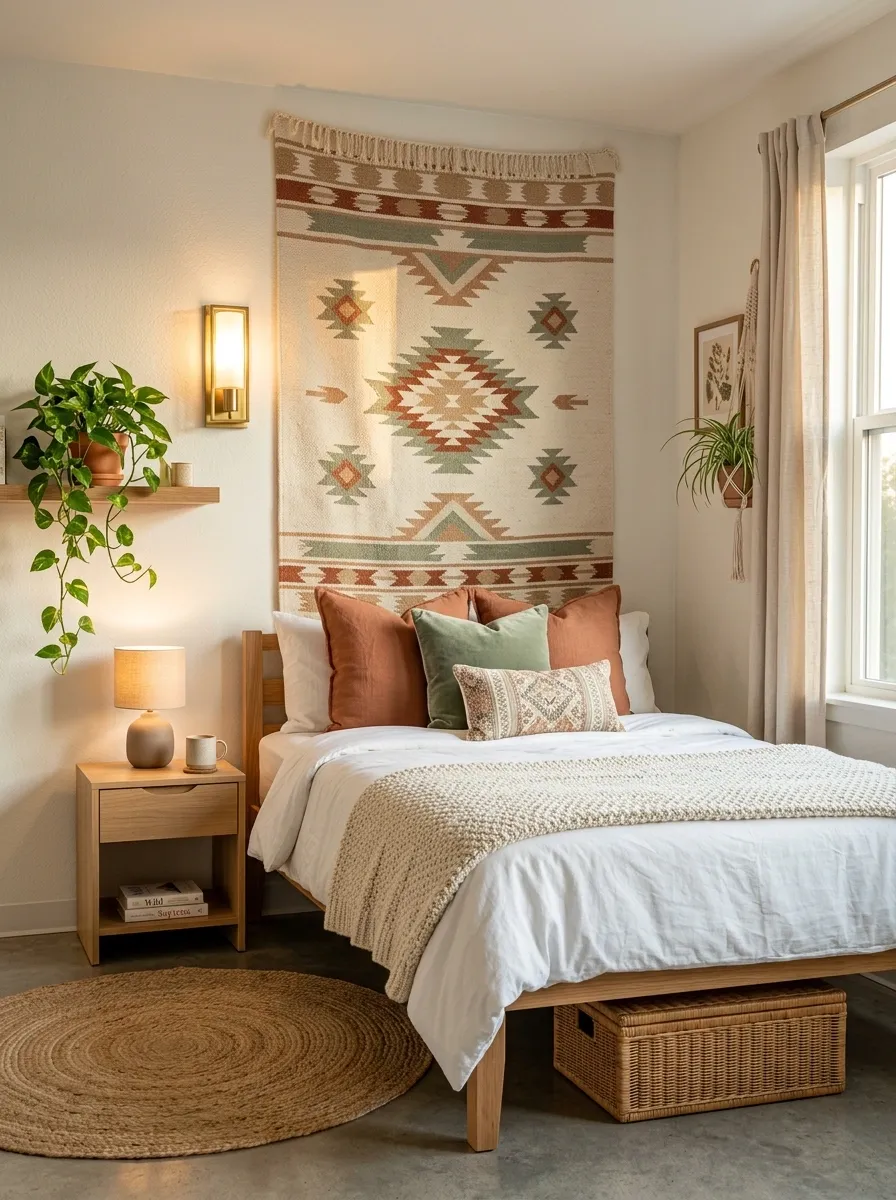
The bed already dominates the room, so use that fact instead of fighting it.
A tapestry works best directly behind the bed because it creates one large visual zone. Center it with the mattress and let the textile become the backdrop rather than a random piece floating above your furniture.
Avoid hanging it off to one side unless you’re deliberately balancing it with another large element.
Shape glowing cherry blossom branches
Standard string lights are a dorm room staple, but a light-up branch fixture turns basic illumination into actual wall art.
Mount a sprawling, lit cherry blossom branch directly above your desk or bed to function as a dramatic sculptural focal point. The soft pink glow creates instant mood lighting for late-night studying or relaxing.
Let the organic shape of the branches contrast against harsh right angles in the room to soften the overall space and make it feel more cozy.
Use a narrow picture ledge for small favorites
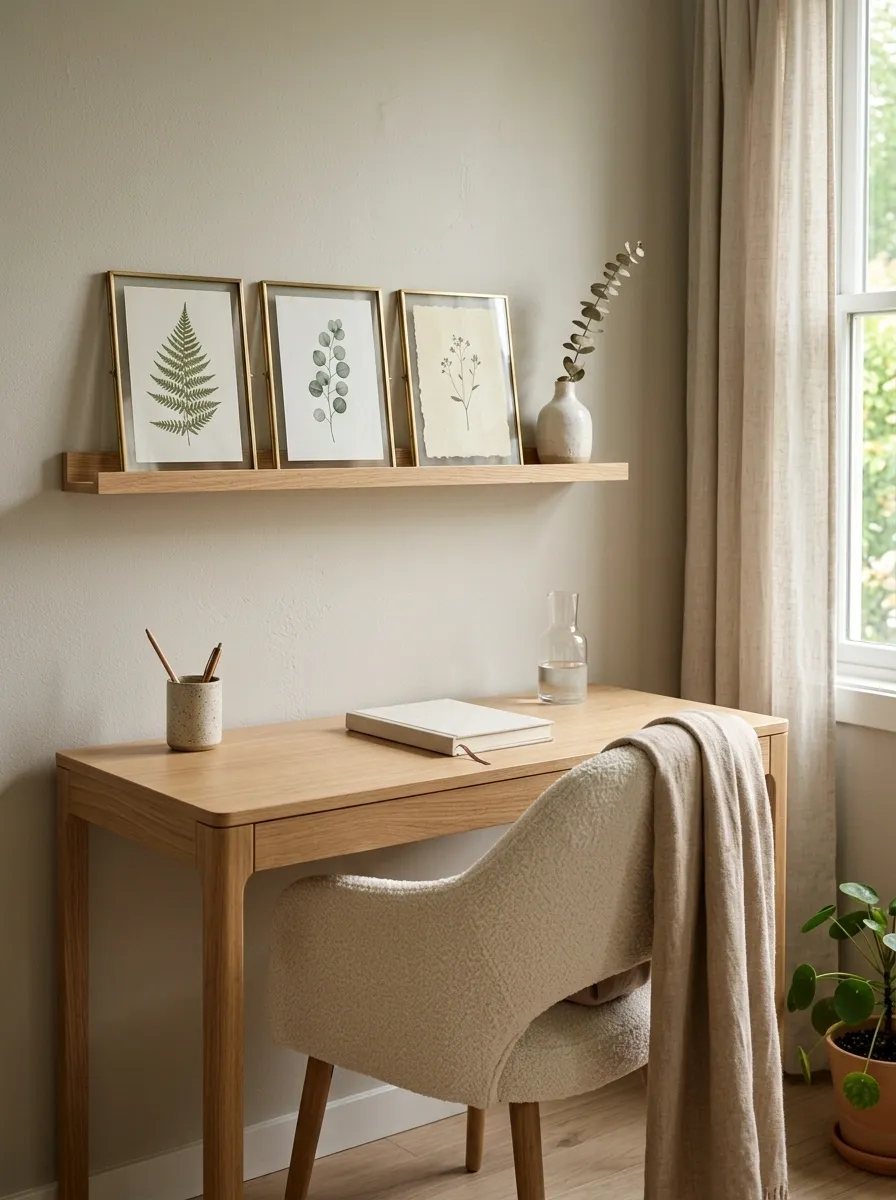
Not every blank wall needs a full gallery.
A slim picture ledge lets you display a few favorite prints, a tiny framed photo, and one small object without covering the entire wall. That’s especially useful above a desk or beside the bed where a huge display would feel heavy.
Keep it edited. Three or four pieces will look intentional. Ten pieces will turn the ledge into another storage shelf.
The best spot is usually slightly below eye level, where you can see the objects naturally while sitting at your desk or bed.
Best setup: one print, one photo, one personal object, then stop.
Combine photo walls with cascading vines
A standard photo collage can sometimes look flat, but layering greenery on top adds instant depth and texture.
Mix your favorite postcards, banners, and prints with hanging faux vines that drape naturally down the wall and frame your desk setup. The organic lines of the plants break up the rigid geometry of standard rectangular posters.
Keep your color palette unified by matching your hanging accessories to the tones of your desk setup for a cohesive, intentional look.
Create a color-block poster wall
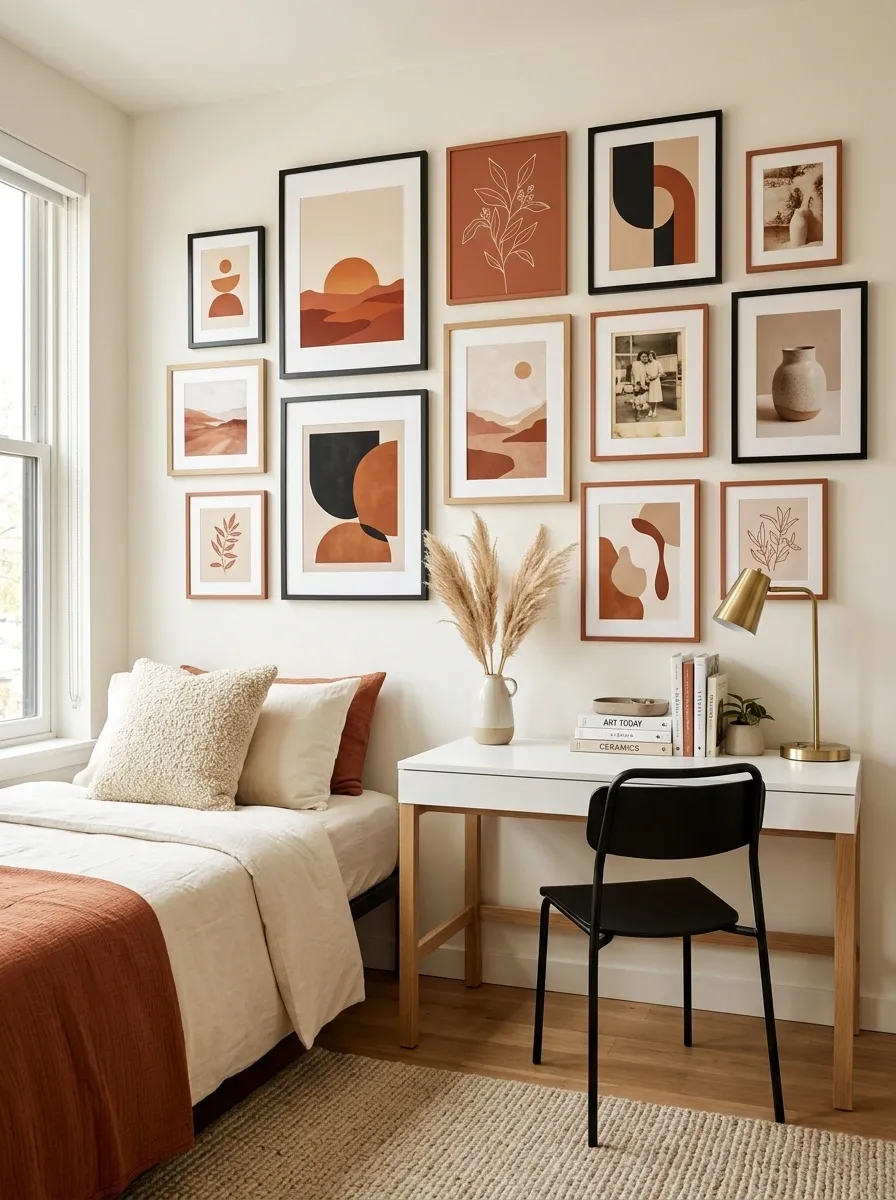
Your posters don’t need matching subjects. They need a visual connection.
Choose one dominant color family and repeat it across the wall. Your artwork can come from completely different sources, but the shared color keeps the arrangement from looking like a collection of unrelated purchases.
This works especially well when you already own posters that don’t match.
Build a botanical gallery wall
Gallery walls work best when they feature a mix of heights, textures, and framing styles that still feel connected.
Anchor your display with a sturdy floating shelf at the top to hold trailing plants and smaller framed prints, then build your botanical prints and nature photography outward beneath it. Let a few vines wander down the side of the frames to tie the whole arrangement together.
Stick to a cohesive color scheme of greens, earthy neutrals, and warm wood tones to keep a busy gallery wall from feeling chaotic.
Add one oversized art print instead of many tiny ones
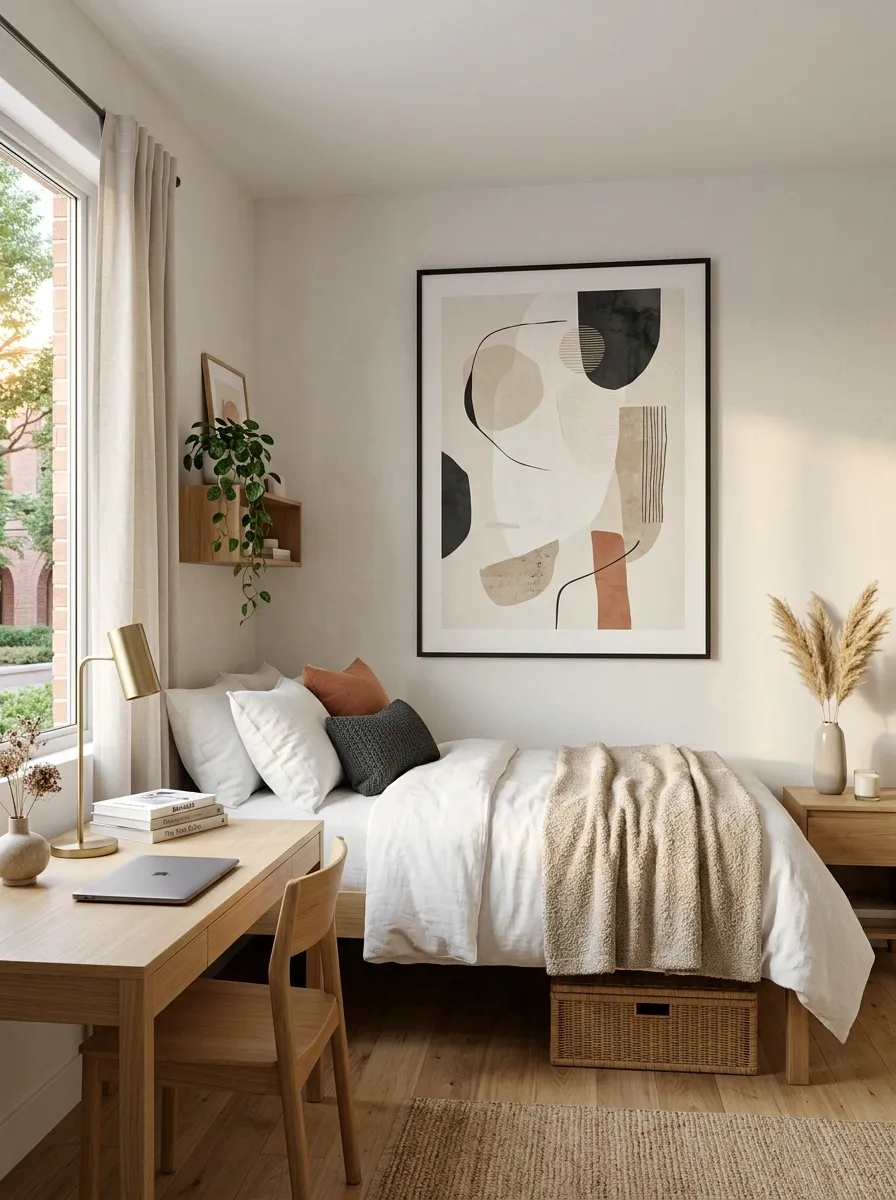
Small artwork disappears on a large dorm wall.
An oversized print fixes that problem immediately because it gives the wall one obvious focal point. You don’t need to build an entire gallery around it. Let the large piece carry the visual weight.
This works particularly well above the bed, behind a desk, or on the wall opposite the entrance where it gets seen first.
Think in proportions, not quantity. One substantial piece often looks more deliberate than six tiny prints scattered across the same area.
Design a positive affirmation wall
Your walls should lift you up, especially during stressful midterms, so surround yourself with words and images that inspire.
Cover a corner in a curated mix of pastel prints, motivational quotes, and aesthetic photography arranged in a clean, grid-like block. Frame the entire cluster with warm fairy lights to give the positive reminders an inviting glow.
Mix vertical and horizontal layouts to keep the grid dynamic, ensuring your eye moves naturally across the different messages.
Use removable wall molding to fake architectural detail
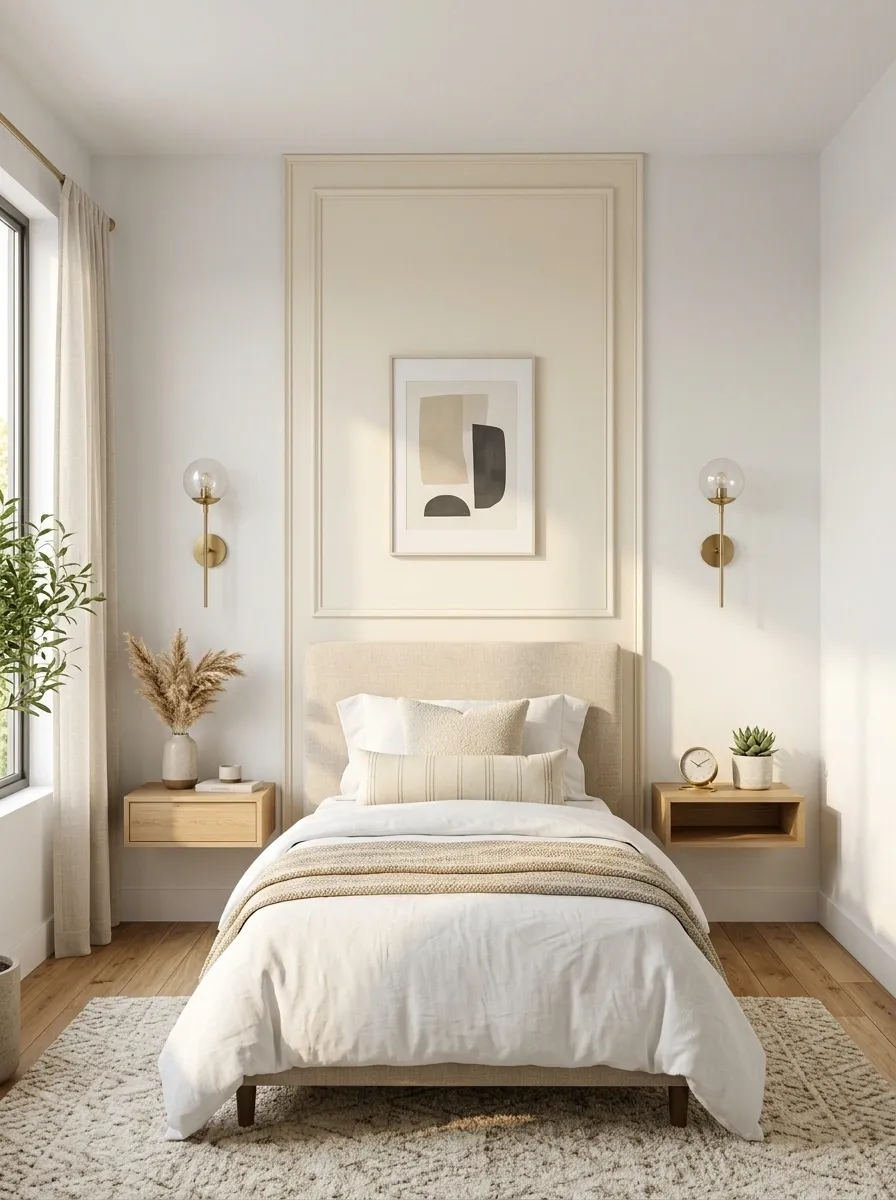
A plain dorm wall doesn’t have to stay visually flat.
Removable molding strips can create simple rectangles or framed panels without the commitment of permanent construction. The trick is restraint. One large panel behind the bed or two clean rectangles above the desk are enough.
Keep the lines straight and the shapes simple. Complicated patterns make a temporary wall treatment look more like a project than an intentional design feature.
Shape string lights into giant wings
Basic string lights get a major upgrade when you map them into a distinct, oversized silhouette on a corner wall.
Trace out the shape of butterfly wings using fairy lights and mirror the design across a room corner, anchoring your favorite framed botanical prints right in the center. The result is a whimsical statement piece that doubles as ambient lighting.
Keep the surrounding decor minimal so the light-up wings remain the undeniable star of the room.
Hang a small woven piece to soften a blank wall
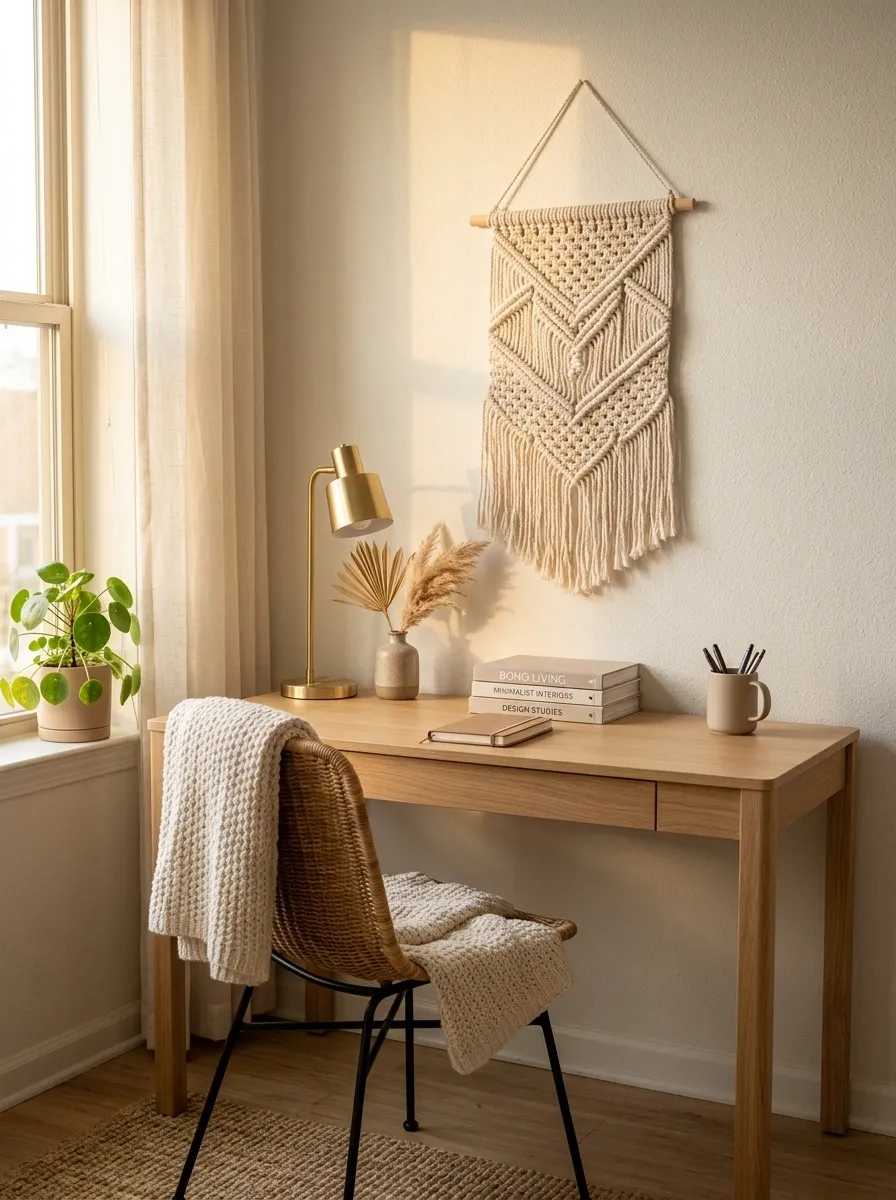
A wall can look visually harsh when every piece is flat paper or glass.
A woven hanging brings in texture without requiring a huge statement piece. Place one beside your desk, above a small reading chair, or on a narrow section of wall that feels too empty for a full gallery.
Go for one piece with an obvious texture rather than hanging several similar textiles together.
The goal is contrast: hard wall, soft material, then clean furniture underneath.
Build a study wall around a cork board
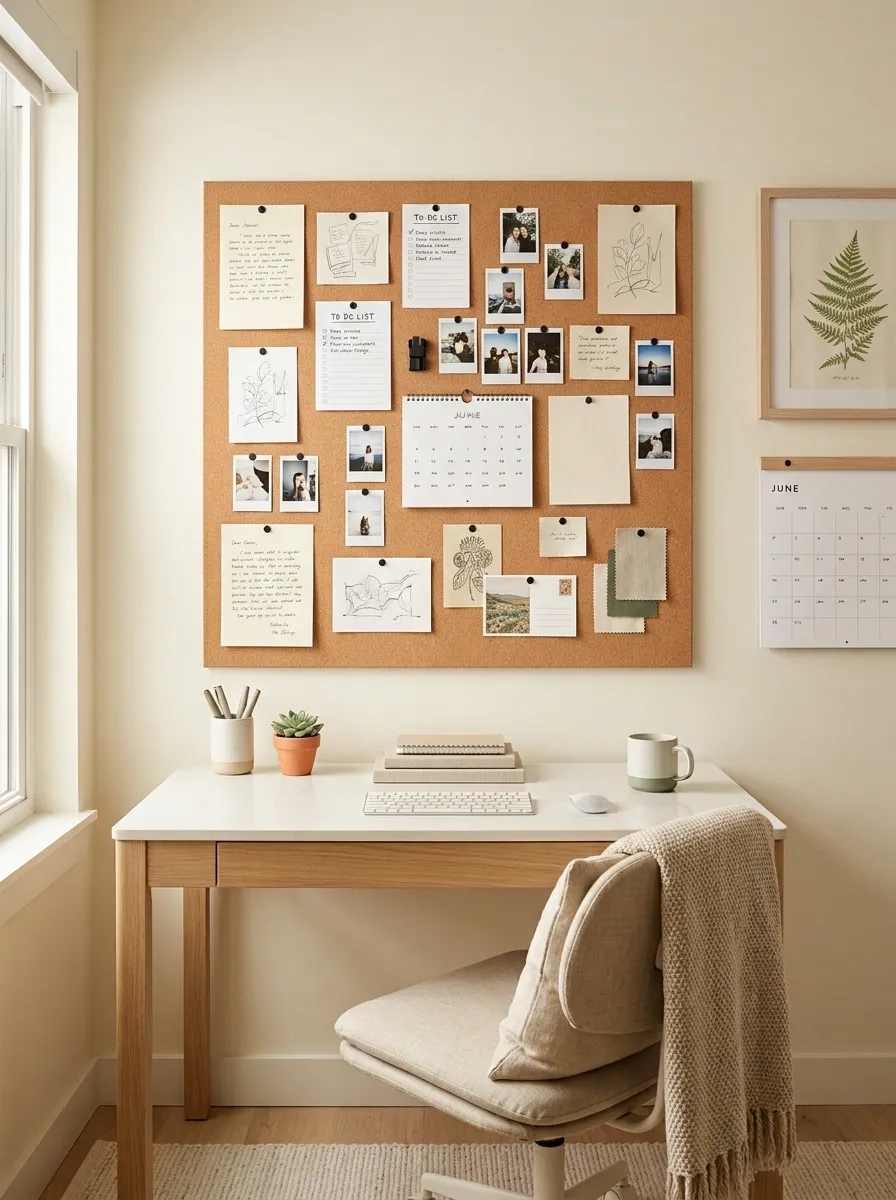
Your desk wall shouldn’t just look nice. It should earn its space.
Start with a cork board or pin board as the main piece, then give it a little breathing room with one print, a small calendar, or a short handwritten note beside it. Keep school papers inside the board instead of letting them spill onto the surrounding wall.
That gives your study area a visual center without making it feel like an office.
Keep the board focused on things you actually use. Old reminders and random scraps make the whole setup look messy fast.
Pin board
One print or note
Keep useful papers only
Stack three small prints vertically beside your desk
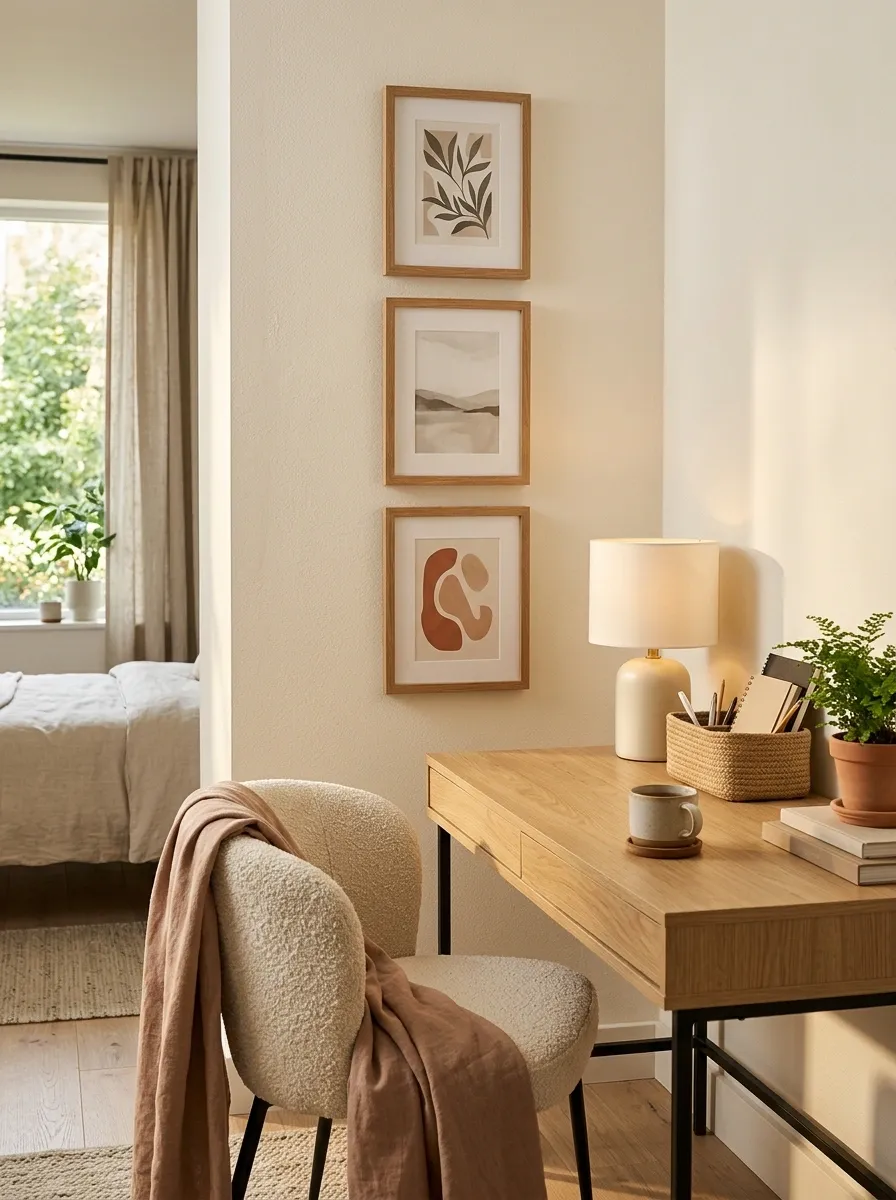
Horizontal rows aren’t the only way to arrange wall art.
A vertical stack works especially well beside a desk because it fills narrow wall space without competing with the furniture. Choose three prints that share one detail, such as a similar frame, color, or subject.
Hang the top print slightly above your normal seated eye line, then let the others follow beneath it.
The result feels taller and cleaner than trying to force a wide gallery into a skinny wall section.
Tiny rule: Narrow wall gets a vertical arrangement. Wide wall gets a horizontal one.
Use a statement mirror as the wall’s main piece
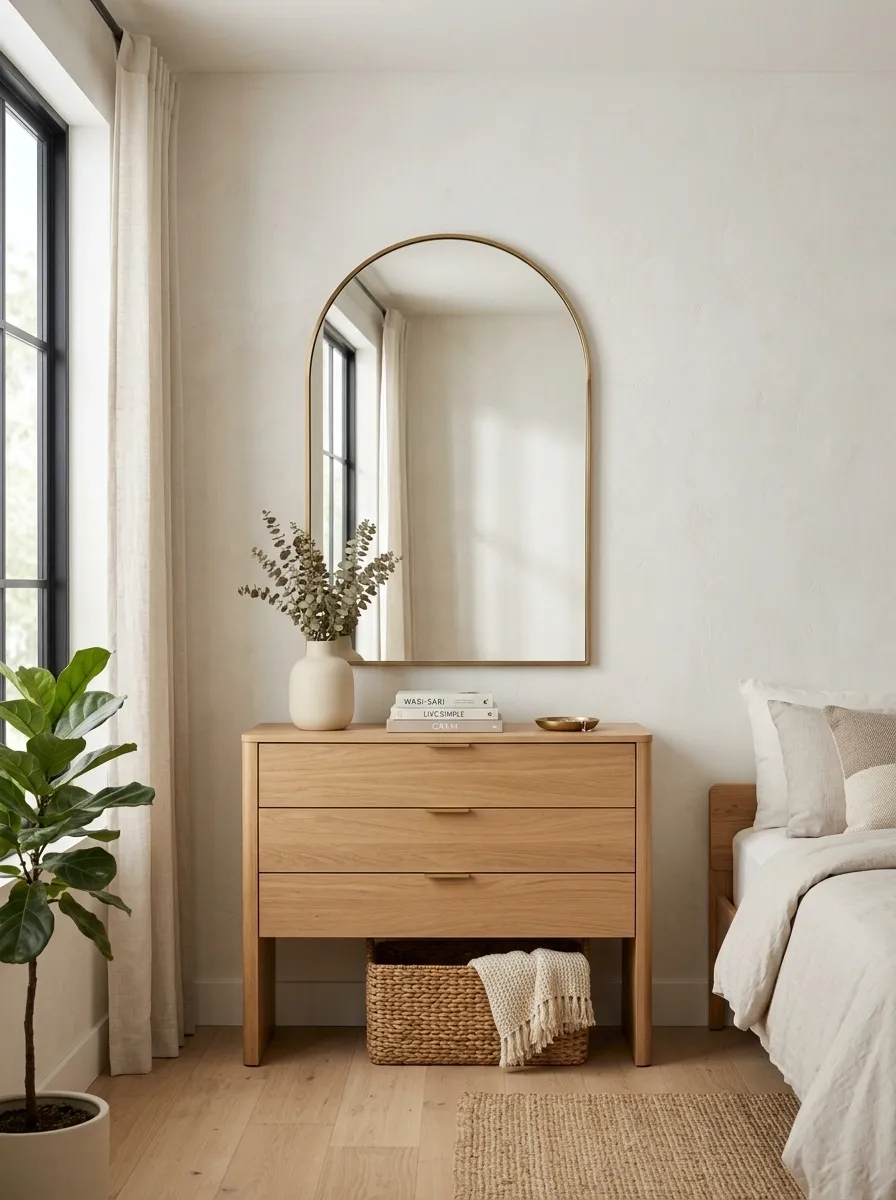
A mirror can solve two problems at once: a dull wall and a room that feels visually closed in.
Pick one mirror with a strong shape or frame and let it stand alone. Above a dresser or on a wall facing natural light, it can become the main feature without needing a pile of smaller decorations around it.
Don’t crowd the mirror with tiny prints. A statement mirror needs room around it to actually look like a statement.
Add pressed-flower art without making the room feel dated
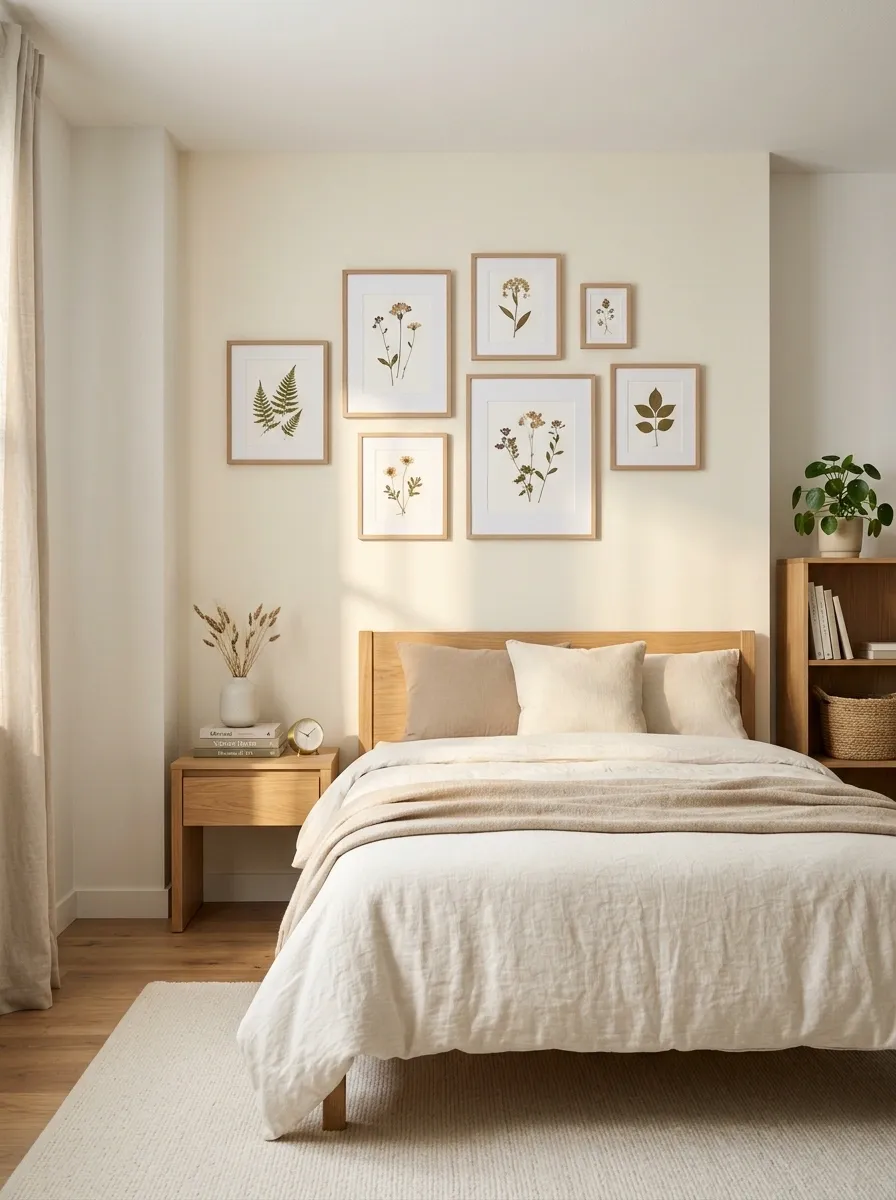
Pressed flowers can look surprisingly modern when you keep the presentation simple.
Skip the overly ornate frames and choose clean paper, thin frames, or a small set of botanical pieces with plenty of empty space around each stem. One or two pieces beside your bed can add detail without making the whole room feel like a craft project.
The best versions look almost accidental at first glance, but the spacing is deliberate.
Keep the flowers limited to one area so the wall still feels clean.
Style tip: Pair delicate botanical art with simple furniture and plain bedding. The contrast keeps it current.
Use removable decals to create a graphic border
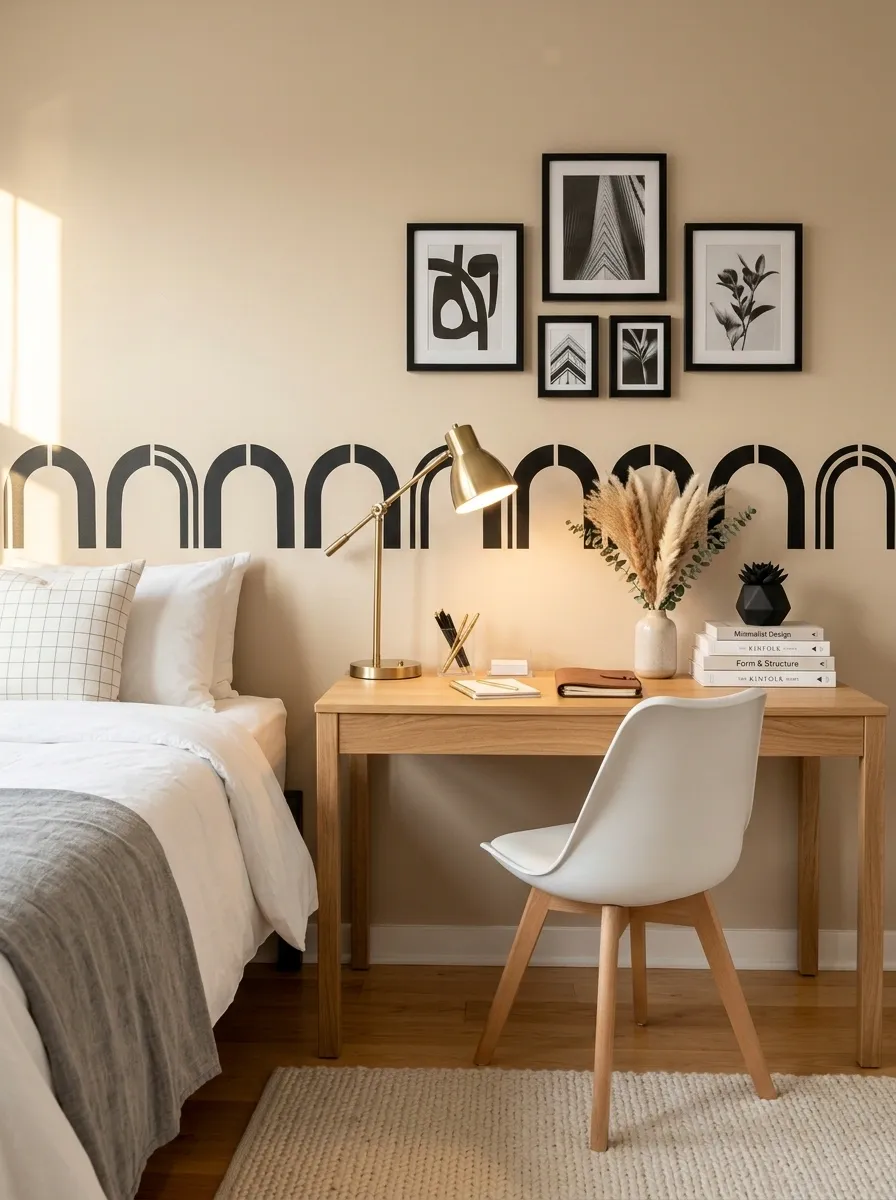
Decals can do more than add cute shapes to a dorm wall.
Use a simple repeating pattern along the edge of a desk wall, around a small photo display, or behind the bed. The border can visually define an area without needing shelves or permanent trim.
Choose one shape and repeat it. Arches, dots, leaves, stars, or simple lines all work better than combining several unrelated patterns.
· · ·
· · ·
Turn a blank corner into a vertical plant display
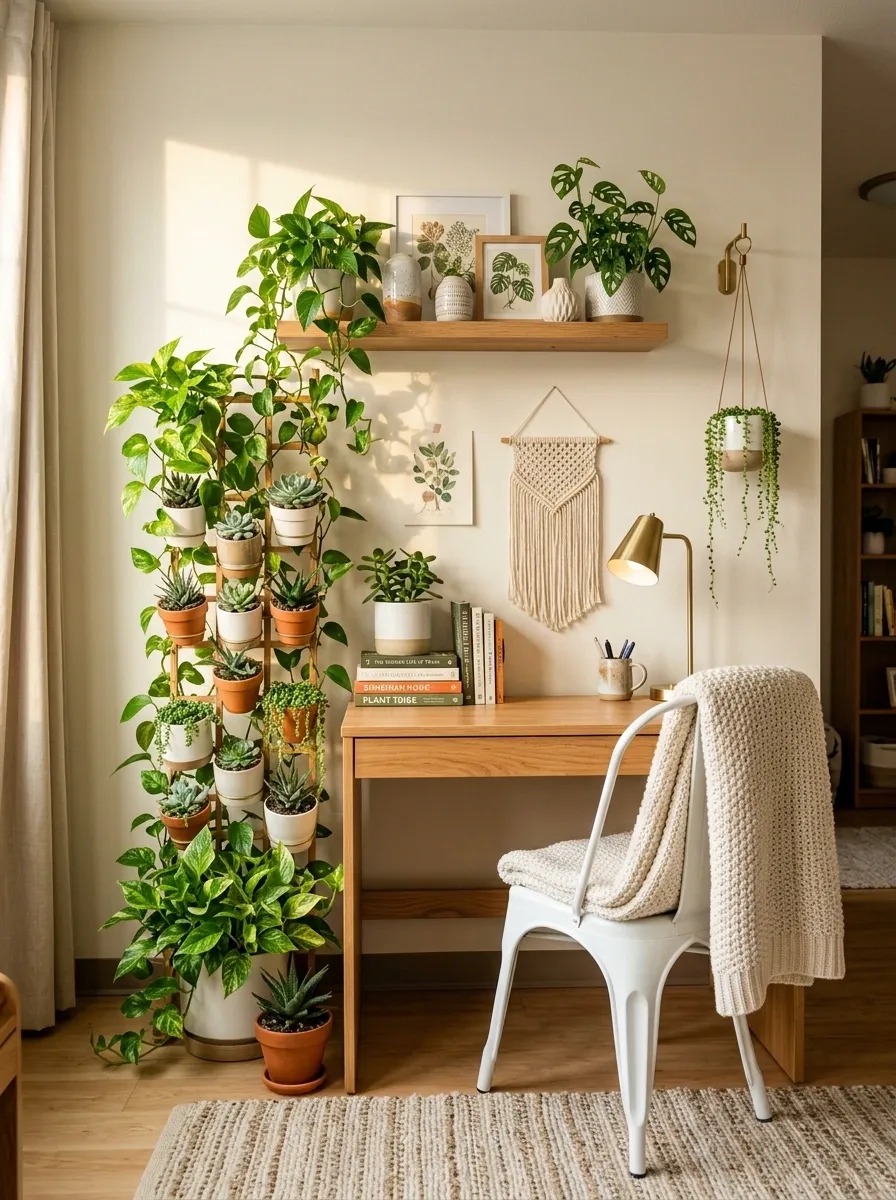
A dead corner doesn’t need another poster.
A few small plants can turn an otherwise forgotten wall into a vertical feature, especially when the arrangement rises from a desk, shelf, or narrow stand.
Use plants that suit the actual light in your room. Dorm corners can be darker than they look, and a struggling plant won’t make the wall feel better.
Start low and build upward. A small plant, wall hook, and one hanging planter can create enough height without making the corner crowded.
- Choose a corner with suitable light
- Start with one floor or desk plant
- Add one hanging planter
- Keep the wall behind them mostly clear
Layer art over a tapestry for more depth
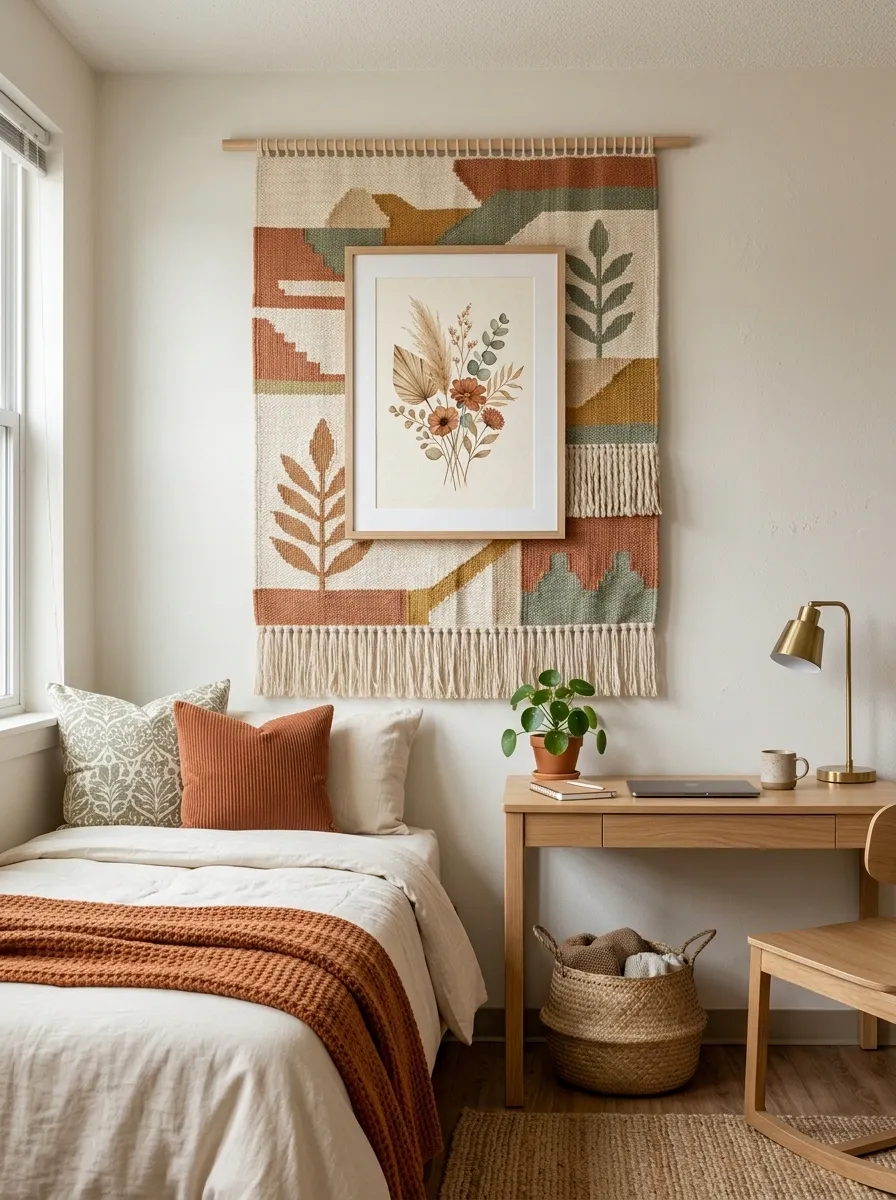
A tapestry doesn’t have to be the final layer.
Place a lightweight print, small framed photo, or simple piece of artwork over part of the textile to break up the large fabric surface. The wall instantly gets more depth because you have something in the foreground and something behind it.
Keep the overlay smaller than the tapestry. The textile should still be visible around it.
This works best when the two pieces share at least one color, so they feel connected instead of stacked by accident.
Make your desk wall double as a planning station
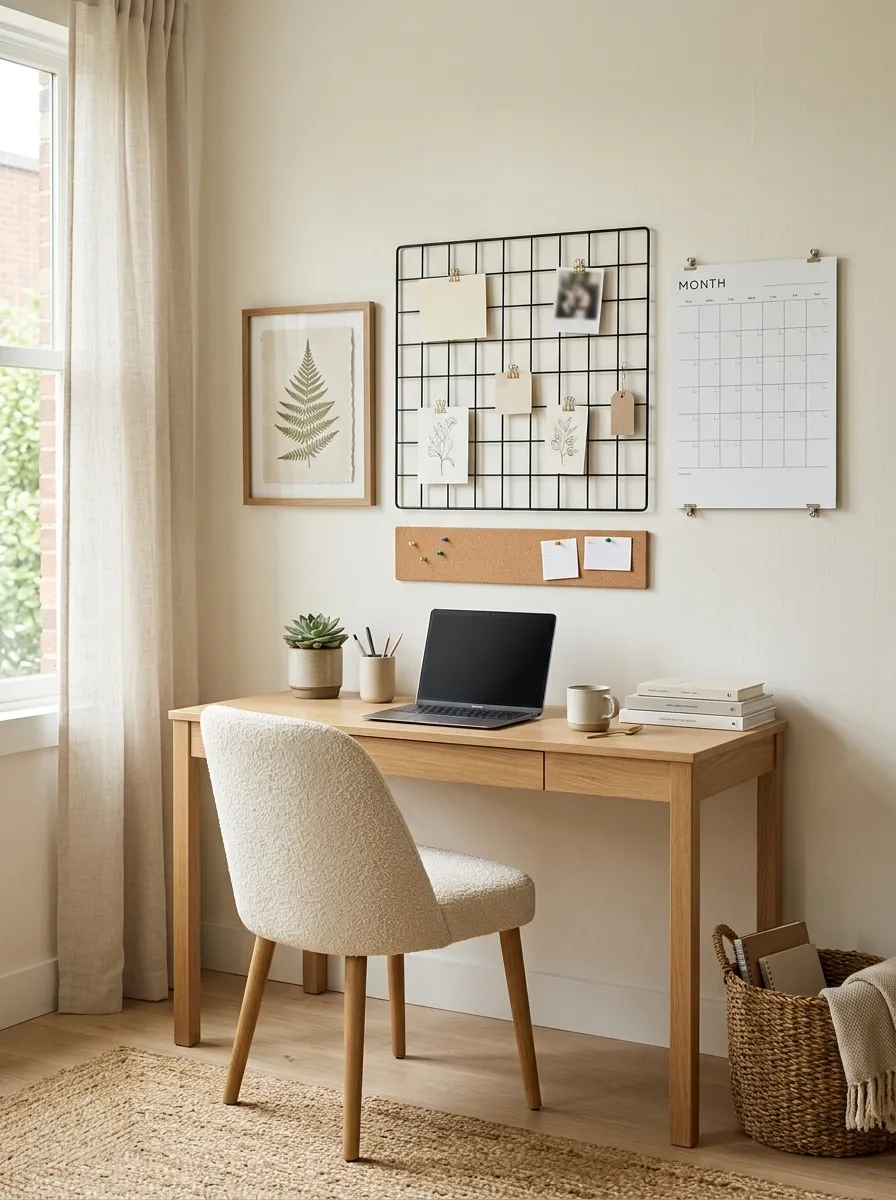
Your study wall can do more than hold decoration.
Combine a monthly calendar, small task board, cork strip, or magnetic board with one piece of art so the area feels practical without looking sterile. Keep the useful information in one defined zone instead of sticking reminders across the entire wall.
Leave the outer edges clear. That small amount of empty space is what keeps the wall from becoming visual noise.
Finish with one personal statement piece
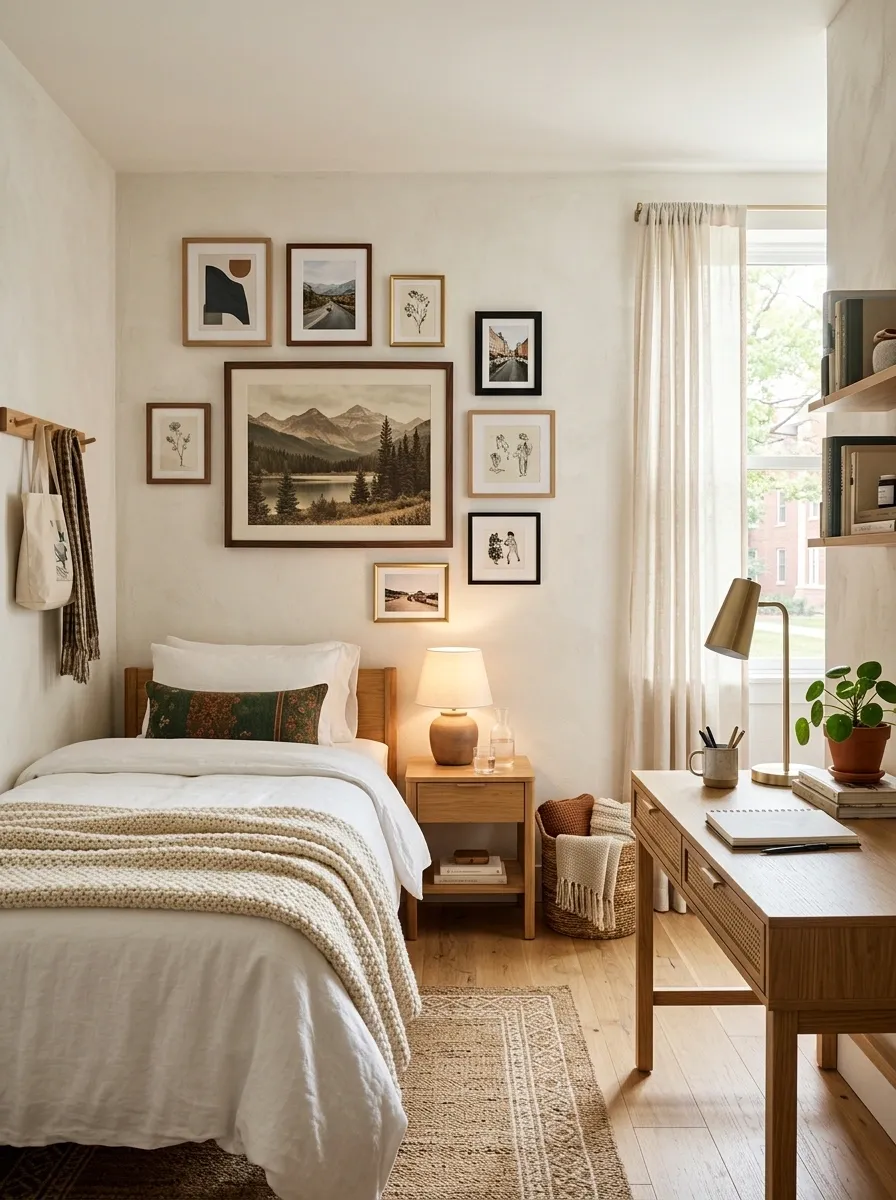
The strongest dorm walls usually have one thing that feels unmistakably personal.
It could be a large photograph, an unusual vintage print, a piece from home, a framed jersey, a handmade artwork, or something you’ve collected for years. It doesn’t need to match everything else perfectly.
In fact, it shouldn’t.
Use the other decor to support that one piece rather than competing with it. Once the wall has its main character, the smaller pieces become accents instead of a pile of unrelated objects.
That’s the difference between a decorated dorm and a room that actually feels like yours.
Final styling rule: Choose the one piece you’d save first if you had to move tomorrow. Build around that.
Final Thoughts
A good dorm wall doesn’t need dozens of purchases. It needs a clear focal point, a little restraint, and a few things that actually mean something to you.
Start with the wall that’s bothering you most. Decide what job it needs to do, then choose one strong piece before adding anything smaller. That single decision will keep the rest of the decor from becoming clutter.
And don’t worry about making the whole room look finished in one afternoon. The best personal walls usually grow over time.
Save this list for your next dorm decorating session so you can come back to the ideas when that blank wall starts asking for attention.