
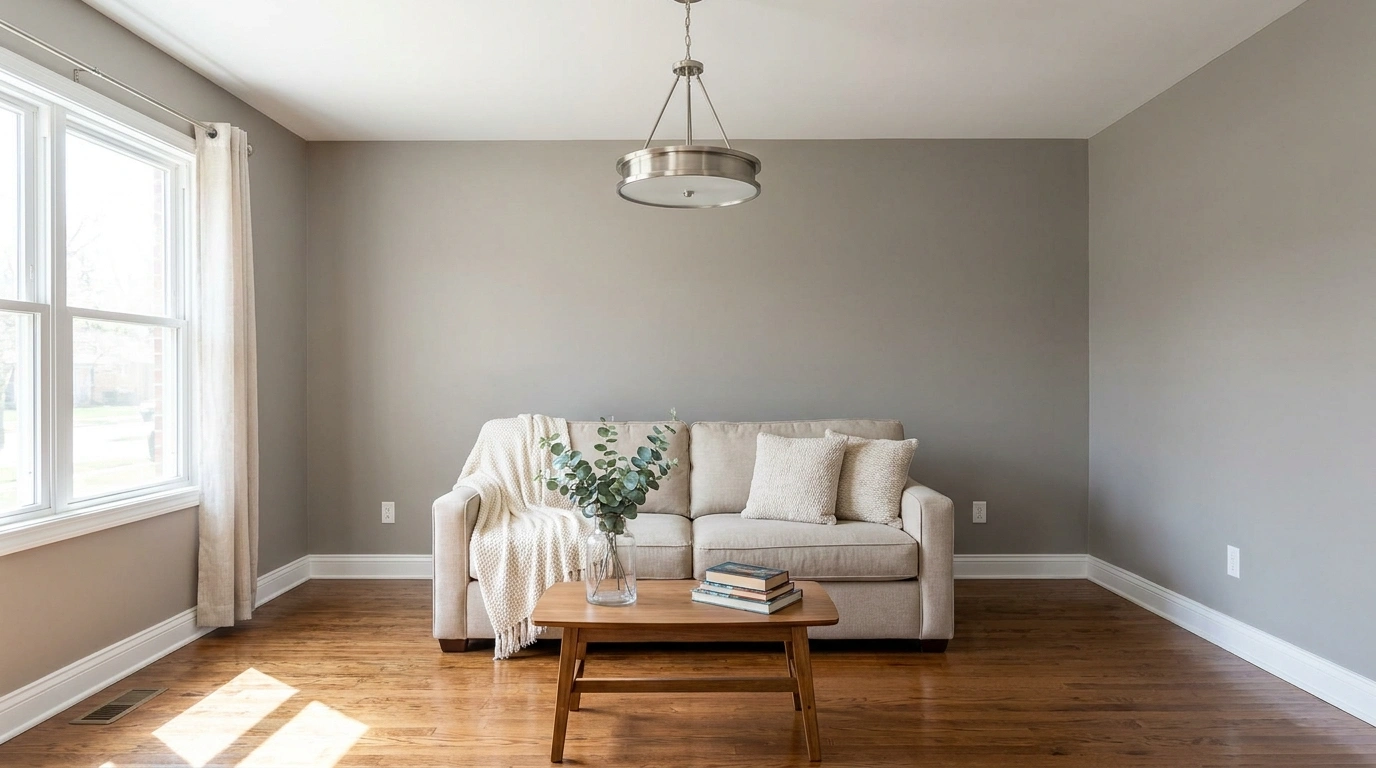
Selling a house is expensive enough without throwing money at renovations buyers never asked for. A brand-new backsplash looks lovely, but it’s not doing much for a kitchen with greasy cabinets, broken handles, and countertops buried under everyday clutter.
The improvements worth tackling first are usually the unglamorous ones. Fresh paint where it’s needed, clean floors, working fixtures, tidy landscaping, and rooms that feel easy to move through can make a home look far better cared for.
And please, don’t spend your entire budget copying a luxury listing when the bathroom sealant is peeling and the front door looks exhausted. That’s interior design playing defense while the actual problems remain undefeated.
The goal isn’t to make the house look like nobody lives there. It’s to help buyers see what already works, notice fewer distractions, and imagine themselves living there without mentally adding a repair bill to every room.
The Buyer’s Silent Roast
Buyers are quietly roasting the house. Don’t give them material.
Nobody needs to say it out loud. The peeling trim, suspicious smell, and bathroom faucet doing a drum solo are already telling a story. Make sure it’s the right one.
THE FRONT DOOR
A scuffed entrance can make the whole house look neglected before the tour even starts.
THE DRIP. DRIP. DRIP.
Loose handles and leaking faucets turn tiny repairs into questions about upkeep.
THE DARK HALLWAY
Dim bulbs and blocked windows can make a decent room feel smaller and less inviting.
THE MYSTERY SMELL
Heavy fragrance won’t solve an odor problem. Clean soft furnishings and find the actual source.
What Buyers Notice Before They Make an Offer
A Clean, Maintained Home Beats Expensive Finishes
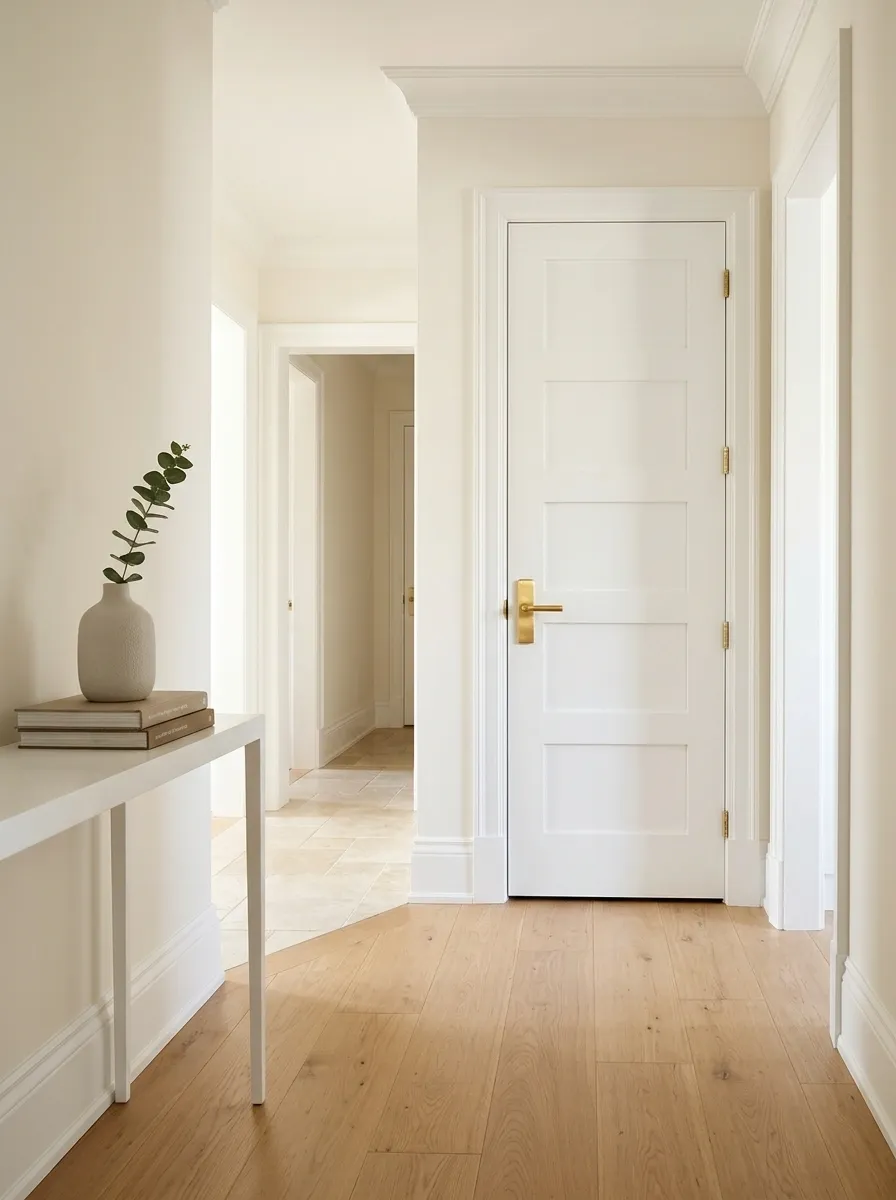
Buyers don’t need to find a major defect to start feeling uneasy. A loose door handle, stained grout, and chipped trim can make a well-built home seem poorly maintained.
Suddenly, every small flaw becomes a potential repair bill in their heads.
Start with the details people touch and see up close. Tighten handles, replace broken fittings, clean grimy corners, and repair obvious damage.
The rule: Fix the things that make buyers wonder what else has been ignored.
Listing Photos Have No Mercy
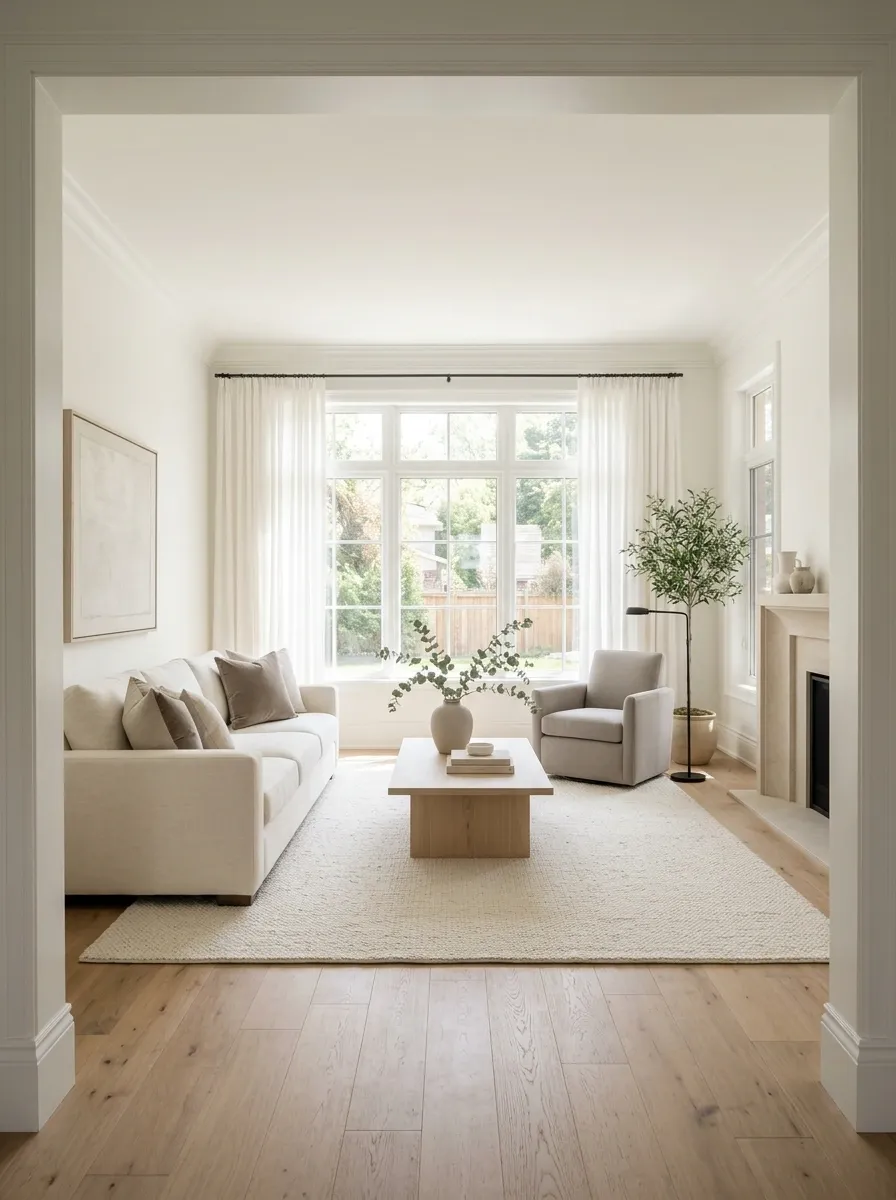
Your home can feel lovely in person and still look dark, cramped, or cluttered in photographs. Harsh shadows, crowded counters, and furniture blocking windows don’t exactly help the marketing department.
Before photography, clear the main surfaces, open curtains, switch on appropriate lights, and move anything that interrupts the room’s natural flow.
Pay special attention to the entrance, kitchen, living room, and main bathroom. Those spaces deserve to look clean and usable, not like they’re auditioning for a clutter documentary.
Quick test: Take a photo from the doorway of each main room. The problems often become obvious on screen.
Expensive Upgrades Aren’t Automatically Smart Upgrades
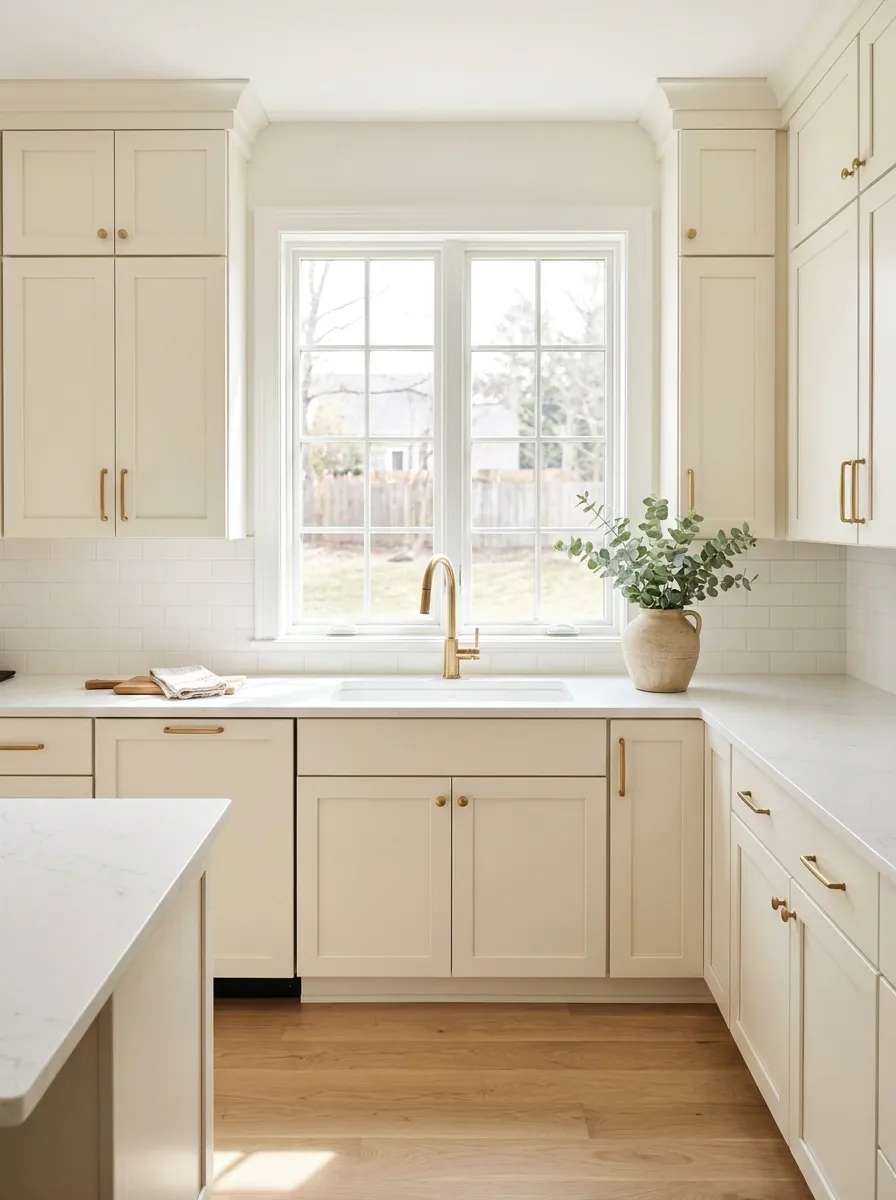
A major renovation can eat into your selling budget without making the property more appealing to every buyer. Replacing a functional kitchen simply because its cabinets aren’t trendy is a risky way to spend money before a sale.
| Instead of spending on | Start with |
|---|---|
| A full kitchen remodel | Clean counters and updated hardware |
| A complete bathroom makeover | Fresh caulk and spotless fixtures |
| New flooring throughout | Repairing or professionally cleaning existing floors |
| Elaborate landscaping | Neat edges, trimmed plants, and a clear entrance |
The exception is a genuine defect, safety concern, or issue your local market expects to be addressed. Fix those based on their urgency, not on whether they look good in a Pinterest photo.
Home Improvements That Help Your House Sell Faster
Refresh the Front Door Before Spending Money on the Foyer
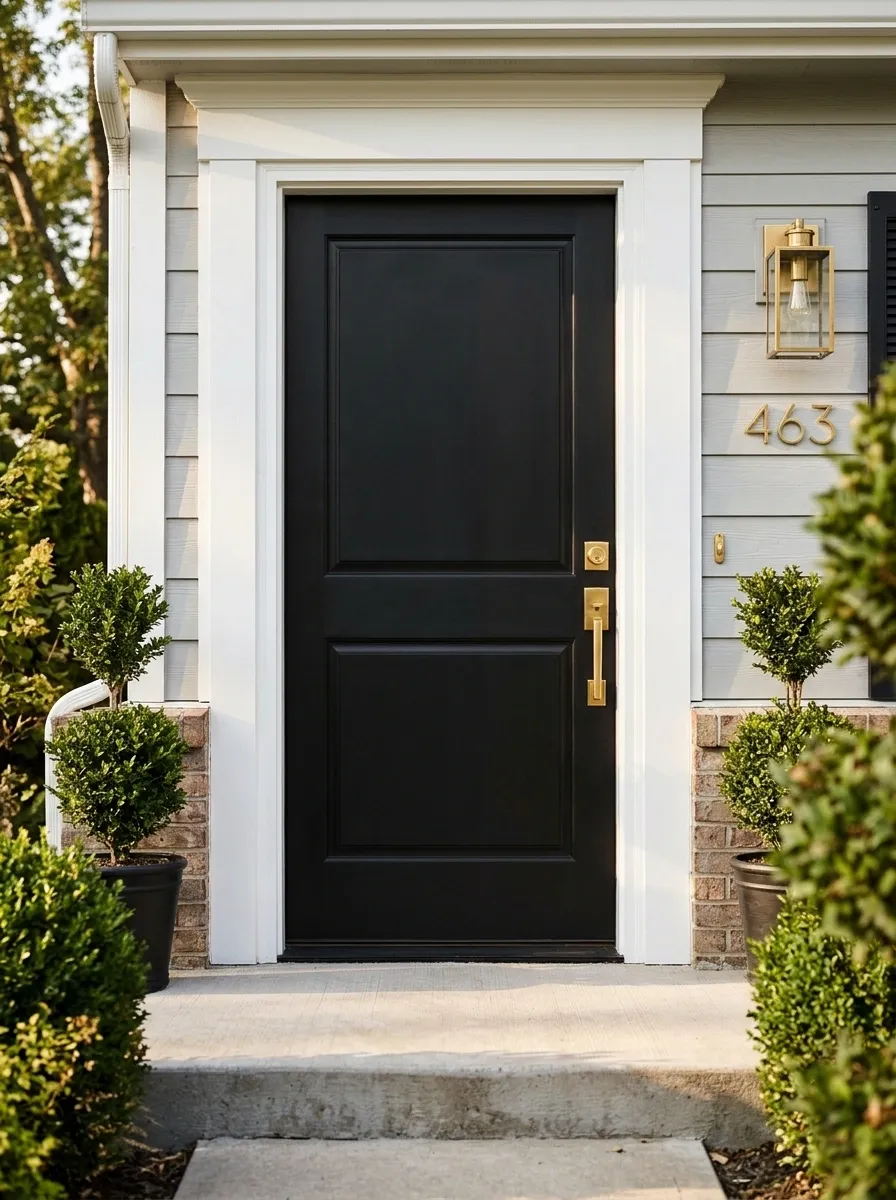
Your front door sets the tone before buyers see the kitchen. Peeling paint, rusty hardware, and a dirty threshold can make the whole entrance feel neglected.
The front door doesn’t need a luxury makeover. It needs to look clean, solid, and easy to maintain.
Start with these fixes:
- Wash the door and frame thoroughly.
- Tighten loose handles and hinges.
- Touch up chipped paint or repaint if the finish is badly worn.
- Remove cobwebs and clean the glass, if there is any.
Don’t buy a decorative wreath the size of a small car to distract from broken hardware. Fix the hardware.
CURB APPEAL CHECK
A better entrance, minus the renovation bill
Clean first
Remove dirt, fingerprints, cobwebs, and marks around the handle.
Repair next
Secure loose hardware, fix sticking hinges, and address peeling trim.
Refresh last
Touch up or repaint the door if its finish still looks tired after cleaning.
The final test: Stand at the pavement and look at the entrance as a stranger would. Anything visibly broken gets fixed before anything decorative gets bought.
Repair Small Exterior Problems Before Listing Photos

The outside of the house is already making an introduction. Cracked trim, a loose mailbox, and torn window screens can make a property appear less cared for than it really is.
Walk around the house slowly and look at it from the street, not just from the front step.
Check these easy-to-miss details:
- Peeling paint around windows and doors.
- Loose house numbers or mailbox fittings.
- Torn screens and damaged exterior light covers.
- Loose paving stones or trip hazards along the entrance.
One important distinction: Fix genuine damage rather than hiding it with cosmetic cover-ups. Buyers don’t need another reason to scrutinize the property.
The outside walkaround checklist
Check every item before the photographer arrives.
Walls and windows
□ Exterior trim is secure
□ Screens are intact
□ Visible paint damage is addressed
Entrance and pathway
□ House numbers are readable
□ Mailbox fittings are secure
□ Walking surfaces are clear and safe
Skip the cover-up: Safety issues and damaged materials deserve proper repairs, not a quick cosmetic disguise.
Tidy the Yard Without Starting a Landscaping Project

An overgrown yard makes buyers work harder to see the property. That’s the opposite of what a seller needs.
Neat edges, trimmed shrubs, and a clear path to the front door help the house feel looked after without requiring a garden makeover worthy of a royal estate.
Focus on three zones:
- The lawn: Mow it and remove visible debris.
- The planting beds: Pull weeds, trim unruly growth, and clear dead leaves.
- The entrance path: Sweep it and move pots or tools that block the way.
Keep healthy plants. Remove the mess. Buying expensive landscaping right before selling isn’t automatically a smart investment.
THE THREE ZONE YARD RESET
Neat beats expensive.
Zone 1: The lawn
Mow, rake, and remove fallen branches. Keep the edges clean around walks and planting beds.
Visual payoff: neatZone 2: Planting beds
Remove weeds, tidy mulch, and prune overgrown branches without damaging healthy plants.
Visual payoff: cared forZone 3: The approach
Clear the path, sweep the steps, and move hoses, bins, and stray garden tools out of sight.
Visual payoff: welcomingBudget rule: Use what the yard already has before shopping for new plants and ornaments. A tidy garden doesn’t need a shopping addiction.
Fix Dark Rooms Before Blaming Their Size
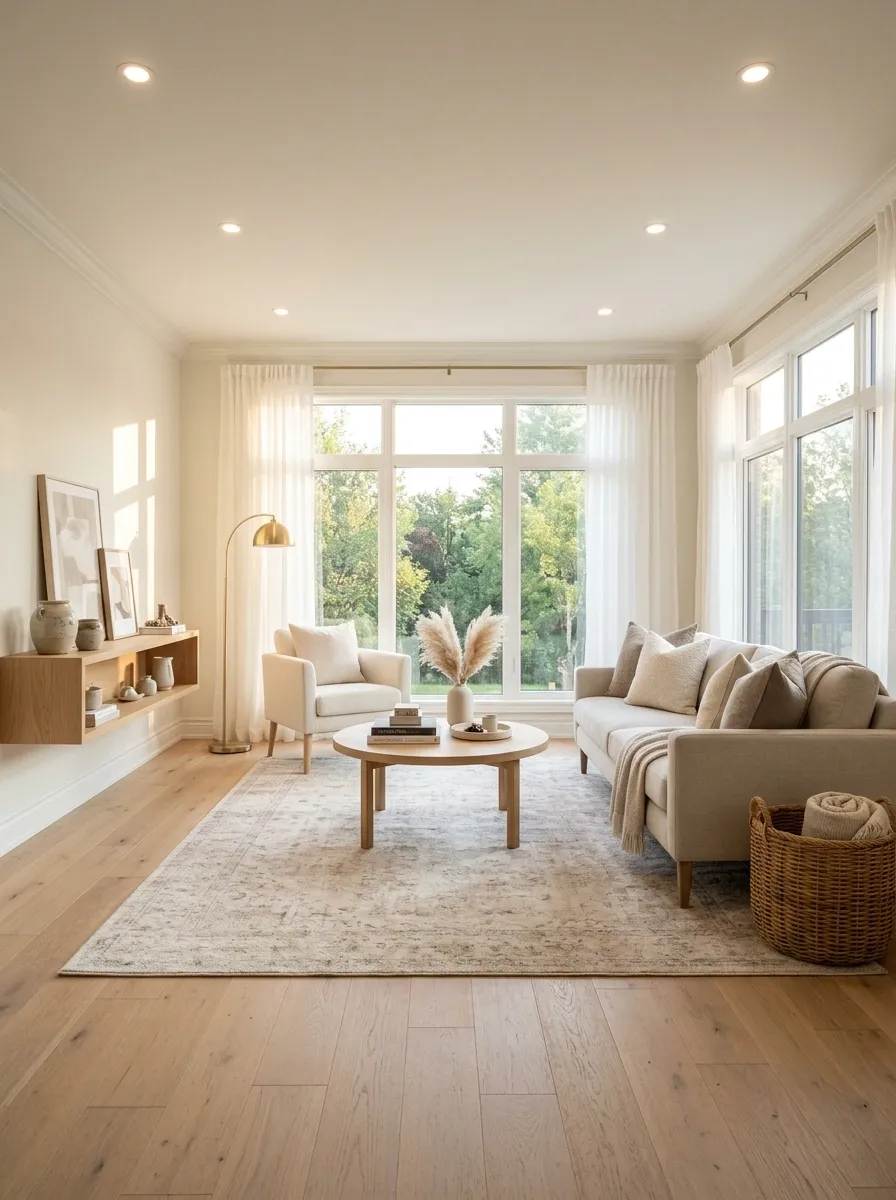
A dim room often feels smaller than it is. Dead bulbs, heavy curtains, and furniture blocking windows can leave buyers wondering why a perfectly usable space feels gloomy.
Start by replacing burned-out bulbs and cleaning dusty light fittings. Open curtains and blinds for listing photos and showings, then check whether lamps can brighten darker corners.
Keep the light color consistent within each room so the space doesn’t look like three different lighting experiments happened at once.
Quick check: Visit each main room after switching on every working light. If a corner still looks gloomy, remove the obstruction before adding another lamp.
Room by room lighting check
Check function and natural light before buying new fixtures.
| Area | Check this | Avoid this |
|---|---|---|
| Living room | Open curtains and clear window areas. | Bulky furniture blocking daylight. |
| Hallway | Replace dead bulbs and clean fittings. | Dark patches caused by failed bulbs. |
| Bedroom | Check overhead lighting and bedside lamps. | Harsh mixed light colors. |
| Kitchen | Brighten work surfaces and clean light covers. | Shadows across the counters. |
Safety note: Have faulty wiring or damaged electrical fittings checked by a qualified professional. Better lighting isn’t worth a DIY electrical disaster.
Touch Up Scuffed Walls Instead of Repainting Everything
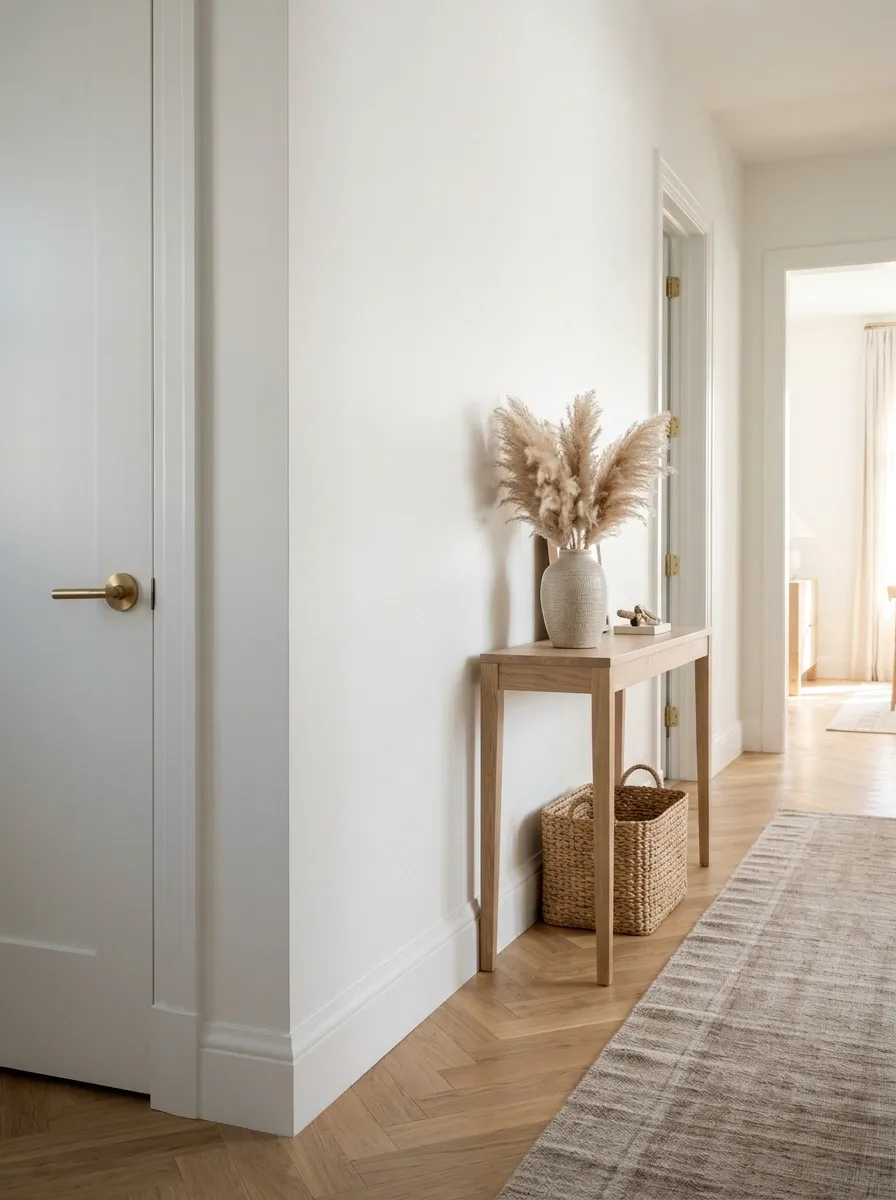
Walls collect evidence of everyday life. Hallway scuffs, marks around light switches, and chipped paint near doorframes can make rooms look tired even when the rest of the home is in good shape.
Start by cleaning washable marks with a method suited to the paint finish. Test in a hidden spot first.
For chips and deeper damage, patch the surface and use matching paint. If the color has faded or the marks are widespread, repainting the whole wall will usually look more consistent than scattering obvious touch-up patches around it.
Don’t turn a small paint job into a full house makeover unless the condition actually calls for one.
PAINT REPAIR DECISION CARD
Clean it, patch it, or repaint it?
Clean
Use this for light surface marks, fingerprints, and ordinary dirt that comes off safely.
BEST FOR: MINOR MARKS
Patch and touch up
Repair isolated chips or small holes, then match the existing color and finish.
BEST FOR: LOCAL DAMAGE
Repaint the wall
Choose this when marks are widespread, the finish is uneven, or touch-ups stand out.
BEST FOR: WIDESPREAD WEAR
Small but important: Water stains, bubbling paint, or recurring discoloration can signal moisture problems. Investigate the cause before painting over it. Fresh paint isn’t a substitute for fixing damage.
Deep-Clean Floors, Baseboards, and the Corners Everyone Notices
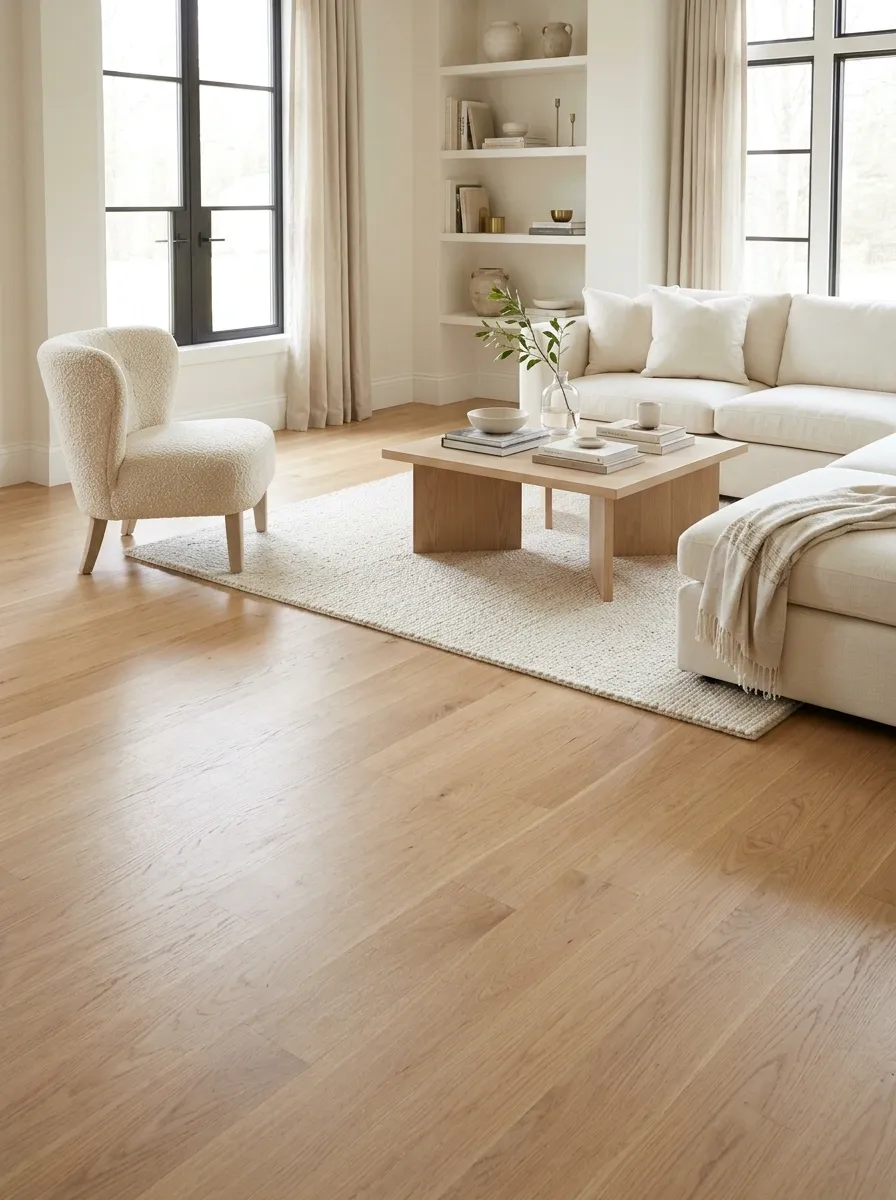
A clean floor can make an entire room feel better maintained. Dusty baseboards, greasy marks near doorways, and grime around toilet bases send the wrong message, even when the big surfaces look spotless.
Start with the areas that collect visible dirt but rarely get attention. Move lightweight furniture, vacuum along room edges, wipe baseboards, and clean the floor using a method suited to its material.
Prioritize these spots:
- Corners behind doors and beside furniture.
- Baseboards along hallways and living areas.
- Floor edges around kitchen cabinets.
- Bathroom corners and the areas around fixtures.
The snarky truth: A spotless countertop won’t save a floor that looks like it lost a fight with a muddy shoe.
THE OVERLOOKED CLEANING LIST
Clean the edges, not just the middle.
Living areas
□ Vacuum beneath movable furniture
□ Wipe dusty baseboards
□ Remove marks near doorways
Kitchen and bathroom
□ Clean cabinet toe-kicks
□ Scrub floor edges carefully
□ Clean around fixture bases
Update Old Cabinet Hardware for a Cleaner Kitchen
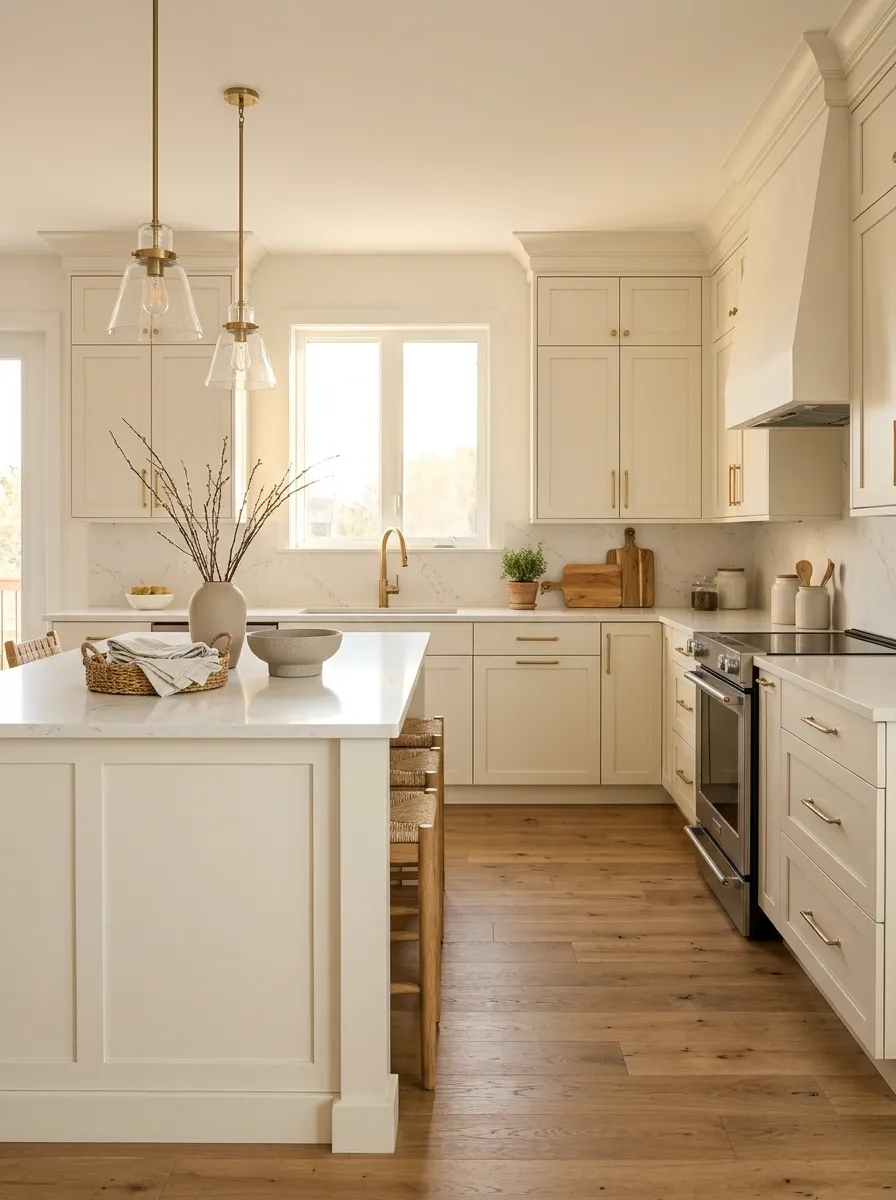
Old cabinet handles can make an otherwise decent kitchen look dated. Replacing them is a small update that doesn’t require tearing out perfectly functional cabinets or pretending a renovation budget grows on trees.
Choose hardware that suits the cabinet style and has the same hole spacing as the existing fittings. That simple detail can save you from drilling new holes, filling old ones, and creating an unnecessary mini construction project.
Before buying anything, check the finish across all cabinets and drawers. A consistent set of handles looks intentional. A random collection of finishes looks like the hardware aisle had a clearance sale and nobody supervised.
THE CABINET HARDWARE EDIT
Small handles. Big visual difference.
Classic bar pulls
Suit many modern and transitional kitchens. Measure existing hole spacing before ordering.
BEST WHEN: HOLES ALREADY MATCHSimple round knobs
Work well on traditional doors and smaller drawers. Check that they feel comfortable to grip.
BEST WHEN: THE STYLE IS CLASSICMinimal straight pulls
Give plain cabinet fronts a streamlined look without changing their structure.
BEST WHEN: THE KITCHEN IS SIMPLEBefore ordering: Count every handle, measure the hole spacing, and select a finish that coordinates with the existing faucet and fixtures. The goal is a coordinated kitchen, not a hardware personality crisis.
Fix Dripping Faucets, Loose Handles, and Small Plumbing Issues
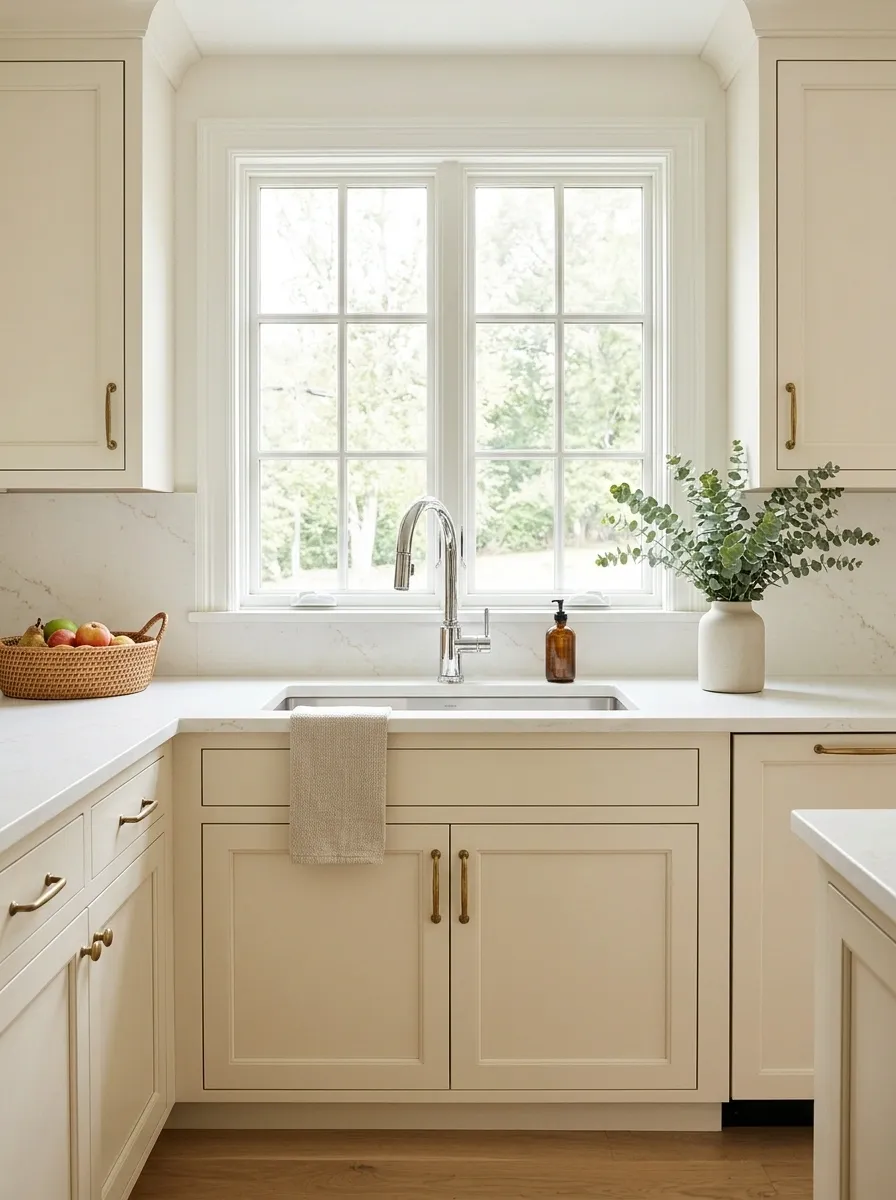
A dripping tap is annoying at breakfast. During a house viewing, it’s also a tiny reminder that something needs fixing.
Loose faucet handles, slow drains, and leaks beneath the sink can raise questions about maintenance that are easily avoided.
Check the kitchen and every bathroom. Tighten loose fittings where appropriate, clear ordinary drain buildup safely, and address persistent leaks instead of hiding them with towels or clever camera angles.
- Look inside vanity cabinets for dampness.
- Check faucet bases and visible pipe connections.
- Run taps and inspect drainage.
- Make sure toilets flush properly and refill normally.
Don’t ignore recurring moisture. A leak can damage cabinetry and flooring, so repair the source before treating the visible marks.
THE FIXTURE CHECK
No mystery puddles. No surprise sound effects.
At the sink
□ Run hot and cold water
□ Check for drips after shutting off
□ Look under the cabinet for moisture
At the toilet
□ Test the flush
□ Listen for continuous running water
□ Check the floor for dampness
Re-Caulk Bathrooms Where Grime and Gaps Show
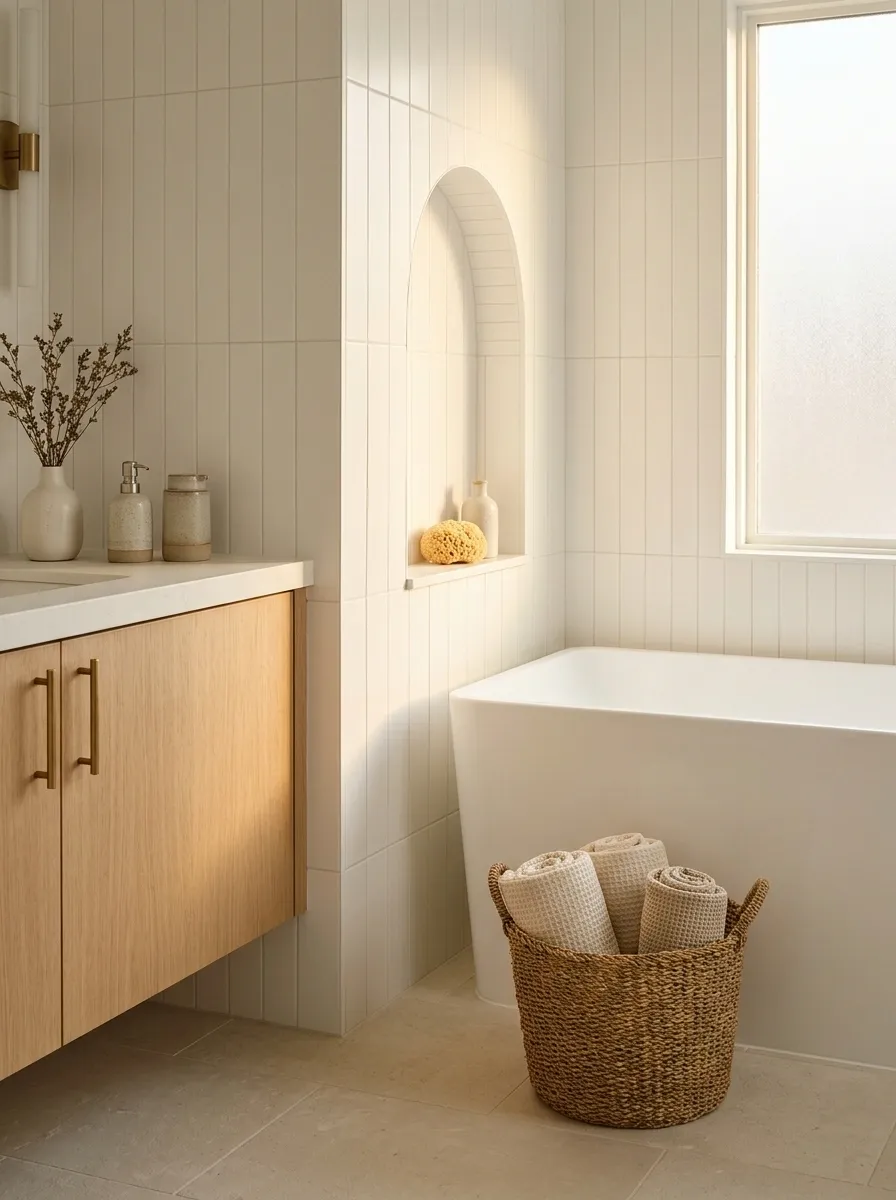
Clean, fresh-looking caulk around a bath or sink makes the bathroom feel maintained. Cracked, peeling, or visibly stained sealant does the opposite, especially when it collects grime along the edges.
First, determine whether the problem is ordinary surface dirt, failing caulk, or a moisture issue. Clean sound sealant with a suitable product.
If it has separated or deteriorated, remove it properly, prepare the surface, and apply the correct bathroom-grade sealant according to the product instructions.
Never seal over damp material or use new caulk to conceal a leak. Trapped moisture can turn a small repair into a much bigger problem.
BATHROOM DETAIL INSPECTION
Follow the edges.
Bath and shower
Inspect corners, wall joints, and the edge where the tub meets the wall.
Sink and backsplash
Check the sink perimeter and joints where water tends to collect.
The surrounding surface
Check for soft areas, loose tiles, stains, or persistent dampness around joints.
The practical rule: Sound but dirty caulk needs cleaning. Failed sealant needs proper replacement. Signs of water damage need investigation before cosmetic work begins.
Make Worn Flooring Look Its Best Before Replacing It
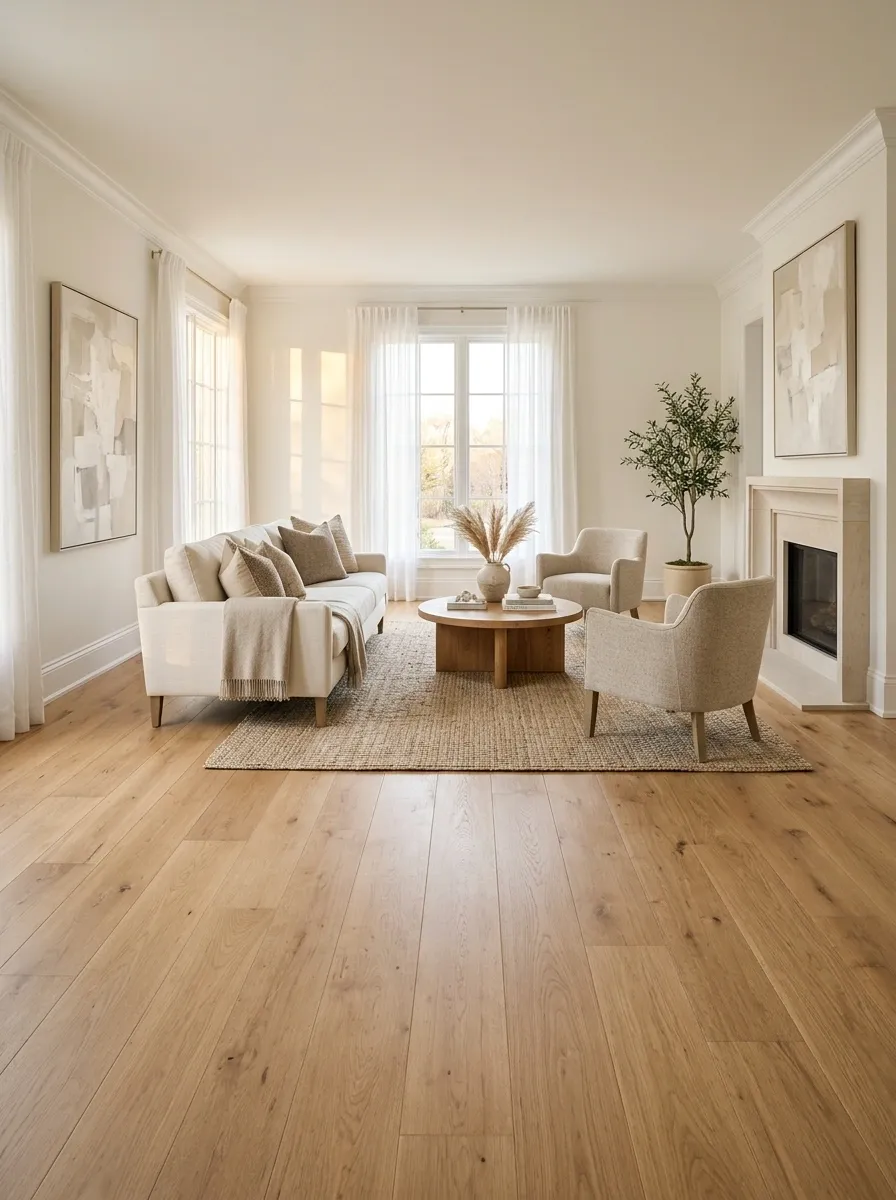
Replacing every floor before selling is an expensive reaction to a problem that may only need cleaning or repair. Scratched wood, dull tile, and tired-looking carpet aren’t all the same problem, so they shouldn’t all get the same solution.
Inspect the flooring throughout the home. Deep-clean suitable carpet, clean grout, and address small defects where repairs will look consistent.
If the floor is badly damaged, lifting, uneven, or affected by moisture, get the problem assessed before deciding whether replacement is necessary.
The goal is to present a clean, safe, well-maintained floor, not to spend money chasing whatever flooring trend social media declared essential this week.
FLOORING DECISION GUIDE
Repair, clean, or replace?
| What you see | First move | When to escalate |
|---|---|---|
| Dull tile or dirty grout | Clean with products safe for the surface. | Repair cracked tiles or damaged grout. |
| Light carpet staining | Use suitable spot treatment or professional cleaning. | Assess persistent odors or widespread damage. |
| Scratched wood finish | Clean carefully and assess the depth of the damage. | Get advice on refinishing or board repairs. |
| Soft, lifting, or uneven floor | Investigate the underlying cause. | Arrange professional assessment and necessary repairs. |
Budget rule: Don’t replace a floor simply because it’s not fashionable. Prioritize condition, safety, cleanliness, and what buyers in the local market expect.
Clear Kitchen Counters to Show Usable Workspace
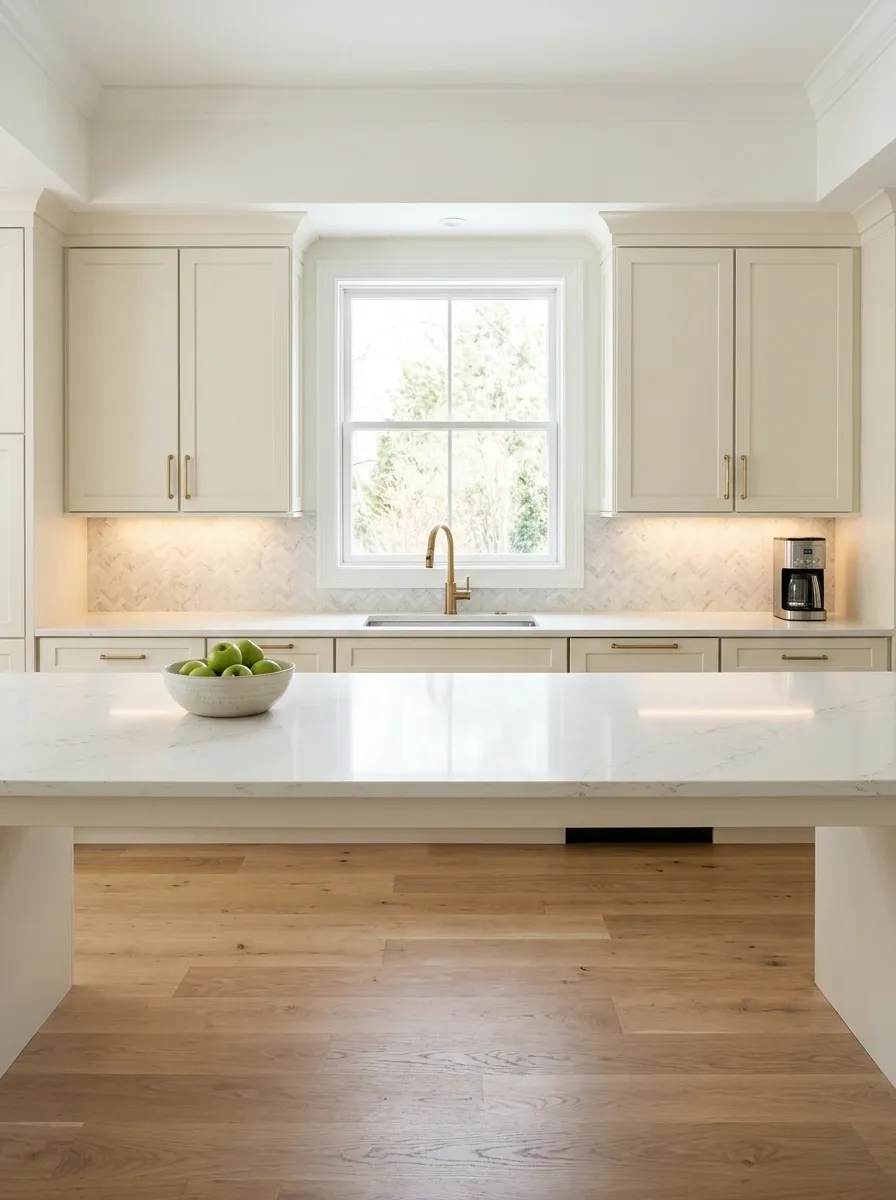
A spacious-looking kitchen sells the idea of easy everyday living. Buyers need to see where they’ll chop vegetables, set down groceries, and make coffee without moving seventeen decorative objects first.
Remove appliances you rarely use, spare containers, excess utensils, and anything that doesn’t need to live on the counter.
Keep one or two useful items if they suit the space, such as a clean coffee maker or a simple fruit bowl.
Useful space beats countertop clutter, and no one needs six jars of pasta to understand that a kitchen has storage.
THE COUNTERTOP RESET
Give the workspace its job back.
Zone 1: Clear the prep area
Move mail, shopping bags, extra utensils, and appliances that rarely get used.
SHOW: WORKING SPACE
Zone 2: Keep one useful feature
Leave a coffee maker or a small, neat tray if it doesn’t crowd the surface.
SHOW: DAILY FUNCTION
Zone 3: Finish the surfaces
Wipe counters, clean the backsplash, and remove crumbs around appliances.
SHOW: CLEAN CONDITION
Remove Bulky Furniture That Makes Rooms Feel Smaller
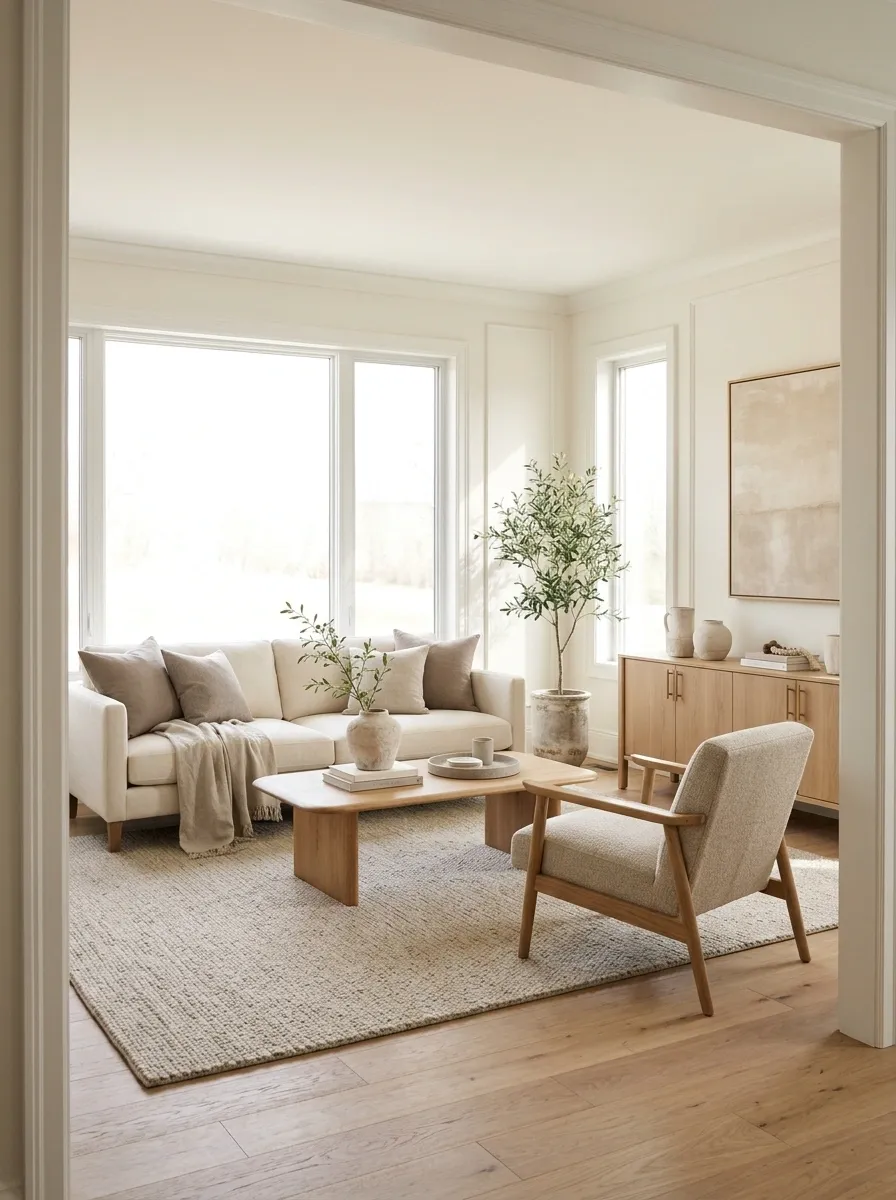
A room can have plenty of floor space and still feel cramped because the furniture is oversized or poorly arranged. Buyers need to understand how a room works, not navigate an obstacle course between the sofa and the coffee table.
Start by removing furniture that blocks pathways, crowds windows, or duplicates a function. Keep the pieces that help define the room, then create a clear route from the doorway through the space.
Try this quick reset:
- Remove one unnecessary piece of furniture.
- Pull furniture away from door swings and main walkways.
- Leave enough space to move comfortably around seating.
- Store extra stools, side tables, and floor baskets elsewhere.
The room should feel usable, not empty. Minimalism isn’t the goal. Being able to walk through the lounge without performing gymnastics is.
The furniture editing checklist
Keep what serves the room. Remove what fights it.
REMOVE OR RELOCATE
□ Oversized pieces crowding walkways
□ Extra chairs with no clear purpose
□ Furniture blocking windows or doors
KEEP OR REPOSITION
□ Seating that defines the living area
□ Tables that serve a practical purpose
□ Clear paths between entrances and seating
The reality check: Take a photo from the doorway. If all the furniture looks like it’s attending a crowded meeting, remove or reposition a piece.
Give the Bathroom a Clean, Fresh Finish
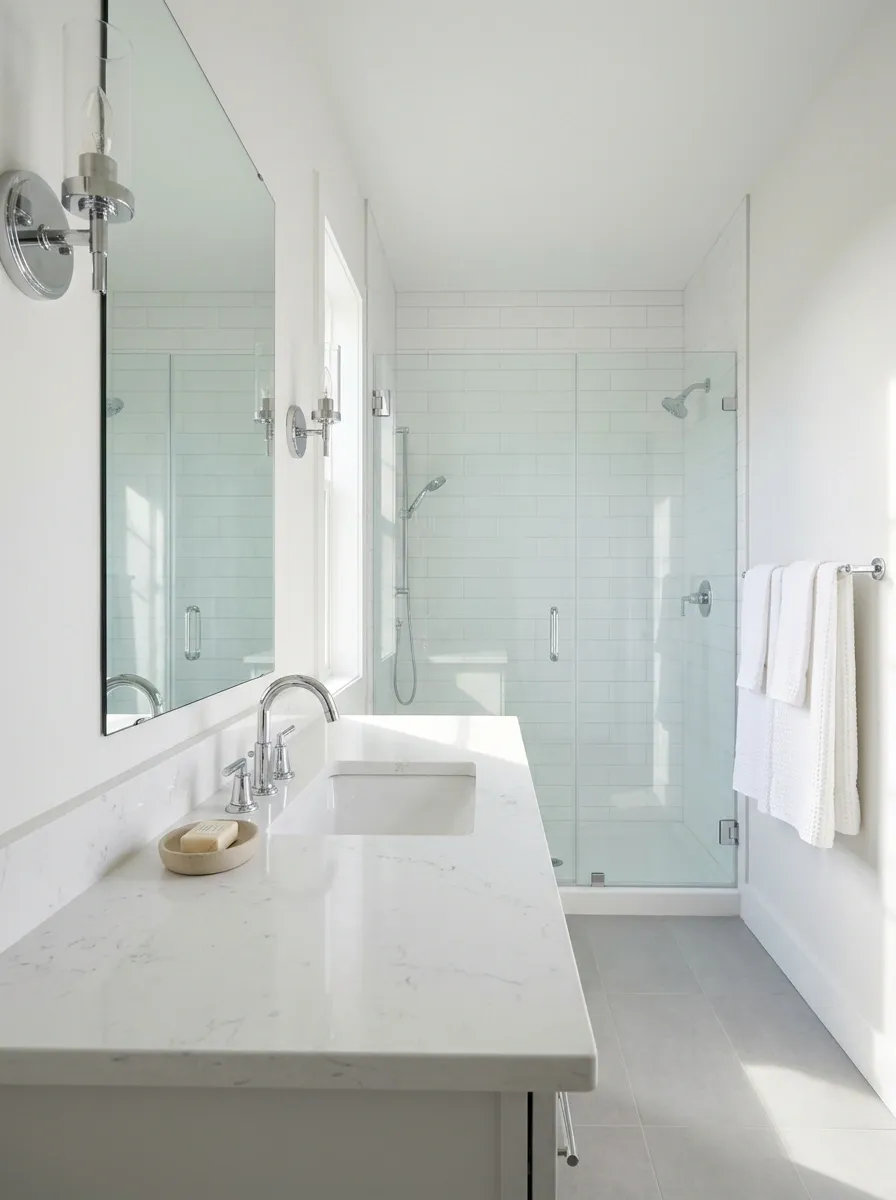
The bathroom doesn’t need a luxury makeover. It needs to look clean, functional, and free from obvious maintenance issues.
Buyers notice grime around the faucet, streaked mirrors, tired towels, and clutter beside the sink because those details sit right in their line of sight.
Work from the most visible surfaces down. Clean the mirror, polish suitable fixtures, scrub grout where needed, and remove half-used bottles from the countertop.
Hang fresh towels and keep the shower area tidy.
If the vanity, tiles, and fixtures are in sound condition, preserve them. A spotless existing bathroom beats an expensive renovation that still has dirty grout.
THE BATHROOM FRESH-FINISH PLAN
Clean details do the heavy lifting.
Mirror and sink
Remove streaks, toothpaste marks, water spots, and unnecessary bottles.
CLEAR + CLEANShower and tub
Clean suitable surfaces, remove residue, and check sealant for damage.
SCRUB + INSPECTFinishing touches
Use fresh towels, remove laundry, and keep the floor clear.
RESET + STAGERepair Loose Door Handles, Squeaky Hinges, and Sticking Doors
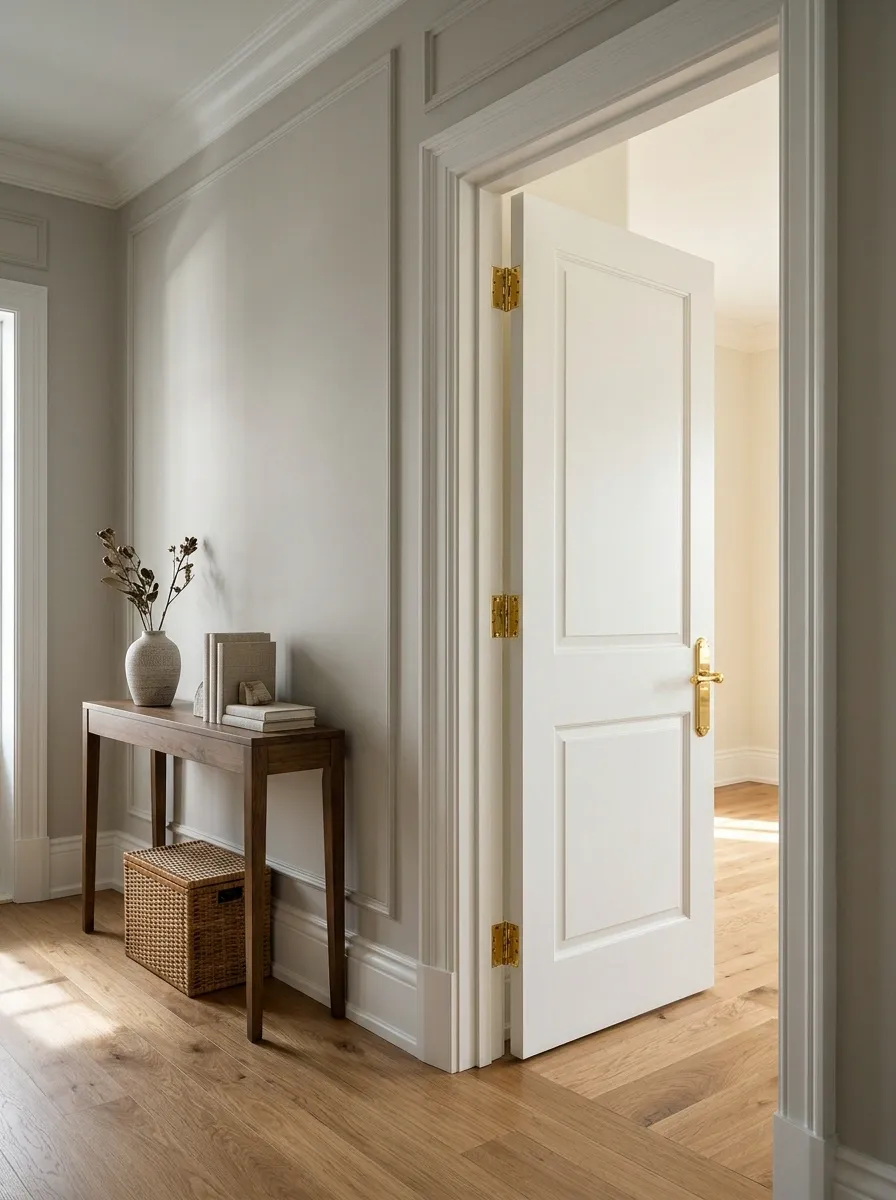
Buyers interact with doors throughout a viewing. A handle that wobbles, a hinge that squeals, or a door that refuses to close properly makes an otherwise ordinary home feel neglected.
Walk through the house and operate each interior door, cupboard, and frequently used handle. Tighten loose screws, lubricate suitable hinges with the right product, and investigate doors that catch against the frame.
Humidity, alignment problems, and damaged hardware can all cause sticking, so don’t force a door that needs a proper repair.
Small fixes make the house easier to use, and they prevent awkward interruptions during a showing.
No door should need a motivational speech before it opens.
THE HARDWARE WALKTHROUGH
Every handle. Every hinge. Every time.
Handles and locks
□ Tighten loose screws
□ Check latches and privacy locks
□ Replace broken or missing hardware
Doors and hinges
□ Listen for squeaks
□ Check for rubbing or sticking
□ Look for loose hinges and damaged frames
Make the Entryway Feel Open, Bright, and Uncluttered
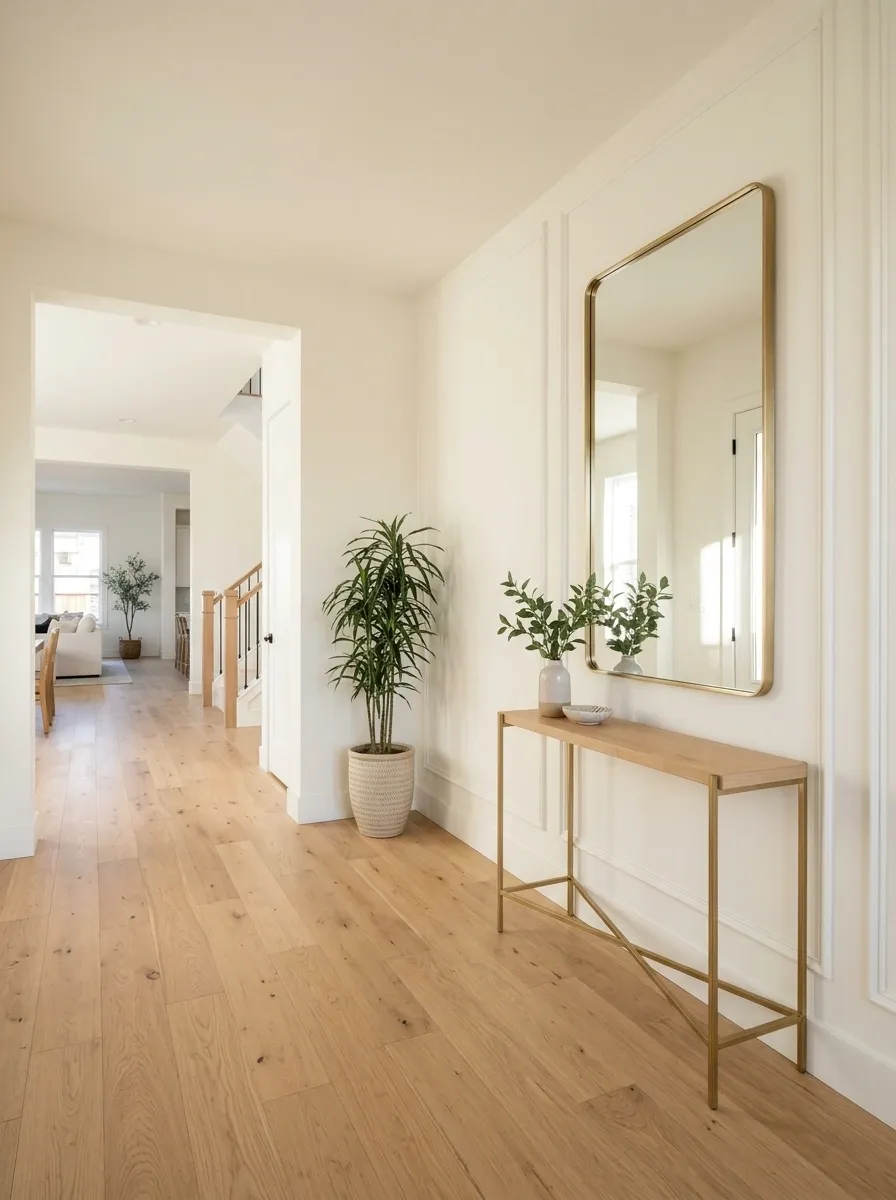
The entryway should help buyers move into the home, not greet them with a pile of shoes, bags, mail, and jackets.
It’s a small area, but clutter here can make the entire property feel crowded from the start.
Remove anything that doesn’t need to stay by the door. Keep the floor clear, clean the mirror if there is one, and make sure the entrance light works.
A slim console or a few neatly arranged essentials can stay if the space comfortably allows it.
Don’t force furniture into a narrow hall just because an online styling photo had a cute table. A clear path is the best entryway accessory.
ENTRYWAY LAYOUT MAP
Make the first few steps count.
Zone 1: The doorway
Keep the entrance clear, the handle clean, and the light working.
Zone 2: The wall
Clean existing mirrors and artwork. Keep the wall simple and free of visual clutter.
Zone 3: The floor
Move shoes, bags, and loose items away so people can enter without stepping around them.
Arrange Living Room Furniture Around a Clear Focal Point

A living room feels awkward when every chair faces a different direction and the sofa blocks half the walking space. Buyers shouldn’t need a floor plan and a committee meeting to figure out where the television or seating area belongs.
Choose one natural focal point, such as a fireplace, a large window, or the main seating area. Arrange the furniture around it, then leave a comfortable path through the room.
Remove side tables that serve no purpose and shift chairs that interrupt movement.
The goal isn’t an empty room. It’s a room that makes sense the second someone walks in. Furniture should help buyers picture daily life, not compete for the starring role.
THE LIVING ROOM RESET
Four steps to a room that flows
Final test: Walk from the doorway to the seating area without dodging furniture. The obstacle course can retire.
Let Natural Light Reach Every Main Living Area

Natural light helps rooms feel open and makes listing photographs look clearer. Unfortunately, heavy curtains, dusty windows, and tall furniture can turn a bright room into a cave with excellent rent-free views.
Clean the glass, open curtains fully, and move objects that block daylight. Raise blinds where practical and make sure window sills aren’t crowded with plants, paperwork, and decorative items competing for the same few inches.
Don’t remove window coverings that provide essential privacy or control harsh sunlight. Adjust them to suit the room and the time of day.
Light should be the feature, not the thing desperately trying to escape behind the curtains.
THE NATURAL LIGHT PLAN
Remove what steals the daylight.
Clean the glass
Wash windows and remove dusty marks that make incoming light look dull.
START HEREClear the sill
Move bulky plants and objects that obstruct the glass or crowd the view.
MAKE ROOMOpen the window area
Pull curtains fully aside and adjust blinds before photos and viewings.
LET LIGHT INRemove Personal Photos and Decor That Distract Buyers

Buyers need to imagine their own lives in the property. Wall-to-wall family photographs, highly specific collections, and bold personal decor can make that harder by drawing attention away from the house itself.
You don’t need to remove every sign that a human lives there. Edit the most personal displays, clear crowded shelves, and keep a few neutral pieces that make the room feel comfortable.
Store valuable or fragile collections safely rather than leaving them exposed during repeated viewings.
A home should feel welcoming, not anonymous. The trick is to let the space speak louder than the owner’s collection of souvenir mugs.
Keep the personality. Turn down the volume.
THE PERSONAL DECOR EDIT
What stays, what goes into storage?
Use this list before the photographer arrives.
STORE OR EDIT
□ Excess family photo frames
□ Large collections on open shelves
□ Highly specific slogans or artwork
□ Valuable or fragile personal items
KEEP IF IT HELPS
□ A small number of simple art pieces
□ Useful books and a few tidy objects
□ Neutral textiles in good condition
□ A few restrained decorative accents
Privacy check: Put away documents, keys, medication, valuables, and anything with personal information before photographs and showings.
Make Bedrooms Look Calm, Spacious, and Ready to Use
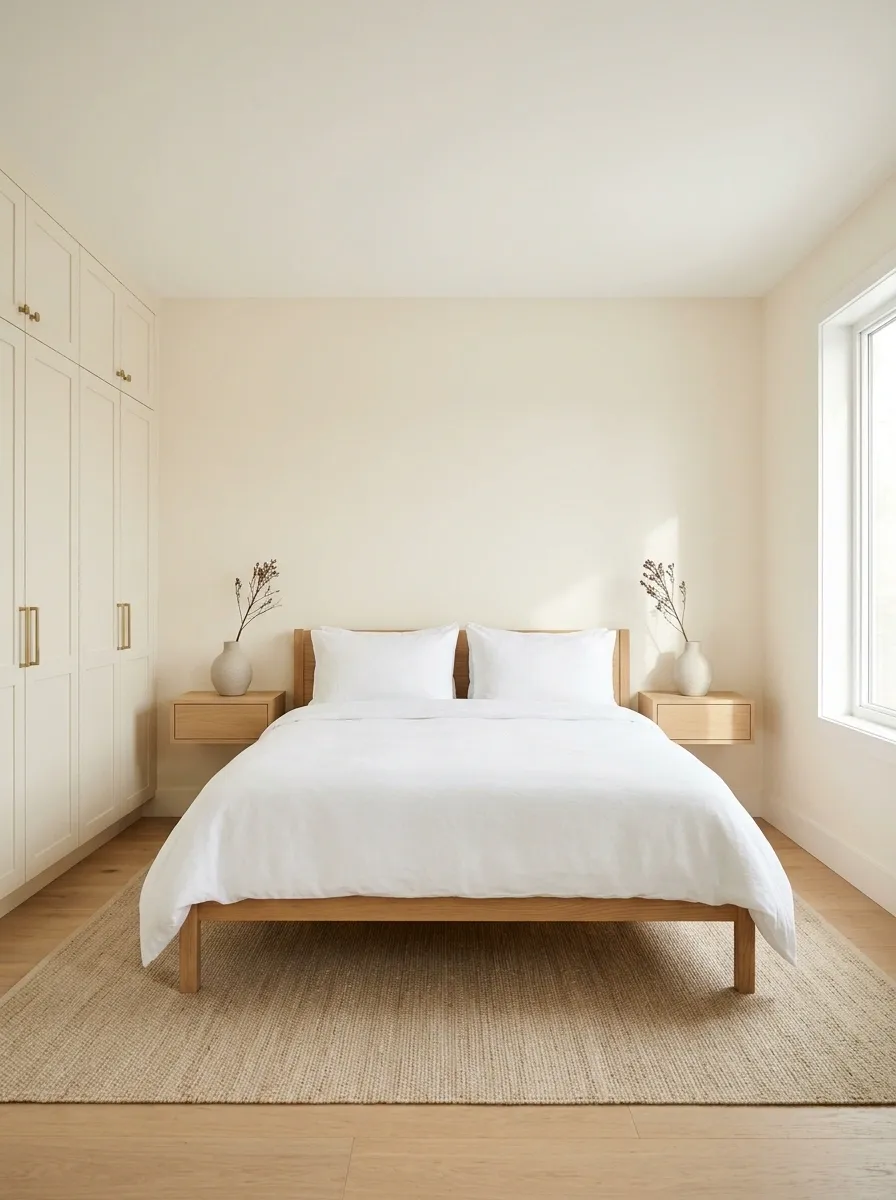
A bedroom should communicate rest, storage, and enough room to move around. When every surface is covered, the bed is buried under laundry, and the wardrobe door barely opens, buyers see work instead of comfort.
Make the bed neatly, clear bedside tables, and remove laundry baskets or spare furniture that crowd the floor. Keep wardrobe doors accessible so buyers can understand the storage space without navigating a pile of clothes.
If the bedroom is small, use the furniture already there wisely. Don’t squeeze in extra decor to make it look styled.
A clear floor and a tidy bed are doing plenty of work already.
THE BEDROOM RESET
Less clutter. More breathing room.
The bed
Straighten the bedding, remove extra pillows, and keep the top surface neat.
MAKE IT NEATThe floor
Move laundry, spare chairs, boxes, and unnecessary items out of the walking area.
CLEAR THE PATHThe storage
Clear the wardrobe entrance and put away loose clothing so the storage stays visible.
SHOW THE SPACETurn an Awkward Corner Into a Useful, Clearly Defined Space
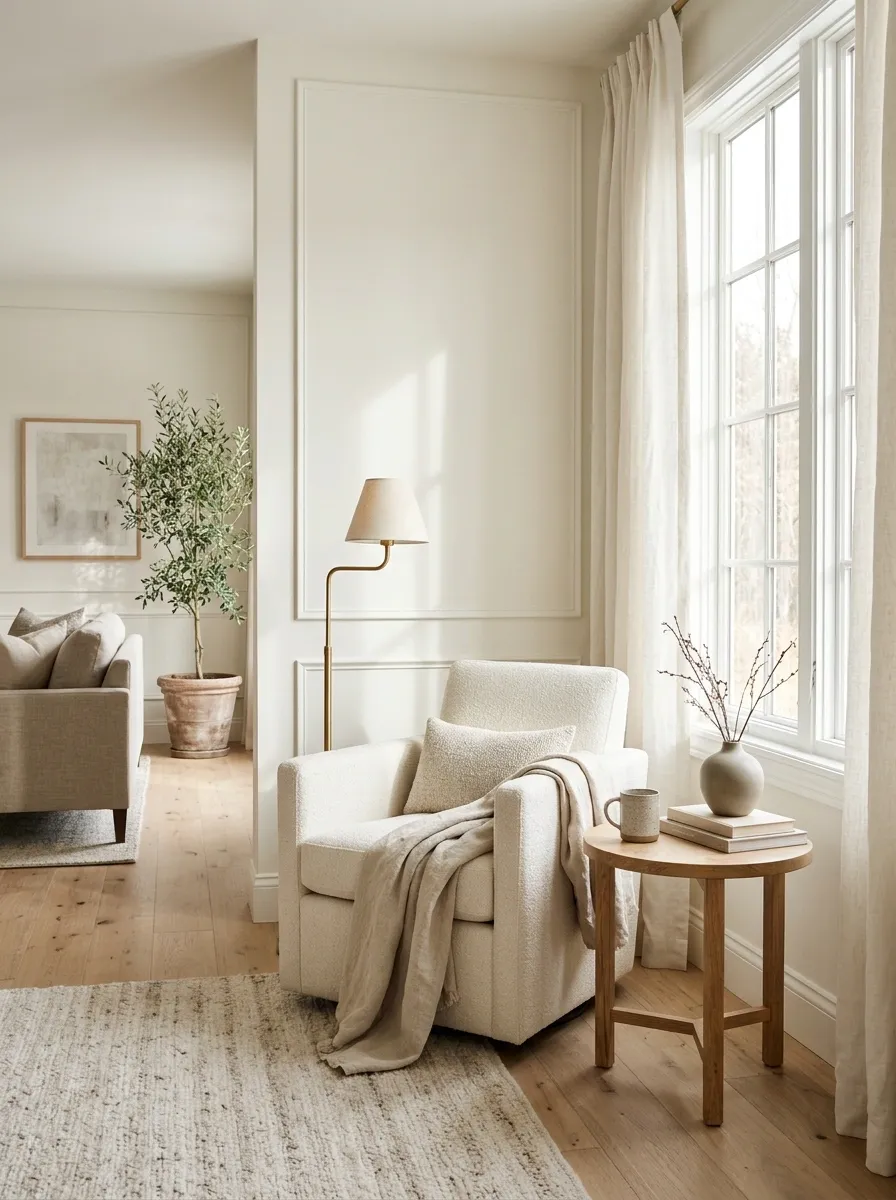
That strange little nook beside the stairs or the empty corner near a window can leave buyers wondering what the space is meant for. It doesn’t need an expensive built-in makeover. It needs a clear purpose.
Choose a use that fits the room and the available space. A small desk can define a work area, a compact reading chair can make a quiet corner useful, or a simple floor lamp can help an otherwise awkward sitting area feel intentional.
Keep the setup modest. Oversized furniture shoved into a tiny nook doesn’t solve the problem. It just gives the awkward corner a roommate.
| Awkward space | Simple way to define it | Watch out for |
|---|---|---|
| Unused corner near a window | A compact chair and floor lamp | Furniture blocking daylight |
| Small wall recess | A slim desk or narrow shelf | Making the passage feel cramped |
| Space beneath stairs | Neat closed storage or a simple display | Clutter spilling into the walkway |
| Empty corner in a bedroom | A small chair or a clear open area | Adding furniture that isn’t needed |
The rule: Define the corner only if it improves how the room works. Empty space is better than a forced setup that makes people wonder why a tiny desk is hiding beside the wardrobe.
Clean Windows, Mirrors, and Glass Doors Thoroughly
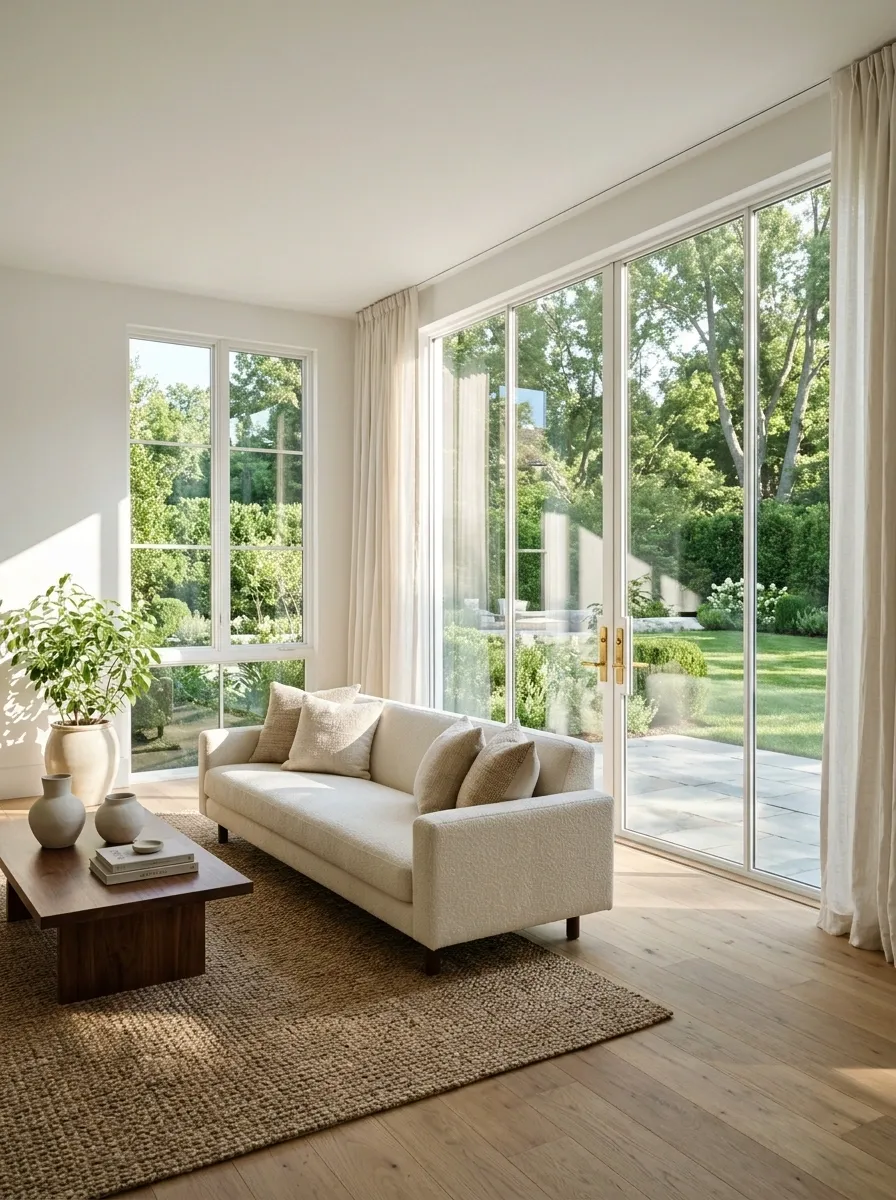
Dirty glass makes a clean room look dull. Fingerprints on patio doors, streaky bathroom mirrors, and dusty window edges are small details that show up fast in listing photos.
Clean the glass with a product suited to the surface, then wipe the edges and frames too. Move curtains aside, remove fingerprints from glass doors, and check mirrors from different angles so missed streaks don’t suddenly appear when sunlight hits them.
- Clean both sides of accessible windows where practical.
- Wipe mirror edges and glass door handles.
- Remove dust from tracks and window sills.
- Check the finish in natural light.
The goal: Clear views and clean surfaces, not windows that look like they’ve been polished by an anxious perfectionist at 2 a.m.
THE GLASS AND MIRROR RESET
Clear the glass. Keep the view.
Windows
Clean accessible panes, frames, sills, and tracks. Remove dust and visible fingerprints.
CLEAR THE DAYLIGHTMirrors
Remove streaks, toothpaste spots, and dusty edges, especially in bathrooms and entryways.
CHECK THE EDGESGlass doors
Wipe fingerprints around handles and check large panes from both sides where accessible.
REMOVE SMUDGESReplace Broken Switch Plates, Missing Knobs, and Damaged Trim
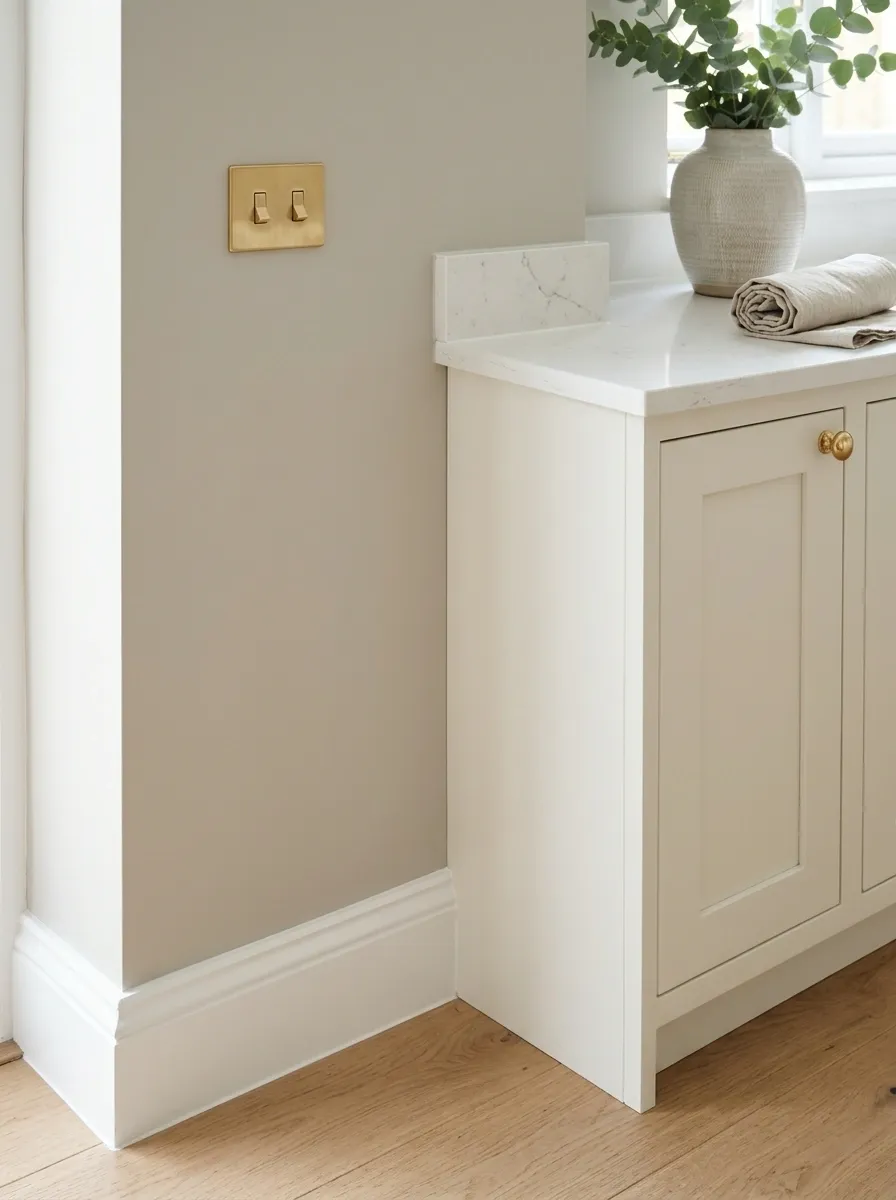
Small finishing details are easy to ignore when you live in a house every day. Buyers notice them because they’re seeing the property with fresh eyes.
A cracked switch plate, missing cupboard knob, or chipped section of door trim can make a room feel unfinished.
Walk through each room with a notepad and record the obvious defects. Replace damaged covers with compatible fittings, tighten loose knobs, and touch up minor trim damage where appropriate.
Check the details before buying decorations. There’s little point styling a shelf beautifully while the broken handle beneath it is begging for attention.
THE SMALL-DETAIL REPAIR LIST
Spot the little things before buyers do.
Use this room-by-room checklist during the final repair walk.
Best approach: Group similar repairs together so the screwdriver and basic tools come out once, not every time another loose handle gets discovered.
Make the Garage, Laundry Area, and Storage Spaces Look Usable
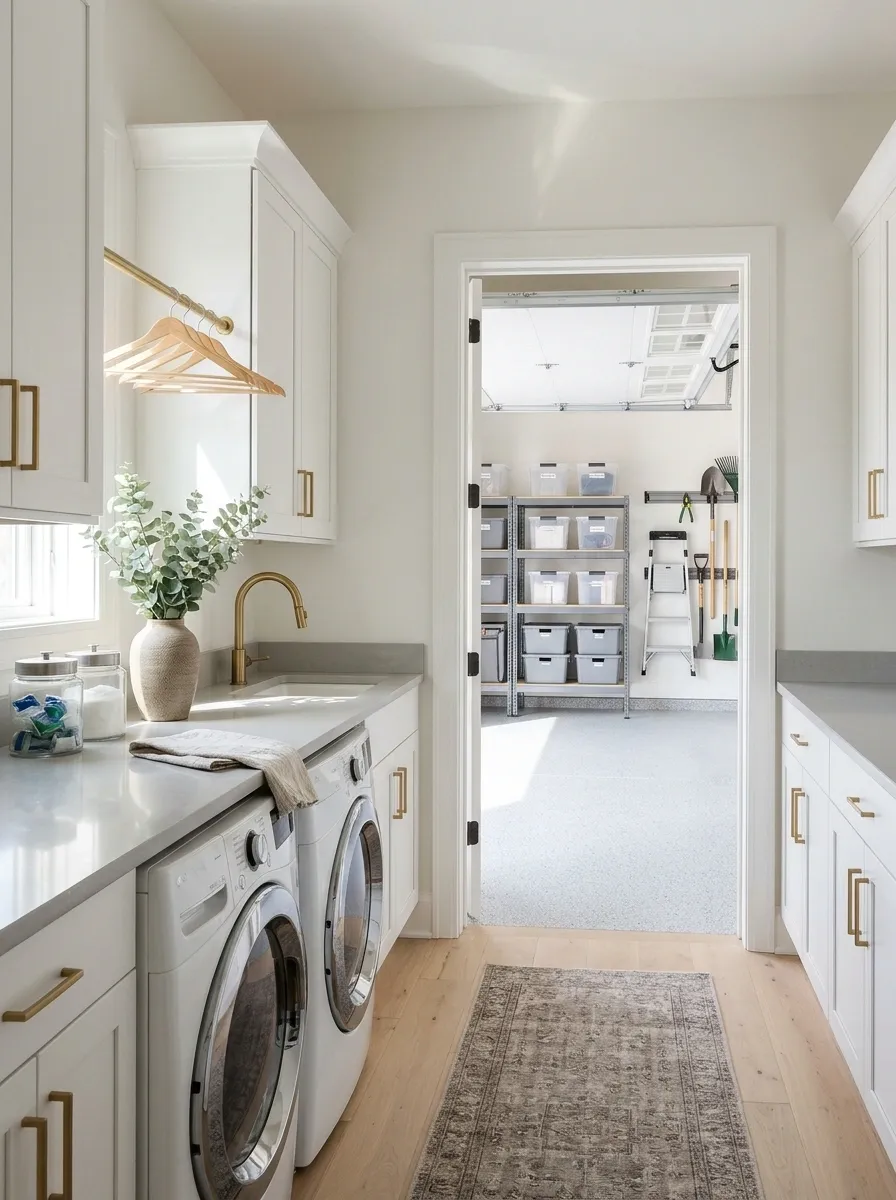
Storage areas count too. A spotless living room won’t tell the whole story if the garage is packed to the ceiling or the laundry area looks like a detergent warehouse after a supply-chain crisis.
You don’t need to empty every storage space. You do need to show how it functions.
Remove items you no longer use, group similar supplies, and keep the floor clear enough for buyers to see the available space.
Start with the garage, laundry area, utility cupboards, and any built-in storage. Secure chemicals safely, keep access to equipment clear, and avoid hiding items in ways that create hazards.
Visible storage space is more convincing than a mountain of boxes labelled “miscellaneous.”
THE HIDDEN-SPACE RESET
Storage should look like storage, not a plot twist.
Garage
Group tools, remove unwanted items, clear walking routes, and make usable floor space visible.
Laundry area
Clear the tops of appliances, store detergents neatly, and remove baskets of waiting laundry.
Closets and cupboards
Group belongings, remove unused items, and leave contents tidy enough to see the available storage.
Eliminate Lingering Odors Instead of Masking Them

A home can look immaculate and still lose its appeal because something smells off. Strong air fresheners don’t solve the problem. They simply add another smell to the investigation.
Start by airing out the rooms when outdoor conditions allow it. Wash soft furnishings as appropriate, empty bins, clean drains safely, and check for damp laundry, pet odors, or spoiled food.
If the smell persists, find the source before the viewing.
Pay special attention to carpets, upholstery, rubbish bins, and areas beneath sinks. Persistent musty smells or sewage odors may point to an underlying problem that needs professional attention.
The aim is neutral and clean, not “welcome to the tropical vanilla factory.”
THE ODOR TROUBLESHOOTER
Find the source before adding fragrance.
Musty fabric or pet odors
Wash suitable fabrics, clean pet bedding, vacuum upholstery, and address affected carpet or soft furnishings.
Kitchen or rubbish smells
Empty bins, clean their interiors, remove old food, and check areas where spills may have collected.
Drain or damp smells
Check for leaks, standing water, and ordinary drain buildup. Get persistent or unexplained odors assessed.
Prepare a Final Walkthrough Checklist for Listing Day
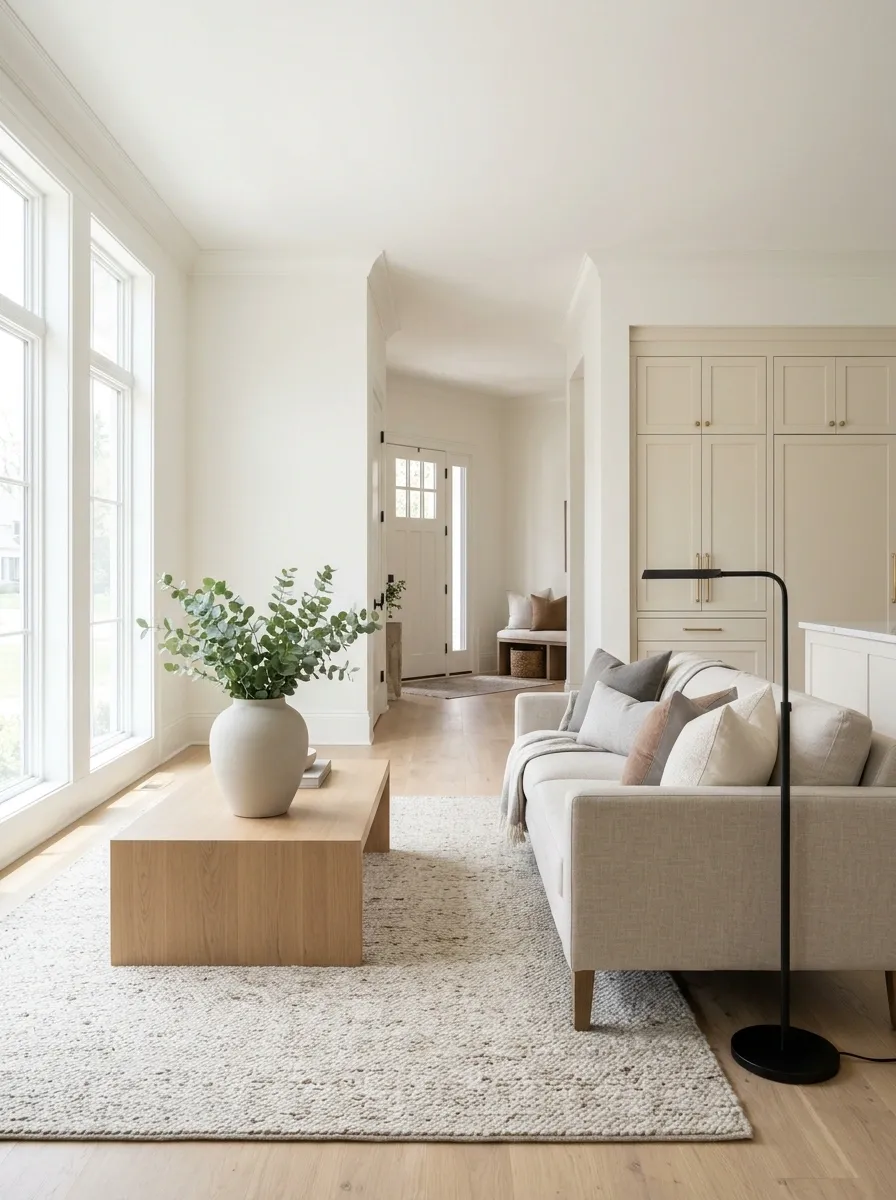
The house can look ready and still have a few last-minute distractions. A full bin, a bathroom towel on the floor, or a forgotten pile of mail can undo the neat presentation you’ve worked to create.
Do one final walkthrough as if the property belongs to someone else. Start at the front entrance, move through the main living spaces, and finish with the bathrooms, bedrooms, and utility areas.
Check what buyers will see, smell, touch, and walk past.
Don’t start a new decorating project on listing day. Finish the cleaning, clear the surfaces, and make sure everything works as intended.
Listing-day rule: No frantic shopping trip for decorative cushions. The cushions have done enough.
THE FINAL WALKTHROUGH
Listing-day readiness board
Outside and entrance
□ Door and hardware look clean
□ Walkway is clear and safe
□ Yard and entry are tidy
□ Bins and tools are put away
Main living spaces
□ Counters and tables are clear
□ Furniture leaves clear pathways
□ Windows and mirrors are clean
□ Lights work and curtains are adjusted
Bedrooms and bathrooms
□ Beds are made and floors are clear
□ Bathrooms are clean and dry
□ Personal items are stored safely
□ No obvious odors or fresh leaks
Final practical checks
□ Important repairs are complete
□ Paths and exits remain unobstructed
□ Valuables and personal documents are secured
□ Showing instructions are ready
THE LAST FEW MINUTES
Walk from the street to the main living area, then visit each room once more. Pick up anything left out, check the obvious details, and leave the home clean, secure, and ready to show. No panic purchases required.
The Final Word: Fix What Buyers Notice, Skip What They Don’t
A house doesn’t need to be flawless to make a strong impression. It needs to feel cared for, easy to navigate, and ready for someone else’s everyday life.
Start with visible repairs and cleaning. Then tackle lighting, clutter, worn finishes, and the rooms buyers will see first. Leave expensive upgrades until there’s a clear reason to make them.
The smartest pre-sale improvements aren’t always the prettiest jobs on the list. They’re the ones that remove doubt without draining the budget.
Save this list for the week before listing photos, when every loose handle suddenly becomes a personal enemy and the decorative cushions absolutely do not need reinforcements.