
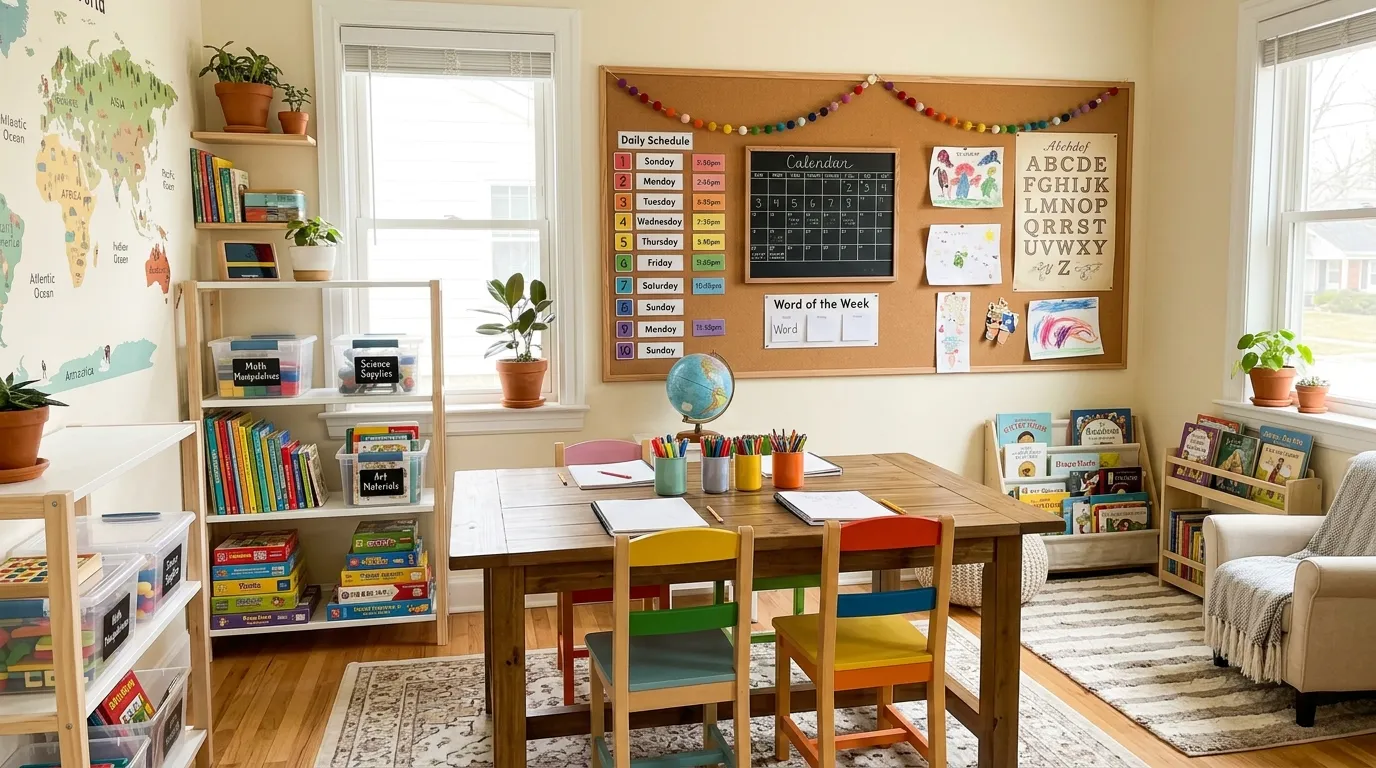
Most homeschool rooms don’t fail because they lack space. They fail because every surface gets asked to do everything at once. Books pile up beside pencils, unfinished projects migrate from the table to the floor, and the chair somehow becomes a storage basket by lunchtime.
The best homeschool room ideas aren’t about buying more furniture or covering every wall with educational decorations. They’re about giving each activity a clear place and making the room easy to reset when the lesson ends.
A smart homeschool room should make the next step obvious. Children should be able to find frequently used supplies without digging through a cabinet, and parents shouldn’t have to clear half the room before starting a lesson.
The ideas below focus on practical layouts, storage, seating, work zones, and small details that make daily homeschooling run more smoothly.
What Actually Makes a Homeschool Room Work?
A beautiful room isn’t automatically a useful one. The strongest setup starts with how the room gets used during a normal school day.
Design Around the Work First
Start with the activities that happen every day.
Writing, reading, crafts, computer work, storage, and group lessons all need different amounts of space. If you place furniture before thinking about those activities, you’ll often end up with a room that looks organized but works poorly.
The main work surface should get priority. Put it somewhere with comfortable lighting and enough clearance for chairs to move without bumping into shelves.
Then build the rest around it.
Separate Daily Supplies From Everything Else
The biggest storage mistake is treating every school supply as equally important.
Daily pencils, books, notebooks, scissors, and current projects need easy access. Extra paper, seasonal materials, duplicate supplies, and old projects don’t.
That distinction keeps shelves from becoming crowded.
Use low, accessible storage for the things children use independently. Move backup materials into higher cabinets, closed bins, or another storage area. The room immediately becomes easier to navigate because every object has a reason for being within reach.
Leave Room for the Room to Change
Homeschooling rarely happens in exactly the same position all day.
A child may write at the desk, read on the floor, build a project at the table, and listen to a lesson from a comfortable chair. The room needs enough flexibility to support those changes.
That doesn’t mean filling it with different furniture.
One strong work area, one flexible seating option, practical storage, and some open floor space can handle far more activities than a room packed with specialized pieces.
The goal is simple: the room should support the lesson instead of becoming another problem to solve.
Homeschool Room Ideas=
Put the Main Desk Where Natural Light Helps Most
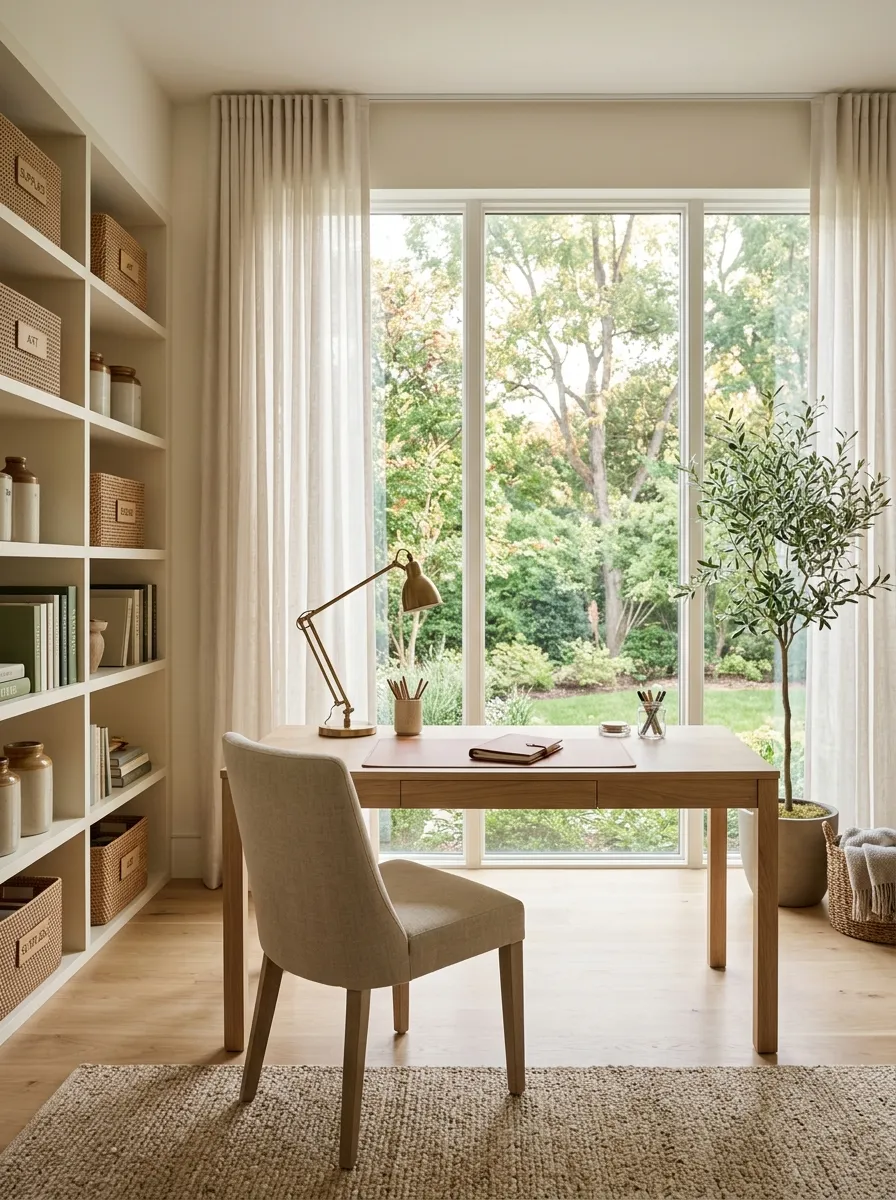
Start with the work surface, not the decorations.
A desk positioned near a useful source of natural light makes writing, drawing, reading, and other close-up work more comfortable. It also gives the room a clear focal point without needing a giant educational wall.
Keep the desk close enough to storage that frequently used supplies don’t require a trip across the room.
A practical setup looks like this:
- Place the desk near natural light.
- Keep the main chair facing away from major walkways.
- Put everyday supplies within arm’s reach.
- Leave enough space behind the chair to stand up easily.
Don’t push the desk into a corner just because the corner is empty. A cramped chair area gets annoying fast.
Use natural light when the room allows it.
Keep everyday supplies close to the desk.
Leave enough room for the chair to move.
The Classroom Aesthetic Trap
Adding a chalkboard to your home wall is the quickest way to remind everyone that they are, in fact, still in school. Because nothing says ‘relaxing home environment’ like staring at a giant green rectangle that smells faintly of institutional failure.
Those cute little flashcards lined up at the top look very organized until they start curling at the edges and collecting layers of dust. It is a bold choice to decorate your living space with items that scream ‘standardized testing’ while you are trying to eat dinner.
If you must have a display wall, try to keep the clutter to a minimum instead of treating the entire surface like a dumping ground for every educational chart you found online. It serves no purpose other than making the room feel like a detention center for the under-twelve demographic.
Turn an Empty Wall Into a Useful Learning Station
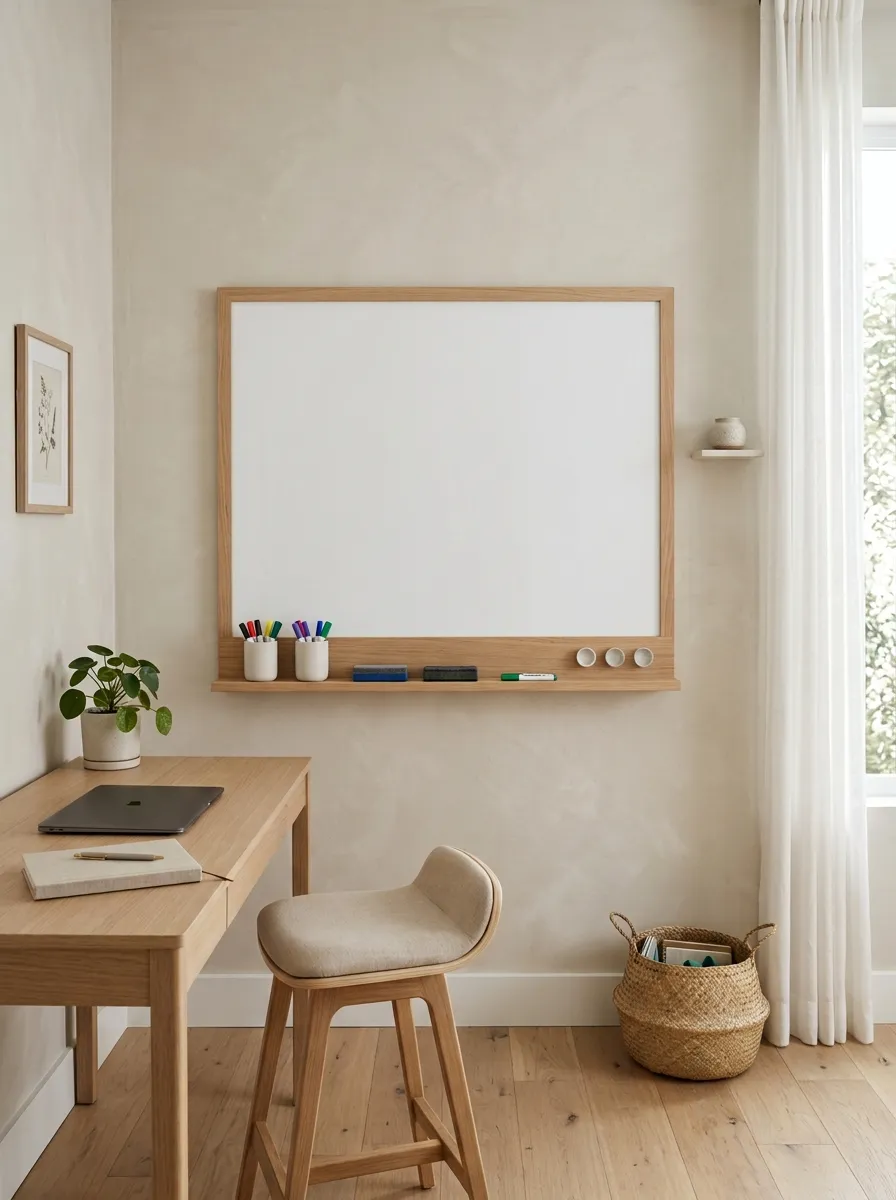
An empty wall doesn’t need a giant collection of decorations.
Give it one clear purpose. A large whiteboard, chalkboard, magnetic board, or combination planning surface can handle daily schedules, spelling practice, diagrams, math work, and quick notes.
Keep the surrounding wall relatively quiet.
The board should be easy to update and easy to see from the main work area. Put frequently used markers or erasers nearby instead of scattering them across the room.
The best wall station changes with the lesson.
That makes it useful every day instead of becoming another permanent display that nobody notices after the first week.
WALL RULE
Give one wall one main job.
Keep current information visible.
Remove old notes before adding new ones.
Store board supplies within easy reach.
Desk Real Estate Wars
An L-shaped desk setup is a great way to ensure that your child has just enough surface area to lose their pencils in two different directions at once. It is a masterful piece of furniture design meant for maximizing the amount of junk one small person can accumulate in a single sitting.
Storing every book they own on open shelves above the desk ensures that at least one heavy volume will eventually fall on someone’s head. It is a classic move for parents who think vertical storage is a personality trait rather than a structural hazard.
Everything is neatly placed here, which is lovely for the photograph but entirely impossible for actual human existence. The moment a child touches these materials, the curated aesthetic will vanish, replaced by the inevitable chaos of real, non-staged learning.
Use a Rolling Cart for Supplies That Follow the Lesson
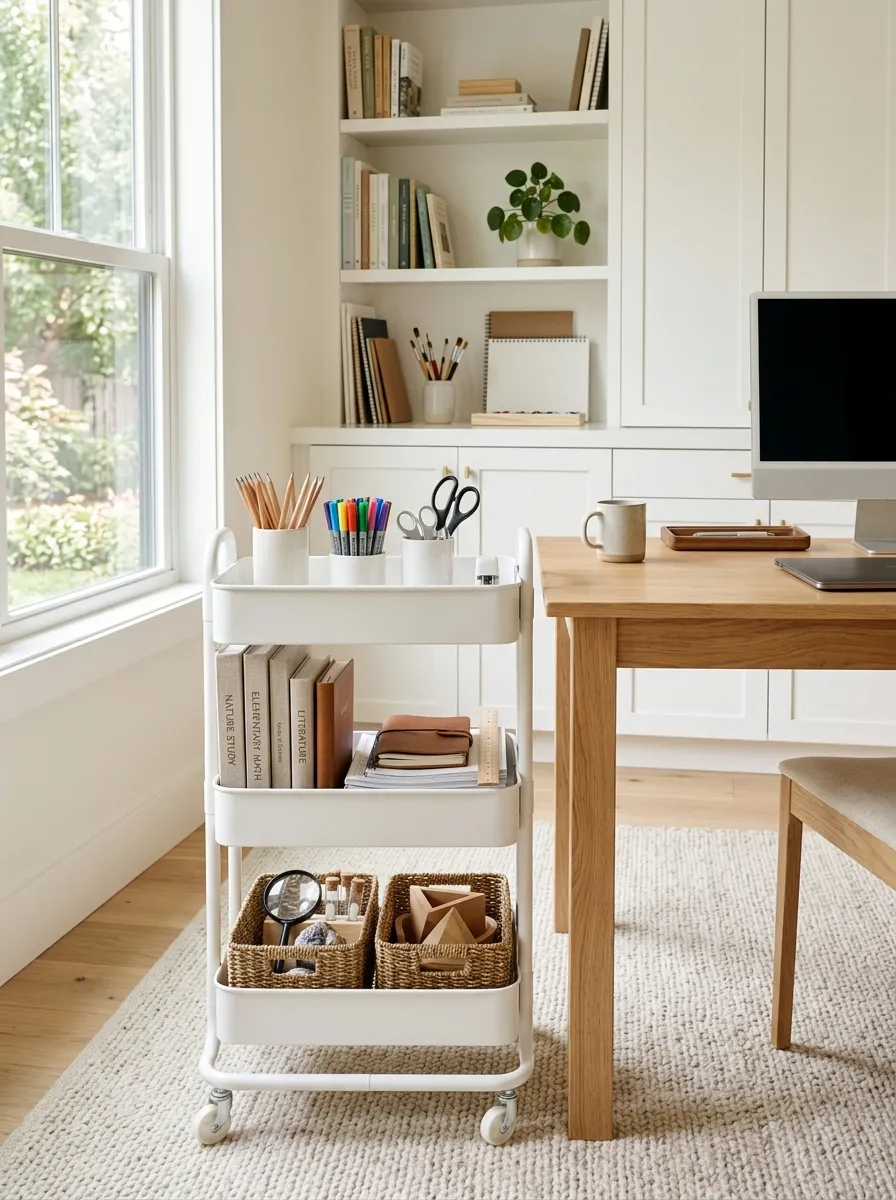
A rolling cart solves a very specific problem: some supplies are useful in several parts of the room.
Keep art materials, writing tools, manipulatives, science supplies, or current curriculum materials on a cart that can move to the work area when needed.
Don’t overload every shelf with these supplies.
A cart works best when it carries one category of materials instead of becoming a mobile junk drawer.
Use the levels intentionally:
- Top level for small daily-use tools.
- Middle level for current books and materials.
- Bottom level for larger or heavier supplies.
When the lesson changes, the cart moves with it.
Pencils, markers, scissors, and small tools.
Current books, notebooks, and lesson materials.
Larger or heavier supplies.
Pegboards for Perfectionists
Pegboards are the ultimate gaslighting tool, convincing you that you can actually organize all those tiny, loose supplies without losing your mind. In reality, you are just spending hours arranging markers and scissors into aesthetic patterns that your child will destroy in five seconds flat.
That ‘Home Sweet Homeschool’ sign is a nice touch, acting as a gentle reminder of the life choices you have made while you stare at the clutter you now have to curate daily. It is the perfect backdrop for pretending that your school day involves anything other than negotiating snack breaks.
Using three chairs in a row assumes that three children will be sitting quietly and working in harmony, which is a charming fantasy. In the real world, this setup is just a high-efficiency zone for collaborative bickering and elbow-throwing contests.
Create a Dedicated Display Spot for Finished Work
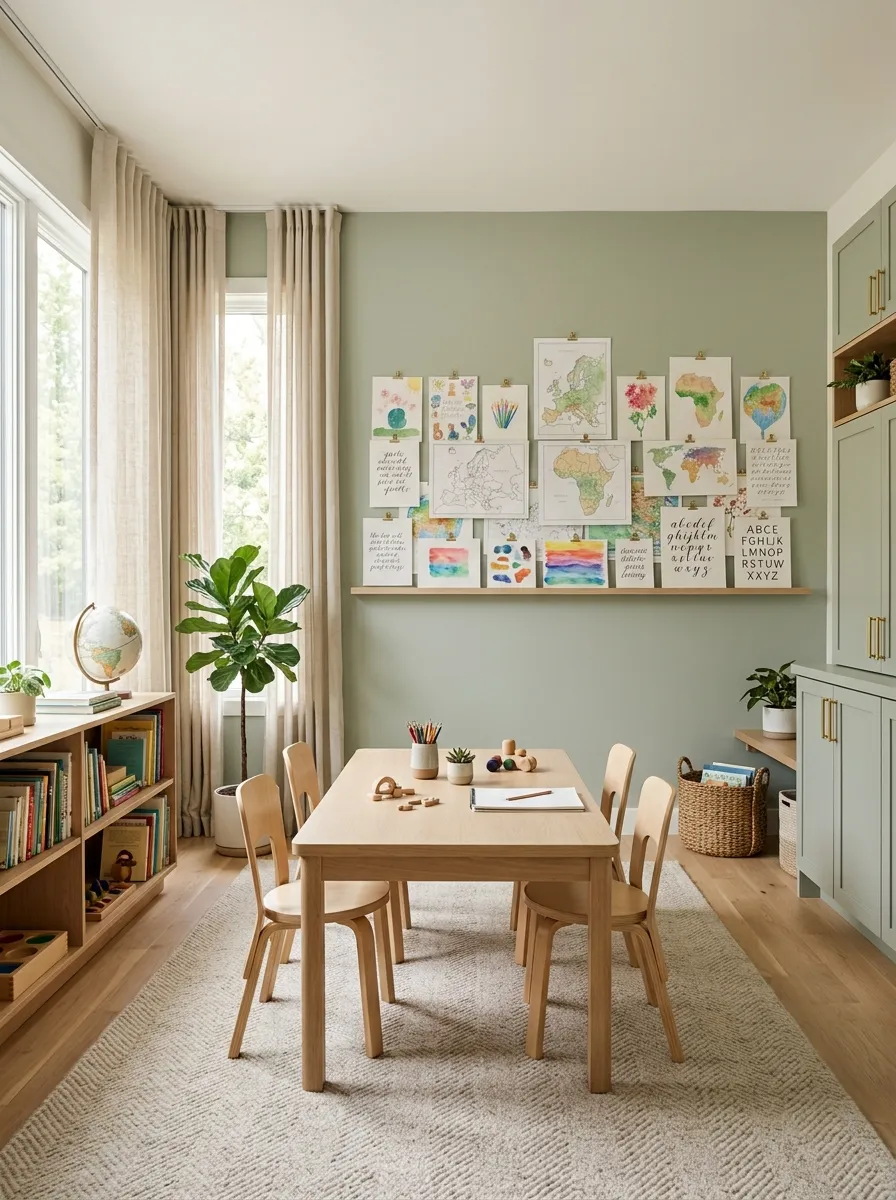
Children’s work doesn’t need to cover every wall to feel important.
Choose one display area and rotate what’s shown there. A few current drawings, writing samples, maps, project pieces, or photographs can make the room feel personal without creating visual clutter.
The key is rotation.
When new work goes up, remove something older. Keep the display focused enough that individual pieces can actually be seen.
A simple rotation system:
- Current work stays visible.
- Older work gets photographed or stored.
- Special projects get a temporary display.
- Damaged or forgotten pieces leave the wall.
The display becomes part of the learning process instead of another permanent collection.
Choose recent work worth displaying.
Remove older pieces when new work arrives.
Keep meaningful older work somewhere safe.
Keep a Small Supply Station Beside the Main Work Area
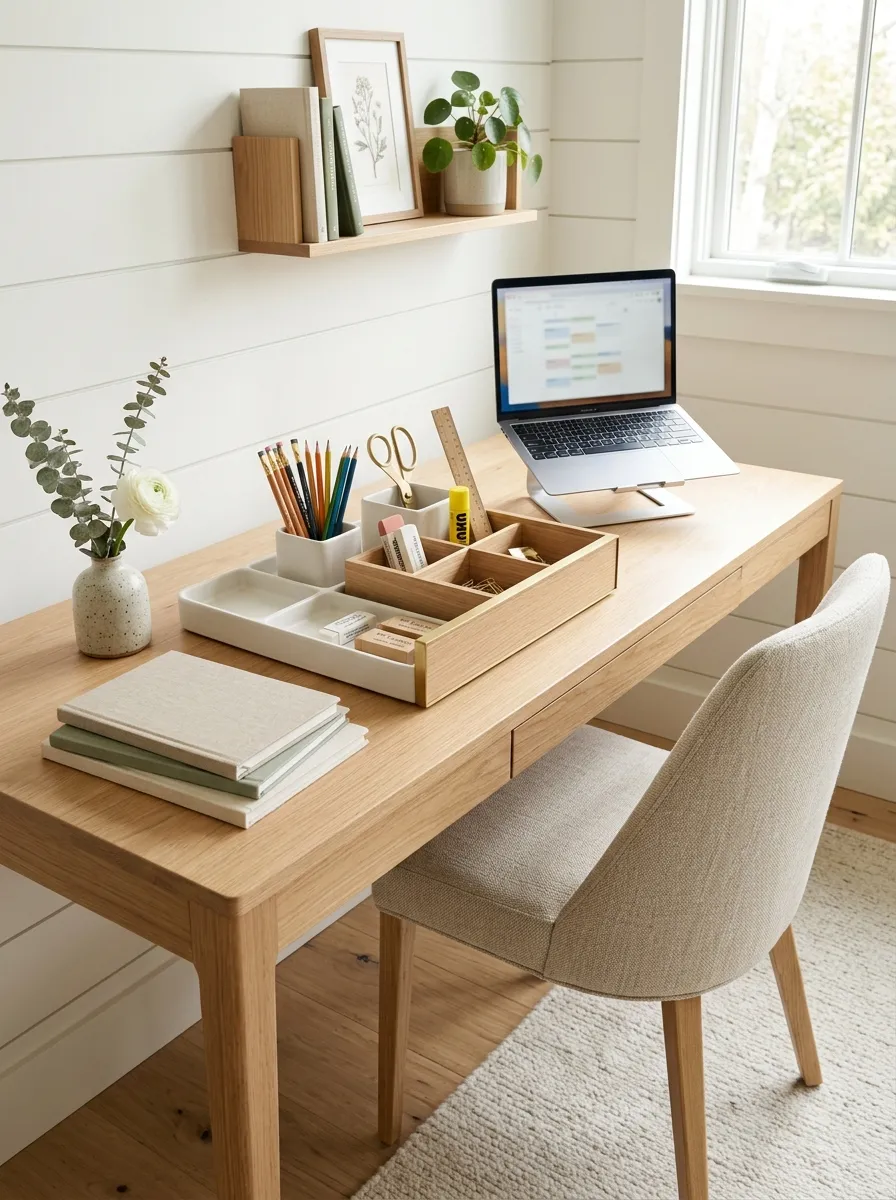
The supplies used every day shouldn’t live on the other side of the room.
Create a compact station for pencils, erasers, rulers, scissors, glue, notebooks, and other regular tools. A drawer organizer, divided tray, small caddy, or shallow container can handle the job.
Don’t give every supply its own elaborate container.
Group things according to how they’re actually used. Writing tools belong together. Cutting and gluing tools can share a section. Extra supplies belong somewhere else.
The goal is speed.
A child should be able to grab what they need, finish the task, and return the supplies without opening five different containers.
SUPPLY TEST: If a child needs to ask where the same everyday item is more than once, the storage location isn’t obvious enough.
Build a Floor Work Zone for Projects That Need More Space
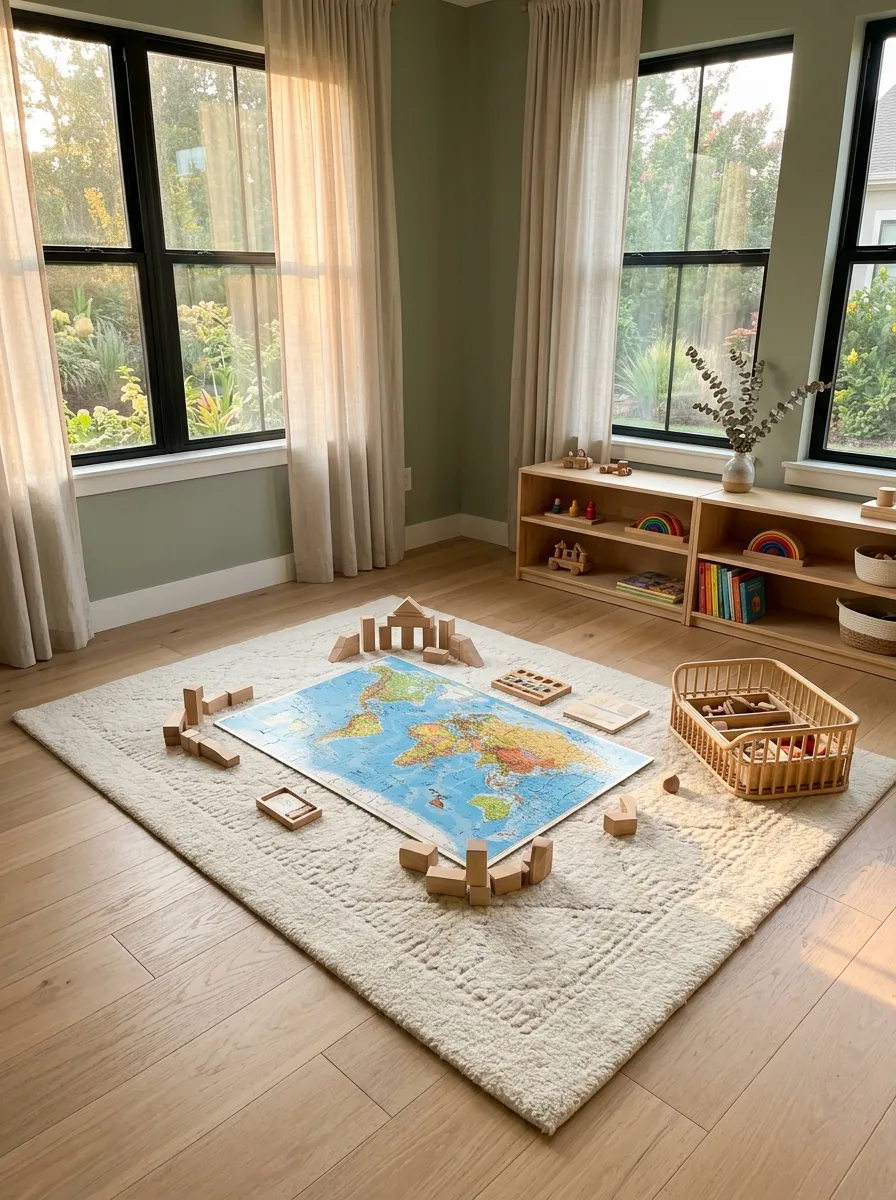
Some lessons simply don’t belong at a desk.
Building activities, puzzles, large maps, craft projects, reading spreads, and hands-on activities often need more room than a standard tabletop provides.
Reserve a small floor zone for those moments.
A washable rug or open floor area gives children a second work surface without requiring another table. Keep nearby storage limited to the materials that actually benefit from floor work.
Don’t turn the area into a permanent pile of toys and cushions.
Give the floor zone a clear purpose: spread out, build, sort, create, then clear it.
Maps, puzzles, and large projects.
Blocks, models, sorting, and hands-on work.
Clear the area when the activity ends.
Give Books a Front-Facing Display Area
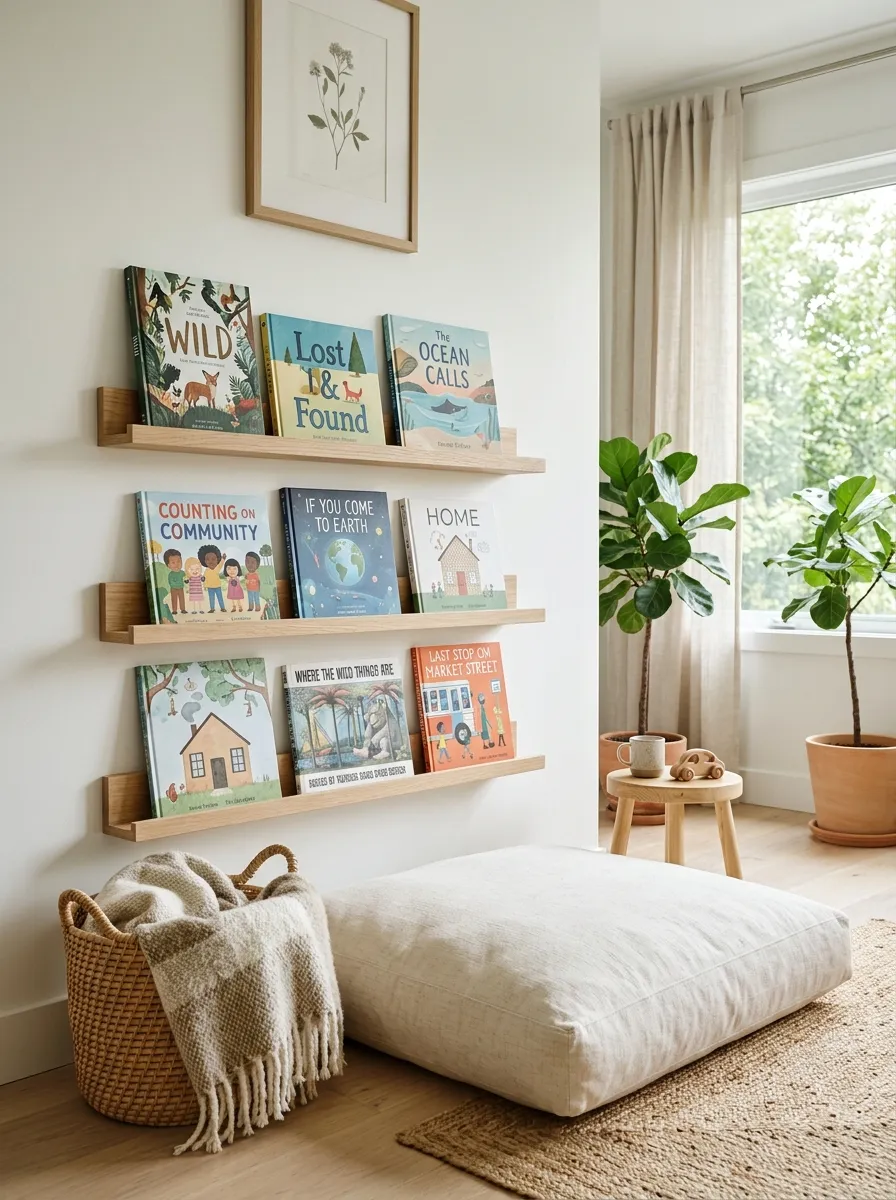
Books disappear when they’re stored spine-deep behind other books.
Choose a small shelf, ledge, rack, or front-facing display where current and favorite books can be seen immediately. Rotate the selection as interests and lessons change.
You don’t need to display the entire home library.
A smaller selection makes choosing easier and keeps the area from looking crowded. Store the rest elsewhere and bring different books forward when the topic changes.
Keep the most relevant books at eye level.
That little change can make the reading area feel more inviting without adding another piece of complicated furniture.
BOOK ROTATION TIP
Keep current lesson books together.
Put favorite independent-reading books where they’re easy to spot.
Move finished-topic books out of the active display.
Add a Quiet Corner for Reading and Independent Work
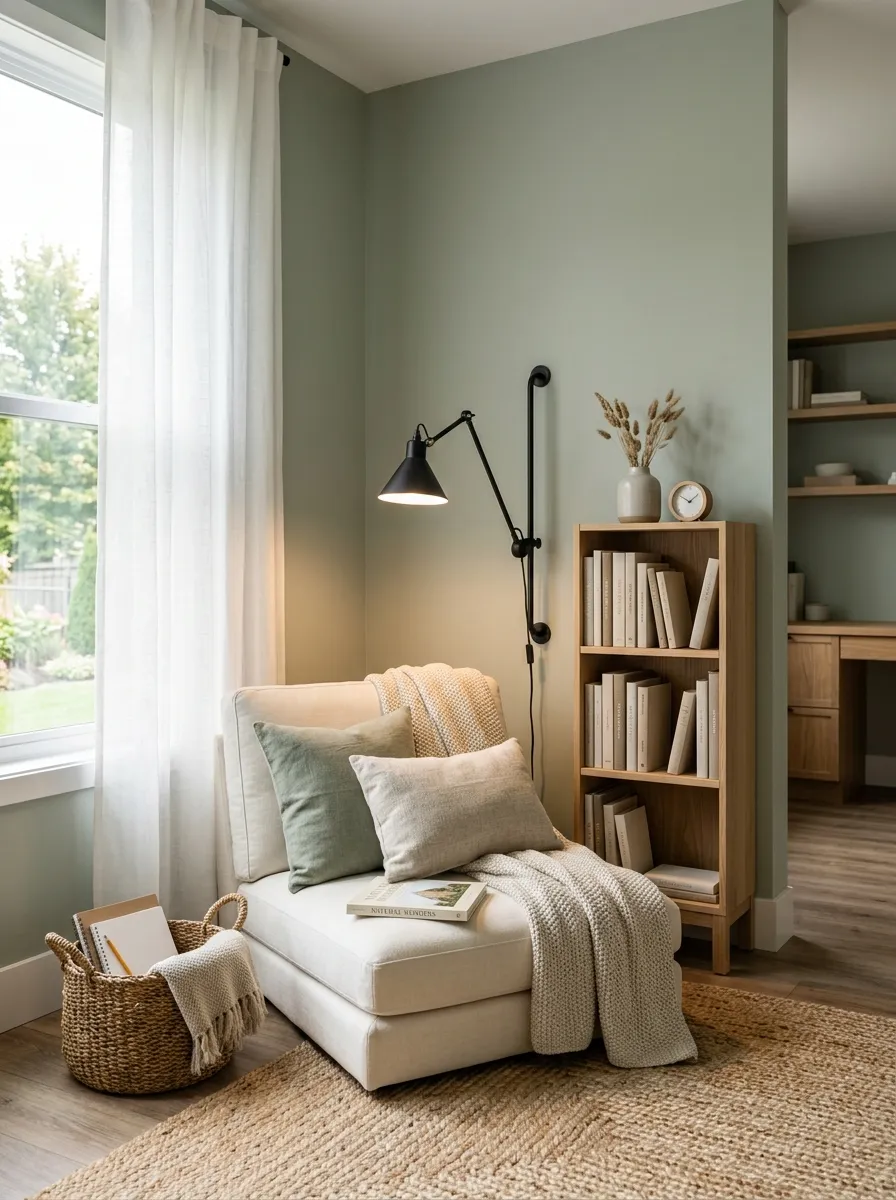
A reading corner shouldn’t feel like a leftover space where an extra cushion happened to land.
Give it a real job. Choose a spot away from the busiest walkway, add comfortable seating, and keep a small selection of books within reach. If the room is shared, this corner can also become the default place for independent assignments.
Keep the visual noise low. A crowded reading area defeats the whole point.
Make it feel separate without building a wall:
- Use a rug to define the area.
- Keep only a small book selection nearby.
- Add a focused light source if the corner is dim.
- Leave enough floor space to sit comfortably.
The best reading corner feels calm the second a child sits down.
Keep current and favorite titles nearby.
Use a cushion, floor chair, or compact reading seat.
Give the corner enough light for books.
Use a Corkboard or Magnetic Board for Weekly Visuals
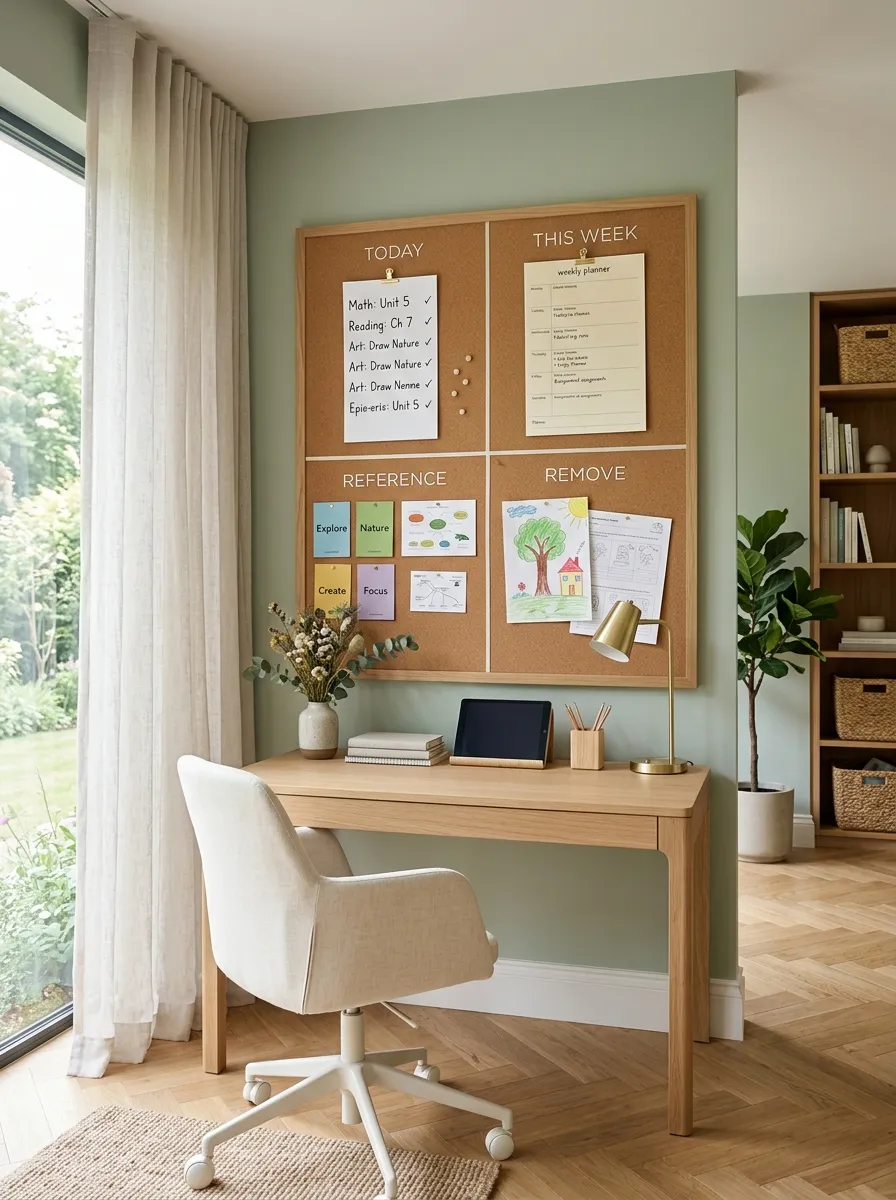
The mistake is turning the board into permanent wallpaper.
A useful board changes. Put only information that helps with the current week, such as a schedule, vocabulary, a math reference, a project deadline, or a child’s current work.
When the lesson changes, the board changes with it.
Keep these categories separate:
- Today: the few things that need attention now.
- This week: assignments, projects, and reminders.
- Reference: information that supports current lessons.
- Finished: remove it when it stops being useful.
That last category matters. A board packed with old information becomes background noise.
Quick rule: if nobody has looked at something for weeks, take it down.
Current priorities only
Projects and upcoming work
Useful lesson material
Anything no longer useful
Choose Adjustable Seating Instead of One Rigid Chair
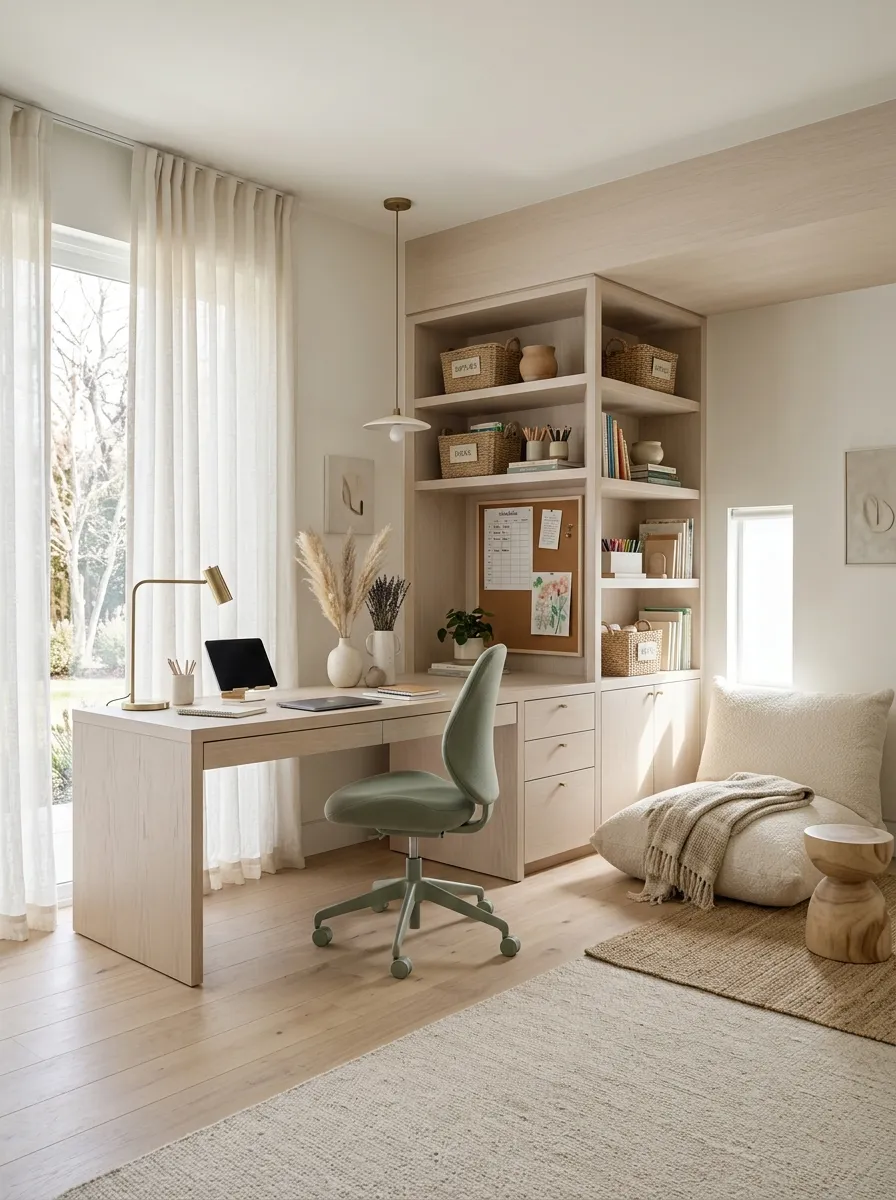
Children don’t sit the same way all day, so the furniture shouldn’t force them to.
A standard chair works for writing, but reading, drawing, building, and listening lessons often call for different positions. Give the room at least one alternative seat, such as a height-adjustable chair, floor cushion, wobble-style seat, or small stool.
You don’t need a dozen seating choices.
One primary work chair plus one flexible alternative is enough to make the room more adaptable without turning it into a furniture showroom.
Stable chair with a supportive work surface.
Comfortable seat or floor cushion.
Flexible seating with room to move.
Give Art Supplies Their Own Easy-Cleanup Station
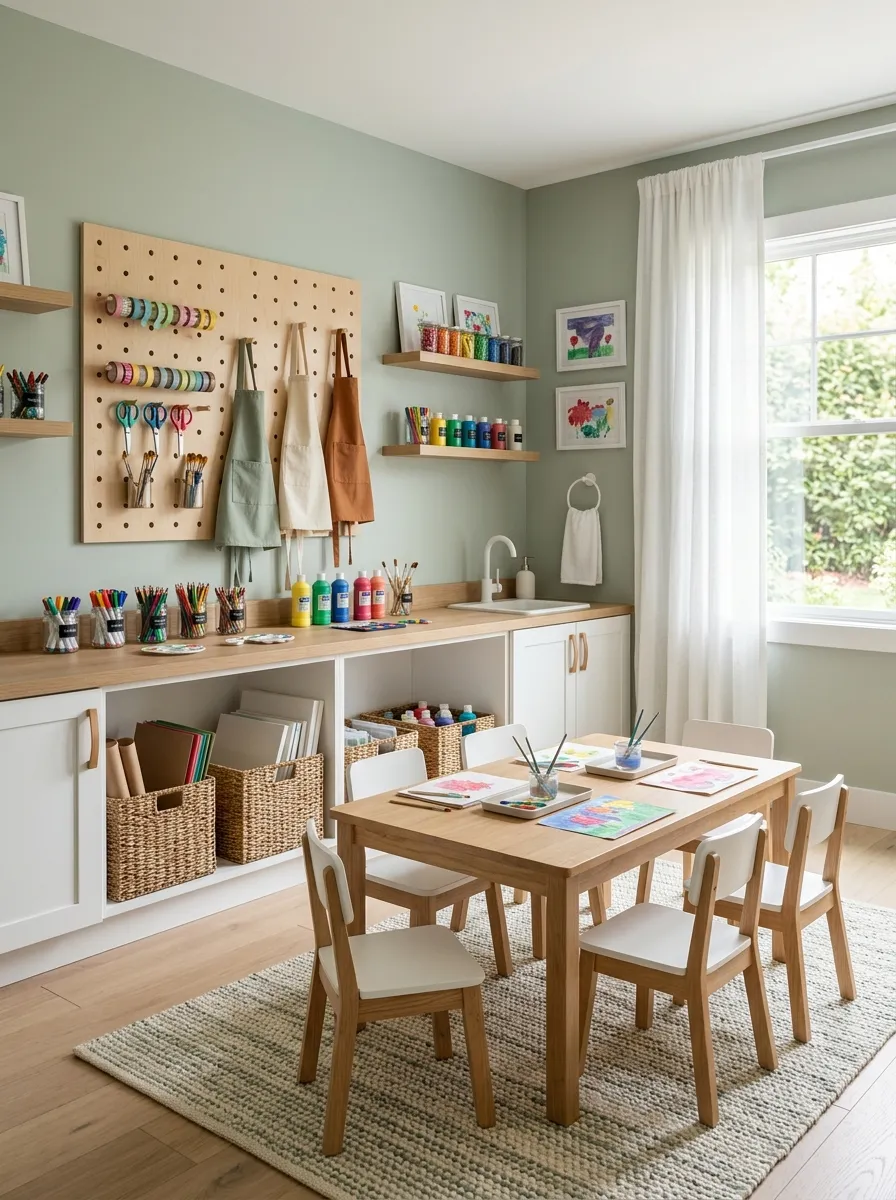
Art supplies become clutter when the cleanup route isn’t obvious.
Put the materials children use most often in one dedicated area, ideally close to a surface that can handle spills and mess. Keep washable materials together and store backup supplies higher or farther away.
The important part is what happens after the project.
Use this four-step cleanup sequence:
- Put reusable tools back.
- Throw away scraps and disposable materials.
- Wipe the work surface.
- Return the supply container to its home.
Don’t make children cross the entire room carrying wet paintbrushes or handfuls of scraps. The closer the cleanup tools are, the more likely the routine will actually happen.
CLEANUP TIP: Keep one small basket or tray beside the art area for tools that need washing. It stops dirty brushes from appearing in random cups around the room.
Leave One Surface Completely Clear for Hands-On Lessons
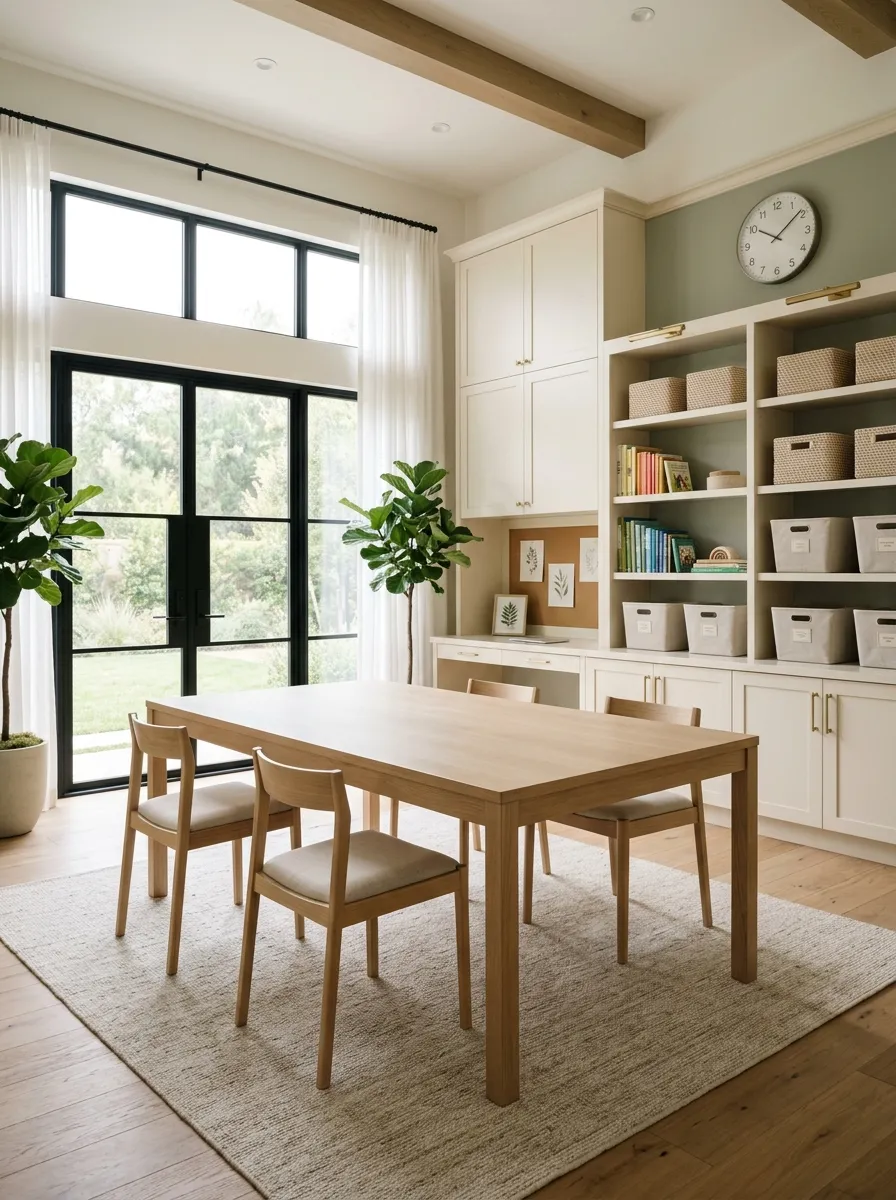
A clear surface is not wasted space.
It’s what lets the room change jobs quickly. One day it can hold a map and notebooks. The next, it can become a building area, an art table, or a science workspace.
The problem starts when every available surface becomes storage.
Protect one work surface from permanent clutter. Don’t use it for unopened packages, decorative baskets, stacks of old worksheets, or supplies that already have another home.
When a project starts, the child shouldn’t have to spend ten minutes clearing the table first.
THE CLEAR-SURFACE RULE
Keep one large work area empty between lessons.
Store supplies around the surface, not on it.
Clear finished projects before starting the next activity.
Let the table change jobs throughout the week.
Use Open Shelves for Favorites and Closed Storage for Clutter
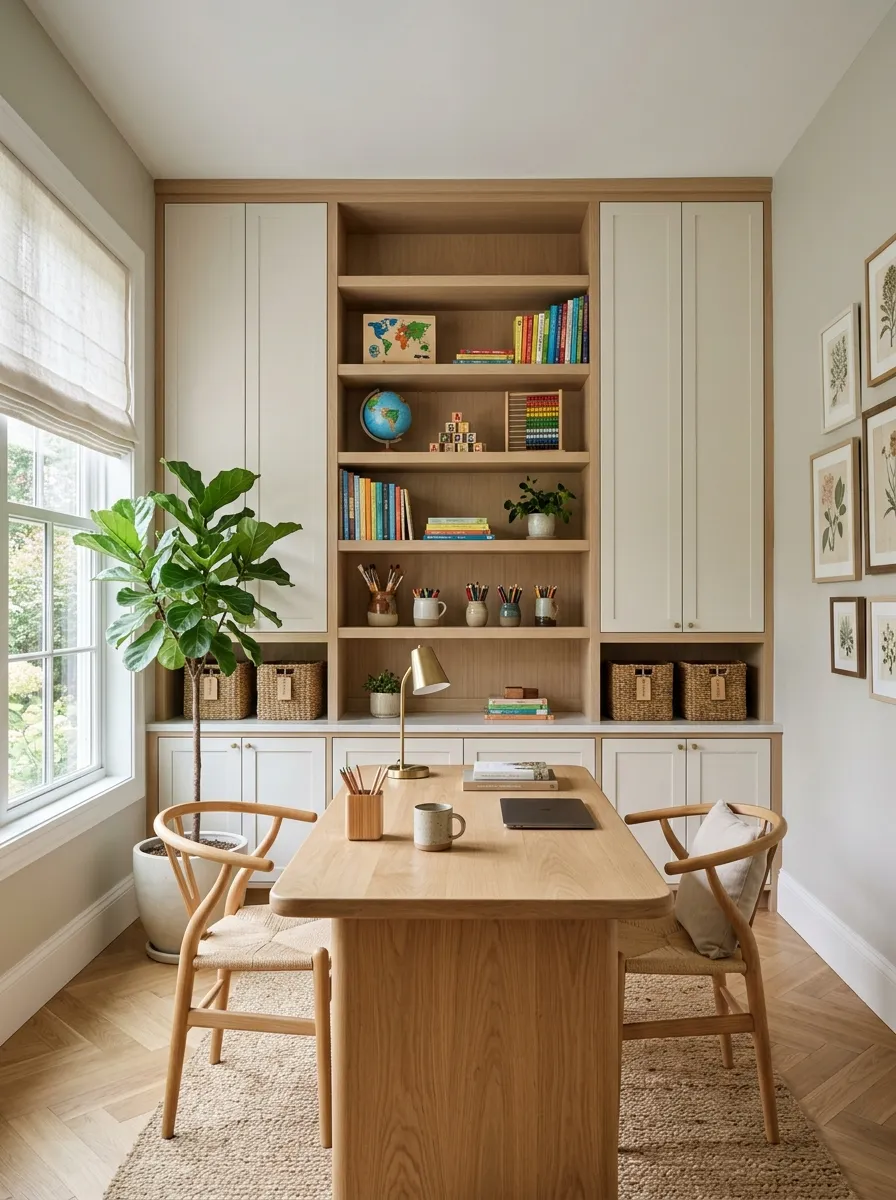
Open shelving should earn its visual space.
Put the things children reach for often on open shelves: current books, favorite puzzles, frequently used learning materials, and a few attractive project supplies. Everything else can disappear behind cabinet doors, baskets, or bins.
This creates a useful distinction between active materials and backup materials.
Keep open shelves from becoming a dumping ground. When a shelf starts filling with random papers, old projects, and half-used supplies, move those items elsewhere.
The room will look calmer because the storage system matches the frequency of use.
Create a Tiny Science and Experiment Station
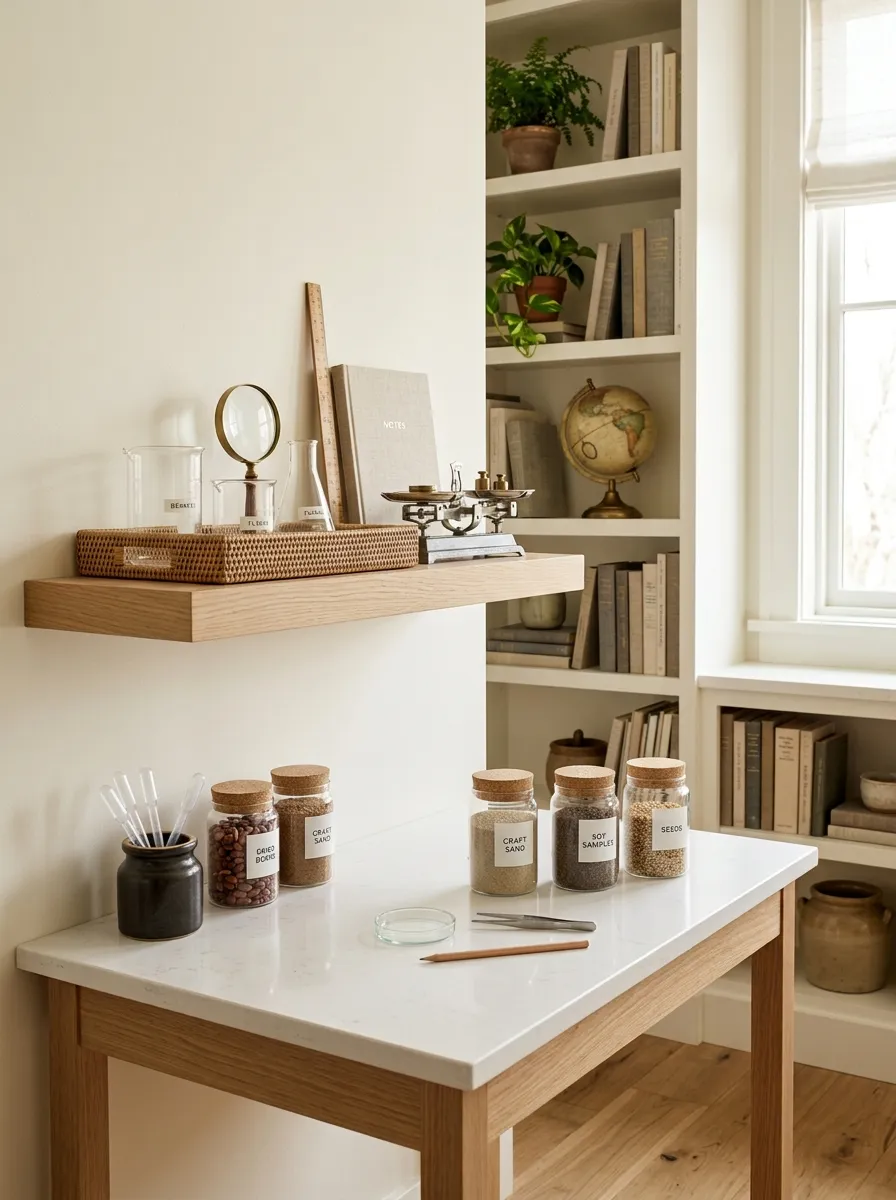
Science projects don’t need an entire cabinet.
Give basic experiment supplies one compact home so children know where to look when a lesson calls for measuring, observing, mixing, or building. A small tray or basket can hold the reusable tools, while consumable materials stay stored separately.
Keep the station close to a surface that’s easy to wipe.
Useful categories include:
- 🔬 Observation tools
- 📏 Measuring tools
- 🥣 Reusable containers
- 🧤 Protective cleanup supplies
- 📝 Small notebook for observations
The point isn’t to build a laboratory. It’s to remove the “where is that?” problem when curiosity strikes.
Best placement: near the main work area, but away from ordinary stationery so the supplies don’t get mixed together.
Add a Wall Calendar That Children Can Actually Reach
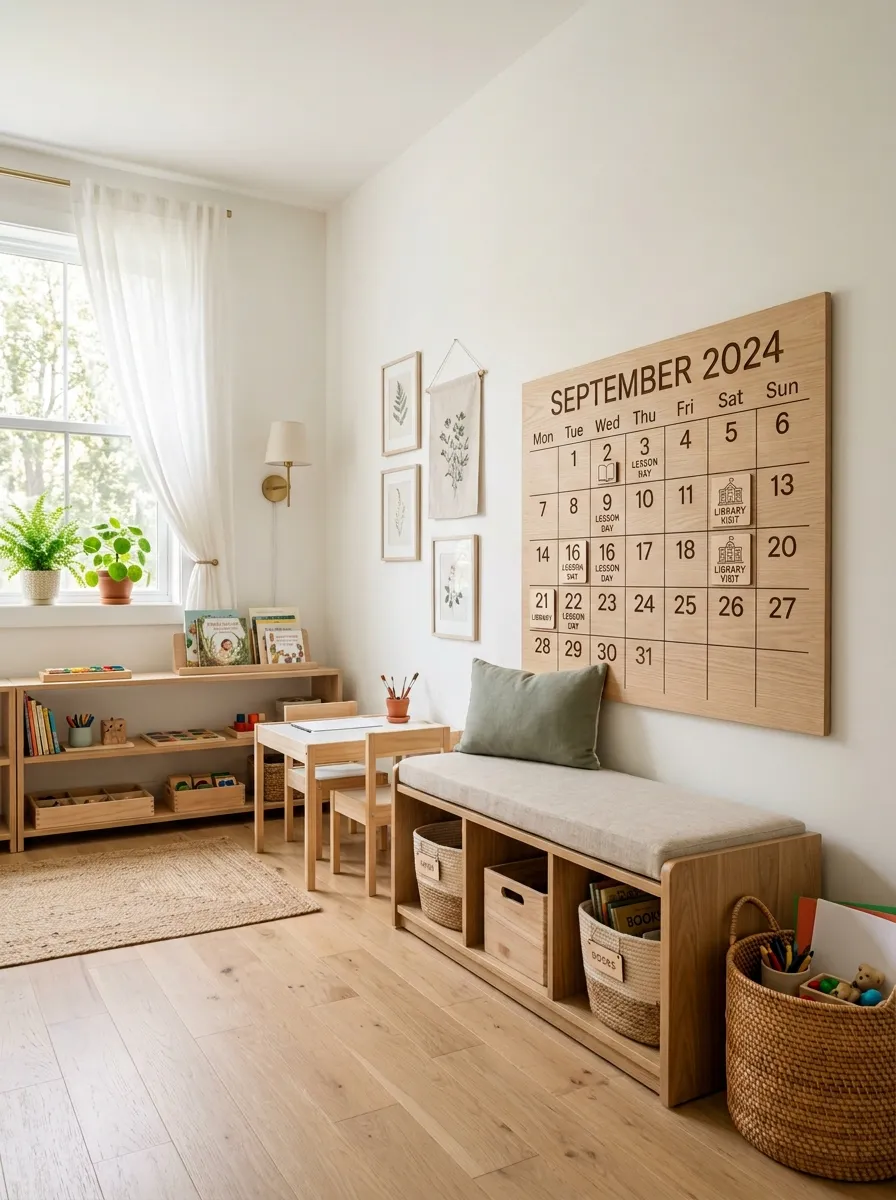
A calendar works better when children can interact with it.
Hang it at a height where they can see the current week without asking an adult to explain what’s happening. Use it for the few pieces of information that genuinely matter, such as lesson days, activities, appointments, library days, or project deadlines.
Don’t turn it into a second bulletin board.
Keep the information large enough to read from the child’s normal standing or sitting position. If the calendar becomes too crowded, remove old information rather than shrinking everything.
Reachability matters more than decoration.
Hang it within comfortable viewing and writing height.
Keep entries large and easy to scan.
Remove information that no longer matters.
Use Baskets to Separate Subjects Without Over-Organizing
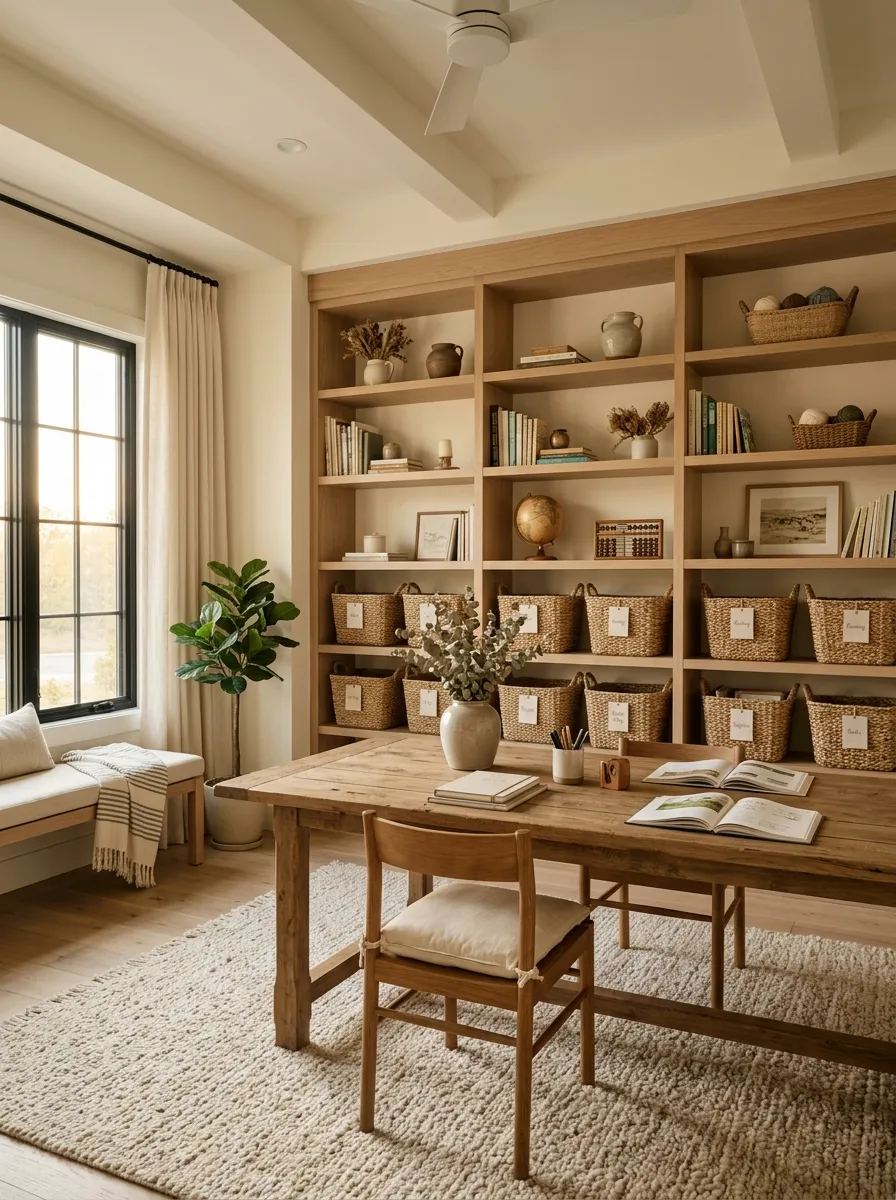
Subject baskets work because they create boundaries without demanding a complicated filing system.
Put the materials for one active subject together, then give the basket a clear label. Math can have its own basket. Art can have another. A current history project can get a temporary basket.
Don’t create a separate container for every tiny supply.
The basket should answer one question: Where do the materials for this work go when we’re finished?
Keep current subjects within easy reach and move inactive subjects elsewhere. That keeps the room flexible when the homeschool schedule changes.
One basket for one active subject.
Make the destination obvious.
Put the whole subject back together.
Set Up a Comfortable Spot for Listening Lessons and Audiobooks
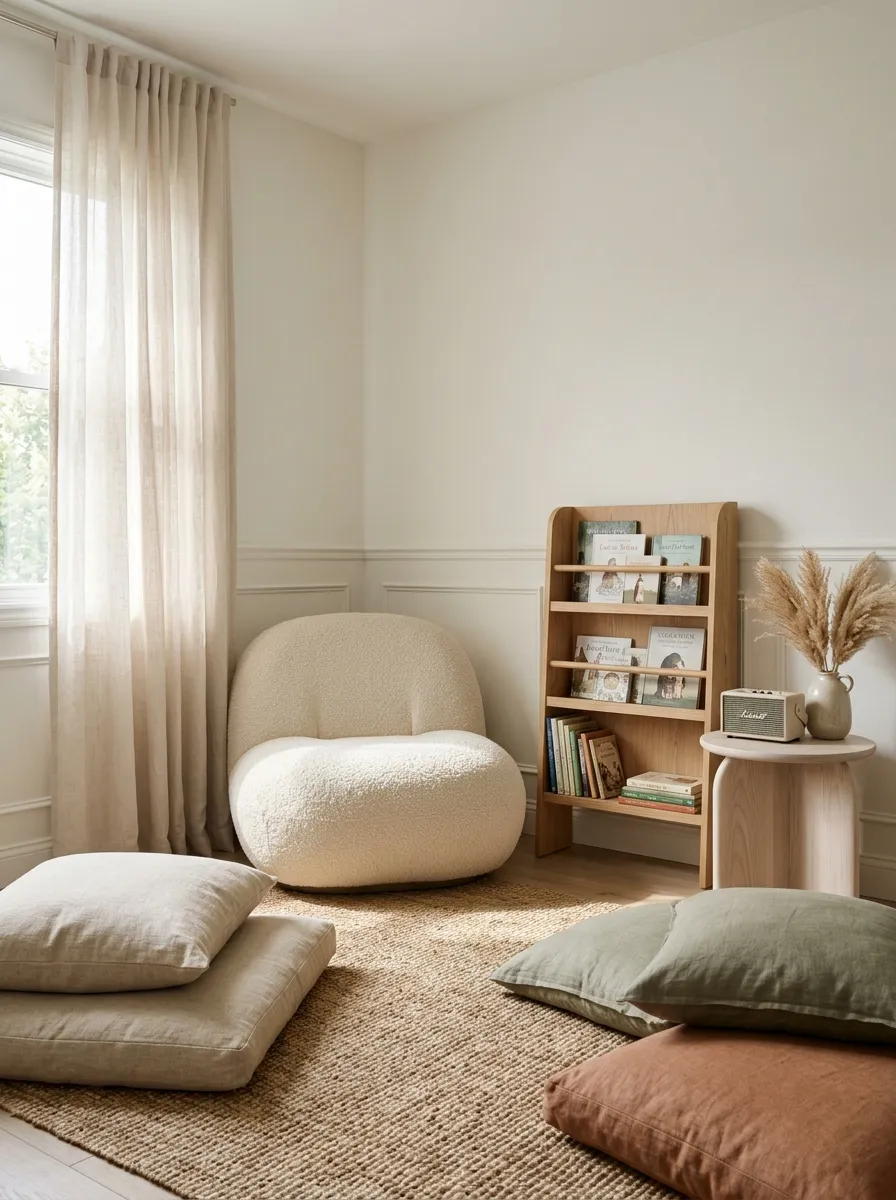
Listening lessons need a different setup from handwriting.
Don’t force children to sit at a desk and stare at an empty worksheet while an audiobook or lesson plays. Create a comfortable listening spot where they can sit, draw quietly, look through a related book, or simply focus on the audio.
A small floor cushion, lounge chair, or reading corner can handle this job.
| Listening activity | Useful setup |
|---|---|
| Audiobook | Comfortable reading seat |
| History lesson | Chair or floor cushion |
| Language practice | Quiet desk or table |
| Educational podcast | Flexible seat away from distractions |
| Read-aloud | Shared comfortable seating |
The best spot isn’t necessarily the prettiest corner. Pick the place where outside noise and foot traffic are least distracting.
Reserve One Drawer for Work That Isn’t Finished Yet
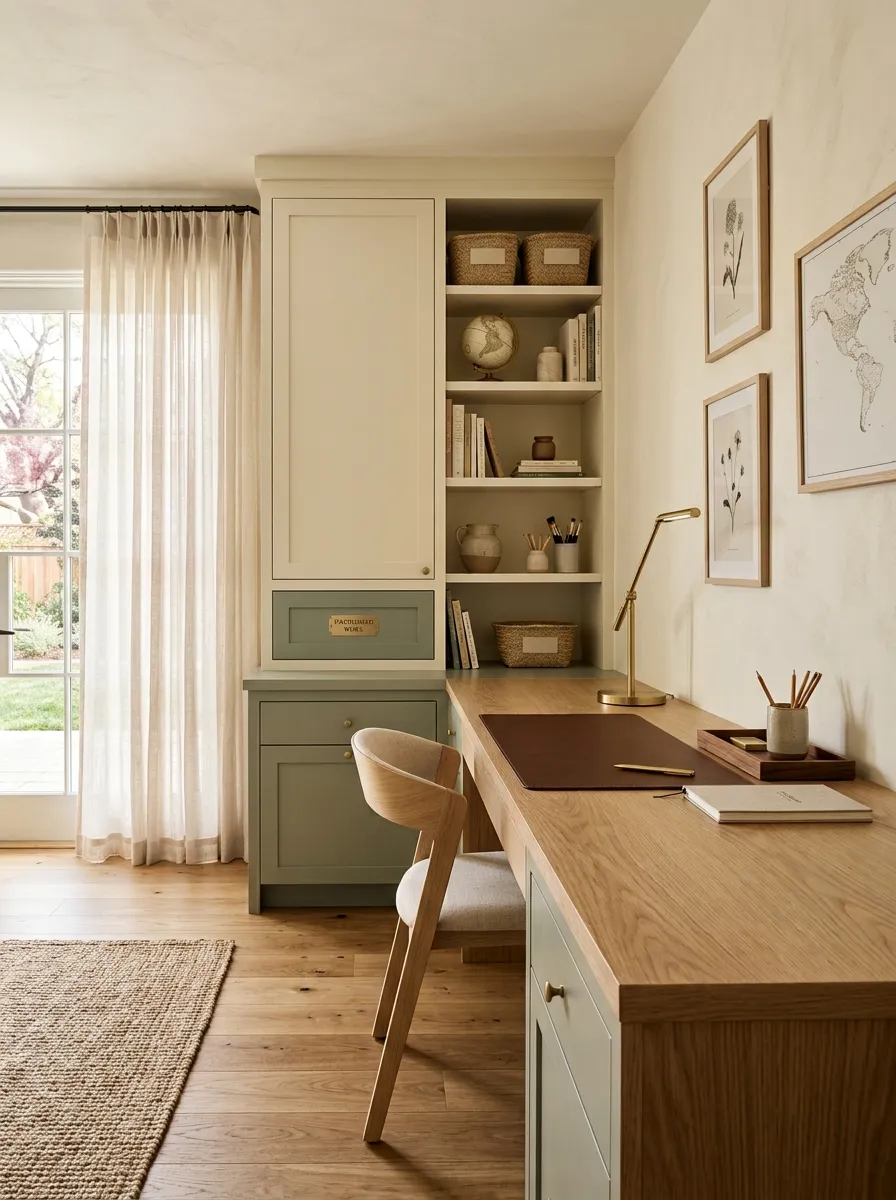
Unfinished work needs its own destination.
Without one, half-completed worksheets end up under books, craft projects get mixed with finished work, and everyone spends time trying to remember where something was left.
Choose one drawer, tray, or shallow basket for work that needs to continue later. Keep it close to the main work area so putting something away takes seconds.
Use a simple rule: unfinished means it goes here, not back onto the desk.
This small boundary keeps the workspace clear without forcing children to finish everything in one sitting.
Lesson ends before the work is complete.
Move it straight into the unfinished-work drawer.
Bring it back when that lesson continues.
Add a Large Rug to Define the Learning Area
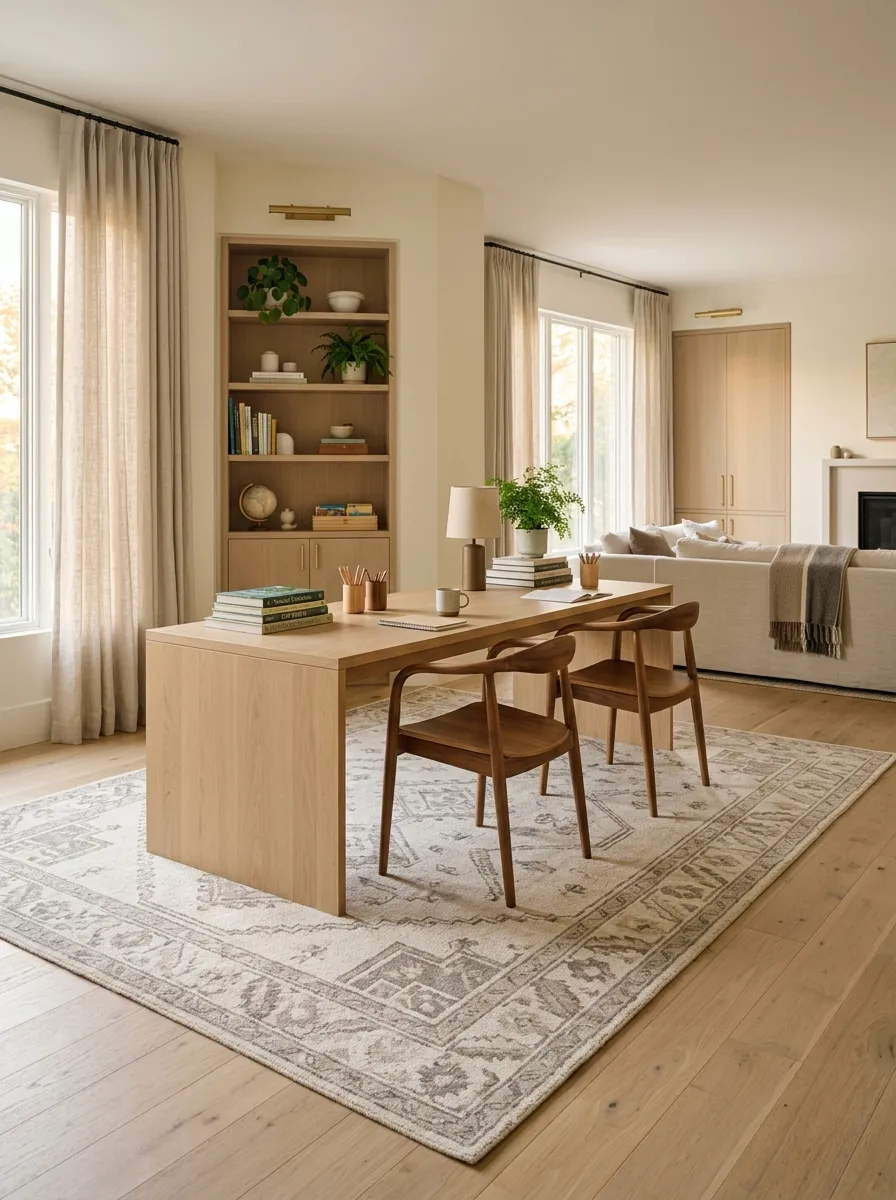
A rug can do more than soften a hard floor.
In a shared room, it creates an instant visual boundary around the homeschool area. That matters when the room also contains toys, family seating, storage, or other activities.
Choose a rug large enough to connect the main pieces of the learning zone rather than placing a tiny mat underneath one chair.
Keep the pattern practical. A busy learning space doesn’t need another competing visual element.
Use the rug to answer one simple question: where does the learning area begin?
ROOM-ZONING TIP: In an open-plan space, position the rug beneath or between the primary learning furniture. It creates a zone without adding another divider.
Create a Simple Morning Setup That Resets the Room Fast
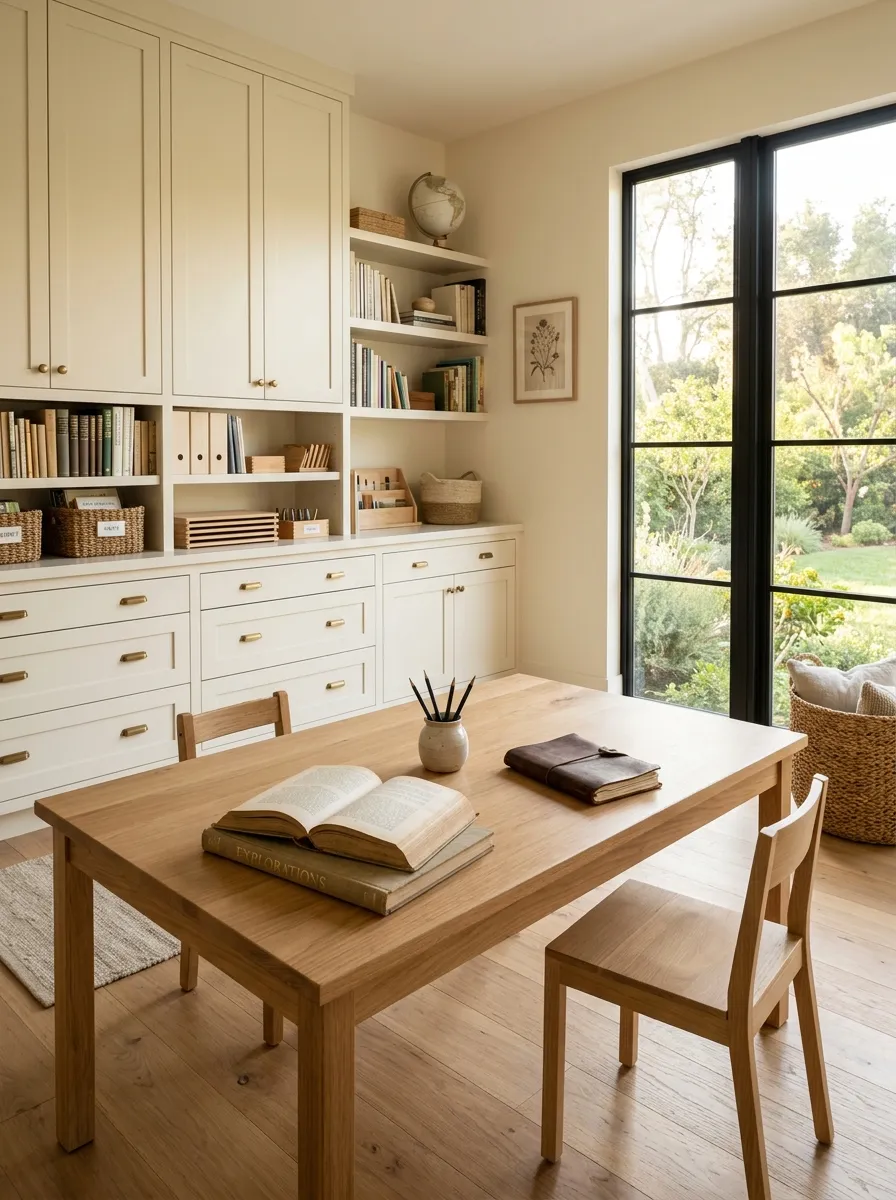
The first ten minutes of the school day shouldn’t involve hunting for pencils and clearing yesterday’s projects.
Set up the room the night before or at the end of the previous lesson block. Put current books together, return everyday supplies, clear the main work surface, and place the first activity where it’s easy to see.
Keep the routine short enough that everyone can actually follow it.
A practical morning reset:
- Clear the main table.
- Return loose supplies.
- Pull out current books.
- Put the first lesson materials together.
- Move unfinished work to its drawer.
The room doesn’t need to be spotless. It needs to be ready.
Open the main work surface.
Put loose tools away.
Pull out current books.
Set up the first activity.
Move unfinished work aside.
Use Vertical Space When the Floor Is Already Full
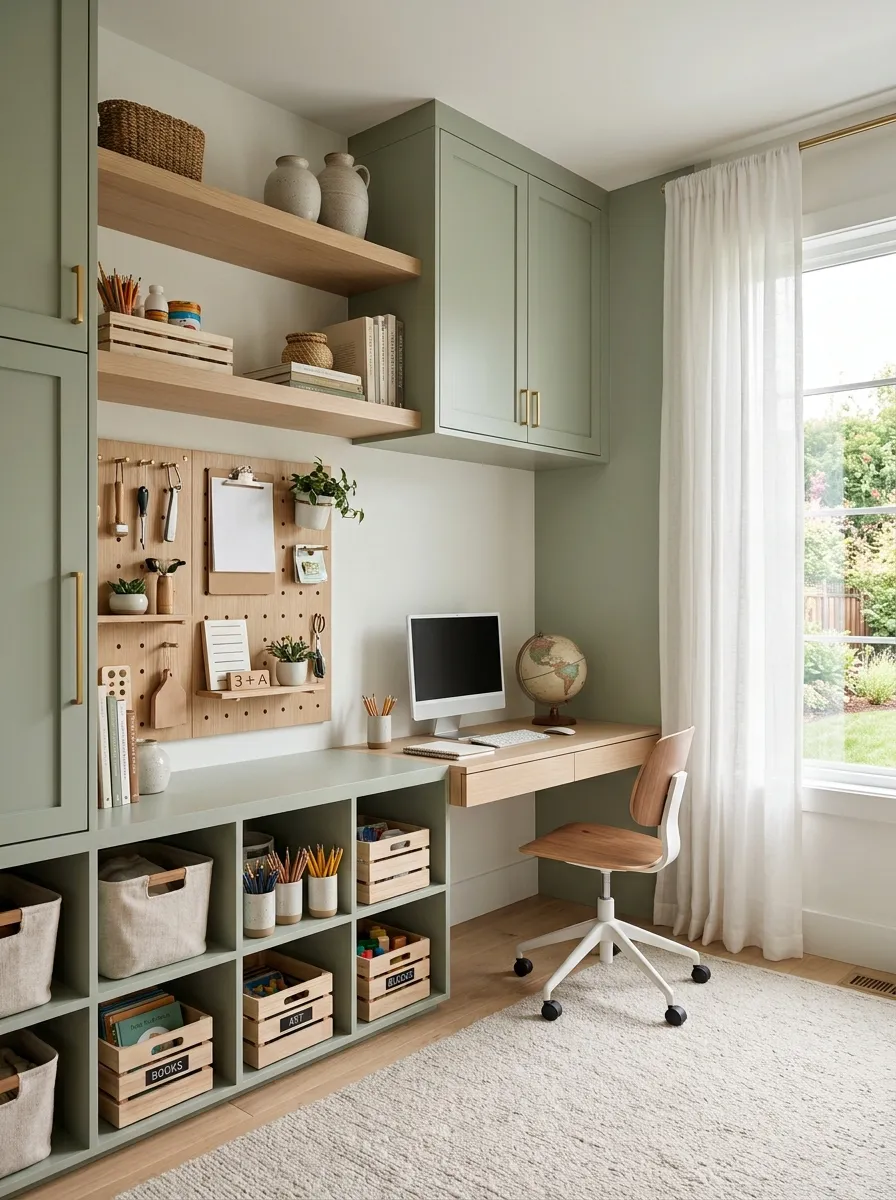
When the floor is crowded, stop adding furniture.
Walls, the backs of doors, the sides of cabinets, and high shelves can carry storage without taking another inch of walking space. Use those areas for items that don’t need to sit at child height all day.
Keep daily materials within reach and move backup supplies upward.
A narrow wall shelf can hold books. Peg-style organizers can handle lightweight tools. A high cabinet shelf can store seasonal materials that aren’t part of the current routine.
The rule is simple: use low storage for independence and higher storage for backup materials.
Design the Room So It Can Switch From School to Family Time
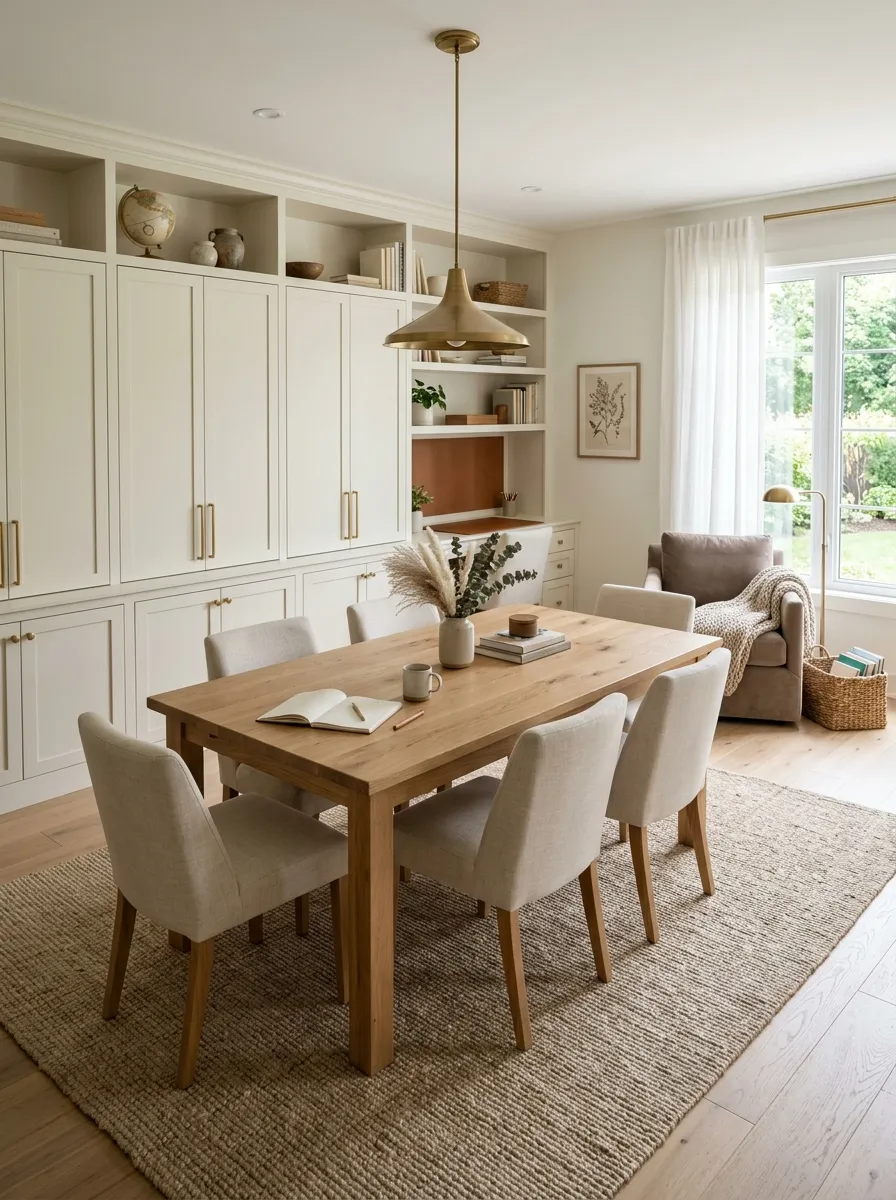
The smartest homeschool room isn’t a room that screams “school.”
It should be able to change jobs when lessons end. A large table can become a craft surface, homework spot, or family project area. A reading chair can remain useful after schoolwork is finished. Closed storage can hide supplies that don’t need to stay visible all evening.
Choose furniture that serves more than one purpose and storage that can disappear behind doors or baskets.
Build the room around flexibility:
- 📚 Learning materials have defined homes.
- 🧺 Messy supplies can be closed away.
- 🪑 Seating works beyond lessons.
- 🧹 Main surfaces can be cleared quickly.
- 🏠 The room still feels like part of the home.
That balance matters. A homeschool room should support family life, not take over the house.
School reading → relaxing with a book
Lessons → crafts, projects, family activities
School supplies → hidden after lessons
Make Your Homeschool Room Easier to Live With
The strongest homeschool room ideas aren’t the ones that add the most furniture, storage bins, or decorations. They’re the ones that remove friction from the ordinary school day.
Give daily supplies obvious homes. Keep one surface clear. Create a reading corner, protect useful floor space, and make unfinished work easy to put away. Then let the room change as your family’s lessons and routines change.
You don’t need a classroom packed with equipment to create a productive learning environment. You need a room that makes the next task easier and cleanup less annoying.
Start with the one problem that bothers you every day and fix that first. Then save these Homeschool Room Ideas for the next time you’re ready to improve the setup.