
The dried herbs in the back of your spice cabinet are not herbs. They are memories of herbs. Dusty, flavourless ghosts of something that was once alive and worth eating. You know this because you’ve added twice the suggested amount to a dish and tasted almost nothing.
Fresh herbs are not a luxury upgrade. They are the difference between food that tastes like cooking and food that tastes like effort. The gap between dried rosemary and a fresh sprig you pulled from a pot on the counter is not a subtle improvement. It’s a different ingredient entirely.
Growing herbs indoors requires less than people think. It requires one sunny window, a container that drains, decent soil, and the habit of actually harvesting. The habit is the hardest part. Everything else is straightforward once you know what you’re doing.
The Light Situation, Stated Plainly
An indoor herb garden lives or dies on this single variable. Everything else is adjustable. Light is not.
Windows That Work And Windows That Don’t
A south-facing window is the indoor herb garden’s best friend. It delivers the longest hours of direct sun throughout the year and gives you the most flexibility with what you can grow. West-facing windows are a solid second choice — intense afternoon sun suits Mediterranean herbs like rosemary, thyme, and oregano particularly well. East-facing windows give morning light and are adequate for less demanding herbs like chives, mint, and parsley. North-facing windows are not suitable for growing culinary herbs without supplemental lighting. This is not negotiable.
The mistake most people make is placing herbs near a window without checking whether that window actually delivers direct sun or merely ambient brightness. Bright ambient light looks like sun. It isn’t. Hold your hand between the light source and a surface — if there is a sharp, clear shadow, you have direct sun. If the shadow is soft and indistinct, you have diffused light, and your Mediterranean herbs will sulk slowly toward irrelevance.
Grow Lights As A Real Solution
Grow lights have lost their association with specialist horticulture and become a genuine home kitchen option. A full-spectrum LED grow light positioned six to twelve inches above herbs produces results equivalent to or better than a good south window, and it works in any kitchen regardless of orientation.
The modern integrated hydroponic units — slim white systems with an arched grow light over a water reservoir — are designed specifically for kitchens with no direct sunlight. They are not a compromise. For basil specifically, which needs consistent warmth and light, a quality grow light unit often outperforms even a sunny window during winter months when light hours are short.
A simpler option is a strip of full-spectrum LED grow tape mounted beneath upper kitchen cabinets directly above a counter herb collection. The herbs sit on the counter, the light runs above them, and the setup costs far less than a dedicated unit. For a dark kitchen corner, under-cabinet grow lighting transforms an unusable location into the most productive herb growing spot in the house.
What Each Herb Actually Needs Indoors
Most culinary herbs behave differently indoors than in a garden, and knowing the specific requirements prevents the slow decline that makes people believe they can’t grow herbs.
The Heat-Lovers
Basil is the herb most people attempt and most people kill. It needs warmth above all else — below fifteen degrees Celsius, it sulks. Below ten degrees, it dies. Never place basil near a cold window in winter or beside a draughty exterior door. It needs the warmest, sunniest spot in the kitchen and consistent moisture without waterlogging. When basil is thriving indoors, it grows fast enough to harvest weekly without depleting the plant. When it’s merely surviving, it barely grows between harvests.
The Drought-Tolerant Mediterranean Herbs
Rosemary, thyme, sage, and oregano are the herbs most people overwater. They come from dry, rocky Mediterranean hillsides. They want their soil to dry out between waterings. They want good drainage above everything else. Plant them in a gritty, free-draining mix rather than standard potting compost. Water deeply, then wait until the top two inches of soil are genuinely dry before watering again. Indoors, with central heating drying the air, these herbs often need less water than people expect.
The Always-Thirsty Herbs
Mint, parsley, coriander, and chives prefer consistently moist soil. Not wet, but never allowed to dry out completely. These are the herbs that will tell you immediately when they need water — parsley and coriander droop dramatically at the first sign of drought. Keep them in slightly larger pots than you think necessary; the extra soil volume retains moisture for longer between waterings.
Indoor Herb Garden Ideas
Tiered Wire Hanging Baskets
Hang a three-tier wire hanging basket unit — the kind with coconut coir liners at each level — from a ceiling hook or curtain rail bracket near the best window in the kitchen. Use coir liners rather than plastic inserts; the texture is better and drainage is more natural. Plant each tier with a different herb, placing the most vigorous growers at the top where they receive the most light. Basil at the top, parsley and mixed herbs in the middle, trailing thyme or oregano at the bottom where it can cascade over the wire edge. The tiered format makes the most of ceiling height in kitchens where counter and wall space is limited.
Large Kitchen Herb Wall Panel
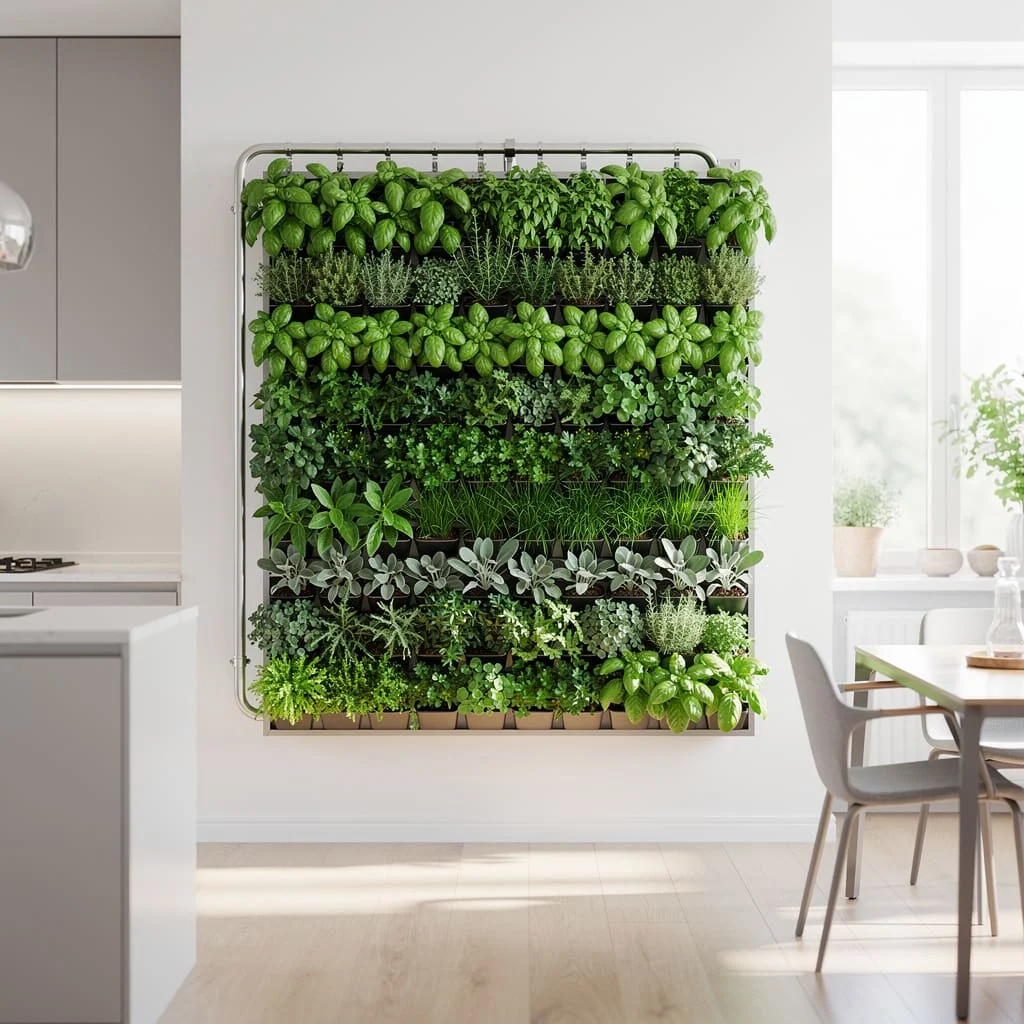
Mount a full-size modular vertical planting panel — the kind with individual horizontal shelves on a metal or plastic frame — on the kitchen wall beside or between windows. Plant in horizontal rows by variety, filling each row entirely with the same herb so the display reads as stripes of green rather than a mixed jumble. Basil across the top row for the bold large leaves, thyme through the middle rows for the fine texture, sage across a lower row for the silver-grey foliage. The scale of this approach — a wall panel rather than a counter arrangement — turns herb growing from a functional addition to the kitchen’s primary visual feature.
Freestanding Black Wire Herb Stand
Place a black wire modular shelving unit — the kind with multiple hexagonal or rectangular compartments arranged vertically — in front of the sunniest window in the kitchen. Use black plastic pots throughout for a consistent material palette. The black-on-black combination with the green of the herbs reads as intentional rather than industrial. As the plants grow and the herbs spill over the edges of the hexagonal compartments, the geometric structure softens without losing its form. Position this near the kitchen dining area rather than the stove if the window location requires it; the display is strong enough to stand as a room feature independent of its practical function.
Labelled White Ceramic Counter Row
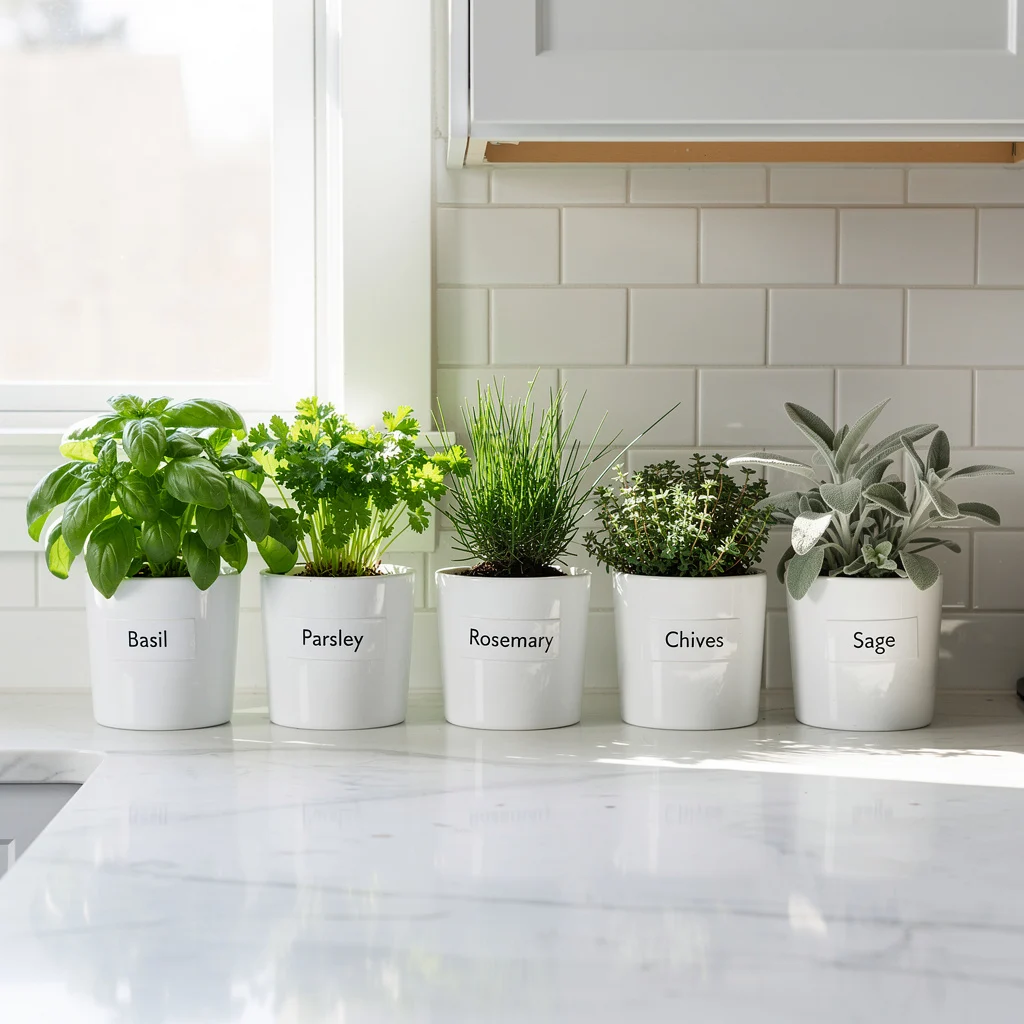
Line five white ceramic pots of identical size — roughly four inches in diameter, gloss or matte finish — along the sunniest counter in the kitchen, positioned directly below the window or beneath an upper cabinet where you’ve mounted a grow light strip. Print or hand-letter each herb name directly on the pot surface using a paint marker, or purchase pots with printed labels. Plant basil, parsley, chives, thyme, and sage as the core five. The uniformity of the containers eliminates visual noise and makes the collection look like it was purchased as a set rather than accumulated over time.
Vertical Single-Variety Herb Columns
Mount a dark wood-panelled vertical display — or use dark fence boards arranged side by side on a kitchen wall — and attach individual hanging planters at evenly spaced vertical intervals down each board. Plant each column with a single variety: one full column of mint, one of rosemary, one of several thyme varieties cascading down the board, one of parsley. The single-variety column approach is the opposite of the usual mixed herb display. Each column reads as a texture study in green rather than a collection. The dark wood background makes every shade of green more vivid. Uplight the columns from below with small LED floor spots for dramatic evening effect.
Long White Island Trough
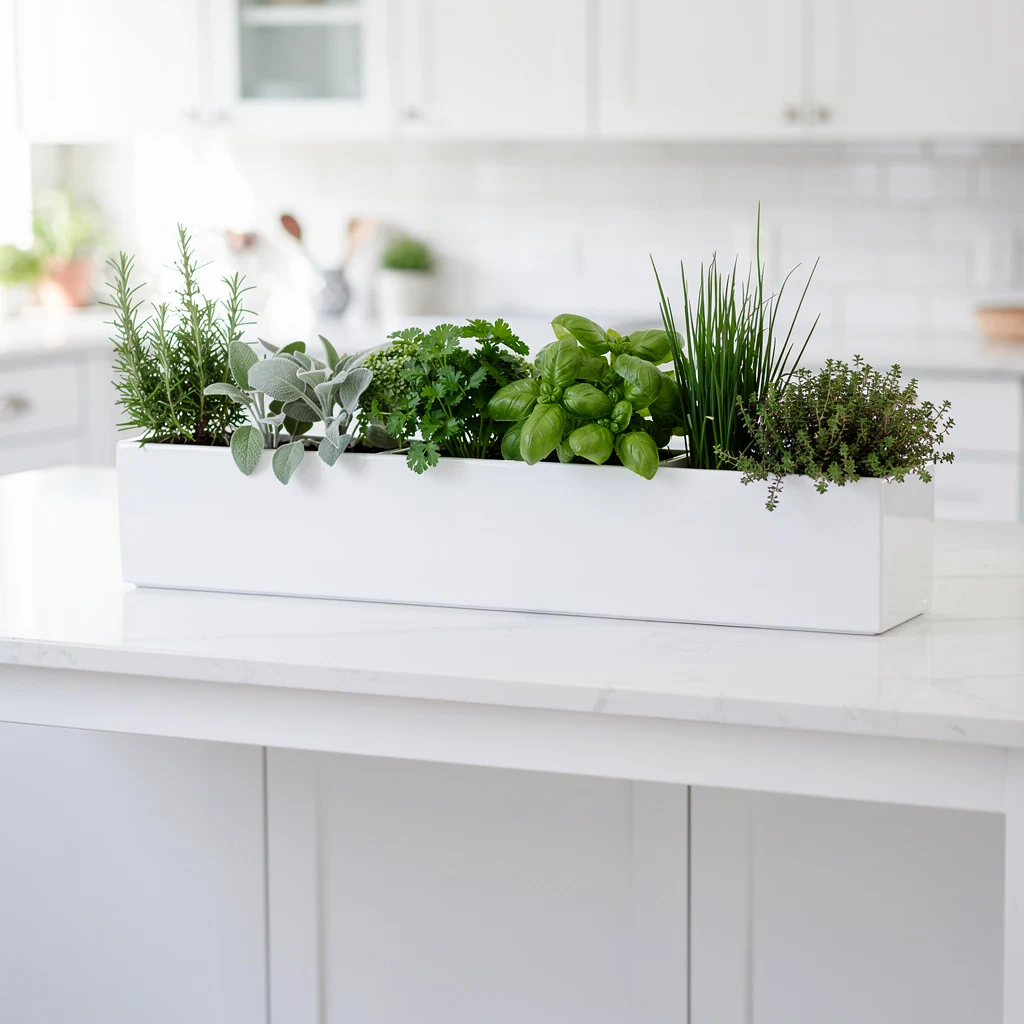
Place a single long white rectangular planter — roughly eighteen to twenty-four inches long and six inches wide — on a kitchen island or peninsula. Fill with quality potting mix blended with perlite for drainage. Plant in a gradient from tallest to shortest: chives or rosemary at one end, basil and parsley through the centre, trailing thyme at the other end. The single vessel consolidates what would otherwise be multiple pots into one clean object. On an island, it’s accessible from both sides and becomes the most used herb collection in any kitchen.
Stacked Bamboo Steamer Tower
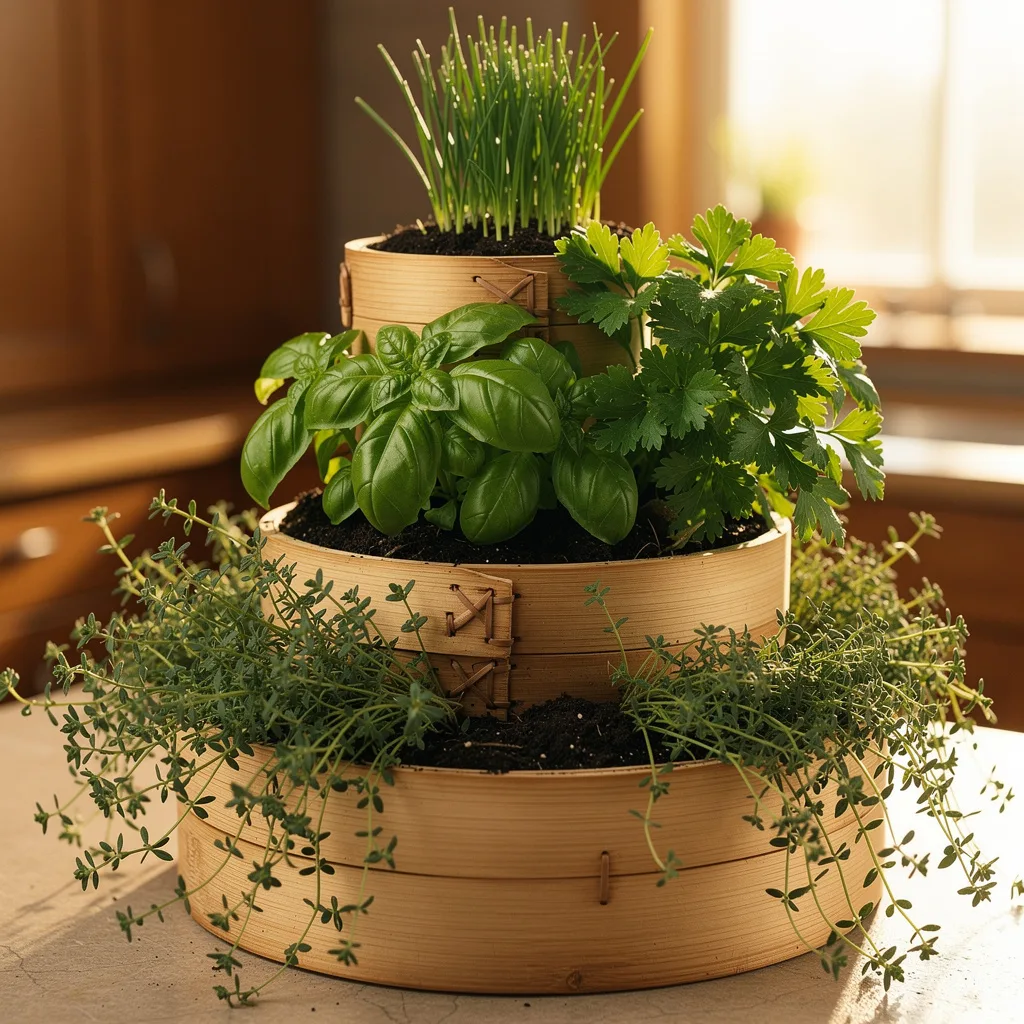
Repurpose bamboo steamer baskets — the kind used for dim sum, available in various sizes — as a stacked herb planting tower. Line each tier with heavy-duty plastic and fill with potting mix. Plant trailing thyme in the largest base tier so it cascades over the sides, basil and flat-leaf parsley in the middle tier, and chives in the smallest top tier where their upright habit reads best. Stack them in front of a sunny window where the light catches the pale bamboo. This is one of the few container approaches that looks genuinely different from everything else available at a garden centre.
Smart Hydroponic Grow System
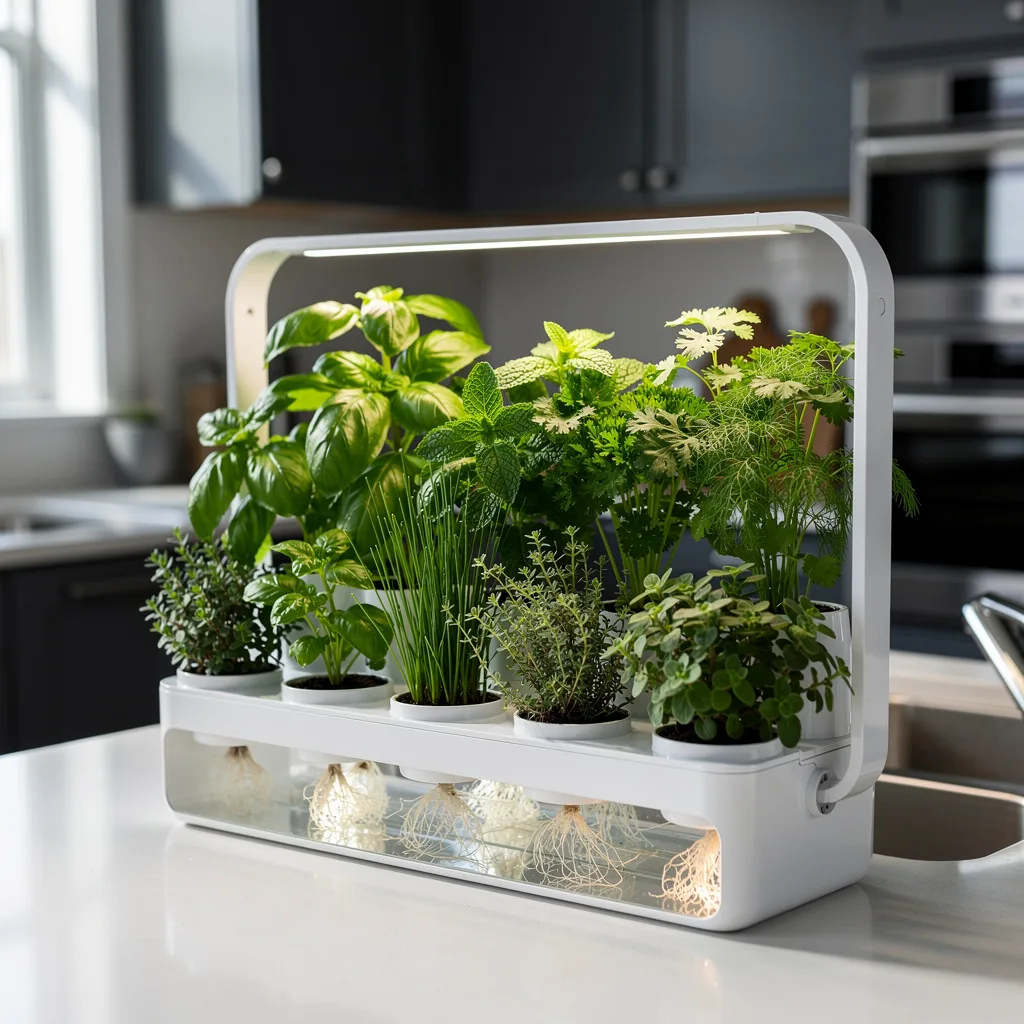
Purchase one of the countertop hydroponic herb systems — white integrated units with a clear water reservoir, individual pod slots, and a built-in LED grow arch. These are engineered specifically for low-light kitchens and remove most variables that cause indoor herb failure: they self-regulate water levels, the grow light is calibrated for herb growth, and the pod format means each herb gets its own root space. They produce the most reliably lush herbs of any indoor growing method. The aesthetic is clinical and modern; it works in grey, black, or white contemporary kitchens and looks completely wrong in a cottage or rustic setting.
Macramé Triple Hanger
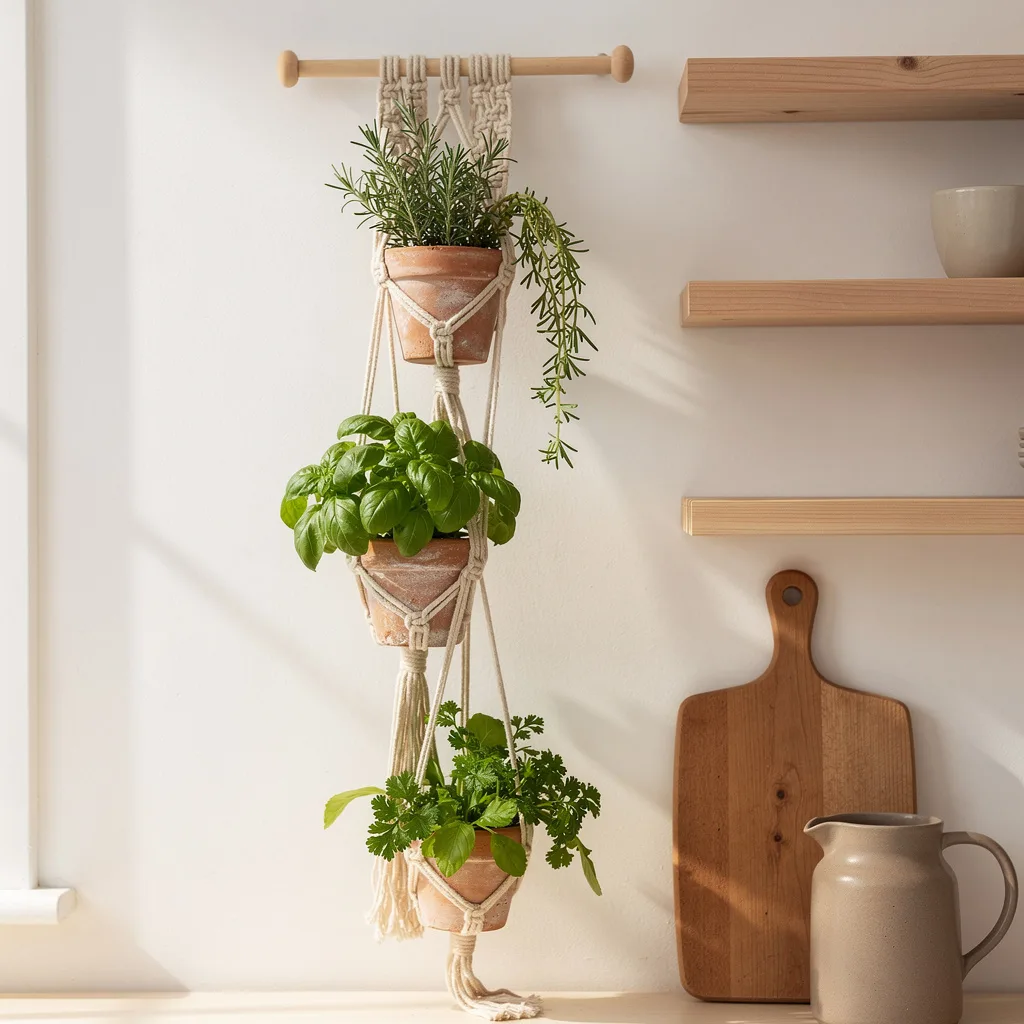
Hang a knotted cotton rope macramé hanger — the kind designed for three vertically stacked pots on a single suspension cord — from a ceiling hook near the sunniest window in the kitchen. Use terracotta pots at each level: rosemary at the top where it receives the most direct light, basil at the middle level, flat-leaf parsley at the bottom. The natural cotton cord and warm terracotta against a white wall reads as artisanal without being precious. This is a herb display that functions as kitchen decor in a way that shelf arrangements and counter rows don’t — it occupies vertical space and creates visual movement.
Glass Cloche Terrarium
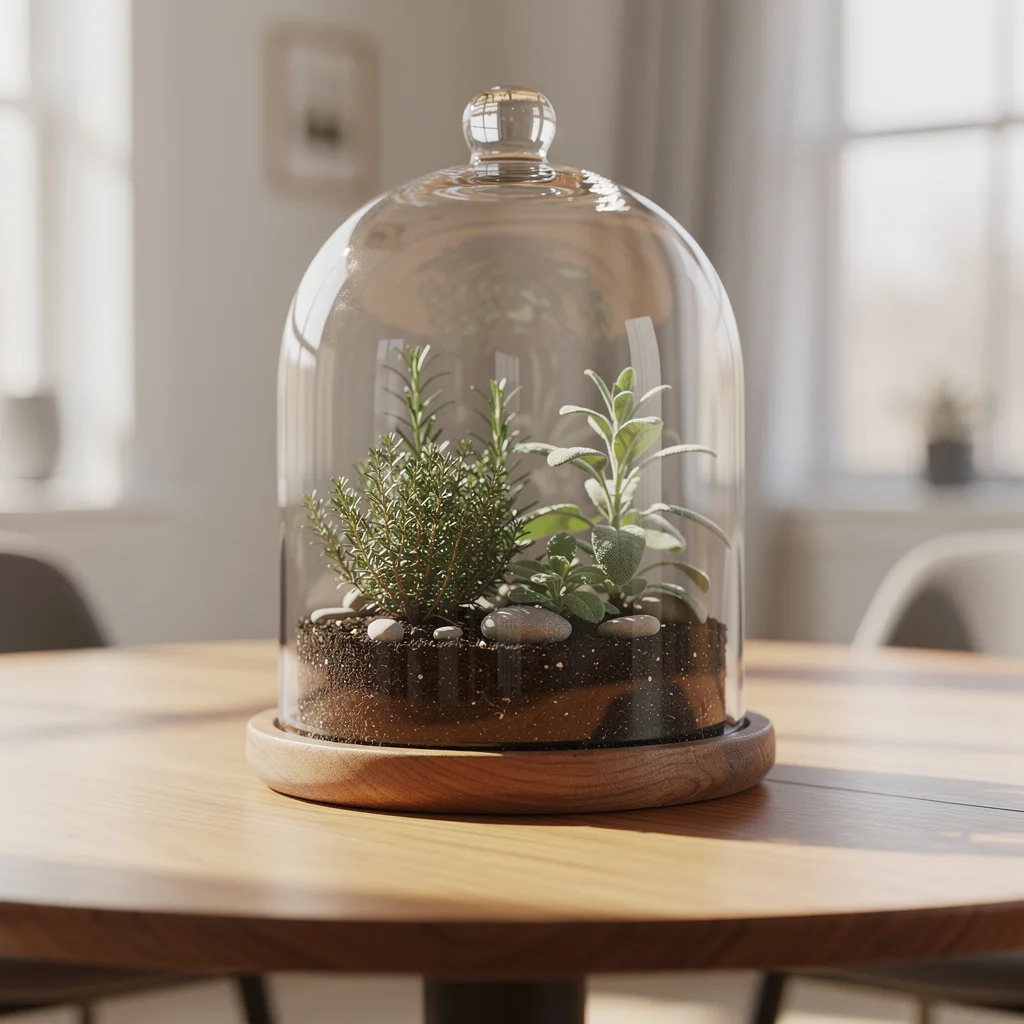
Plant three to four compact herbs — young rosemary, thyme, and sage work best — in a shallow wooden or ceramic base tray filled with potting mix over a drainage layer of pebbles. Cover with a large glass cloche or bell jar. The glass creates a slightly humid microenvironment that suits these herbs through winter months when central heating dries the air aggressively. Remove the cloche for a few hours daily to allow air circulation and prevent fungal issues. Place on a table near a window where the cloche catches the light. The visual effect is a miniature indoor garden under glass — something between a botanical specimen and a tabletop display.
Under-Cabinet Corner Shelf With Grow Light
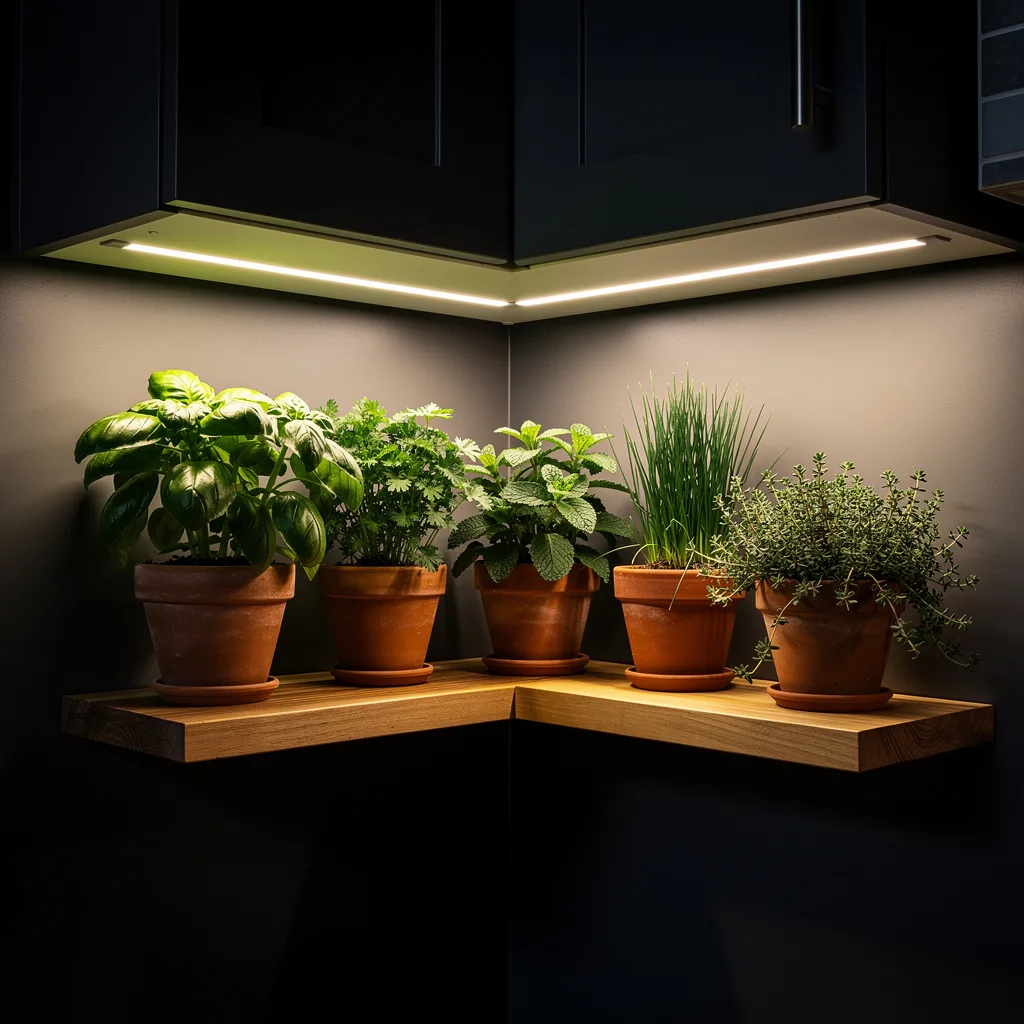
Mount a small L-shaped floating shelf in a kitchen corner at counter height, below the upper cabinets. Fix a full-spectrum LED strip light beneath the cabinet above, directed down onto the shelf surface. Arrange terracotta pots on the shelf with herbs that suit the specific light level you achieve. The corner location uses space that in most kitchens serves no purpose. The grow light solves the north-facing window problem entirely. The warm wood shelf and terracotta against the kitchen wall reads as intentional rather than improvised.
Copper-Frame Geometric Terrarium
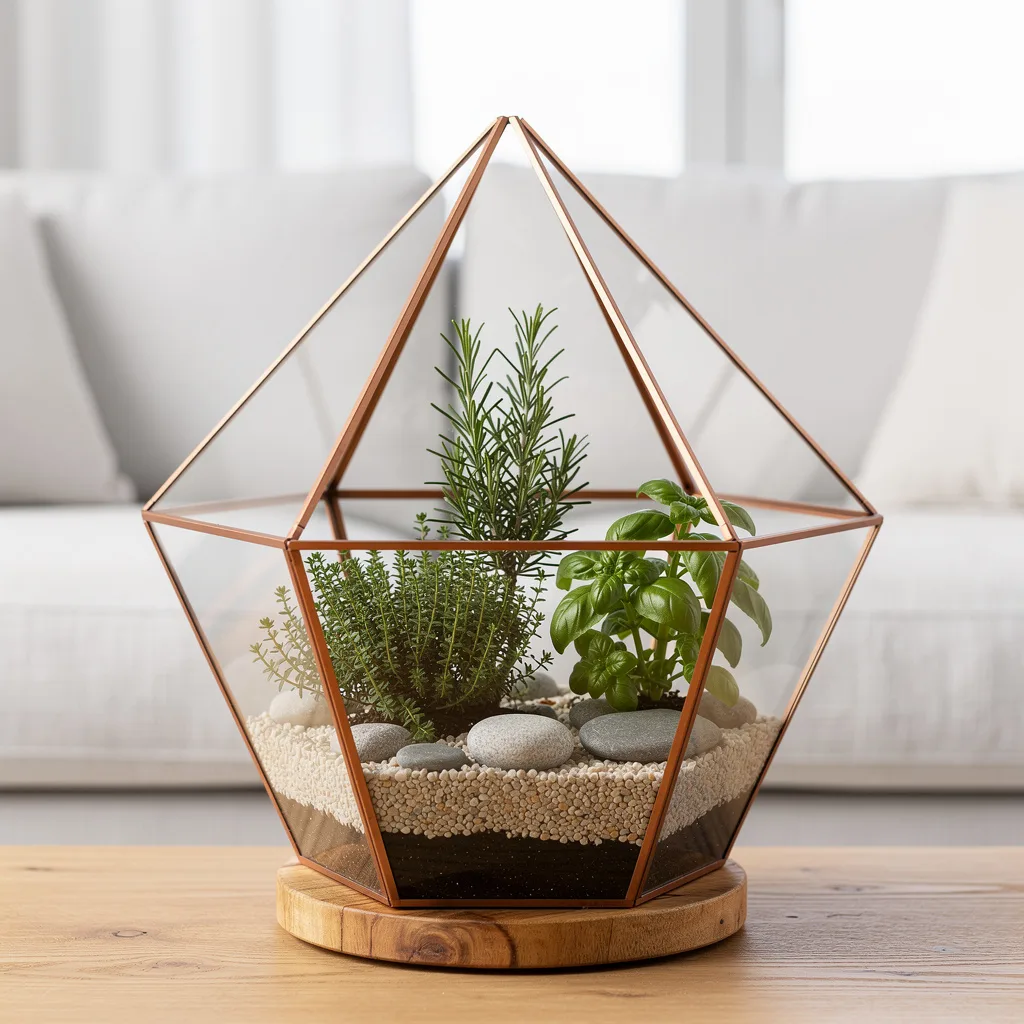
Place a large geometric terrarium — the open-sided copper and glass kind with a polygonal frame — on a table or counter near a bright window. Layer the base with small white pebbles for drainage, add a layer of activated charcoal, then a layer of quality potting mix. Plant rosemary for height at the back, thyme and a compact basil variety in the middle, and small trailing herbs at the front. The geometric copper frame functions as a sculptural object as much as a planter. Keep the herbs to a compact selection; overcrowding the terrarium destroys the architectural quality of the frame.
Vintage Tin Bread Box Planter
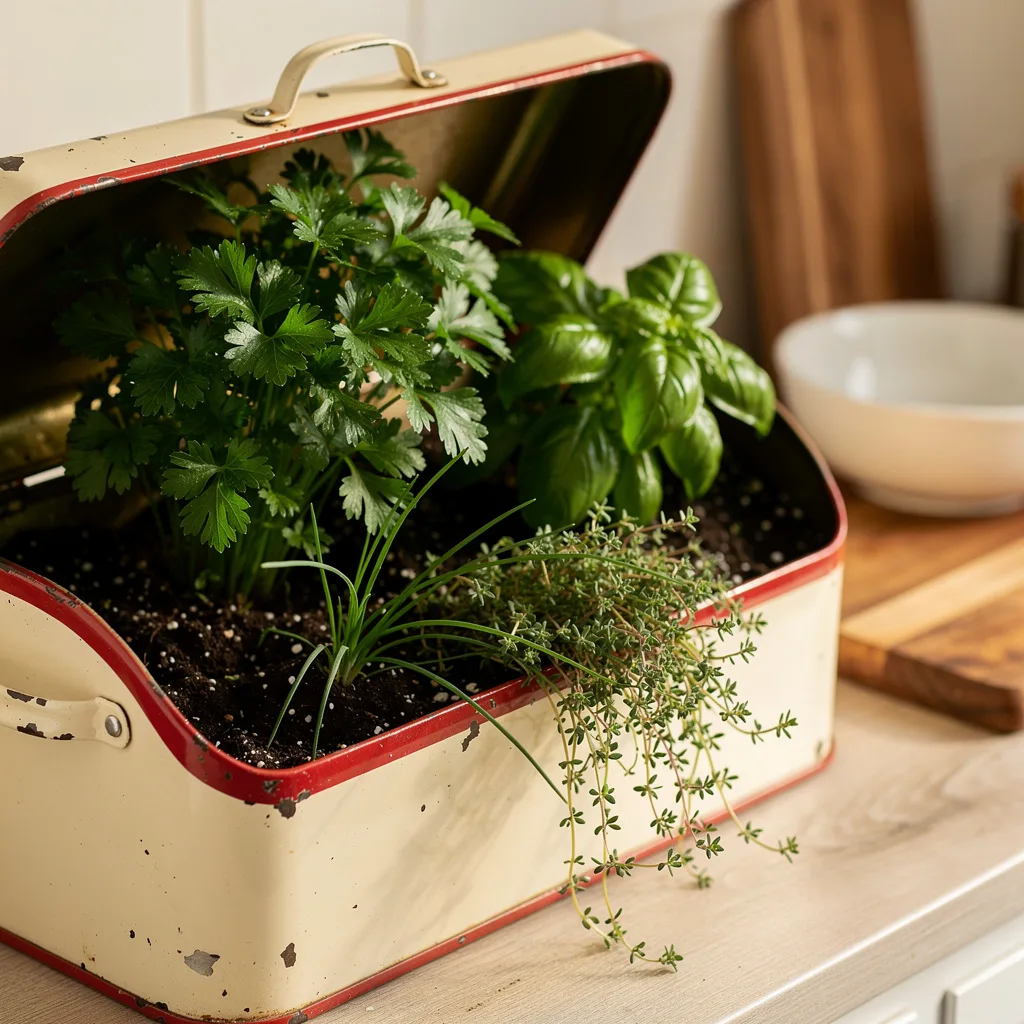
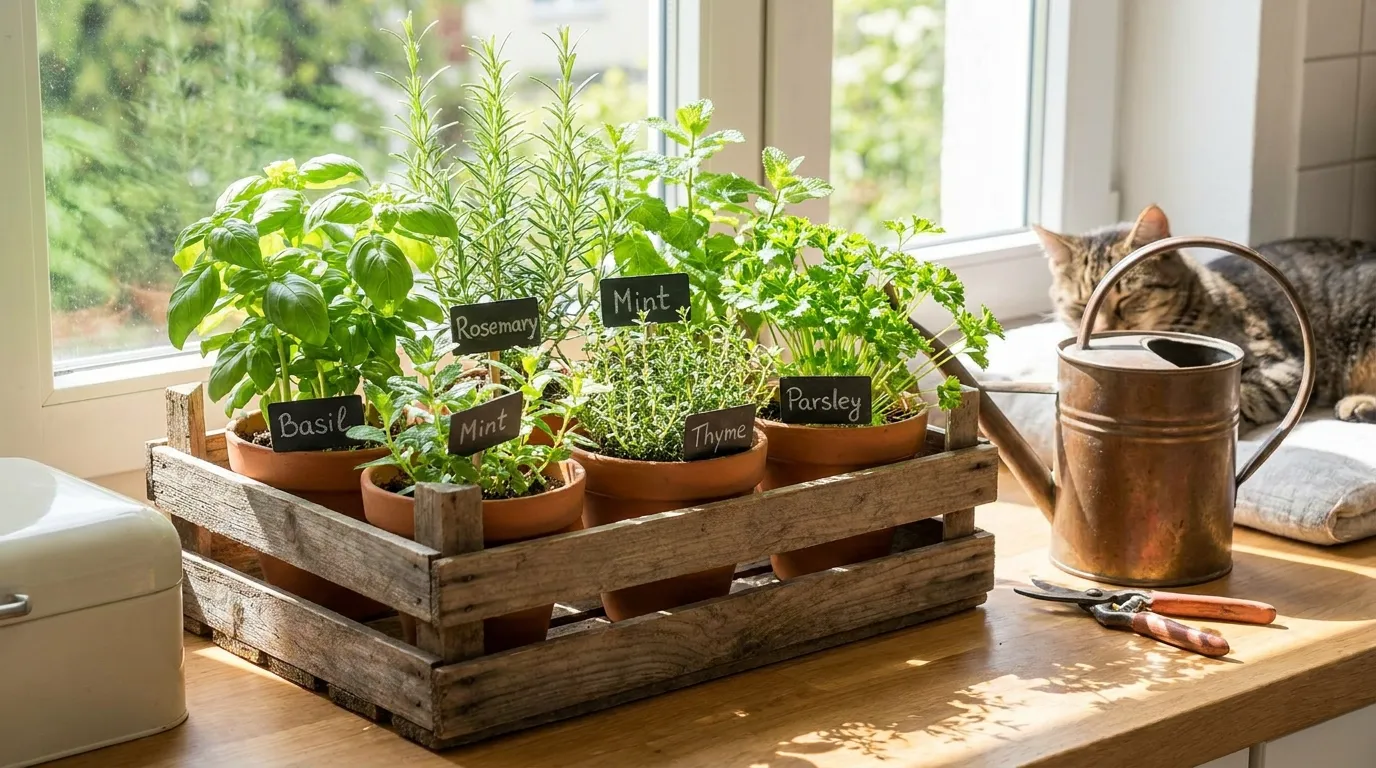
Line a vintage cream and red tin bread box with plastic sheeting and drill drainage holes through the base before lining. Fill with potting mix and plant a practical four-herb collection: flat-leaf parsley, basil, young chives, and trailing thyme at the front edge. Set on the kitchen counter near the brightest window. The vintage tin carries history that no new planter can replicate, and its generous depth allows good root development for all four herbs. The open lid of the bread box frames the planting when propped at an angle behind the herbs.
Mismatched Vessel Collection
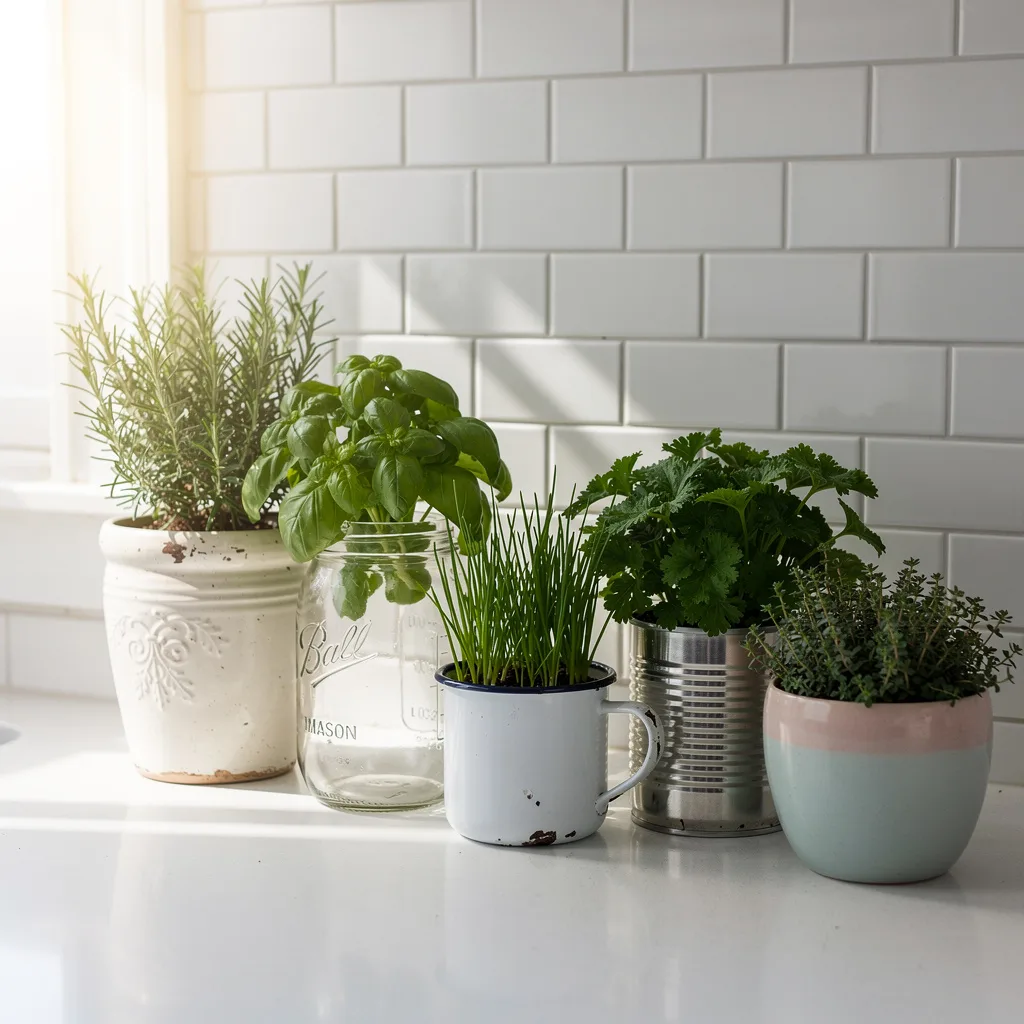
Use whatever vessels already exist in the kitchen — a ceramic jug, a Ball mason jar, an enamel camp mug, a tin can with the label removed, a pastel ceramic pot. Plant one herb per vessel and arrange in a loose cluster on the sunniest counter surface. The key to making this look intentional rather than haphazard is keeping a consistent height relationship — no one vessel so tall or so short that it breaks the visual rhythm — and limiting the colour palette to two or three tones. The mix of vessels tells the story of a collection built over time rather than purchased at once.
Final Thoughts
An indoor herb garden that fails usually fails for one of three reasons. The light was insufficient and nobody measured it honestly. The watering was inconsistent — too much for the Mediterranean herbs, too little for the moisture-lovers. Or the herbs were placed somewhere inconvenient enough that harvesting felt like an effort rather than a habit.
Fix those three things and herbs grow reliably indoors. Choose what you cook with, place it where you cook, and give it enough light to thrive.
The rest is just picking a container that doesn’t embarrass your kitchen.