
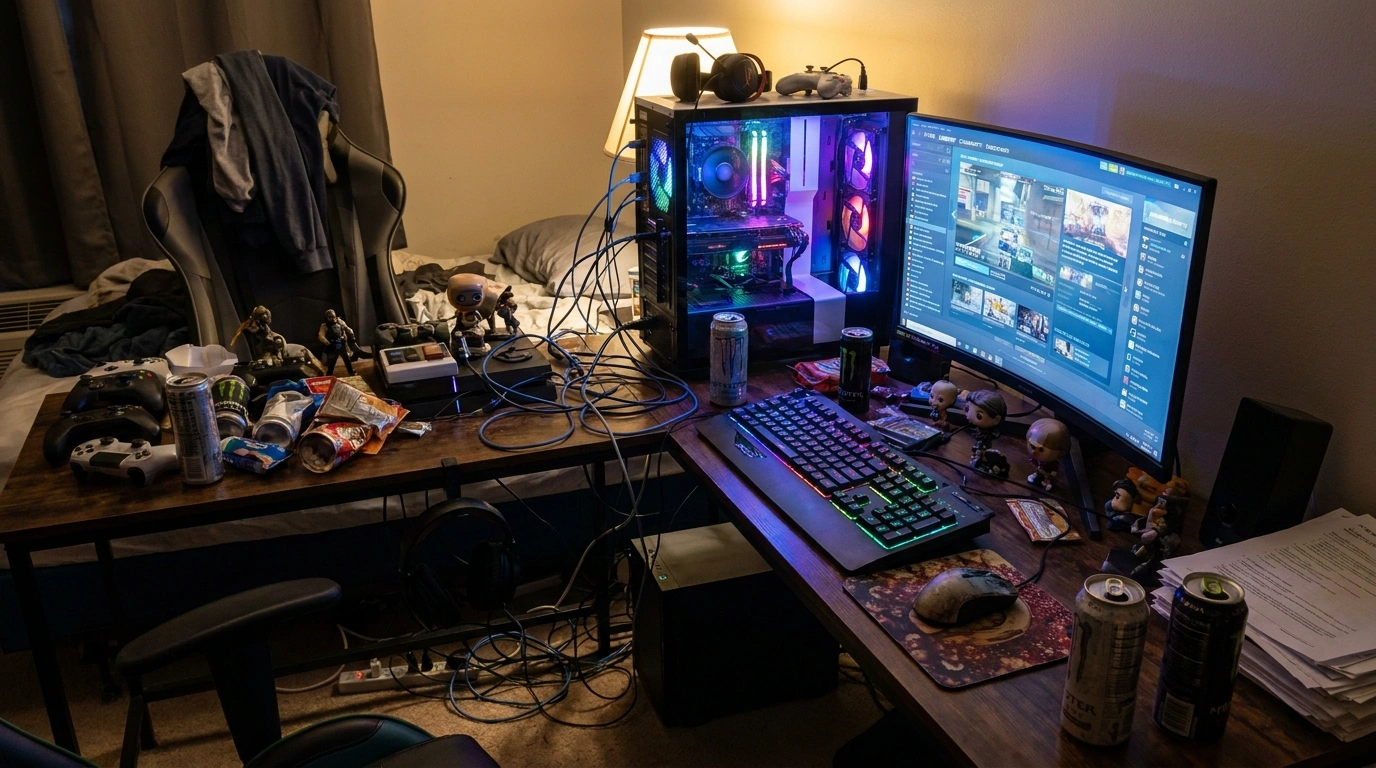
A gaming setup can have expensive hardware, a mechanical keyboard, and enough RGB lighting to guide aircraft, yet still look like a desk lost a fight with a tech store.
The problem usually isn’t the gear. It’s the visual noise. Cables hang behind the desk, accessories have no permanent home, finishes clash, and every light competes for attention. Even a relatively empty desk can look crowded when everything on it seems to belong to a different setup.
Buying another monitor stand or a bigger light strip won’t fix a layout that lacks direction. A setup looks intentional when the pieces work together. Screens line up, colors repeat on purpose, everyday gear has a place, and the eye gets a little breathing room. None of that requires a room-sized desk or a wallet with rich-parent DLC.
The Setup Reality Check
Before another accessory enters the shopping cart, meet the actual suspects.
Expensive gear. Questionable decisions.
The equipment isn’t always the problem. Sometimes the desk is just hosting too many main characters.
The cable situation
One beautiful monitor. Six wires auditioning for a group project nobody assigned.
The RGB situation
Every surface is glowing, yet nothing looks intentional. The nightclub called. It wants its lighting back.
The desk clutter
Old boxes, spare controllers, random adapters. Apparently the desk has become a storage unit with Wi-Fi.
Stop adding things. Start editing what’s already there.
How to Make Your Gaming Setup Look Put Together
Hide the Cables That Break Up the Whole Setup
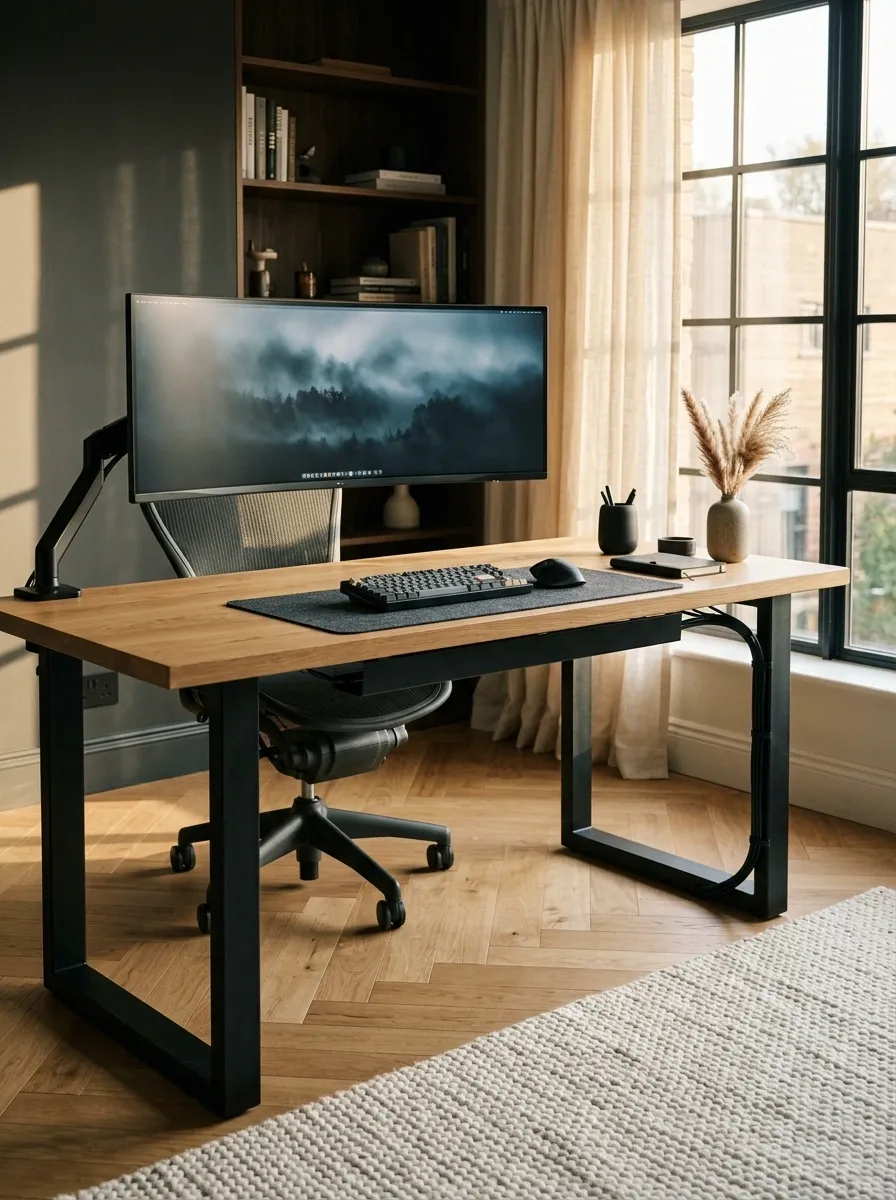
Dangling wires get noticed before the expensive keyboard does. One cable looping across the wall can make a tidy desk look like a repair shop’s lost-and-found.
Start at the devices, not the outlet. Guide monitor, keyboard, and charging leads toward the same desk leg, then secure the slack in an under-desk tray or sleeve. Keep power bricks off the floor when practical, and leave enough room for plugs to breathe.
Tiny rule: a cable route should still work when the desk moves or a screen gets adjusted. A knot so tight it needs a rescue mission isn’t cable management.
One route. Fewer visual crimes.
Plan where every wire travels before attaching anything underneath the desk.
Gather leads from the monitor, keyboard, mouse, and hub without pulling them tight.
Guide the cables toward one desk leg instead of letting each wire pick its own adventure.
Use clips, sleeves, or an under-desk tray to keep spare length out of sight.
Keep the power strip secure and accessible. Don’t overload it or trap heat around adapters.
Stick to Three Main Colors Instead of Mixing Everything
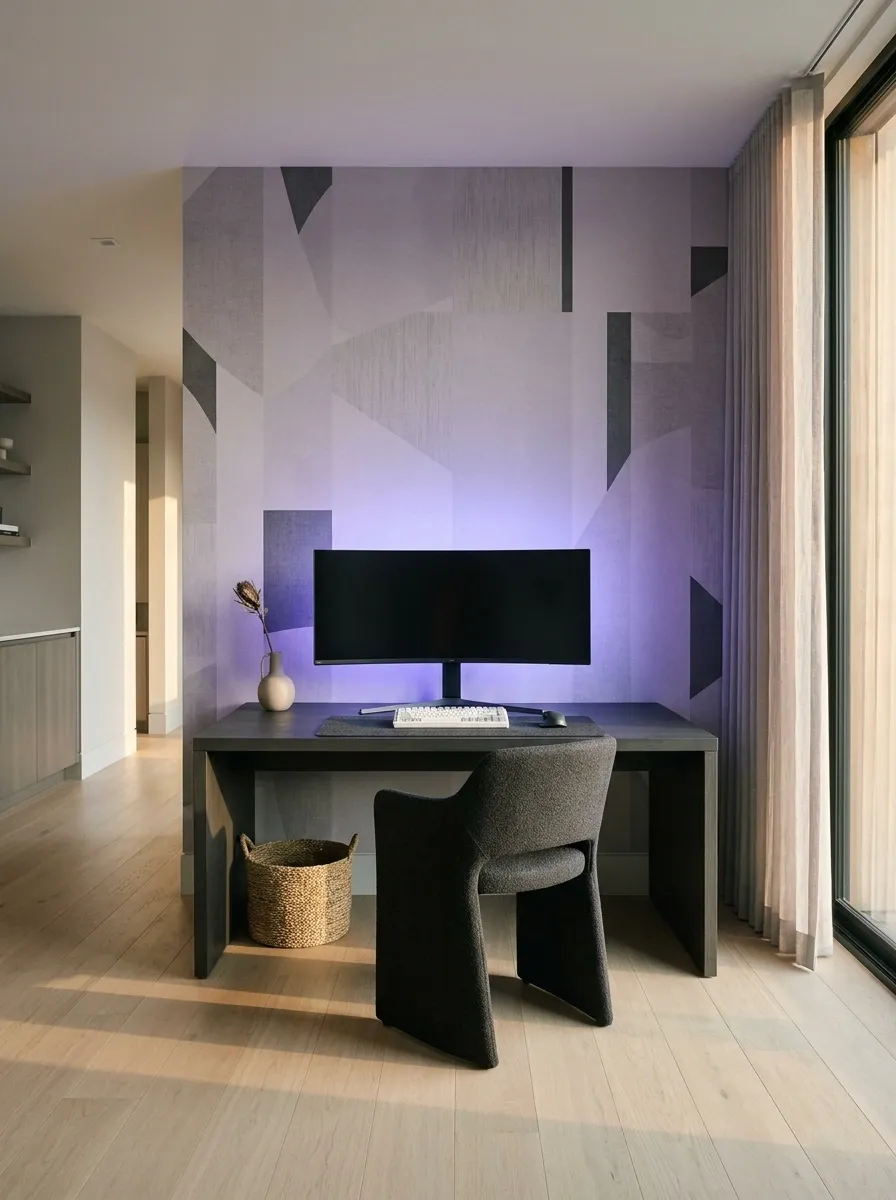
Every accessory doesn’t need its own color story. Black gear, a white keyboard, violet LEDs, pale wood, and a red headset can all look good separately. Together, they can look like five shopping tabs won an argument.
Pick one base color, one supporting neutral, and one accent. Repeat that accent in a few places, such as the wallpaper, desk mat, or light behind the monitor. Matching every object isn’t necessary. Giving the eye a pattern is the point.
Quick test: turn off the RGB. If the desk still looks visually noisy, the palette needs editing.
Give your setup a visual family.
Here’s one palette that works especially well with understated gaming furniture.
Keep this in mind: the exact shades can change. The balance matters more than buying matching products from one brand.
Give Every Part of the Desk a Clear Job
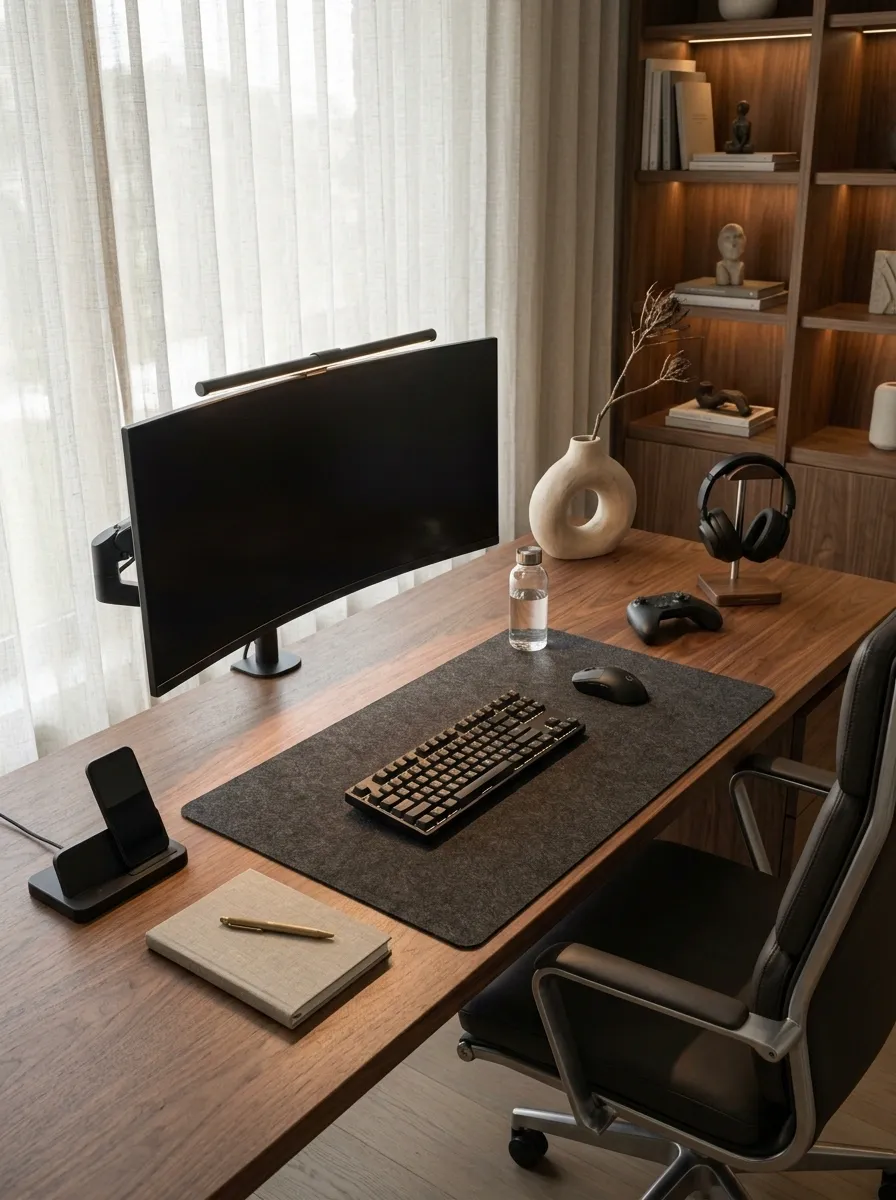
A crowded desk usually has no boundaries. The controller sits on the mouse pad, a charging cable cuts through keyboard space, and a notebook occupies the one place needed for actual gaming.
Split the surface into three jobs: the main play zone for the monitor, keyboard, and mouse; a reach zone for the controller or headphones; and a utility zone for chargers, notes, or a dock.
The rule is simple: if every item occupies the main zone, nothing has a proper home.
Define these boundaries with a desk mat or deliberate positioning, not a collection of storage boxes that creates a second problem.
Three jobs. One desk.
Main play area
Monitor, keyboard, mouse, and enough clear space to move without hitting a water bottle.
Easy-reach area
Controller, headset, or a charging dock. Useful gear stays close without invading mouse space.
Utility area
Spare leads, a notebook, and less-used equipment. Use a drawer or a desk corner instead of spreading them everywhere.
Align Your Monitors Before Buying More Accessories
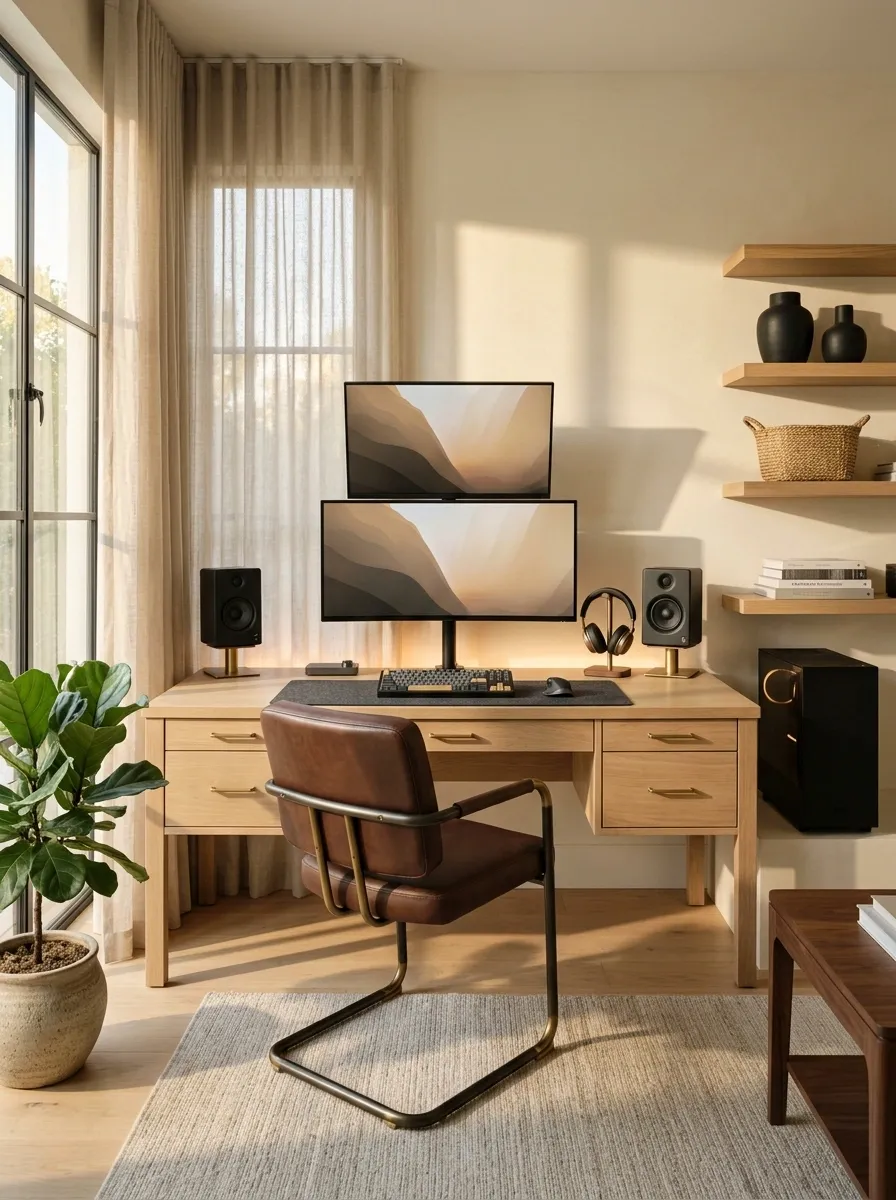
Two monitors sitting at different heights can make the whole station feel accidentally assembled. The same goes for a single screen that’s off-center while everything else lines up.
Place the main screen directly in front of the seat, then align the top edges of matching monitors where their designs allow. Angle side screens inward instead of leaving them pointed at an imaginary audience. Check the arrangement while seated, not just while standing over the desk.
Don’t force symmetry if one screen is vertical or the stands have different limits. A deliberate offset beats a crooked imitation of symmetry.
The little details that make it look intentional
Make RGB Lighting an Accent Instead of the Main Event
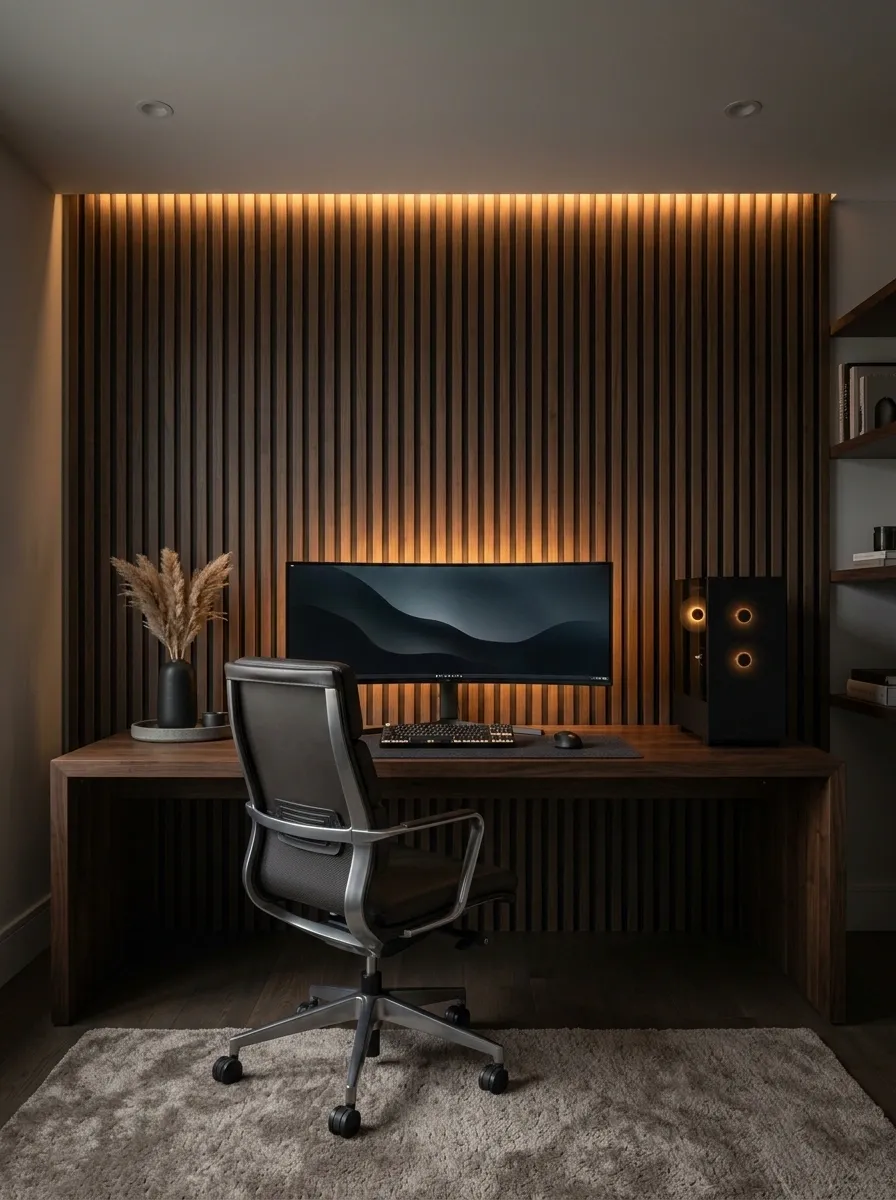
RGB isn’t the problem. The problem is asking every device to perform a solo at the same time. A rainbow keyboard, purple desk strip, blue fans, and a bright wall sign can turn a gaming corner into an electronics aisle.
Choose one dominant color and one quieter light source. Let the desk or wall glow carry the mood, keep device lighting less intense, and use comfortable room lighting when gaming or working for long sessions. If every surface has a different color, reduce the active effects before buying anything else.
The rule: one light grabs attention. The rest should know their supporting roles.
Pick a star. Give it backup.
Layer the lighting by purpose, not by how many colors the app can display.
The main glow
Use one dominant color behind the desk or along the wall to establish the mood.
The soft background
Use restrained backlighting or room lighting to support the main color without competing with it.
The hardware accents
Dial down the keyboard, fans, and other devices so their effects don’t compete with the room.
Easy reset: switch every lighting effect off, turn on the main glow, then bring back only the effects that genuinely improve the setup.
Keep Only the Peripherals You Actually Use Within Reach
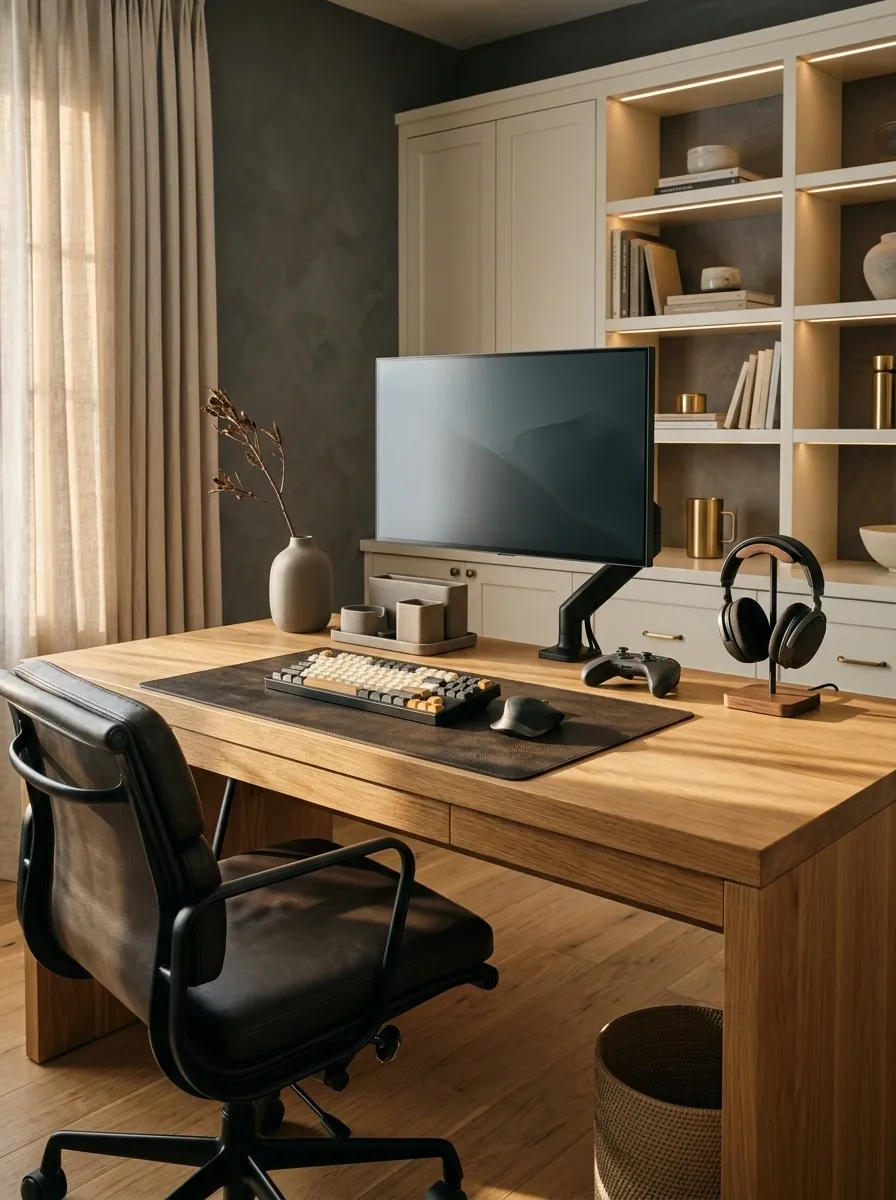
A desk shouldn’t require an archaeological dig to find the mouse. Spare controllers, an old headset, backup cables, and three adapters you’ve apparently adopted as pets can quietly eat up the space meant for gaming.
Sort everything into three groups: used every session, used occasionally, and barely touched. Keep daily gear within reach, move occasional equipment into a drawer or shelf, and find a proper home for the rest.
- Keep close: keyboard, mouse, active controller.
- Store nearby: spare headset, charging leads, backup accessories.
- Move elsewhere: empty packaging and equipment that rarely leaves storage.
The goal isn’t an empty desk. It’s a desk where every object earns its place.
Keep the useful stuff. Evict the freeloaders.
Give each piece of gear a category before deciding where it belongs.
Keyboard, mouse, headset in active use, and the controller currently being played with.
Spare leads, alternate controllers, a backup headset, and adapters belong in a nearby drawer or organizer.
Empty boxes, broken accessories, and random tech clutter need another destination.
Give Headphones and Controllers a Permanent Parking Spot
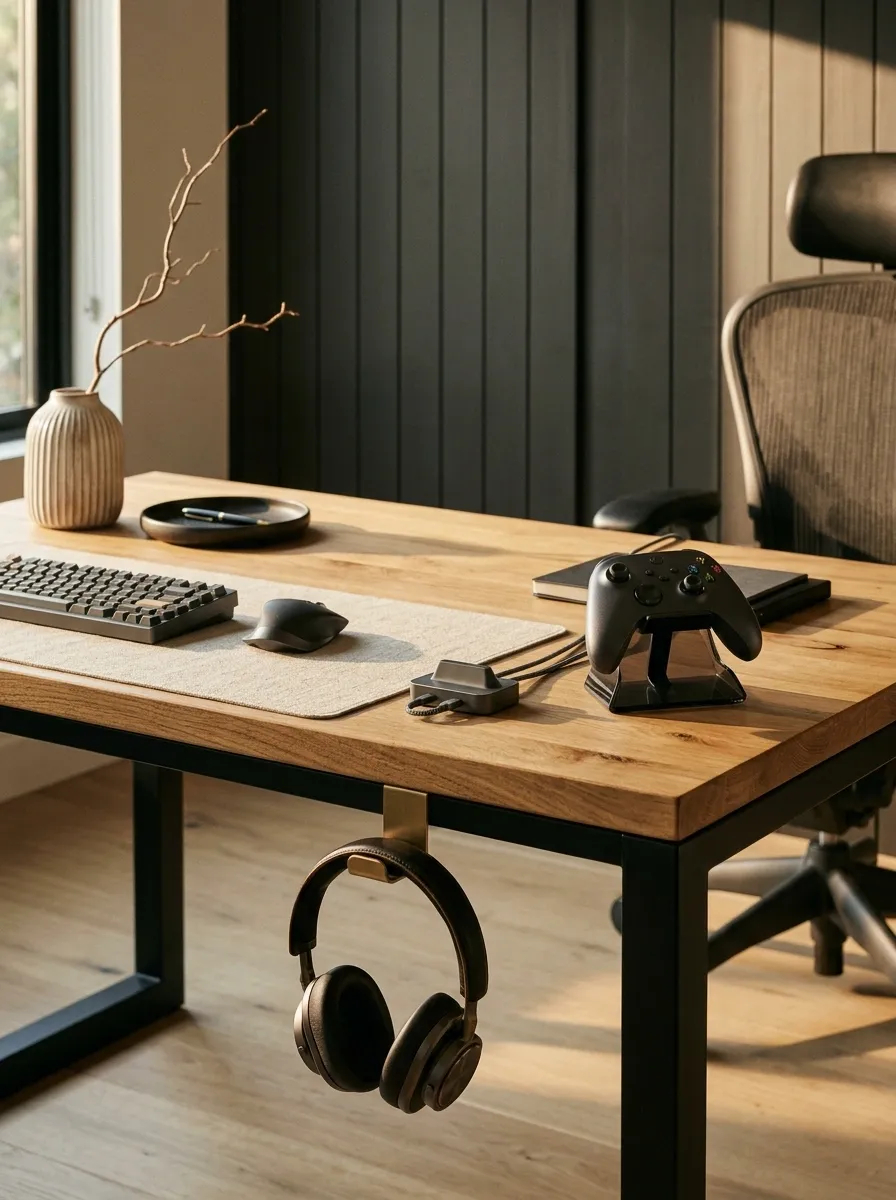
The fastest way to make a setup look unfinished is to leave every accessory wherever it happened to land. Headphones stretched over the monitor, a controller balancing on the keyboard, and a charging lead draped across the desk aren’t exactly giving showroom.
Choose a dedicated spot for each item. A headphone hook under the desk saves surface space, while a small controller stand keeps gamepads upright and easy to grab. Put charging docks near an accessible power source rather than routing another cable across the entire desk.
One practical rule: accessories should be easy to put away with one hand. If storage takes more effort than dropping things anywhere, the clutter will return.
Every gadget needs an assigned seat.
Think practical storage, not a museum exhibit for gaming accessories.
Headphone hook
Mount it under a desk edge or on a suitable side panel to keep the headset off the monitor and desktop.
Controller stand
Use a stable stand on a desk corner or shelf where the controller won’t slide into the mouse area.
Charging station
Keep the dock close to a safe power source and route the charging lead out of the main play zone.
Mounting check: make sure hooks and stands suit the equipment, desk surface, and weight. No accessory needs to fall dramatically for the sake of the setup.
Match Small Accessories by Finish, Not by Brand
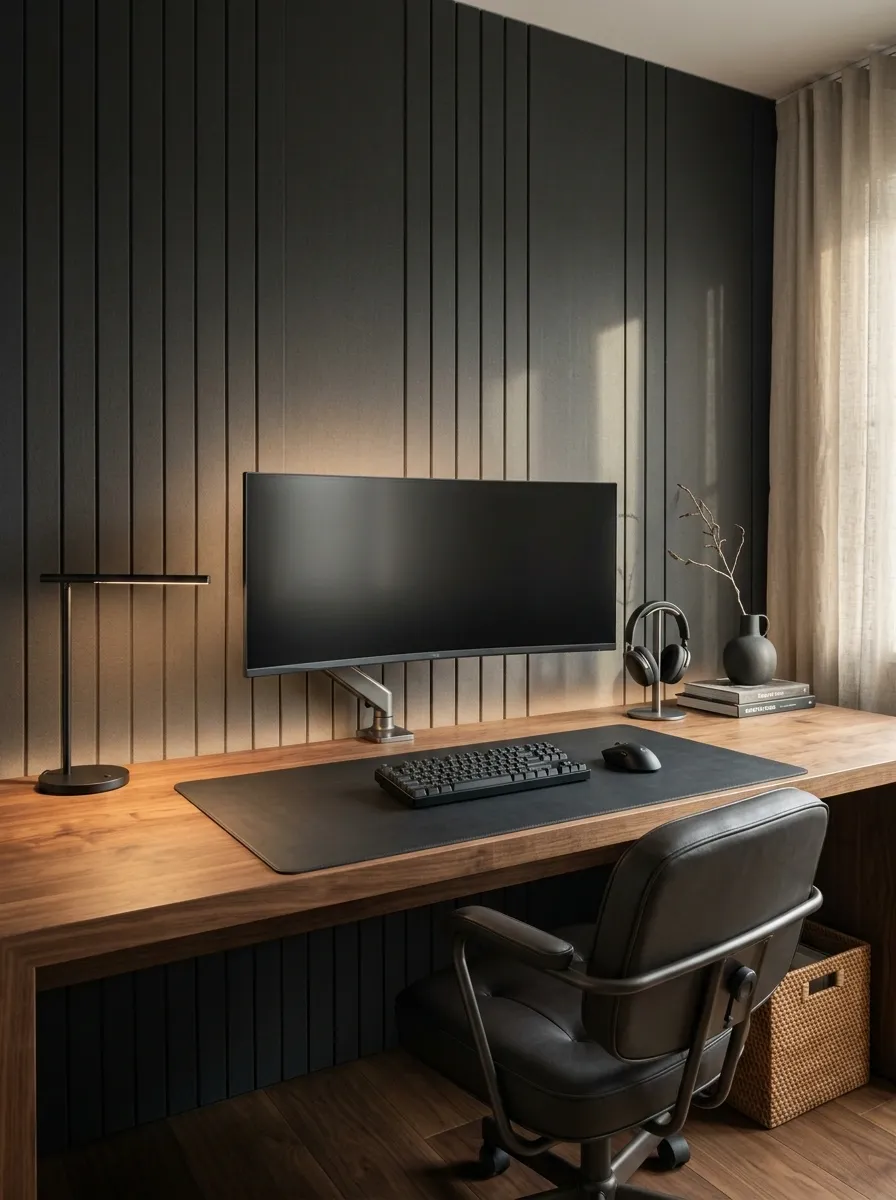
A matching logo doesn’t save a setup from clashing finishes. Three premium accessories can still look disconnected when one has glossy plastic, another has brushed metal, and the third looks like it came from a completely different decade.
Look at the materials and surfaces instead. Matte black peripherals work naturally with dark desk accessories. White gear pairs well with pale wood and soft gray. Metallic details can repeat across a stand, lamp, or headset mount without turning the whole desk into a chrome convention.
Use this simple finish check before adding anything new.
Matching brands is optional. Matching materials helps.
Repeat dark finishes across peripherals, stands, and desk accessories for a calmer look.
Combine white, pale wood, and soft gray while keeping one finish dominant.
Let one or two metallic details and a single accent color do the decorative work.
Make Your Screen Wallpaper Match the Rest of the Room
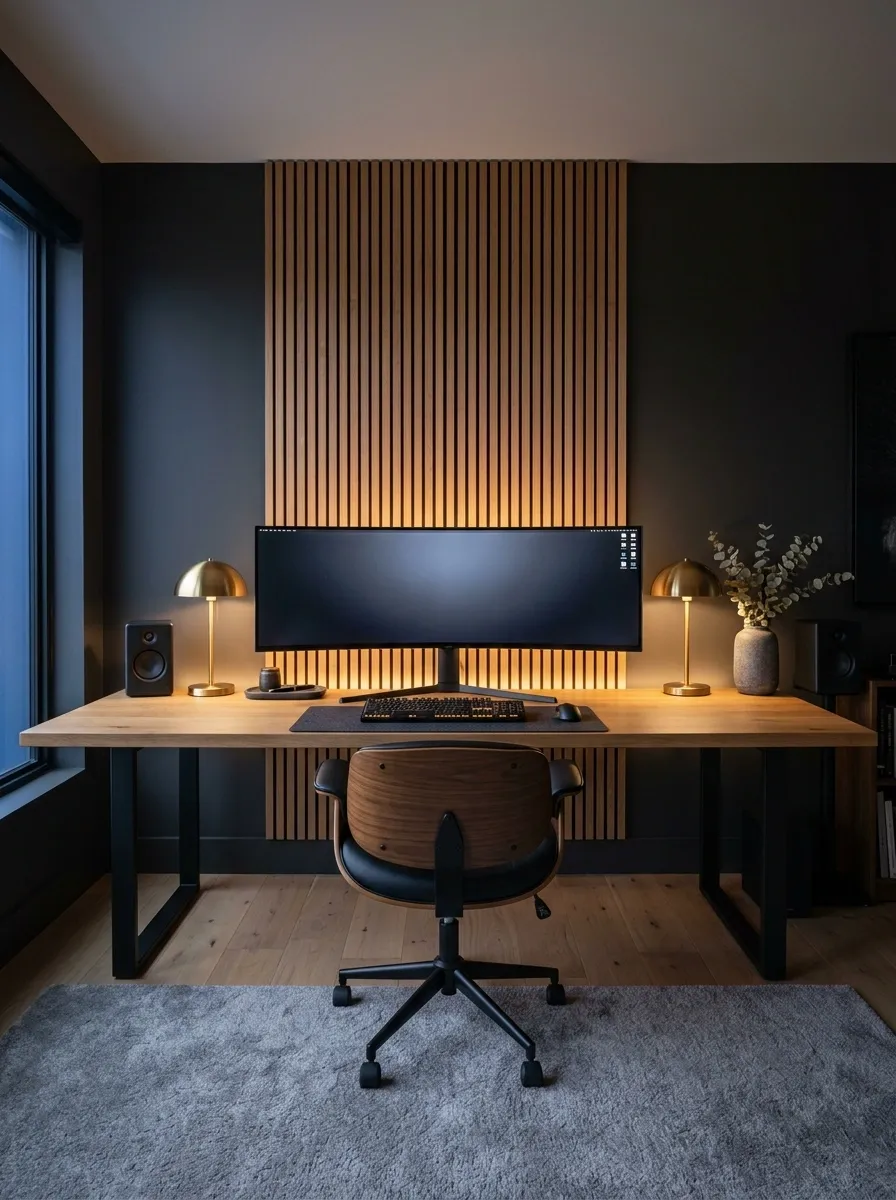
The monitor is one of the largest visual surfaces in a gaming setup. A chaotic wallpaper can undermine an otherwise clean desk, especially when desktop icons pile up over a busy image.
Choose a background that supports the room’s palette. Dark setups suit restrained gradients, low-contrast landscapes, and simple graphic patterns. Light setups work well with muted illustrations or clean backgrounds. Keep desktop shortcuts grouped rather than scattered across the screen.
There’s no need to display a complicated scene behind a dozen icons. The wallpaper should frame the interface, not compete with it for attention.
Let the wallpaper join the setup, not hijack it.
Choose a screen background that supports the furniture, lighting, and overall color balance.
Desktop cleanup: group shortcuts along one edge, delete duplicates, and keep the center of the wallpaper relatively quiet.
Get the Power Strip Off the Floor and Out of Sight
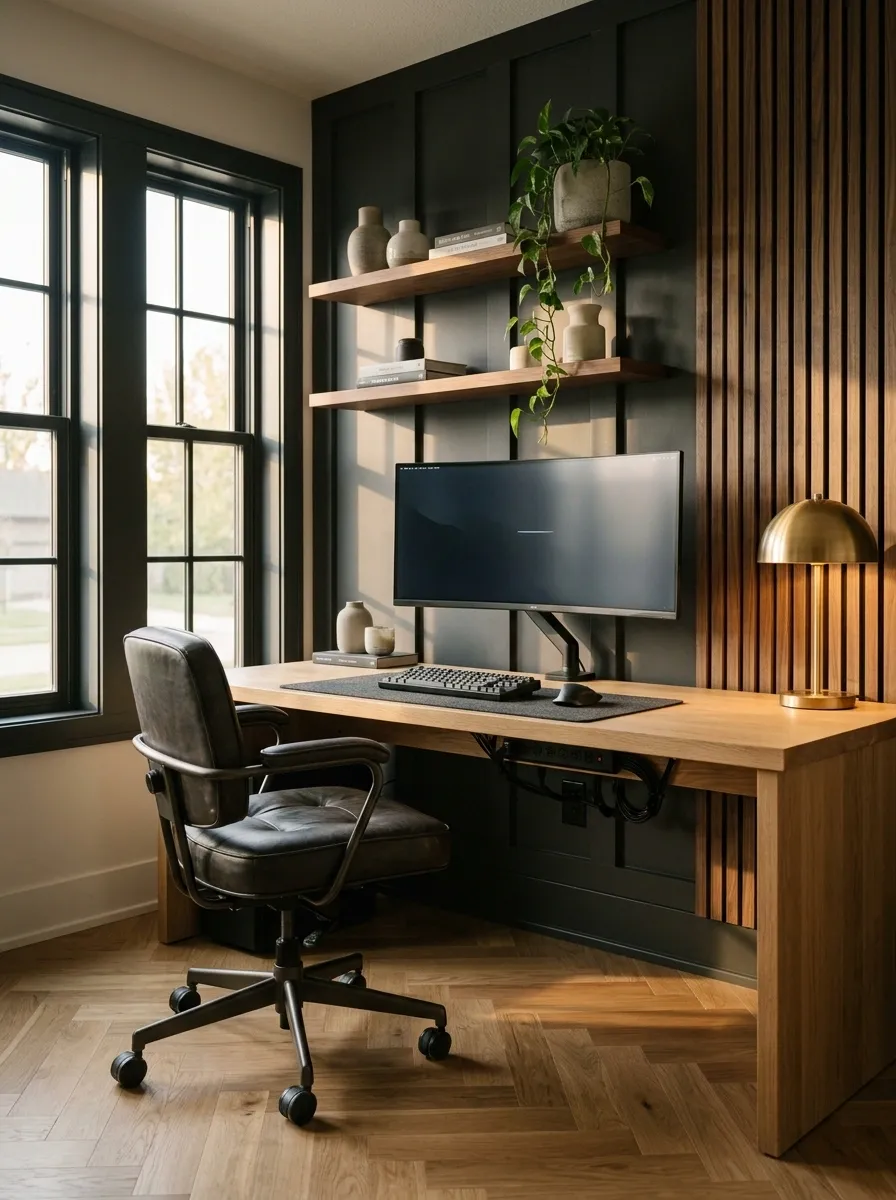
A power strip surrounded by dust, tangled leads, and a pile of boxes is the backstage area of the setup, and the backstage area is showing.
Secure the strip in an accessible spot under the desk when its design and the mounting method allow it. Route the cables together, label similar-looking plugs if necessary, and leave the switch reachable. Keep power equipment away from spills, preserve ventilation, and follow the manufacturer’s load and mounting instructions.
Safety beats hiding everything. Don’t overload a strip, bury adapters under fabric, or block access just to get a cleaner photo. The goal is an orderly setup, not an electrical escape room.
Hidden is good. Trapped and inaccessible isn’t.
Choose a secure location. Use a suitable mounting method and keep the strip accessible for inspection and switching off.
Give cables a clear route. Keep wires away from chair wheels, sharp edges, and walking paths.
Leave room for ventilation. Don’t cover plugs or adapters with fabric, paper, or stored objects.
Avoid: overloaded outlets, damaged leads, daisy-chained power strips, and any setup that ignores the manufacturer’s instructions.
Match the Chair Height to the Desk and Screen
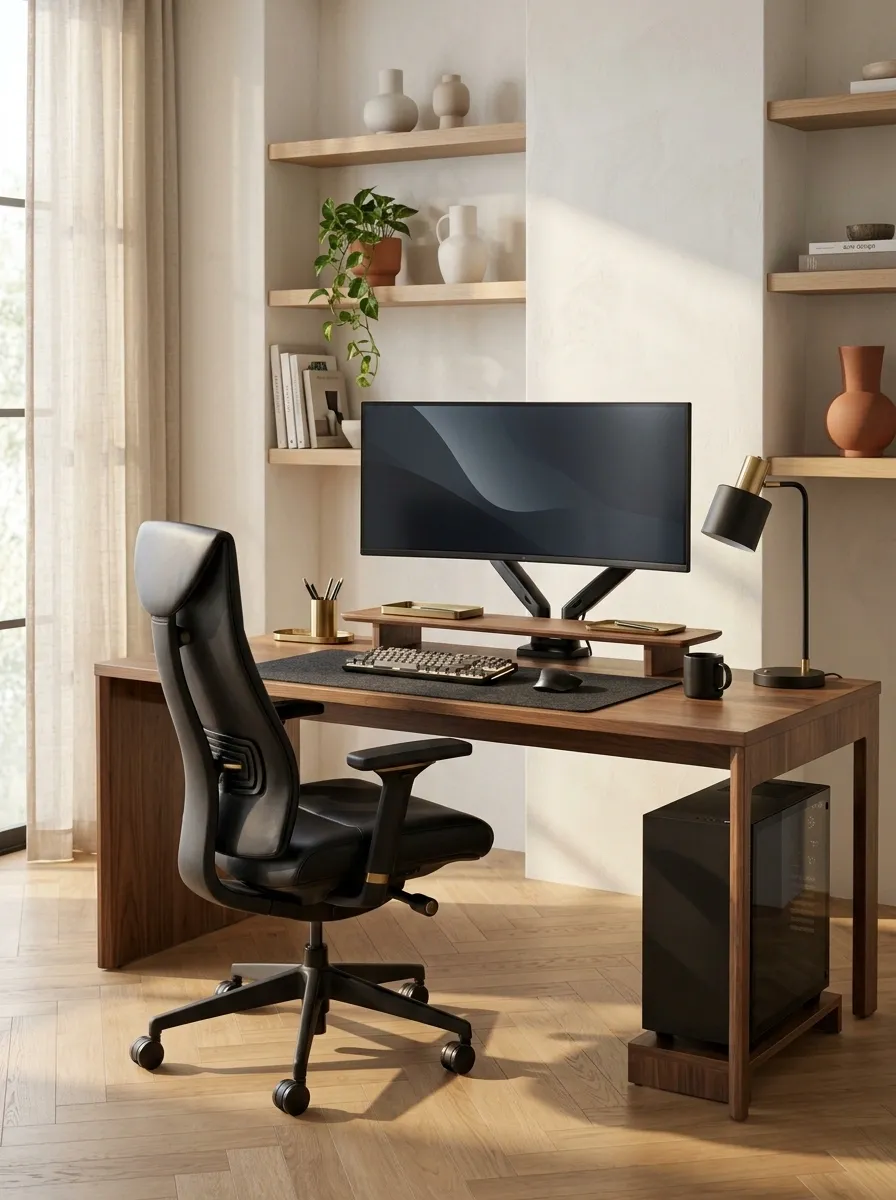
A gaming chair can cost more than the desk and still look wrong if it’s set at a random height. When the seat is too low, the desk towers over the setup. When it’s too high, the posture gets awkward and the whole station feels poorly fitted.
Adjust the chair so the feet rest comfortably on the floor or a suitable footrest, the shoulders stay relaxed, and the elbows sit comfortably around desk height. Then check the monitor from the seated position. A beautiful desk that feels uncomfortable after twenty minutes is just expensive furniture with commitment issues.
Fix the fit before decorating around it.
The chair is part of the setup.
The goal is comfortable alignment, not a chair that’s just photogenic.
Feet supported
Keep the feet supported by the floor or a suitable footrest instead of dangling underneath the desk.
Shoulders relaxed
Adjust the seat and armrests so reaching the keyboard doesn’t force the shoulders upward.
Screen in view
Position the display for a comfortable gaze without repeatedly craning the neck.
Adjust the chair first, position the keyboard and mouse next, then set the screen height. Avoid using posture as a price tag.
Give the Wall Behind Your Monitors One Clear Purpose
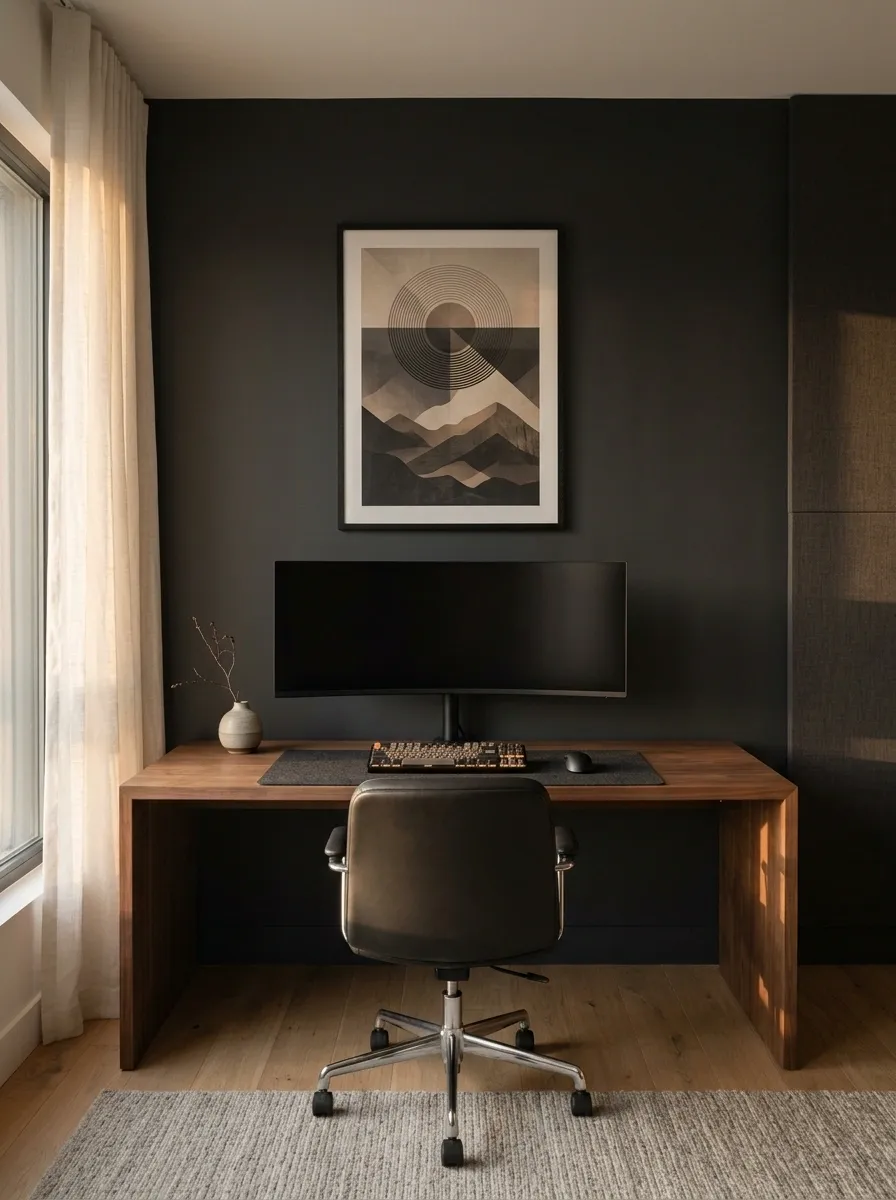
A blank wall doesn’t automatically look unfinished. Sometimes it’s the collection of tiny posters, floating shelves, neon signs, fake vines, and random decorations trying to fill every inch that creates the mess.
Choose one direction for the wall behind the desk. A framed print suits a quieter setup, a pegboard works when accessories genuinely need storage, and a small shelf is useful for a carefully edited display. Pick the option that fits the room instead of combining every Pinterest trend in one square meter.
The wall should support the desk, not compete with it. Empty space is cheaper than buying decor to fill it.
Three choices. No decor identity crisis.
Leave Some Empty Desk Space on Purpose
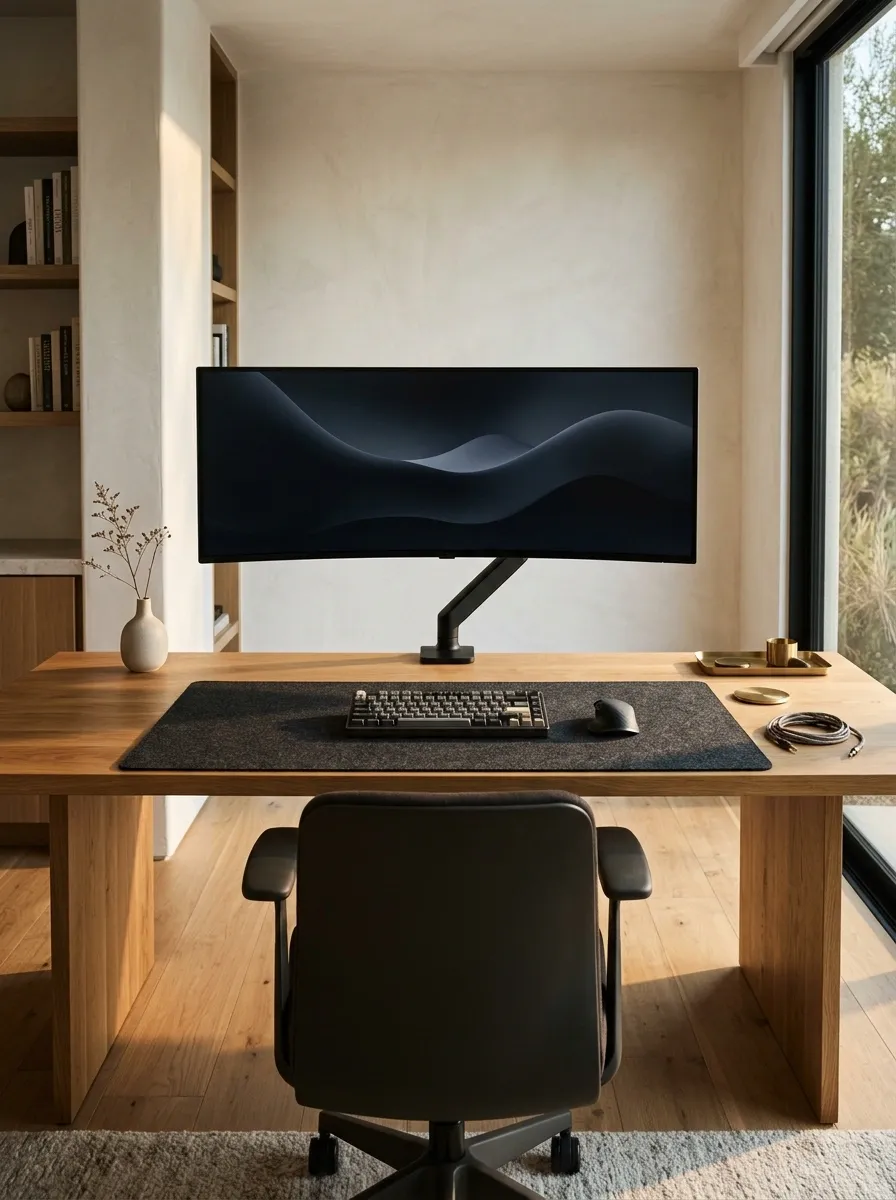
A desk covered from edge to edge can make even good equipment look cramped. The keyboard barely fits, the mouse keeps hitting a speaker, and every small movement becomes a game of desktop Tetris.
Clear a deliberate patch of surface around the main play area. Give the mouse enough room for actual movement, leave the keyboard unobstructed, and move decorative objects toward the edges. A large desk mat can help define the main zone, but it can’t magically create more physical space.
Empty space isn’t wasted space. It’s the breathing room that makes the gear you kept look intentional.
Not every inch needs an occupant.
Use this simple layout as a visual guide. Adjust the areas to suit the actual size of the desk and equipment.
The practical test: move the mouse in every direction you need, reach your controller, and type without shifting another object out of the way.
Choose One Statement Piece Instead of Ten Small Decorations
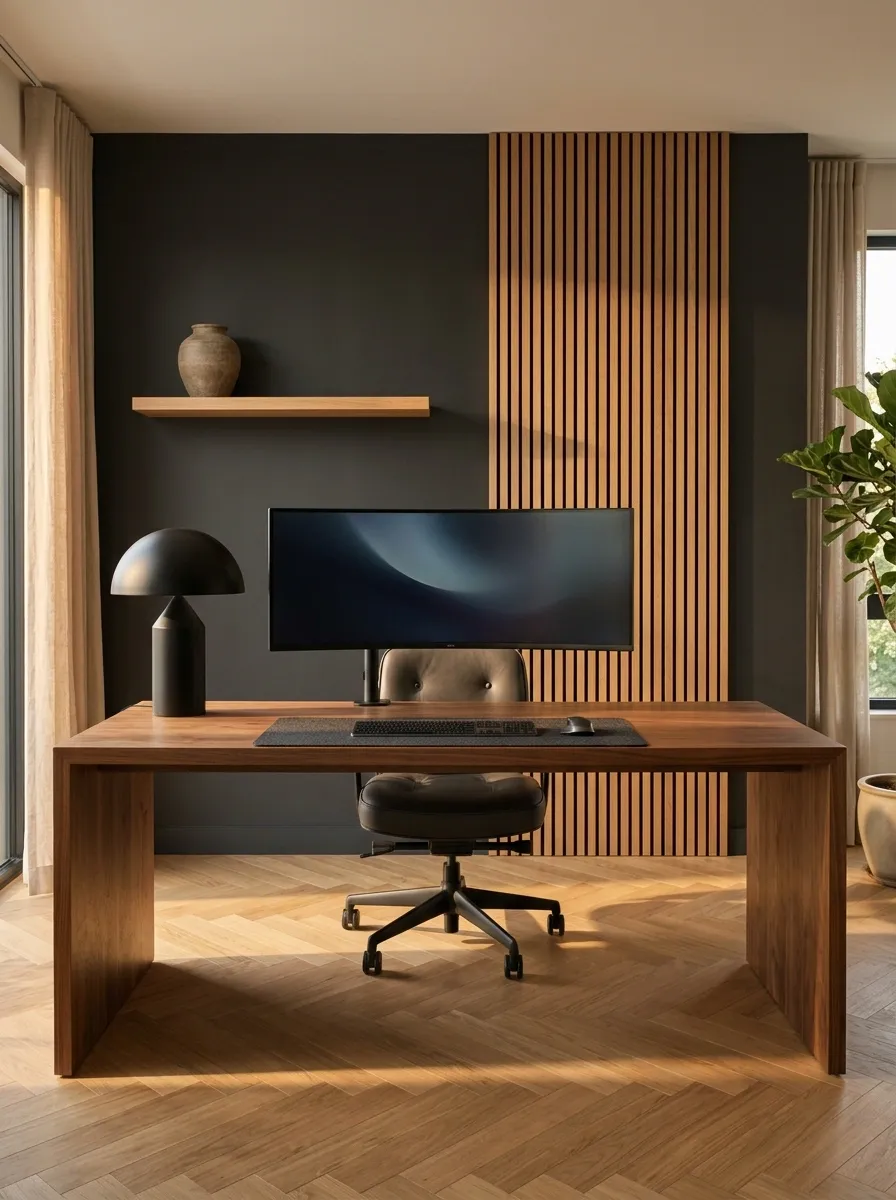
A shelf full of miniature figures, random desk toys, signs, and novelty lights can make the setup feel busier than the actual game. Every item asks for attention, and none gets it.
Choose one decoration with a clear role. A favorite collectible, framed game artwork, or sculptural lamp can give the desk personality without turning it into a clearance shelf. Place it to one side of the main monitor rather than directly in the keyboard or mouse area.
Small decorations work best when they’re grouped deliberately. The rest can rotate in and out of storage instead of competing for permanent screen time.
One strong focal point beats a dozen objects fighting for custody of the desk.
Give the eye one place to land.
Pick the decoration that fits the desk’s personality, then let the surrounding space do its job.
The collector’s pick
One favorite figure or model on a stable side shelf, with open space around it.
The artwork pick
A single framed print or restrained graphic above the monitor, sized to suit the wall.
The functional pick
A useful desk lamp or accent light that adds character while serving a practical purpose.
Stop Using Product Boxes as Permanent Gaming-Room Decor
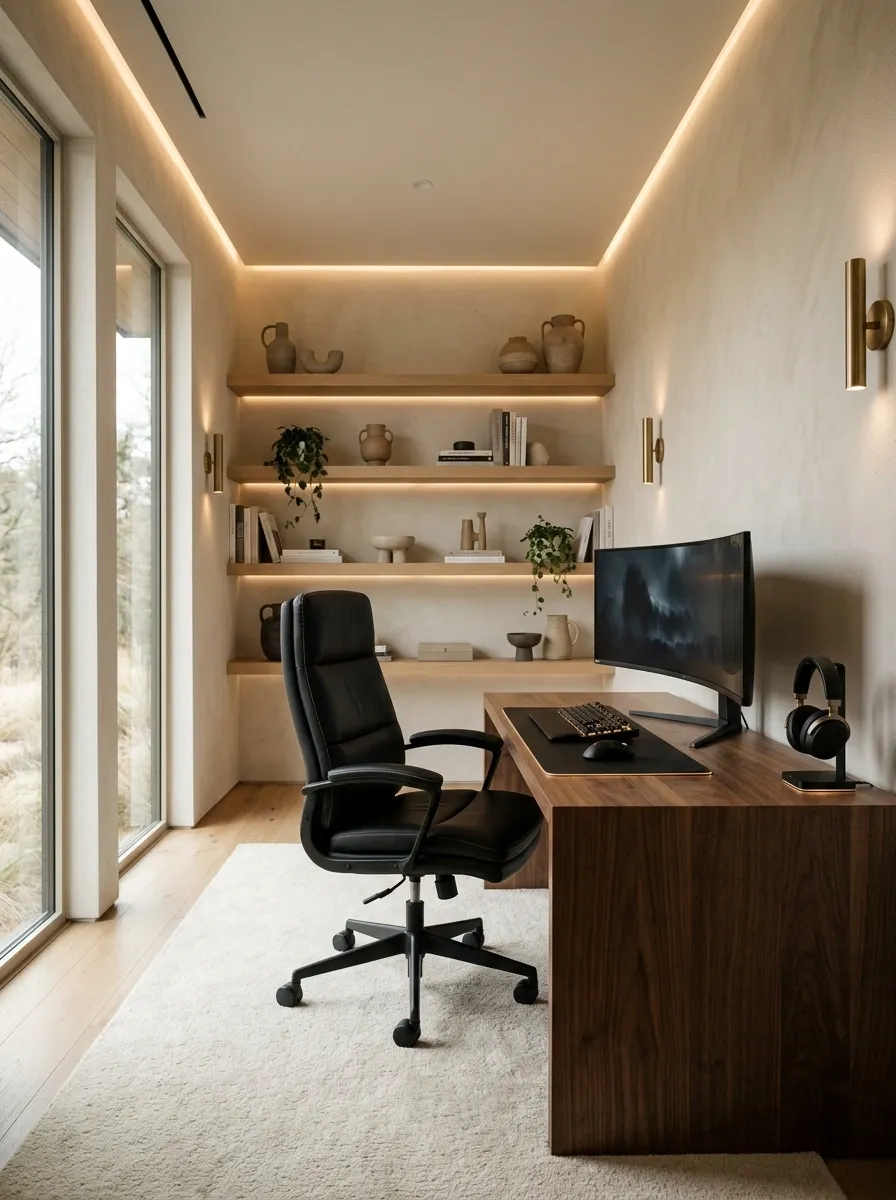
Keeping a box for warranty purposes makes sense. Displaying every graphics card box, headset carton, and motherboard package around the desk turns the gaming room into a tech store after closing.
Check which packaging is actually worth keeping. Retain boxes when they’re useful for warranty handling, safe storage, or resale, and store them somewhere that doesn’t compete with the setup. Recycle packaging that’s no longer needed, following local recycling guidance.
The desk, shelves, and floor aren’t overflow storage for cardboard with good marketing.
Keep the equipment on display. Let the packaging retire.
Your graphics card box doesn’t need a throne.
Give every carton a destination before it becomes permanent room decor.
Keep boxes when they help with warranty needs, safe transport, resale, or storing delicate equipment.
Move retained packaging into a closet, storage bin, or another dry spot away from everyday gaming equipment.
Flatten or recycle boxes that are no longer needed, following local recycling guidance.
Final test: if the logo on a cardboard box is getting more display space than the actual gear, something has gone wrong.
Use a Desk Mat to Visually Tie the Keyboard and Mouse Together
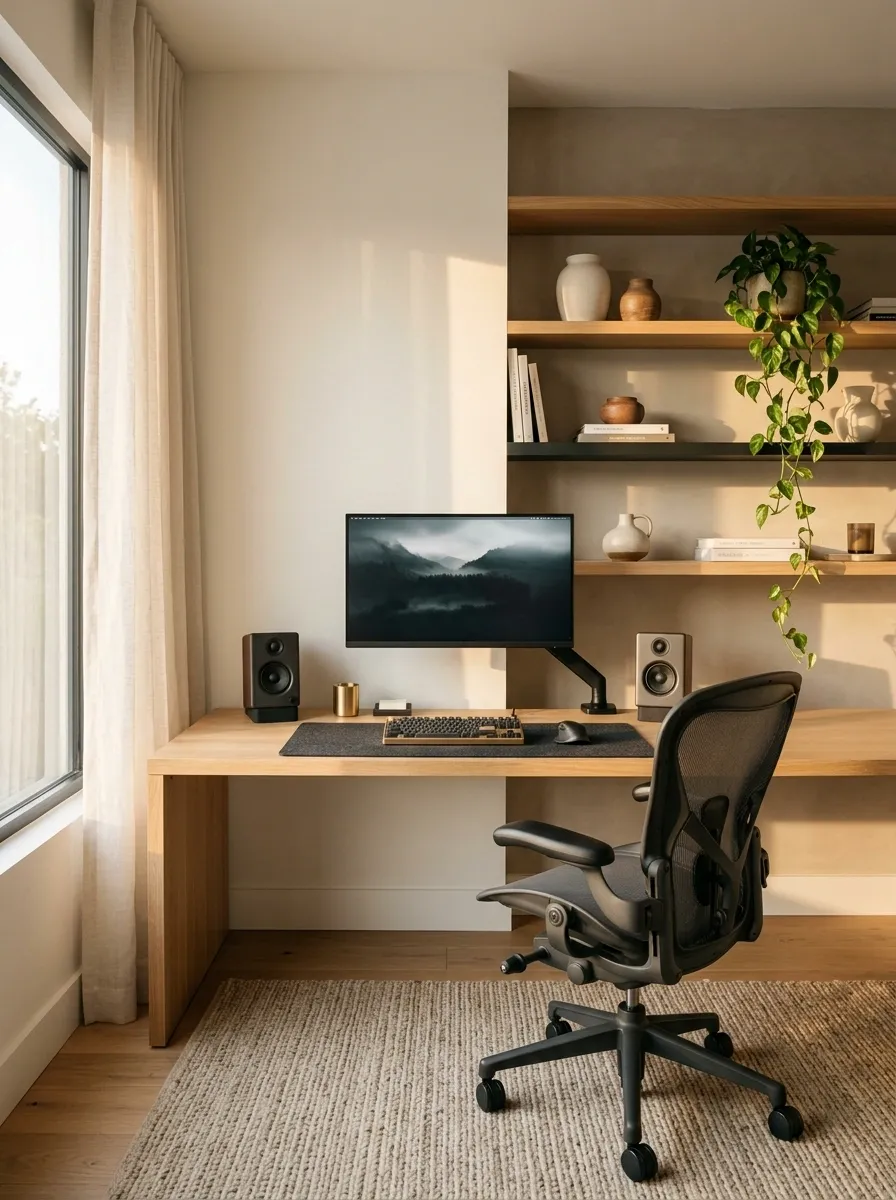
A desk mat can make separate peripherals feel like one setup. The wrong size, however, looks like a mouse coaster that got promoted beyond its qualifications.
Choose a mat that fits the keyboard, mouse movement, and available desk space. Dark mats help unify black peripherals, while a muted accent or lighter surface can break up a pale desk. Keep the mat aligned with the desk edge, and check that it doesn’t interfere with monitor stands or drawers.
Measure before buying. A giant mat isn’t automatically better if it leaves nowhere for the rest of the gear.
The mat should fit the setup, not swallow it.
Compare the usable area before choosing a shape or size.
Too small
The keyboard barely fits, and the mouse keeps leaving the mat. That’s not a layout. That’s a negotiation.
Well proportioned
The keyboard and mouse share a clear surface, with enough space for the movement needed during play.
Too large for the desk
The mat crowds the edges, blocks access, or competes with accessories. More surface coverage isn’t always more useful.
Before ordering: measure the keyboard footprint, your normal mouse movement, and the desk space left around both.
Create One Charging Zone for Phones and Wireless Gear
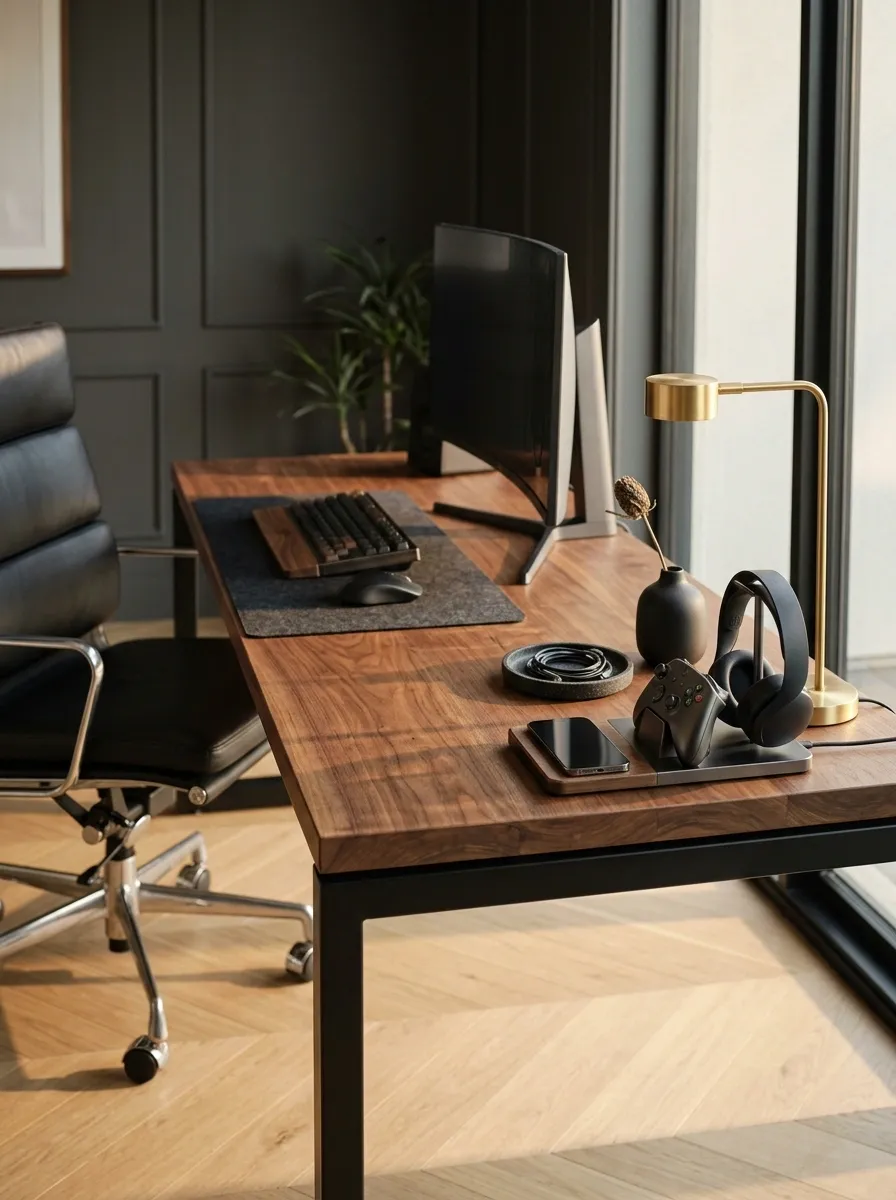
Charging cables spread across a desk faster than game downloads on a new PC. A phone lead here, a controller cable there, and suddenly the clean setup has developed its own electrical ecosystem.
Choose one accessible corner for the charging dock, phone, and wireless accessories. Route the cables toward the same managed path, and keep spare leads in a drawer or organizer. Put devices away when they’re fully charged if they don’t need to remain on display.
A compact charging station works because it gives several small tasks one home. Just keep power adapters ventilated and cables clear of spills.
One zone. No cables crossing the battlefield.
Use a desk corner or side shelf within reach of a suitable power source.
Keep the phone, controller dock, and wireless gear together when their charging needs allow it.
Use clips or a suitable organizer to keep loose leads from curling across the play area.
Avoid overloaded outlets, covered adapters, and places where liquids can reach electronics.
Clear the Floor Around the Desk, Not Just the Desktop
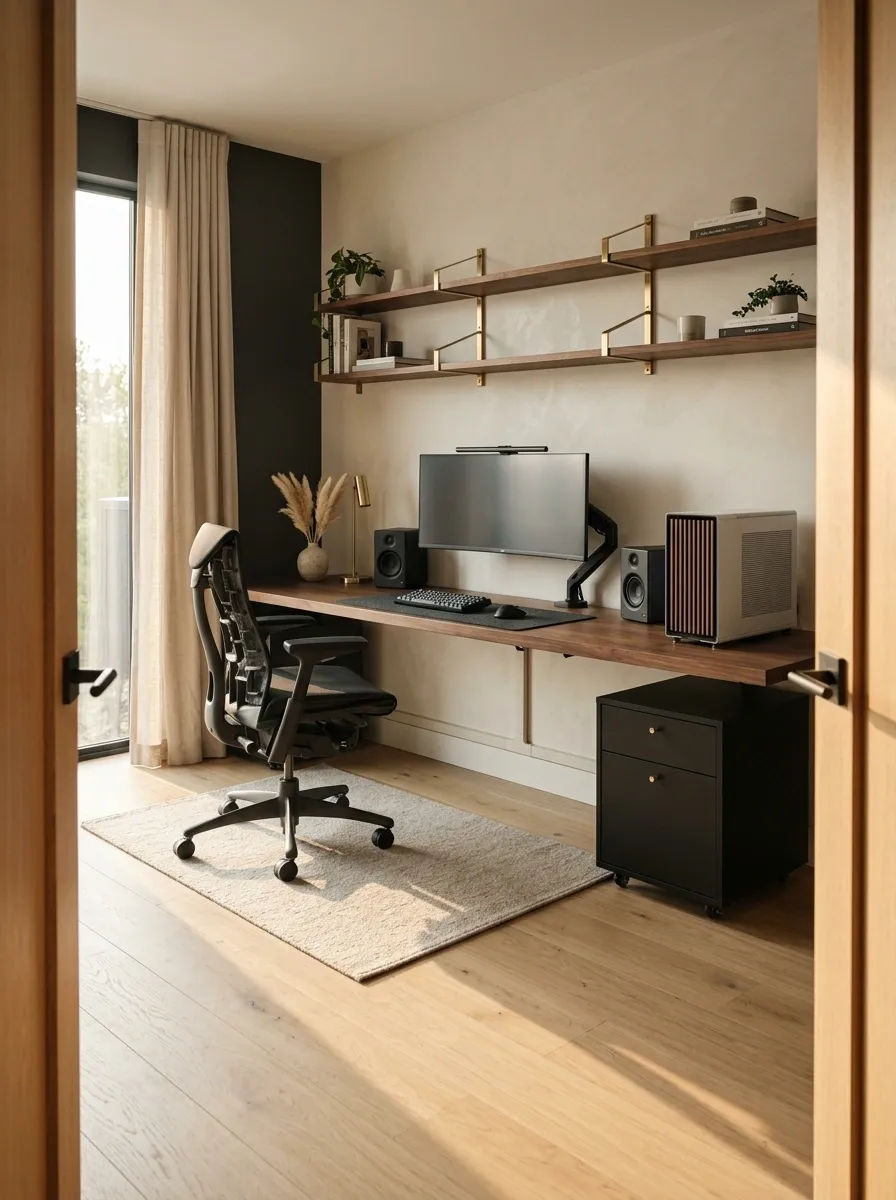
A clean desktop loses some of its magic when cardboard boxes sit under the desk, bags block the chair, and cables form a tripping obstacle course. The mess still belongs to the setup, even if the camera angle conveniently ignores it.
Give the floor a clear purpose. Keep the chair’s movement path open, secure wires away from wheels and feet, and move spare gear into proper storage. A compact drawer unit can work well when there’s room for it, but don’t cram furniture into an already tight corner.
Check the setup from the doorway. That’s the view that reveals whether the entire corner feels organized or merely staged for a photo.
The desk doesn’t end at the tabletop.
Keep the area around the chair usable, clean, and easy to access.
Leave room to roll back, turn, and get in or out without hitting a box or storage bin.
Keep wires away from chair wheels, shoes, and walking paths. Don’t stretch leads across open floor space.
Move spare peripherals, packaging, and bags to a shelf, drawer, or storage area that doesn’t block access.
Doorway test: check the chair, floor, visible wires, and nearby storage from the room entrance. A clean setup should look finished from more than one angle.
Use a Monitor Arm to Free Up the Desk Surface
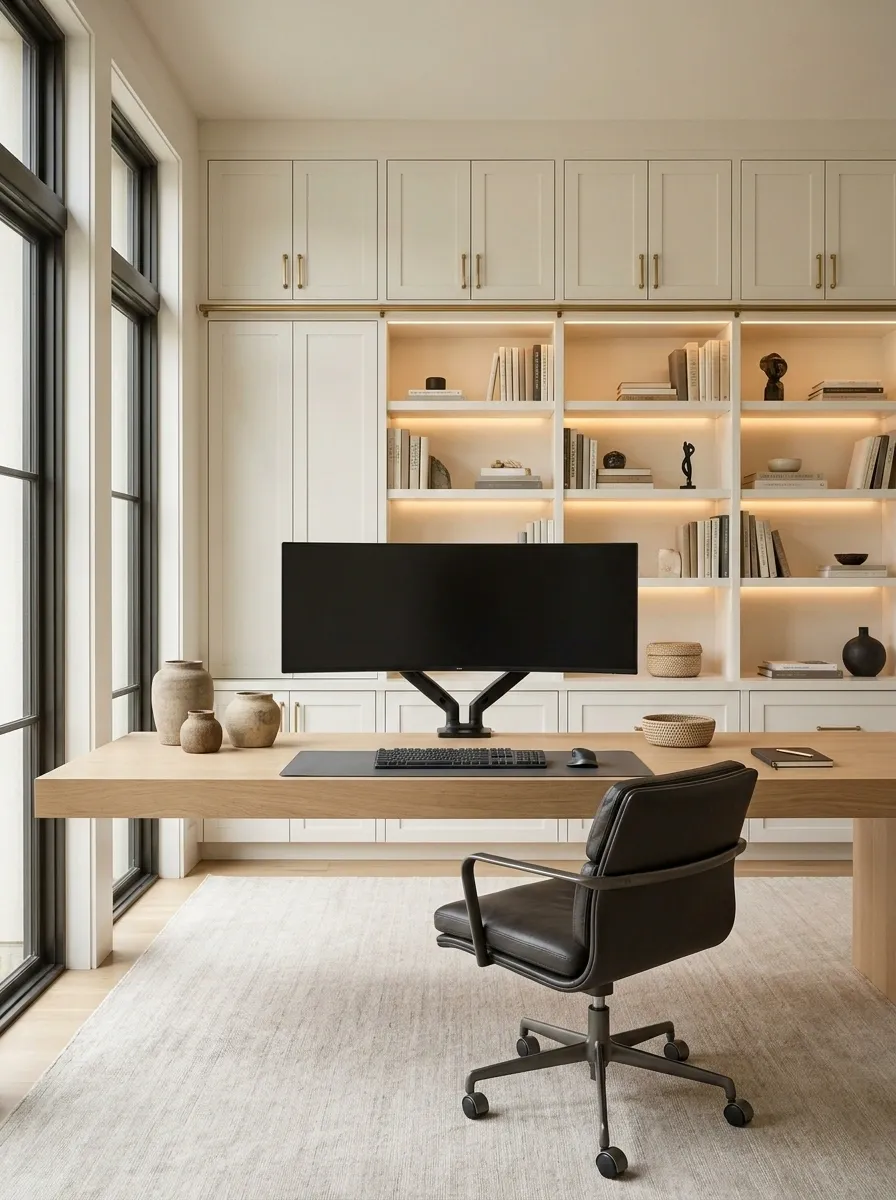
A bulky monitor stand can occupy the exact space needed for a keyboard, speakers, or a little breathing room. A monitor arm moves the screen off that footprint and gives the desk a cleaner outline.
Before buying one, check the monitor’s mounting compatibility, weight, desk thickness, and clamp clearance. Some desks aren’t suitable for every mounting style, and not every display supports an arm. A stand is still a sensible choice when the screen already fits well or the desk can’t safely support an arm.
The upgrade only counts if it solves a real space problem. Buying hardware just to create another hardware problem is quite the side quest.
Choose based on the desk, not the trend.
Keep the stand
Makes sense when the current screen height works and the stand doesn’t crowd the desk.
Consider an arm
Useful when a screen needs more flexible positioning or its original stand consumes valuable space.
Before ordering: confirm mounting support, monitor weight, desk construction, clamp clearance, and the room needed for arm movement.
Group Small Decorations Instead of Scattering Them Everywhere
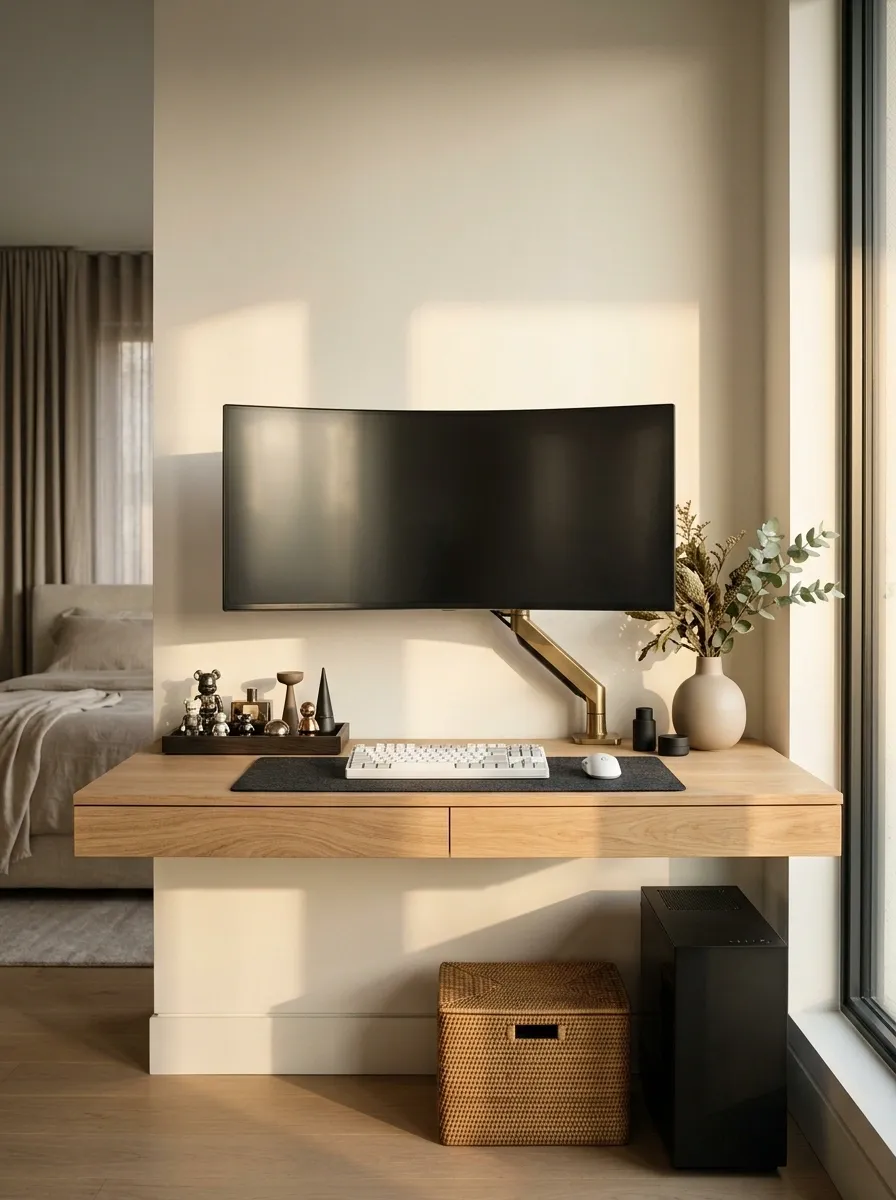
Six little desk toys scattered around the monitor don’t necessarily look like a collection. Sometimes they look like the accessories drawer exploded and nobody filed a report.
Bring small decorations together in one deliberate cluster. Keep related colors or themes close, vary the heights slightly, and leave a clear gap between the group and the keyboard. A shallow tray can help organize tiny objects without making them look like loose clutter.
Don’t cover every free surface just because it exists. The setup needs a few quiet areas to balance the things worth looking at.
Cluster the details. Protect the empty space. That’s how a collection starts looking like part of the design.
A little grouping goes a long way.
Use spacing and shared details to make small accessories read as a single display.
Every object sits in a different spot, so the eye jumps around and the desk feels busy.
Related pieces share a visual zone, with clear desk space left around the display.
Group by game, material, color, or collection.
Use a tray or stable riser when it helps separate smaller items.
Keep the display separate from the active keyboard and mouse area.
Give VR Gear, Cameras, and Backup Devices Their Own Storage
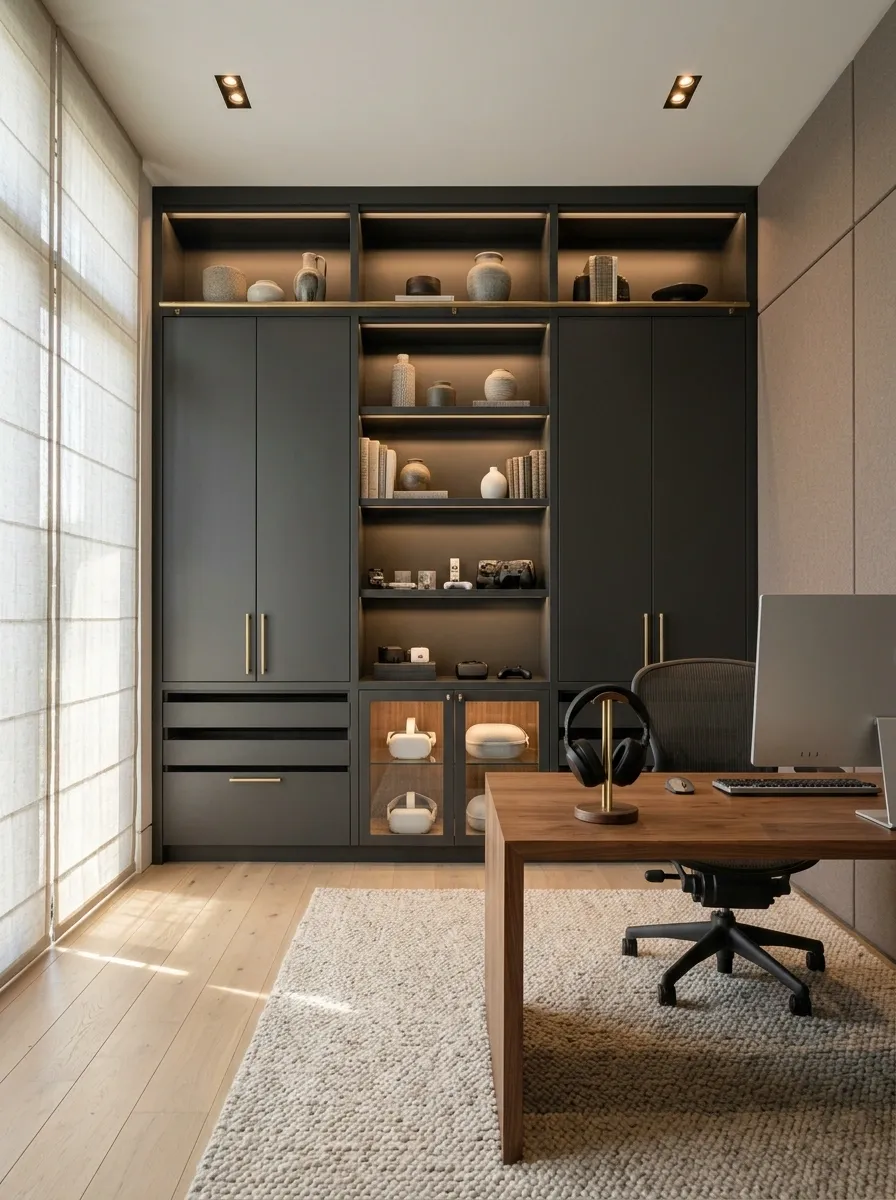
VR headsets, spare webcams, microphones, capture devices, and backup controllers don’t all need a permanent place on the desktop. Displaying every piece of tech at once makes the setup look like a product testing lab with no return policy.
Separate daily-use equipment from gear that comes out occasionally. Keep frequently used accessories in a nearby drawer or on a dedicated shelf, and store delicate equipment in suitable cases. Organize spare cables separately so finding one doesn’t require pulling out the entire collection.
Keep the desk ready for today’s session, not every possible session. Your backup webcam can survive without a spotlight.
Every device needs a home, not a spotlight.
Sort equipment according to how often it’s used and how carefully it needs to be stored.
Keep the active microphone, headset, or controller easy to reach without crowding the main playing area.
Move backup webcams, spare controllers, and capture devices into a labeled drawer or shelf.
Store VR equipment in suitable cases or dedicated spaces, protecting lenses and sensitive parts from dust and accidental knocks.
Align Desk Accessories With the Edges of Your Equipment
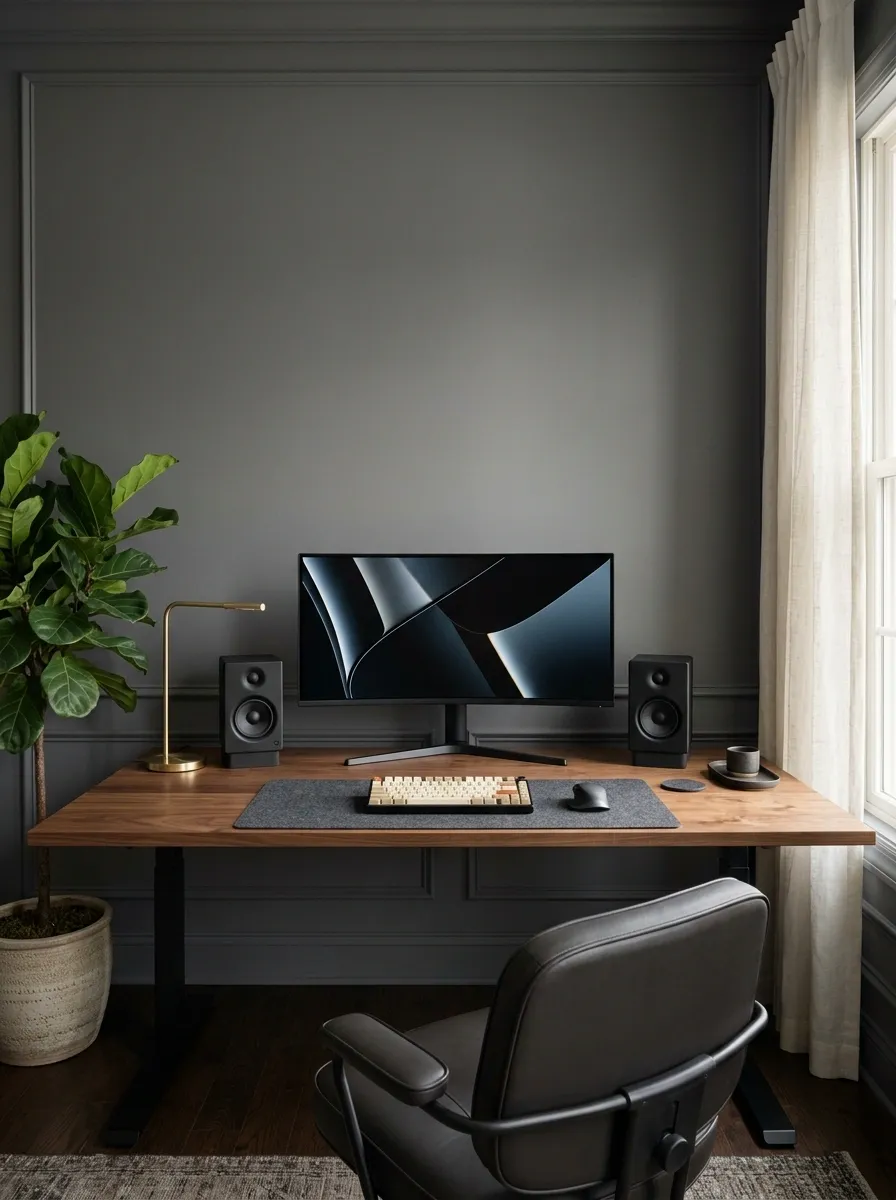
A speaker that’s halfway behind the monitor, a desk mat at a strange angle, and a lamp squeezed into the only usable corner can make everything feel slightly off. Nothing is necessarily wrong with the gear. The placement just lacks a shared reference point.
Use the edges of the monitor, keyboard, and desk mat to guide accessory positioning. Place matching speakers at similar distances where the layout allows, keep the mat parallel to the desk edge, and avoid squeezing objects into gaps that clearly don’t suit them.
Straight lines do a surprising amount of work. No expensive redesign required, just a little less freestyle furniture arranging.
Give the gear a common reference line.
Use existing edges to make the arrangement feel connected instead of accidental.
Keep parallel edges parallel, and make matching accessories feel like a pair.
Keep practical screen angles, speaker placement, and comfortable reach ahead of perfect symmetry.
Separate Gaming Equipment From Study or Work Supplies
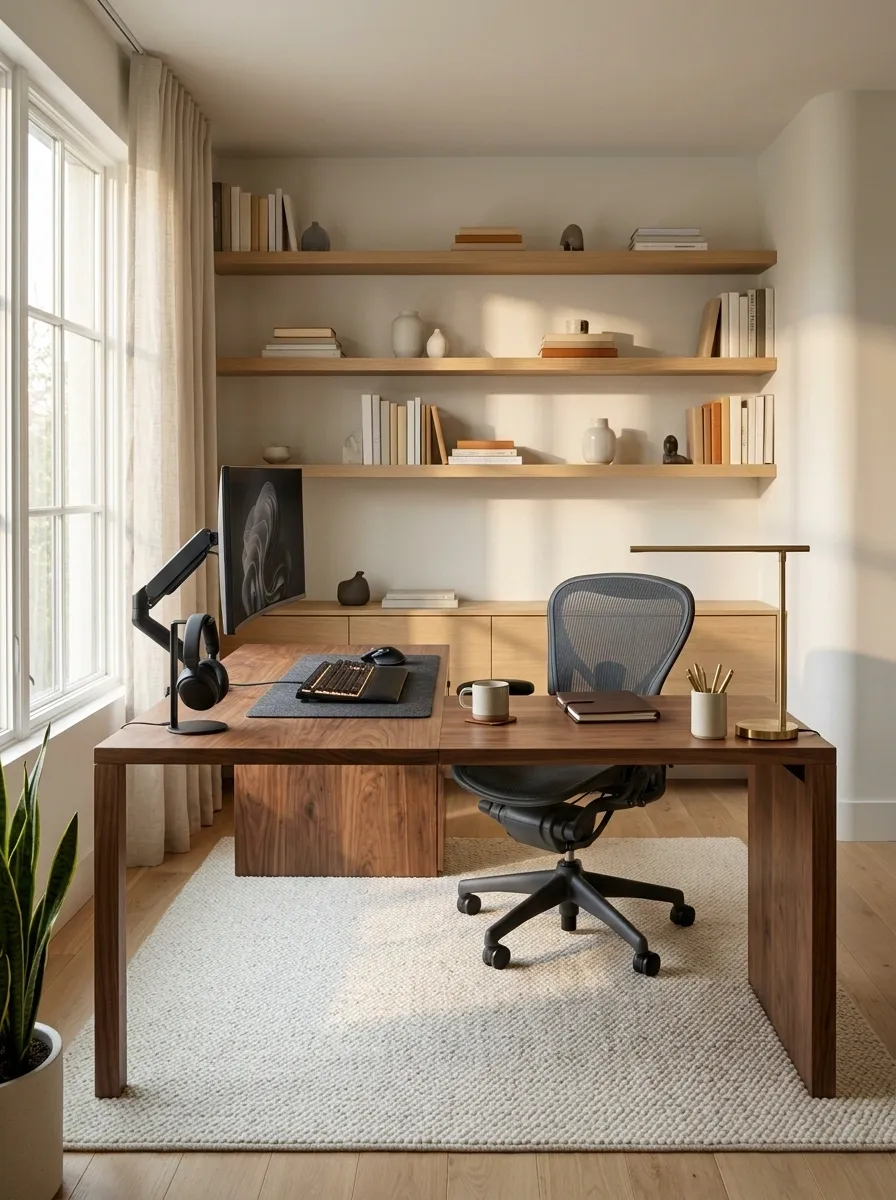
A shared desk has two jobs, which is exactly why it gets messy so quickly. The mouse competes with notebooks, chargers run across paperwork, and a stack of assignments slowly becomes part of the gaming aesthetic. Nobody asked for academic side quests.
Give gaming gear and study supplies separate zones. Keep the keyboard and mouse in their regular positions, store stationery in a holder or drawer, and move paperwork off the active gaming surface when it’s not being used. A small tray can keep current work together without spreading it everywhere.
Shared room doesn’t mean shared clutter. Each activity needs a clear setup, even when the furniture stays the same.
Two activities. Clear boundaries.
Give each activity a repeatable arrangement so switching doesn’t become a cleanup marathon.
Move the current task’s supplies into place, return the other activity’s accessories to storage, and keep the cable routes clear throughout.
Choose Furniture That Fits Your Room and Equipment
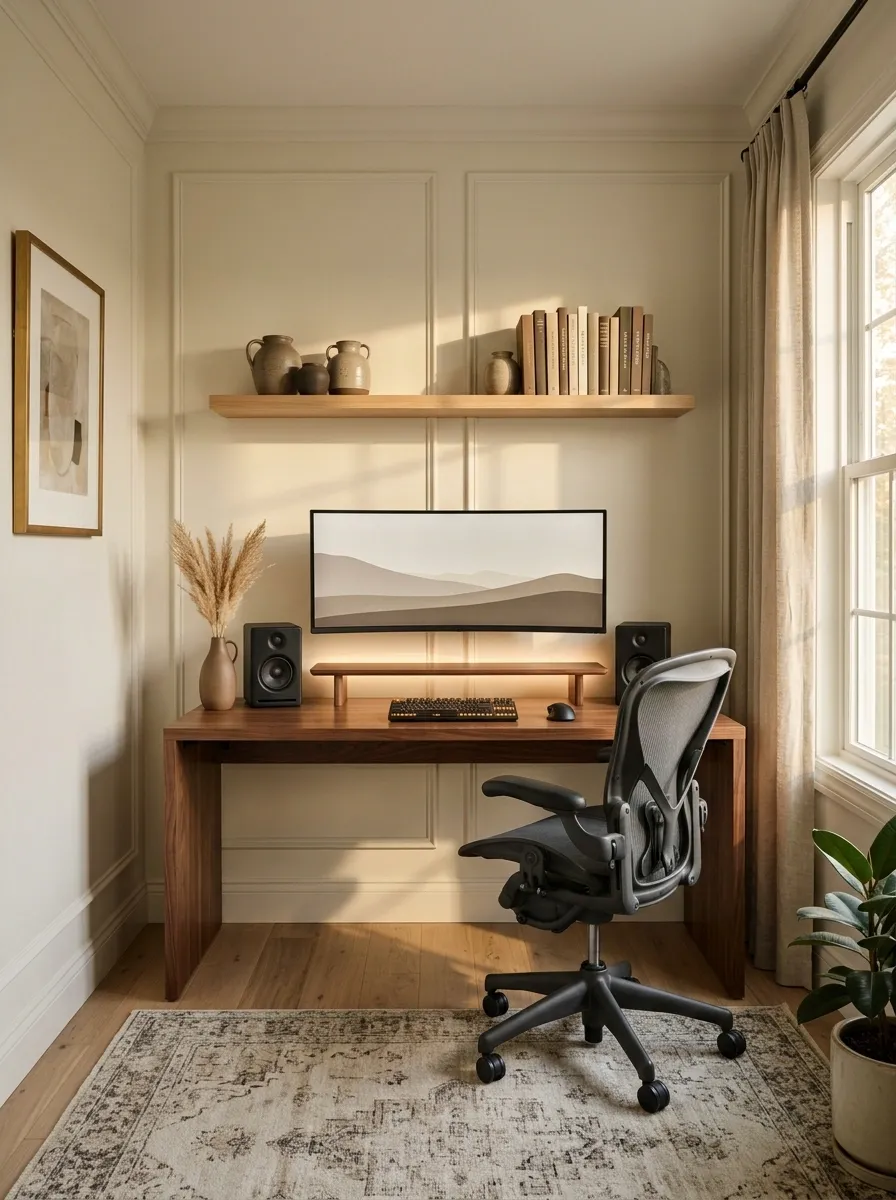
A giant gaming desk in a tiny bedroom doesn’t look impressive if there’s barely room to pull out the chair. Oversized furniture can swallow the room, while a desk that’s too small forces the monitor, keyboard, speakers, and accessories into an uncomfortable pileup.
Measure the wall, the chair’s movement area, and the equipment footprint before choosing a desk or storage unit. In a compact room, a simple desk with enough depth for the monitor and peripherals often works better than a huge model loaded with shelves and extras.
Buy for the room you have, not the gaming room in your Pinterest daydream.
The desk needs to fit the room, too.
Compare the furniture footprint, chair clearance, and equipment space before committing.
Compact and balanced
Choose the essentials, useful storage, and enough depth to work comfortably without crowding the walkway.
Room for extra gear
Use additional surface area for real needs, such as a second display or separate work zone, rather than filler.
Give Drinks, Cleaning Supplies, and Daily Essentials a Small Utility Zone
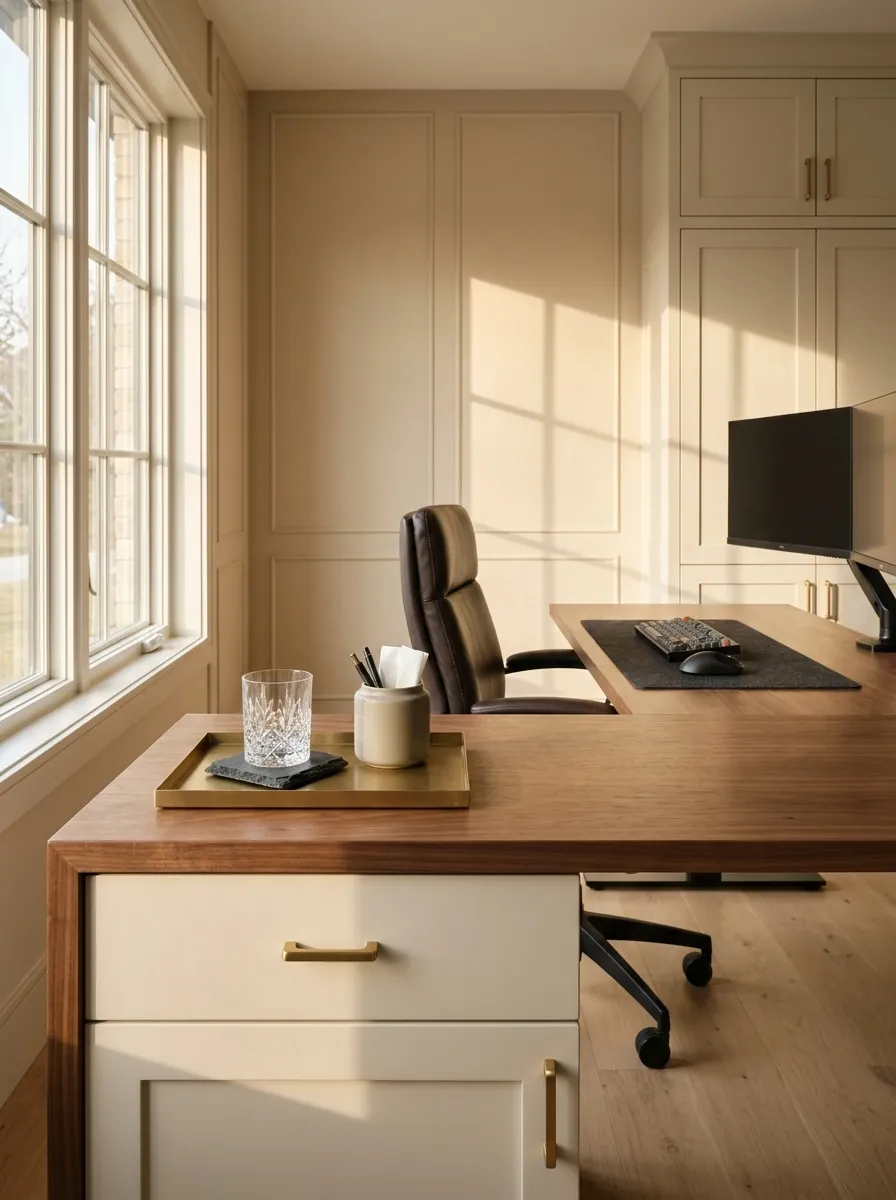
A desk covered with a cup, tissues, lens cloths, cleaning spray, snacks, and random everyday objects starts looking messy for a very ordinary reason: useful items have nowhere specific to go.
Designate a small utility area away from electronics and active mouse movement. Use a coaster for drinks, keep a microfiber cloth in a drawer, and store cleaning products safely according to their labels rather than beside open food or exposed electronics. Return these items to their place after use.
Useful isn’t the same as decorative. The setup can support daily life without making every errand look like part of the aesthetic.
Keep useful items. Lose the random pile.
Everyday essentials belong in a dedicated spot, with safety and convenience taking priority.
Use a stable coaster or holder away from electronics, plugs, and charging gear. A spill doesn’t need to become downloadable content.
Keep a clean microfiber cloth in a drawer or closed organizer so it doesn’t collect dust on the desk.
Put tissues, pens, and small essentials in one compact tray or drawer instead of distributing them across the desk.
Keep sprays and liquids stored securely away from electronics, food, and surfaces where they could spill.
Give the Setup a Clear Visual Hierarchy
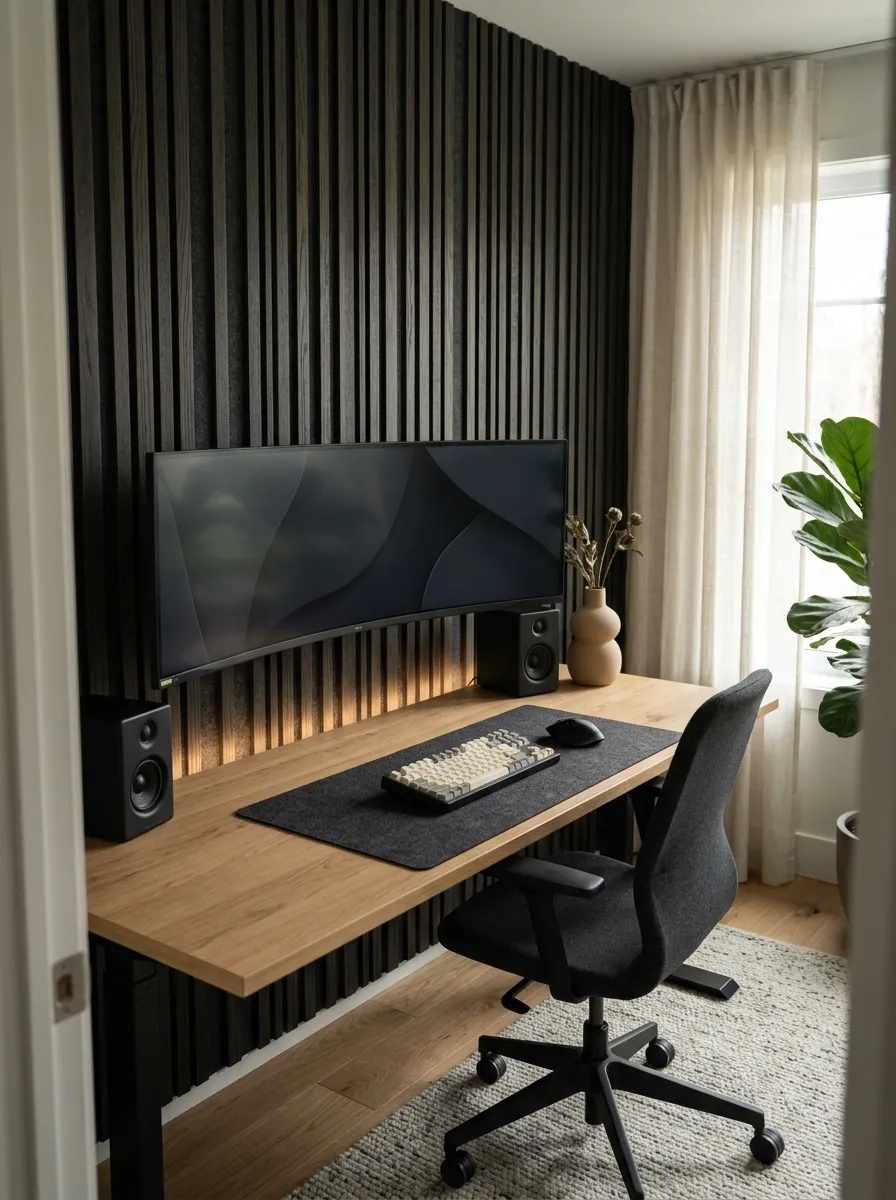
A desk feels more organized when a few things lead the eye and everything else plays a supporting role. Right now, the monitor, speakers, keyboard, light strip, and decorations might all be demanding equal attention. That’s not a design plan. That’s a group chat where everyone talks at once.
Choose the monitor as the main focal point, let the keyboard and desk mat form the next visual layer, and keep small accessories secondary. Place the most eye-catching decoration where it doesn’t compete with the screen. The result should feel balanced from the doorway and from the chair.
Not everything needs main-character energy. A setup looks more intentional when the equipment has a clear pecking order.
Give the eye a clear order.
The screen should lead, the peripherals should support it, and the little extras should stay in their lane.
The main monitor or display arrangement. Keep its placement deliberate and visually balanced.
Keyboard, mouse, desk mat, and speakers. Keep their placement coordinated without sacrificing comfort.
Collectibles, decorative lights, and extra accessories. Use these to add personality, not visual competition.
Make the Back of the Desk Look as Good as the Front
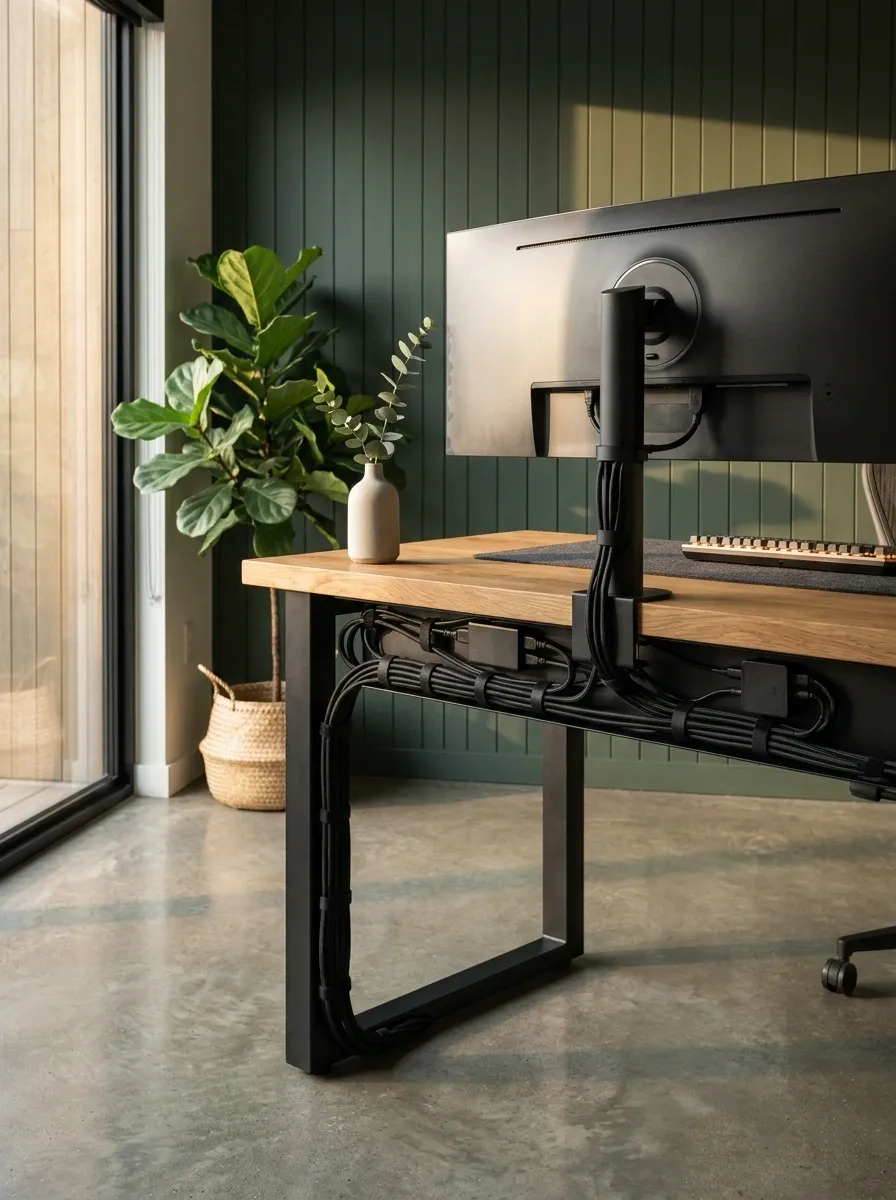
The front view can look spotless while the back of the desk resembles a cable crime scene. Then the desk gets moved, a plug comes loose, or a new device needs connecting, and the entire illusion falls apart.
Check behind the monitor, under the tabletop, and around the desk legs. Secure loose leads, arrange adapters so they don’t hang under tension, and remove cables that no longer connect to anything. Leave enough slack for adjustments and keep power equipment accessible.
The setup isn’t finished just because the camera can’t see the mess. Eventually, something will need unplugging.
The camera angle doesn’t count as cable management.
Inspect the areas that usually get ignored until something needs fixing.
- Monitor and keyboard aligned
- Desk surface kept clear
- Accessories in their assigned spots
- Lighting working with the room
- No unused cables left dangling
- Adapters supported and accessible
- Leads protected from sharp edges
- Enough slack for screen movement
Maintenance tip: trace each lead to its device before removing anything. Label unfamiliar connections and avoid pulling on plugs or stretching cables.
Layer Ambient, Task, and Screen Lighting for a Cleaner Look
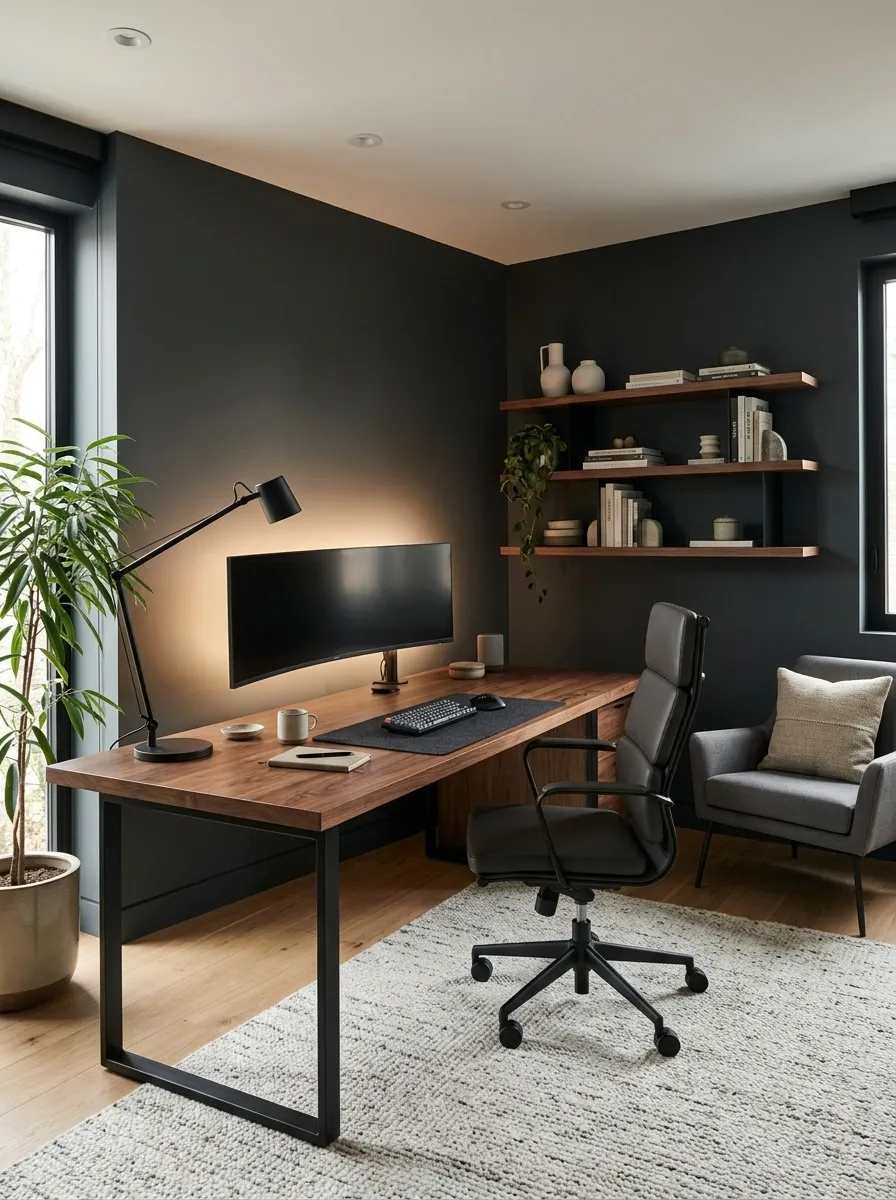
A bright RGB strip cannot do every lighting job in the room. It might look good behind the monitor but still leave the desk uncomfortable to work at, while a strong overhead light can flatten the whole setup.
Use different lighting for different purposes. Ambient light makes the room usable, a suitable desk lamp helps with tasks, and subtle screen backlighting can add depth behind the monitor. These sources don’t need to match perfectly, but they should work together rather than compete.
Keep screen reflections and glare under control, and don’t let decorative lighting make the display harder to see.
A gaming setup should look good with the lights on, too. Otherwise, the entire design depends on hiding the room in darkness.
Each light should have a job.
Separate room lighting from task lighting and decorative effects.
Room lighting
Provides general illumination so the rest of the room doesn’t disappear when the monitor comes on.
Functional lighting
A suitable lamp helps with reading, studying, and other activities without relying on RGB effects.
Decorative glow
Screen backlighting or a restrained accent light adds atmosphere without becoming the only light in the room.
Build a Quick Reset Routine That Keeps the Setup Looking Good
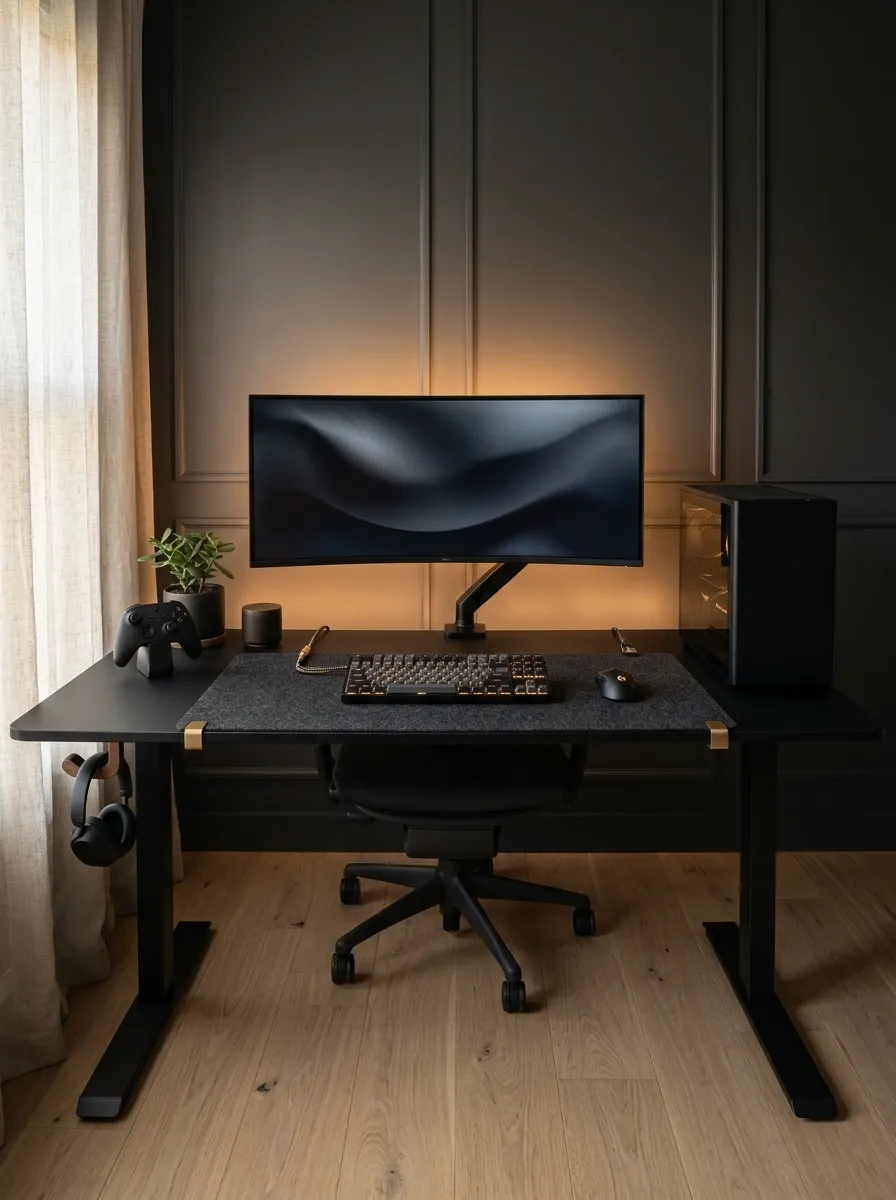
Even a well-designed setup can look chaotic after a long gaming session. Controllers stay out, cups pile up, the headset lands on the monitor, and loose wires creep back into the picture.
The fix isn’t a major cleanup every night. It’s a short routine that returns the desk to its original layout before the clutter becomes a permanent feature.
Use the same order every time. Put accessories away, remove rubbish, return cables to their routes, straighten the keyboard, and switch off lighting you don’t need. The fewer decisions involved, the easier the routine becomes.
Five small resets beat one dramatic weekend cleanup. The desk doesn’t need a makeover every time it gets used.
Close the game. Reset the scene.
Follow one repeatable sequence so the next session starts with a clean desk.
Put the controller on its stand and the headset on its hook. Spare gear goes back into storage.
Remove cups, wrappers, and anything that doesn’t belong on the surface.
Return charging leads to their assigned route and check for wires pulled loose by chair movement.
Straighten the keyboard, put the mouse in its usual place, and switch off unnecessary lighting.
Remove the One Thing That Makes Everything Else Look Out of Place
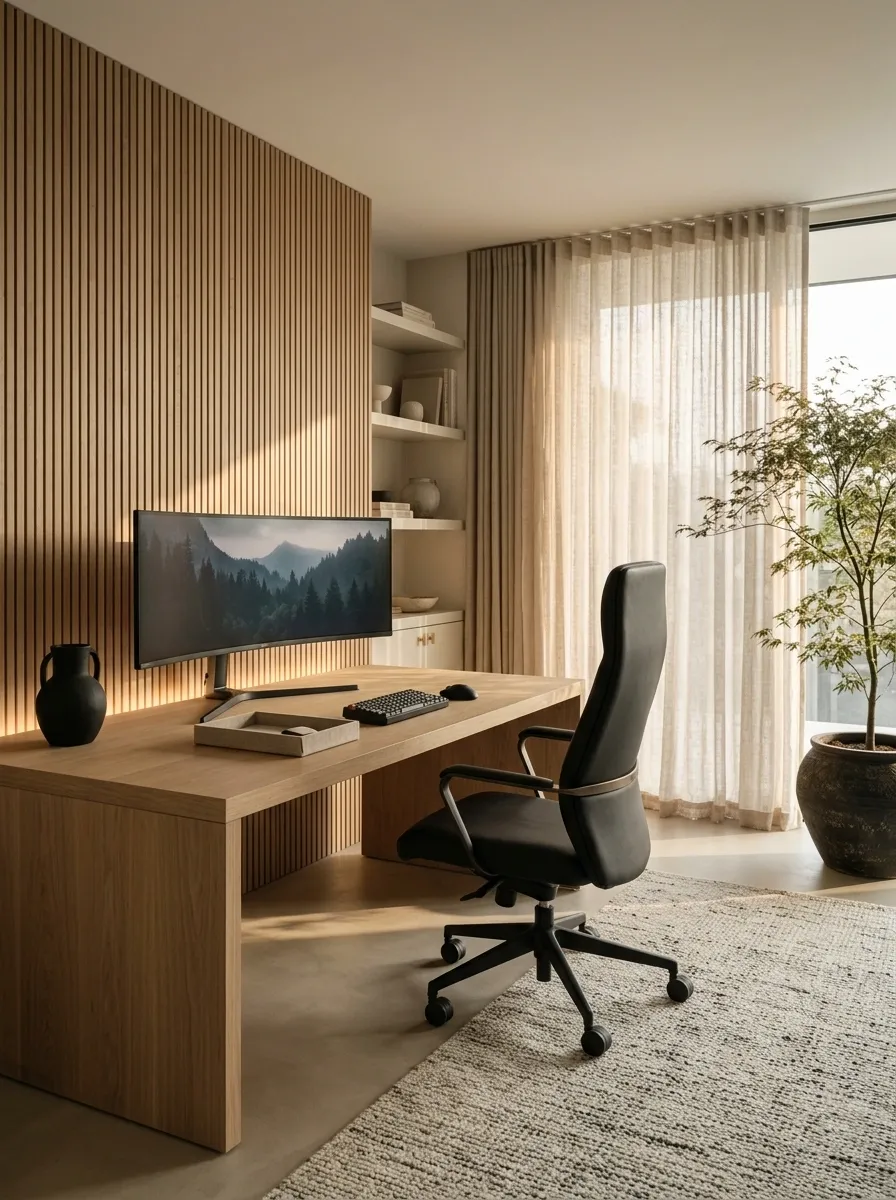
Sometimes a gaming setup doesn’t need another organizer or a different color palette. It needs one obviously wrong thing removed. Maybe it’s a random bright accessory that clashes with the desk, a broken headset left on display, or a light effect that makes everything look unnecessarily busy.
Stand back and look at the whole corner. Identify the item that grabs attention for the wrong reason, then move it or replace it only if necessary. Check the visible cables, the desk surface, and the balance between the screen and the decor.
Fix the biggest distraction first. Spending money on five small upgrades while ignoring the obvious eyesore is how a simple setup makeover becomes a subscription service.
Find the biggest distraction. Fix that first.
Scan the entire setup before adding anything else to it.
Move it, store it, or coordinate its finish with the rest of the setup.
Remove the thing that occupies space without serving a practical or decorative purpose.
Reduce or switch off an effect that competes with the monitor or makes the palette feel scattered.
Route it safely and secure the slack instead of buying a new accessory to distract from it.
Make the Setup Feel Finished Without Filling Every Inch
The difference between a cluttered gaming corner and a polished one rarely comes down to owning the newest monitor or the most expensive desk. It comes down to what stays visible, where things belong, and how the individual pieces work together.
Start by organizing the cables and clearing the main play area. Then sort the accessories, settle on a consistent palette, and adjust the lighting until it supports the room instead of taking it over. Only after those basics are handled should a new stand, shelf, or decorative piece enter the conversation.
A setup should work for everyday gaming, studying, and relaxing, not just for one carefully staged photograph. Keep the gear that matters, make the space easy to reset, and let a little empty surface do its job.