
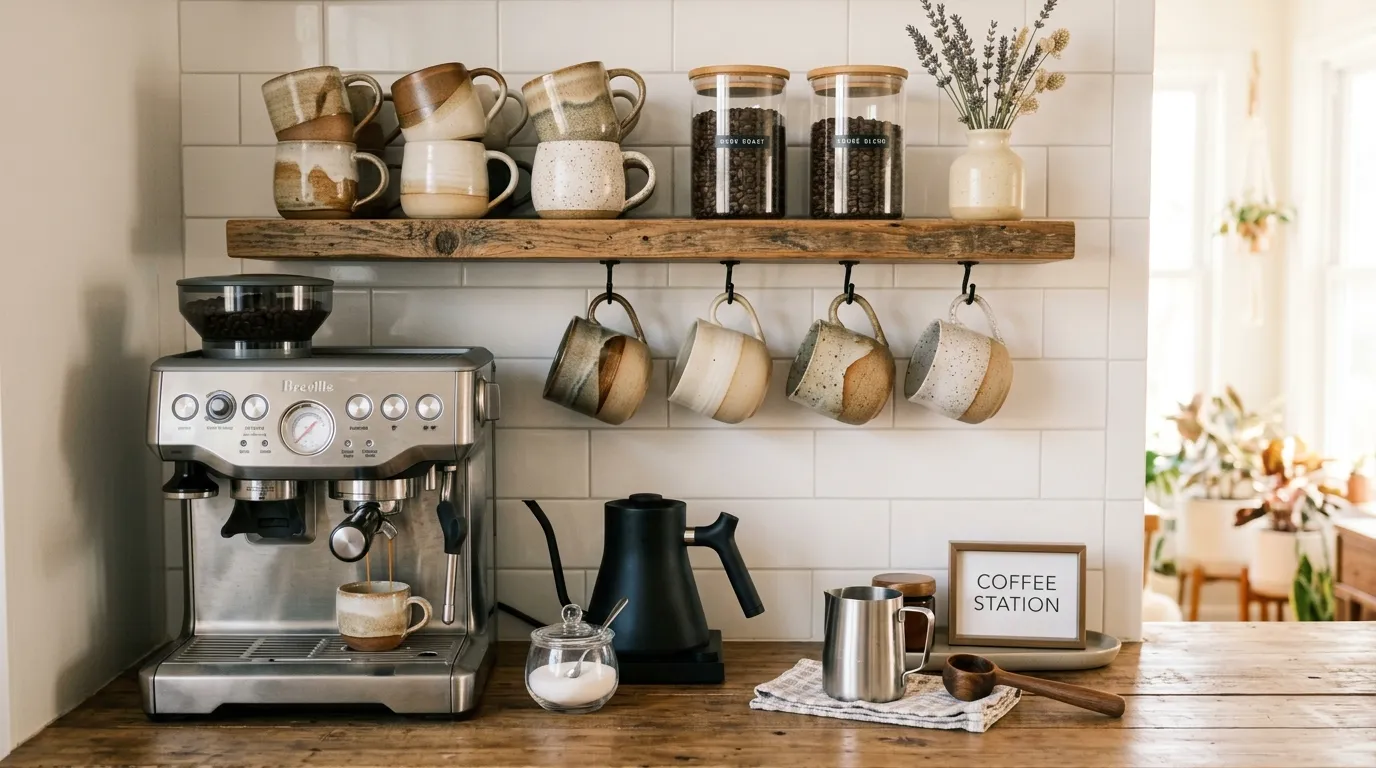
A coffee station can get messy faster than almost any other kitchen corner. The machine stays out, mugs pile up, coffee bags lean against the backsplash, and suddenly the whole counter looks like a storage area.
That’s the problem with most coffee station ideas. They focus too much on making the corner look pretty and not enough on how you’ll actually use it at 7 a.m. A good setup needs to work before it needs to look good.
The fix isn’t buying more coffee accessories. It’s giving the things you already use a clear place to live.
A small tray can define the zone. A shelf can free up counter space. A few hooks can turn an awkward wall into useful storage. Even a tiny apartment counter can handle a coffee station when the layout is intentional.
The ideas below focus on those practical moves. Some are decorative, but every one has a job. That’s what keeps a coffee corner looking finished instead of crowded.
What Makes a Coffee Station Actually Work?
Keep the Daily Coffee Gear Within Reach
The best coffee station isn’t the one with the most accessories. It’s the one where you can make coffee without opening five cabinets.
Keep your everyday machine, coffee, mugs, and one or two frequently used tools together. Anything you only use occasionally belongs somewhere else.
A simple rule works here: daily items stay visible, backup supplies stay hidden.
This also makes cleanup easier. When everything has an obvious home, you’re less likely to leave random packets and spoons around the machine.
Give Every Coffee Supply a Home
Coffee supplies tend to multiply quietly. One bag of beans becomes several bags, then filters, pods, syrups, sweeteners, stirrers, and extra mugs join the pile.
Don’t let all of that live on the counter.
Use containers for small loose items and keep backup supplies below or above the main station. Your counter should hold what you reach for every morning, not everything you own.
Style the Station Around the Counter Space
A coffee setup shouldn’t fight the kitchen around it.
A wide counter can handle a dedicated tray and several accessories. A narrow counter needs vertical storage. A rental might work better with a rolling cart or removable hooks.
The layout comes first. Decoration comes second.
If the station is easy to use and easy to clean, it’ll still look good after the first week.
Coffee Station Ideas
Pastel Pink Overload
If your primary goal is making sure your coffee bar looks like a dollhouse exploded, then by all means, buy everything in the same shade of blush. It is a bold choice to prioritize aesthetic uniformity over actually having a functional kitchen space.
Grouping an excessive amount of floral-themed porcelain and matching canisters creates a look that is less ‘morning caffeine hit’ and more ‘Victorian nursery.’ At least the wall sign explicitly states that kindness is the perfect blend, just in case you forgot how to be a functioning human being before your first latte.
To really sell the look, make sure you never actually use these mugs, as washing them would clearly ruin the carefully curated vibe you have spent far too much time achieving.
Turn One Empty Counter Corner Into a Dedicated Coffee Zone
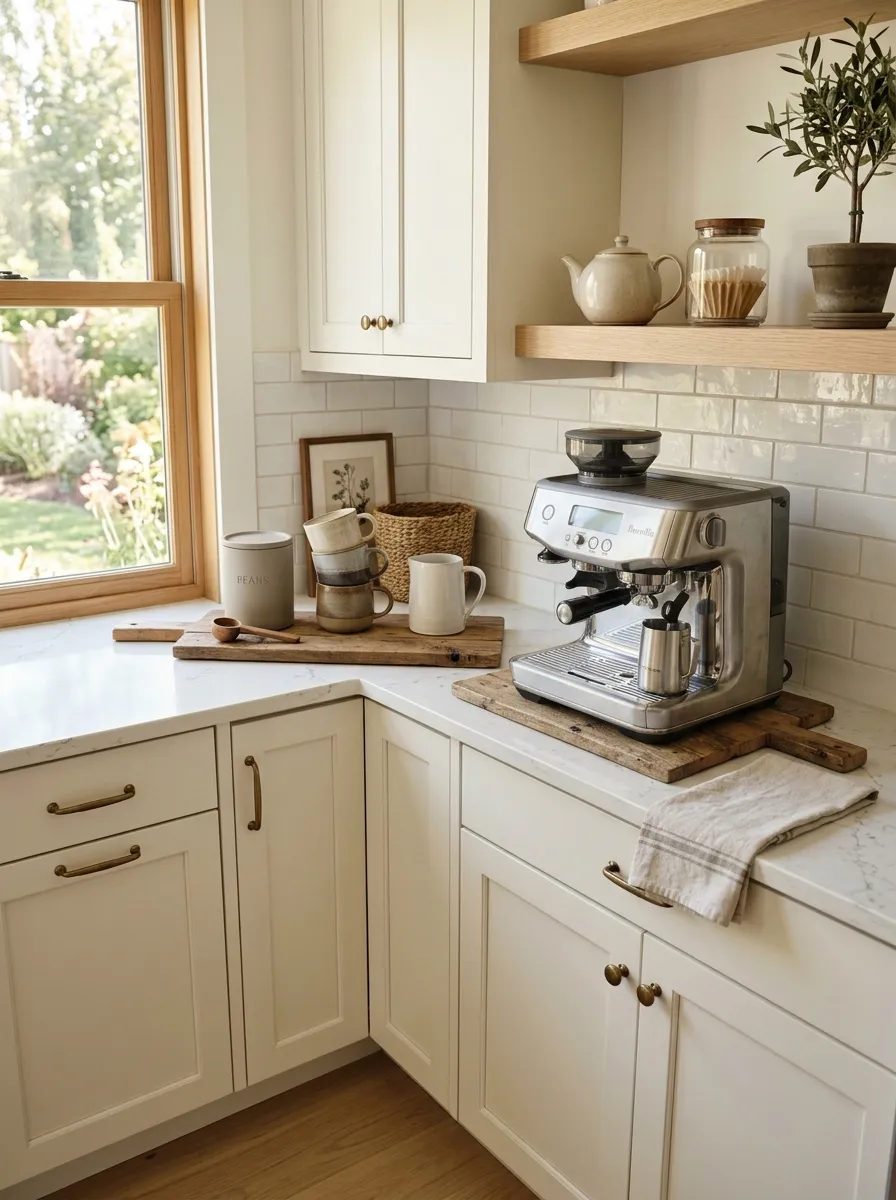
You don’t need an entire counter for coffee. One unused corner can become a defined station if you group the right pieces together.
Start with the coffee maker, then place the mug supply and coffee container beside it. Keep the arrangement compact instead of spreading everything across the counter.
The basic setup:
- Coffee maker in the center
- Coffee beans or pods beside it
- Everyday mugs within reach
- Small tray underneath loose accessories
The key is visual boundaries. A tray, cutting board, or small mat can make several separate objects read as one intentional station.
The Over-Engineered Glow
Nothing says ‘I definitely have my life together’ quite like a wall covered in fairy lights and enough syrups to give a small village a sugar crash. Apparently, the modern coffee experience isn’t complete unless your setup looks like a low-budget nightclub.
Using matching glass pump bottles for basic ingredients like sugar and tea is a fantastic way to turn a two-second task into a complicated, sticky ordeal. At least the neon sign is there to remind you where you are, just in case you wandered into your own kitchen by mistake.
If you find yourself needing this much hardware and ambient lighting just to brew a simple cup of coffee, perhaps it is time to admit that your hobby has officially become a full-time interior design project.
Use a Tray to Visually Group the Coffee Essentials
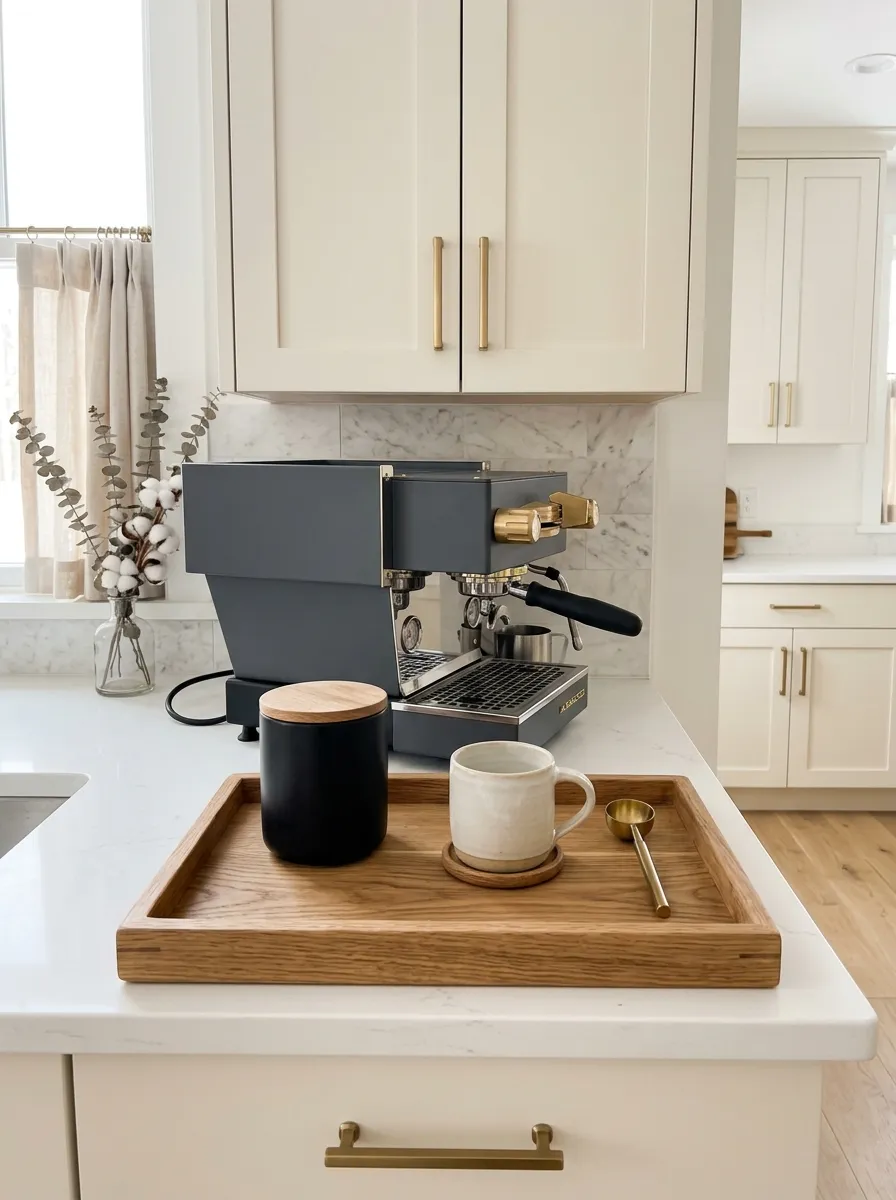
A tray does more than protect the counter. It gives the coffee station a clear footprint.
Choose one that’s slightly wider than your machine and the accessories you use every day. Don’t fill every inch. A little empty space makes the arrangement look deliberate.
Keep on the tray:
- Coffee maker
- Coffee container
- Small spoon
- One decorative but useful item
If your machine is too large for the tray, place the tray beside it and use it for the smaller pieces. That’s enough to create a visual anchor.
- Coffee maker or grinder
- Everyday coffee supply
- One small tool
- Enough empty space to keep it breathable
Lush Tropical Coffee Bar
Because nothing complements the smell of roasted coffee beans quite like an excessive amount of dangling greenery that will inevitably drop leaves directly into your cup. If you have ever wanted to feel like you are brewing espresso in a humid jungle, this is the design choice for you.
Installing a hanging frame overhead is an inspired way to ensure you bump your head every single time you lean in for a reach. It is a small price to pay for the privilege of telling guests that your home has ‘biophilic design elements’ instead of just a counter with too many plants.
Make sure to keep the stool arrangement tight, so that you and your guest can enjoy the authentic experience of hovering awkwardly while trying not to knock over the decorative hanging foliage.
Install a Small Shelf Above the Coffee Maker
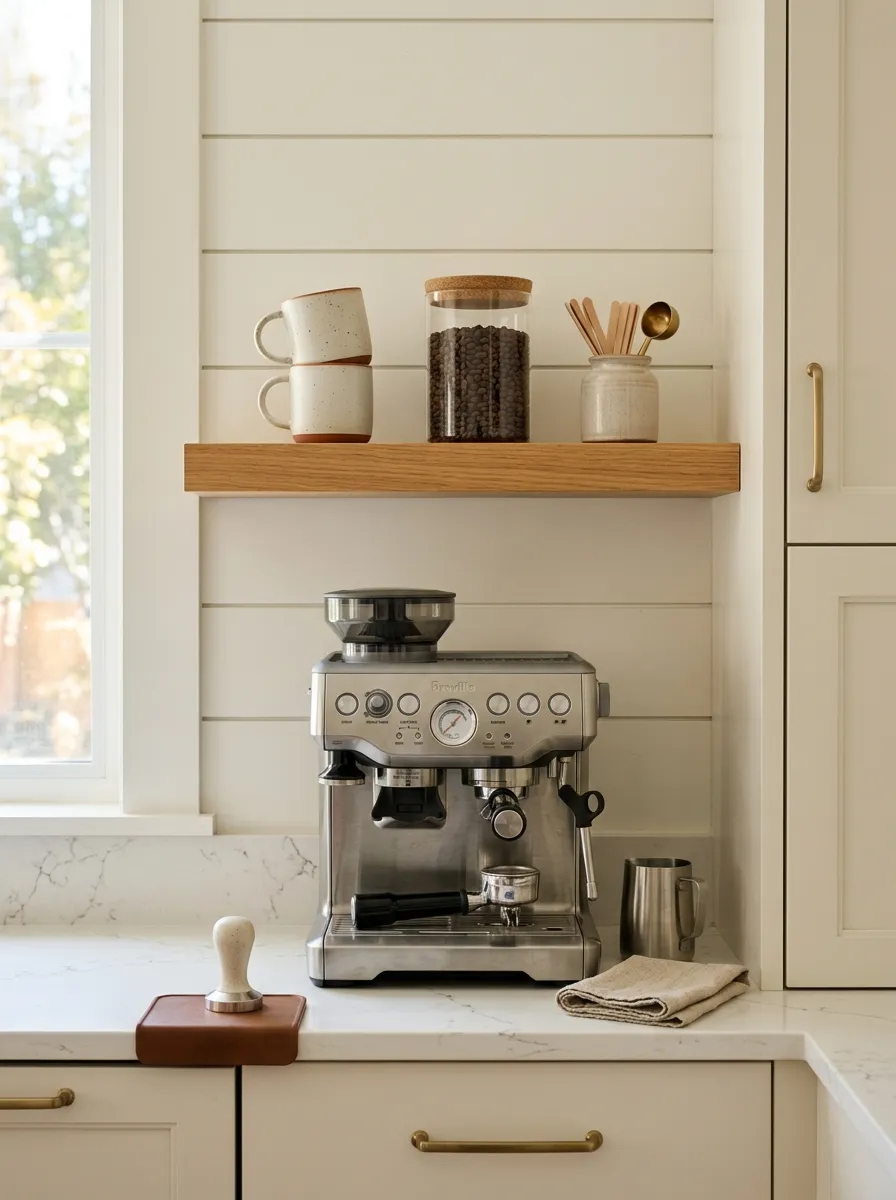
The wall above your coffee maker is often wasted space.
A narrow wood shelf can hold mugs, coffee containers, or a small jar of stirrers without making the counter wider. Keep the shelf shallow enough that it doesn’t interfere with the machine.
Use the lower counter for the coffee maker and the upper shelf for lighter items.
Best shelf contents: mugs, beans, filters, and small containers.
Skip heavy stacks. The point is to move storage upward, not create another crowded surface.
Put the coffee maker below and lightweight daily supplies above. This adds storage without stealing another inch of counter width.
Industrial Minimalist Chic
Nothing screams ‘I drink black coffee and judge your lifestyle’ quite like a stark, dark-walled station with floating shelves. It is the perfect backdrop for anyone who wants their morning ritual to feel like an austere gallery exhibit rather than a cozy kitchen.
Those under-shelf lights are brilliant for ensuring every single piece of lint on your espresso machine is highlighted in high definition. It is a truly sophisticated way to make a basic task feel like an important architectural statement that absolutely no one asked for.
If the goal is to make your kitchen feel like a high-end cafe where the barista refuses to make eye contact, you have nailed the aesthetic perfectly. Just try not to get any coffee stains on the pristine wood, or the whole ‘minimalist vibe’ will crumble.
Store Mugs on Hooks Instead of Taking Up Shelf Space
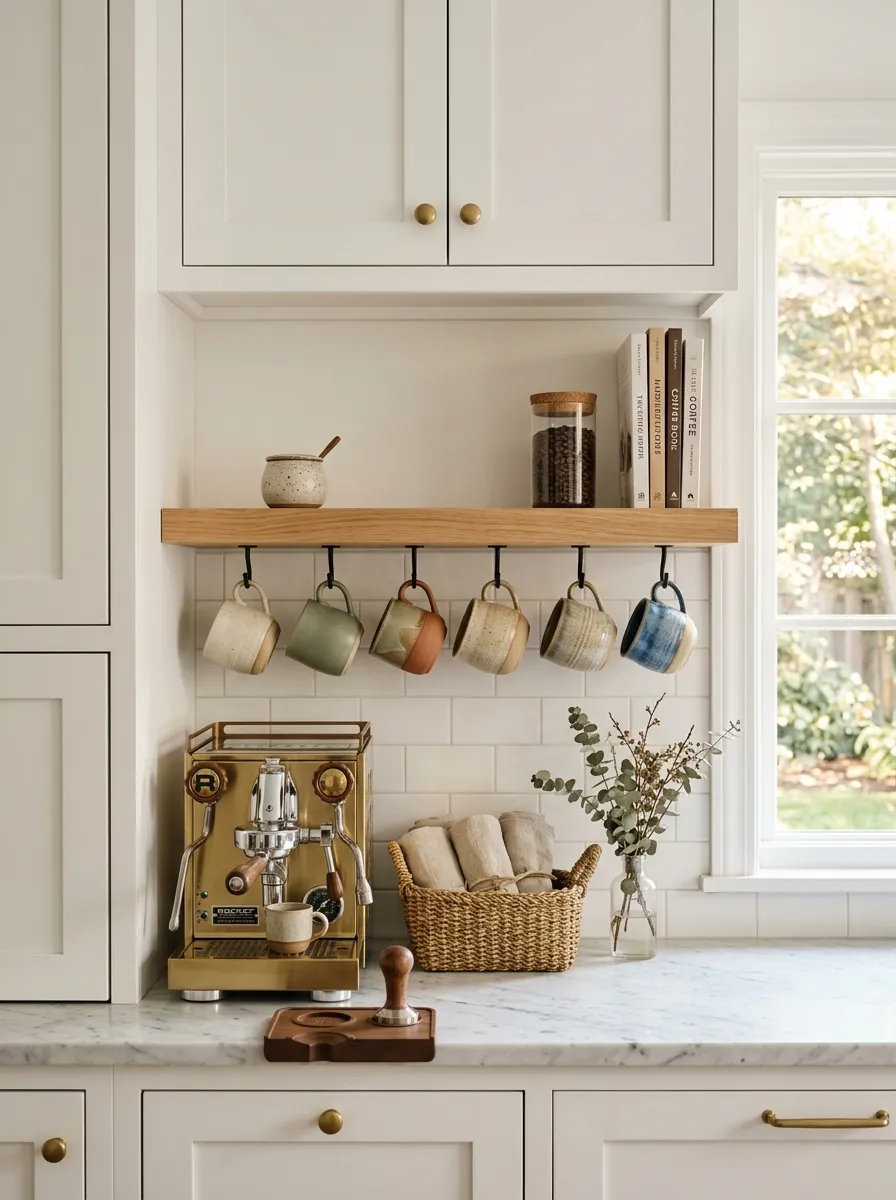
Mugs don’t need an entire cabinet shelf.
Install a few hooks underneath a shelf or cabinet and hang your everyday mugs where you can grab them immediately. This works especially well when your favorite mugs are attractive enough to double as part of the station.
Keep the display small.
Hang only the mugs you actually use. The rest can stay inside the cabinet.
That keeps the wall useful without turning it into a mug collection display.
- Choose the underside of a shelf or cabinet.
- Space hooks so handles don’t collide.
- Hang your everyday mugs.
- Keep backup mugs behind closed doors.
Build a Coffee Station Inside a Kitchen Cabinet
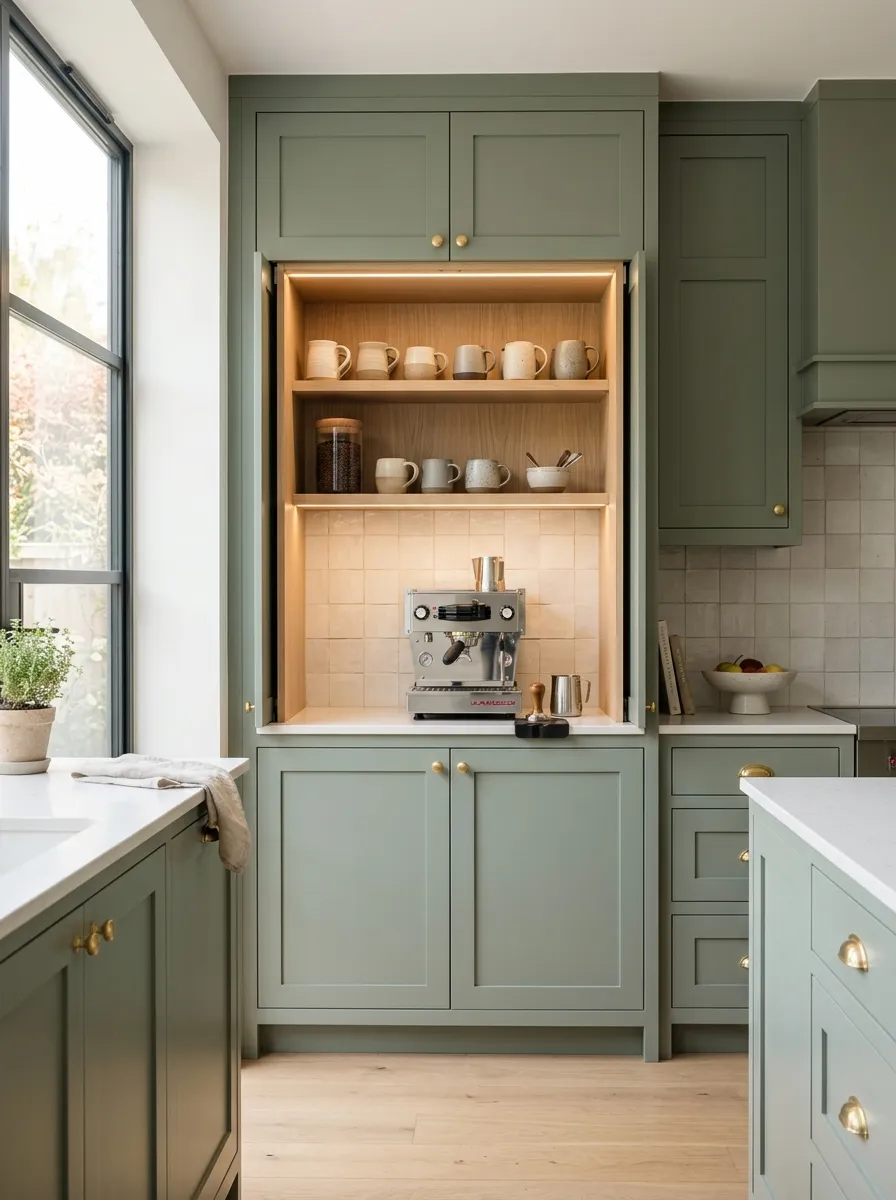
A coffee station doesn’t have to stay visible.
If your kitchen feels crowded, dedicate one cabinet section to the machine and close the doors when you’re finished. This is especially useful for compact kitchens where every clear surface matters.
Leave enough height for the machine to operate safely and make sure the doors don’t interfere with the setup.
Best candidates for cabinet storage:
- Coffee maker
- Grinder
- Filters
- Mugs
- Coffee containers
The result is simple: coffee gear stays together, but your kitchen looks clean when you’re not using it.
Put Coffee Beans in Matching Airtight Containers
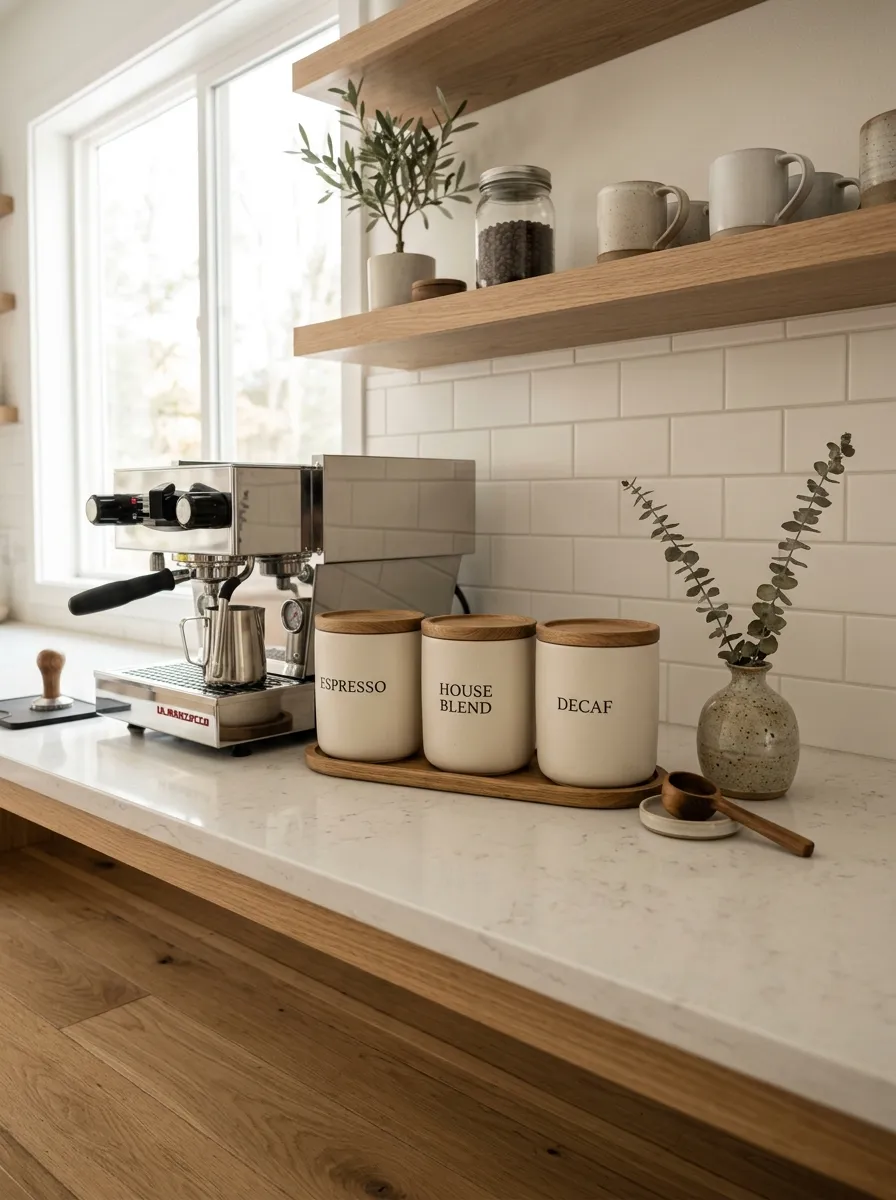
Coffee bags are functional, but they’re rarely attractive sitting beside a coffee maker.
Move your everyday beans into airtight containers that are easy to open and easy to identify. Matching containers instantly make the station look more organized.
Don’t overcomplicate the labels.
A simple name such as Espresso, House Blend, or Decaf is enough.
Keep backup bags somewhere else. Your coffee station only needs the supply you’re currently using.
Practical tip: Choose containers with wide openings. They’re much easier to scoop from than narrow jars.
Add a Narrow Rolling Cart When Counter Space Is Tight
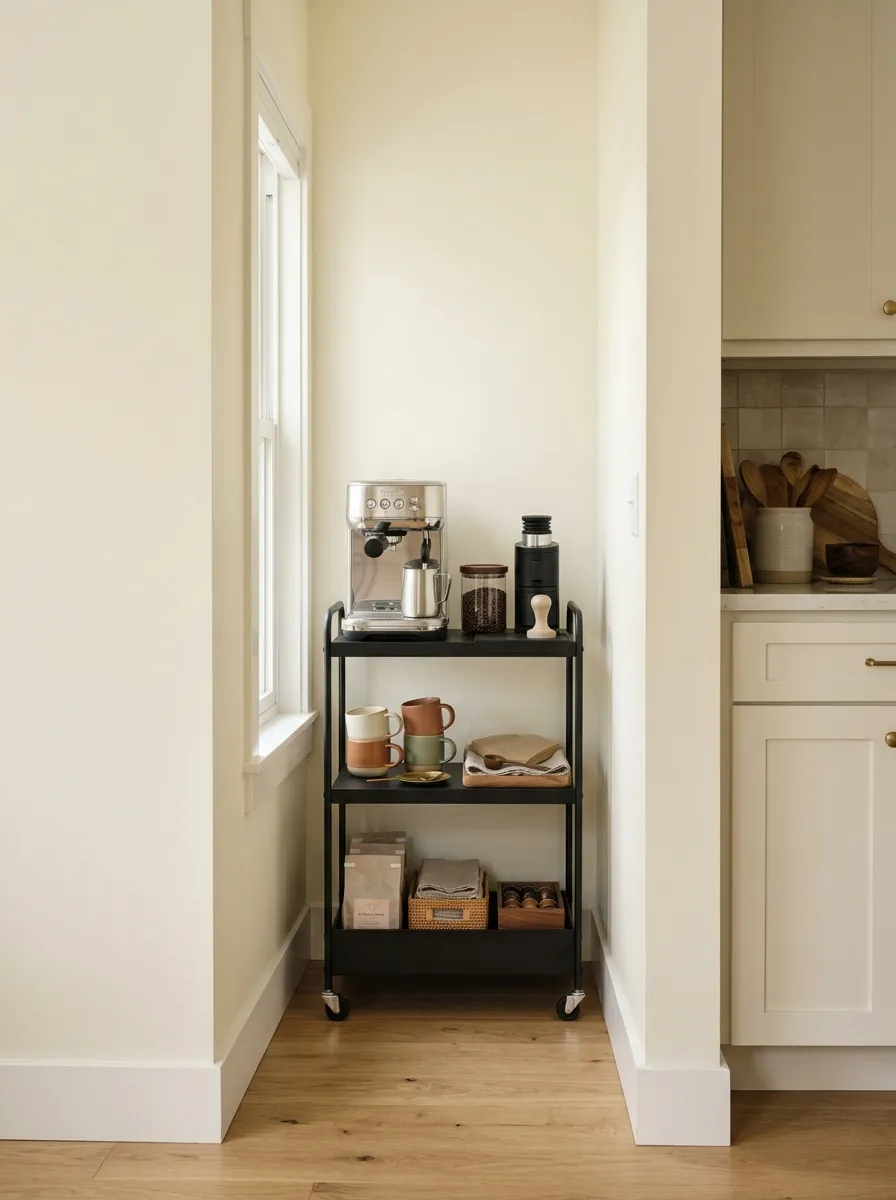
A rolling cart solves a problem that another countertop accessory can’t: it creates an entirely separate coffee zone.
Choose a slim cart that can tuck beside the refrigerator, pantry, or kitchen island. Put the coffee maker on top and use the lower levels for mugs, beans, filters, and backup supplies.
Use the levels intentionally:
- Top: machine and daily coffee
- Middle: mugs and tools
- Bottom: backup supplies
The wheels matter too. You can pull the cart forward when you need it and push it back when the kitchen needs more breathing room.
Give Syrups Their Own Small Organizer
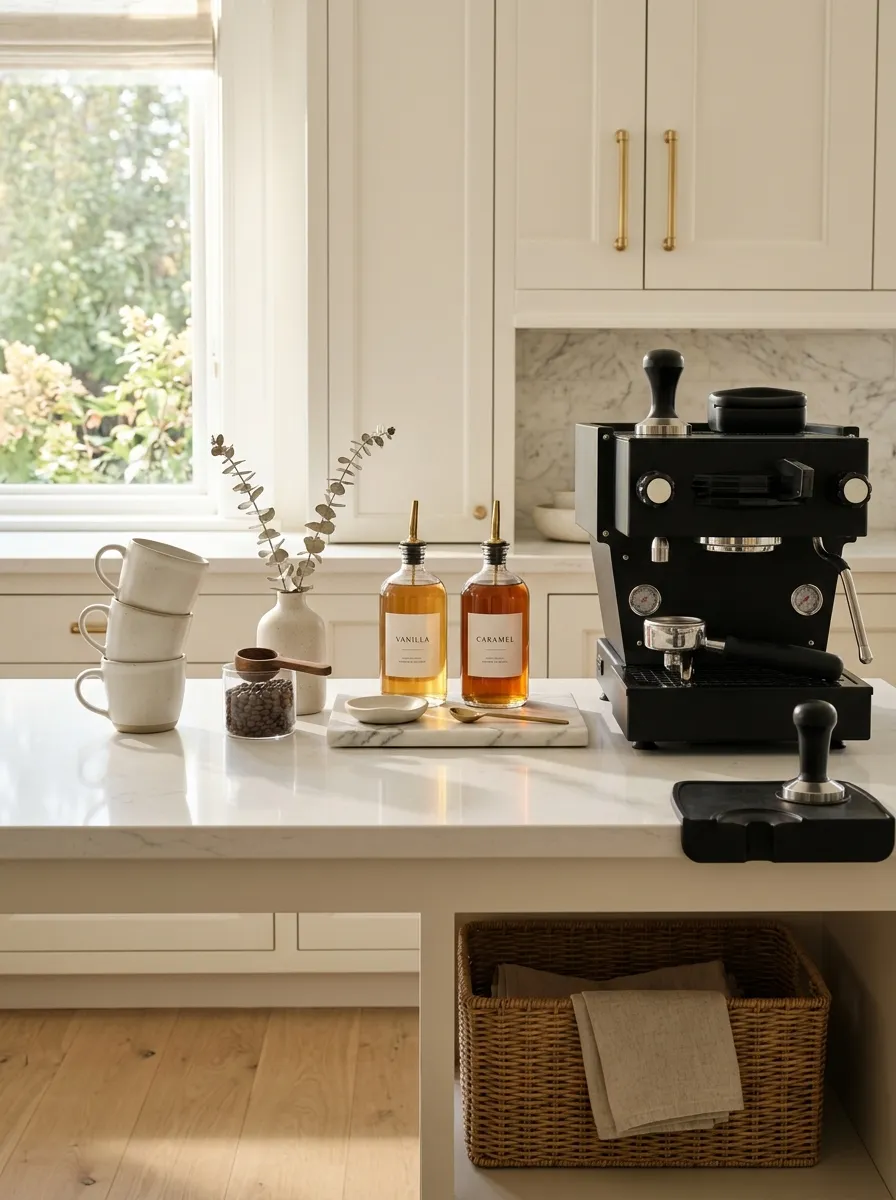
Syrup bottles create visual clutter because they’re tall, colorful, and usually end up scattered behind the coffee maker.
Put them together in one narrow organizer or small tray. This gives them a defined footprint and makes it easier to grab the flavor you want.
If you only use one or two syrups, don’t buy a large organizer.
| Setup | Best choice |
|---|---|
| One or two bottles | Small tray |
| Several bottles | Narrow organizer |
| Tall bottles | Open shelf |
| Rarely used flavors | Cabinet storage |
Keep the bottles you’re actually using near the station. Everything else can disappear into the pantry.
Create a Two-Level Setup With a Wood Riser
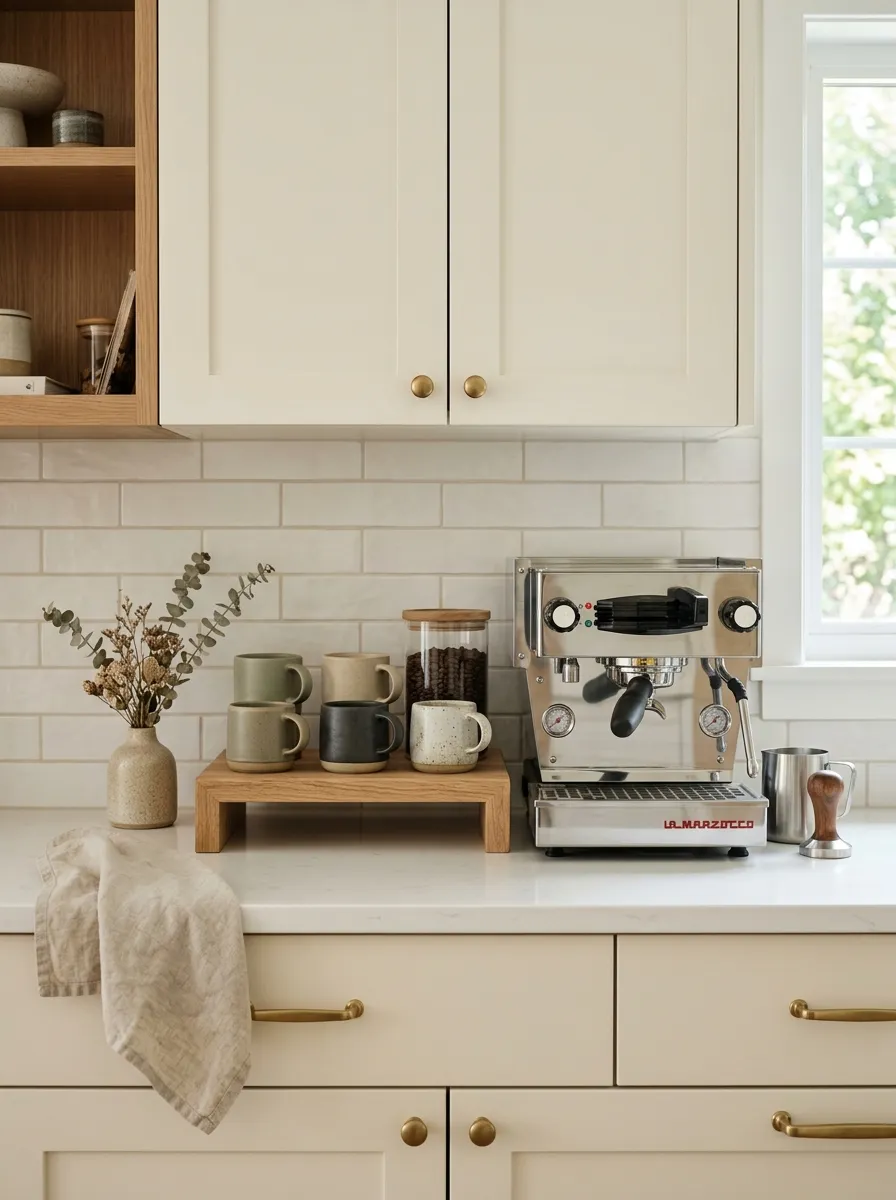
A flat counter makes everything sit at the same visual height. That’s why coffee stations can look cluttered even when they’re organized.
A simple wood riser fixes that.
Put your coffee containers or mugs on the raised level while keeping the machine on the counter. The change in height separates the objects and makes the whole arrangement easier to scan.
Use the riser for smaller items. Don’t put your heavy machine on it unless it’s specifically designed to support that weight.
Keep Daily Spoons and Stirrers in One Small Crock
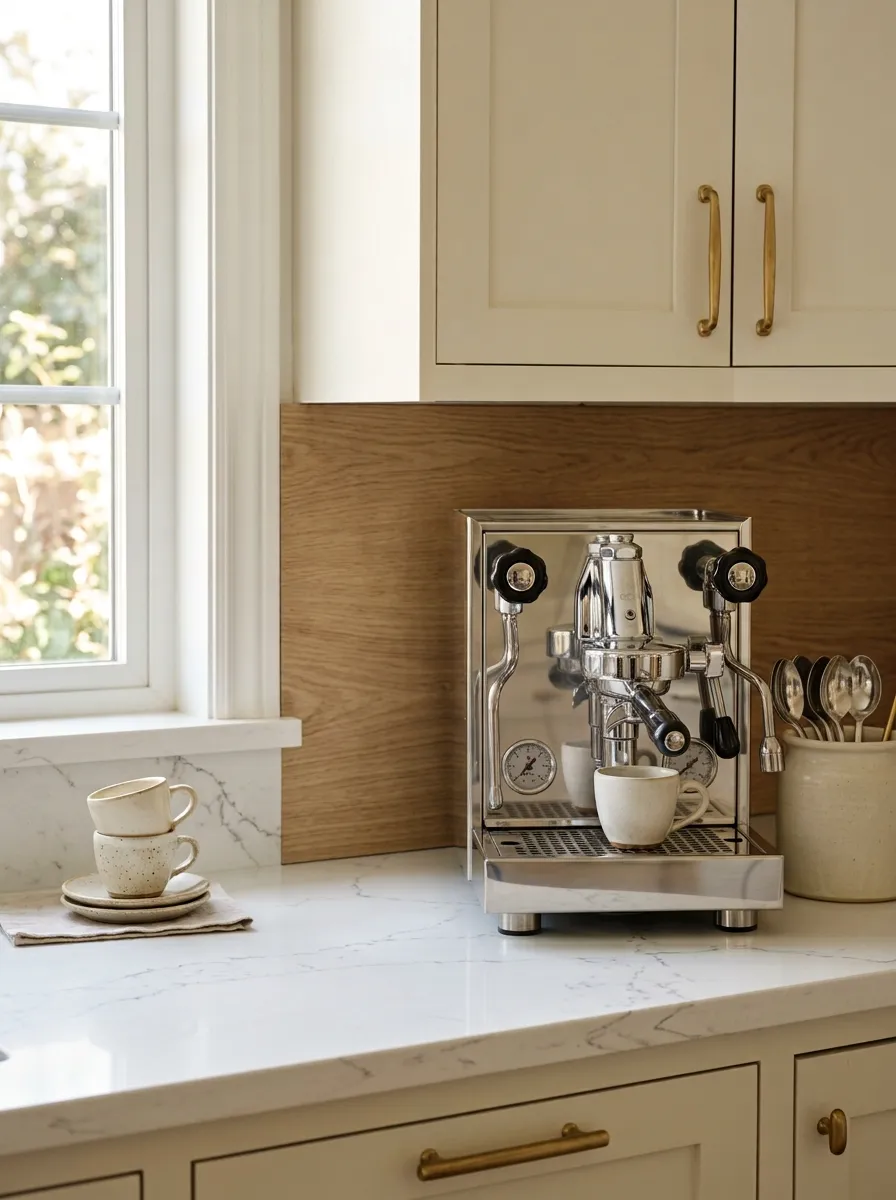
Loose spoons are tiny, but they make a coffee station look unfinished fast.
Put your everyday spoons, stirrers, or reusable coffee tools in one small crock or cup. Keep it close enough to reach without moving the machine.
The rule is simple: one container, one purpose.
Don’t fill it with every utensil in the kitchen. A handful of daily tools is enough. The rest belong in a drawer.
This small change works especially well if you make coffee several times a day because it removes one more thing from the morning scramble.
Turn an Unused Bar Cart Into a Coffee Station
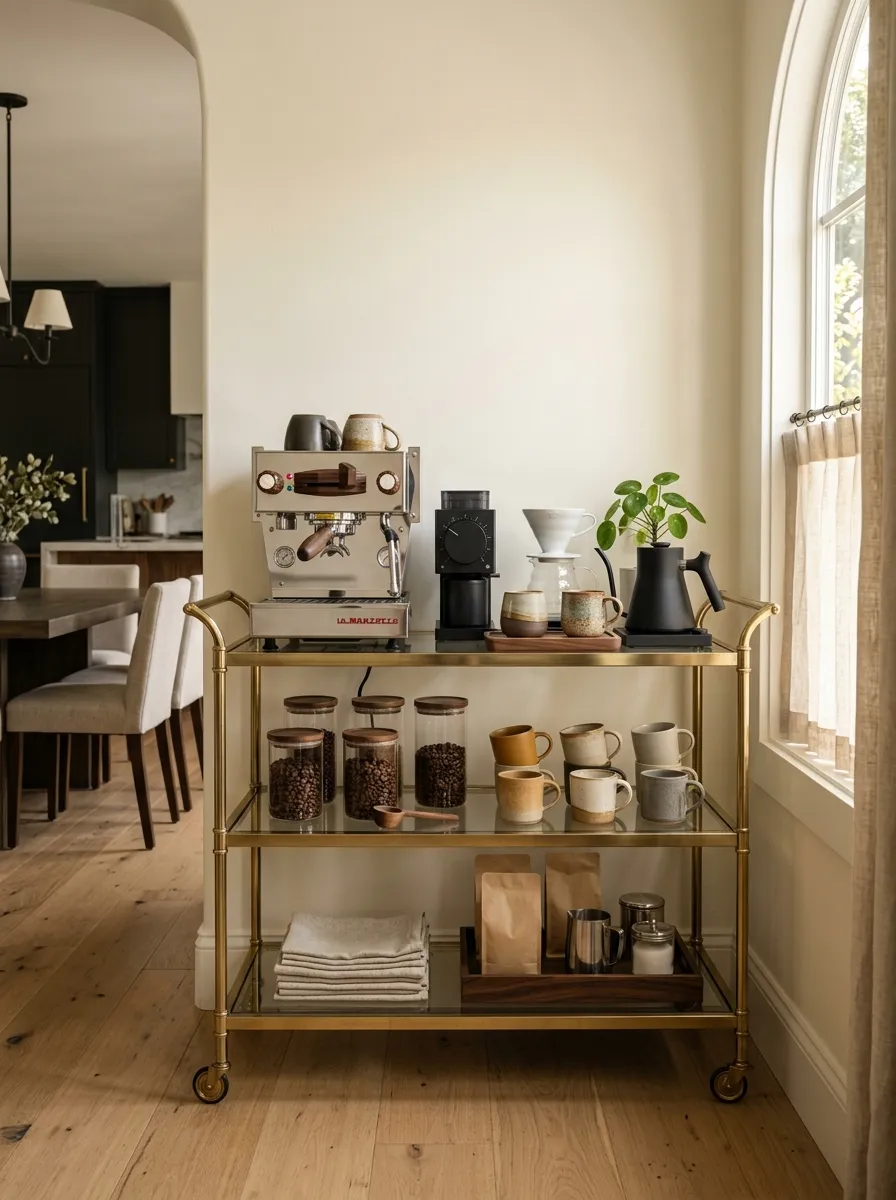
That bar cart sitting unused in the dining room has another job.
Move it near the kitchen and turn the top into your coffee station. The lower shelves can hold mugs, coffee containers, napkins, and backup supplies.
The advantage is flexibility. You don’t need to modify cabinets or sacrifice permanent counter space.
Make the top shelf the working zone. Everything below should support it rather than compete with it.
A wood or metal cart also adds structure to an open room, so the station feels like a deliberate piece of the layout instead of random kitchen equipment.
Use a Pegboard to Organize the Wall Above the Station
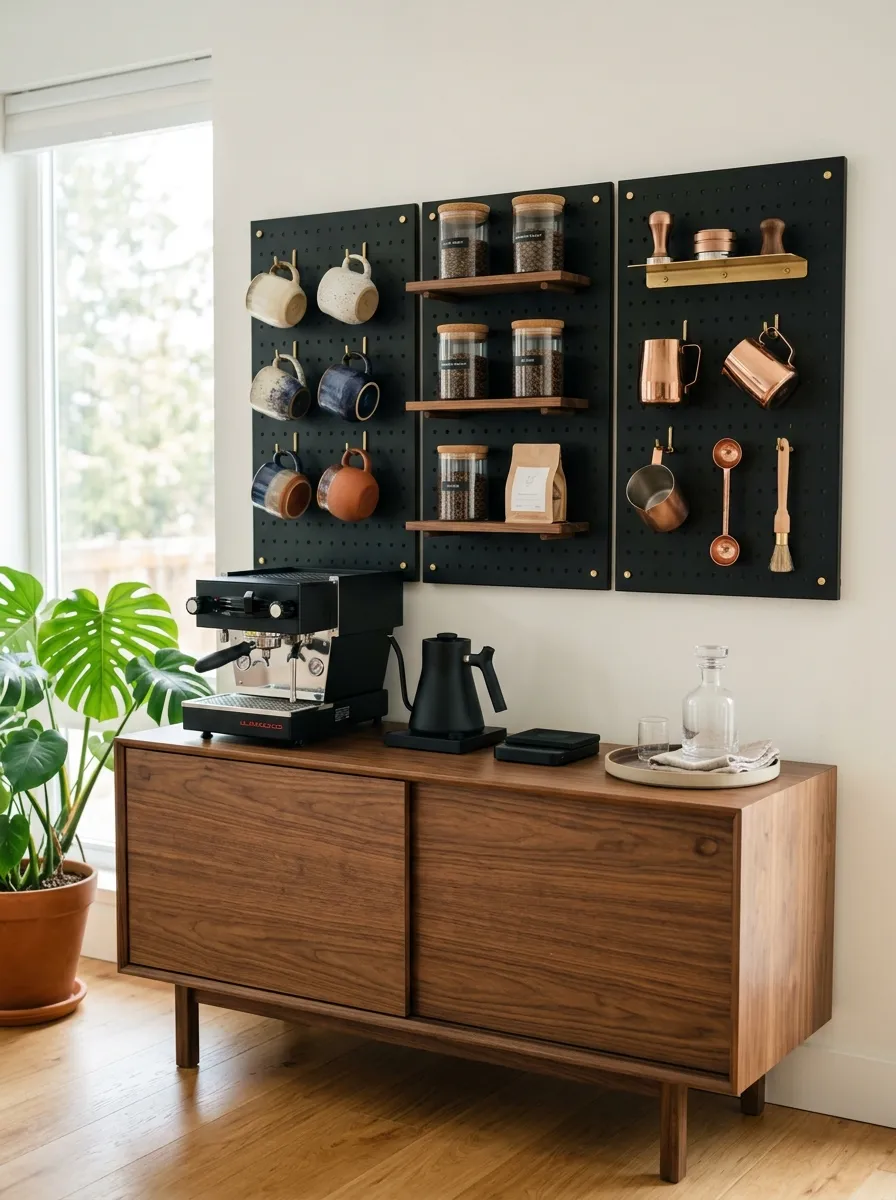
A pegboard gives you flexible vertical storage without committing to a row of permanent shelves.
Mount one above the coffee station and use hooks for mugs, small shelves for containers, and holders for lightweight tools. Keep the arrangement simple so the wall doesn’t become visually noisy.
Start with three zones:
- Mugs
- Coffee tools
- Small containers
Leave some open board between them. Empty space makes the system easier to use and easier to change later.
Use hooks for everyday cups.
Hang lightweight coffee tools.
Use small shelves for supplies.
Match Your Coffee Station to the Kitchen’s Finish
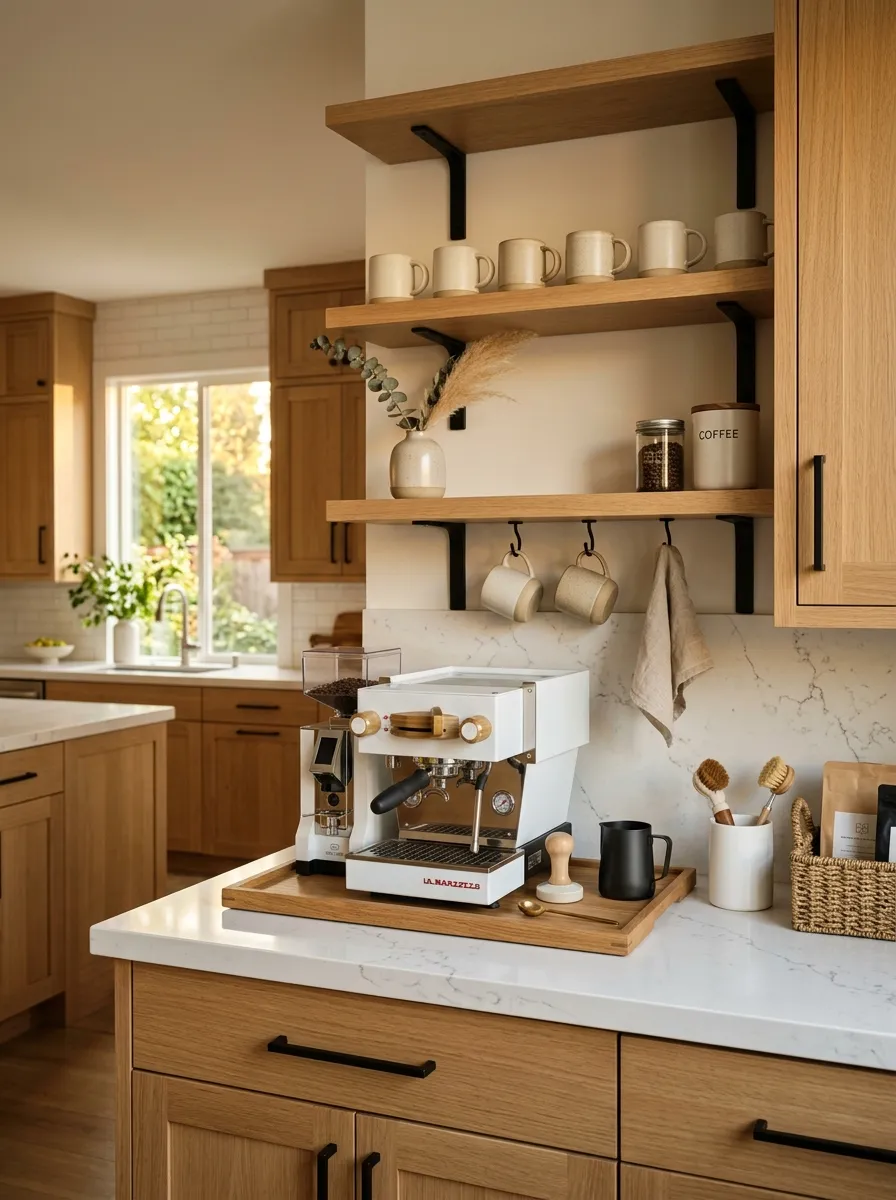
Your coffee corner shouldn’t look like it belongs in another room.
If the kitchen uses warm wood, bring that material into the station with a tray or shelf. If the kitchen has dark hardware, repeat that finish in the hooks or containers.
You don’t need everything to match exactly.
Repeat one existing kitchen detail twice. That’s enough to connect the station to the rest of the room.
Hide Extra Coffee Supplies in Labeled Bins
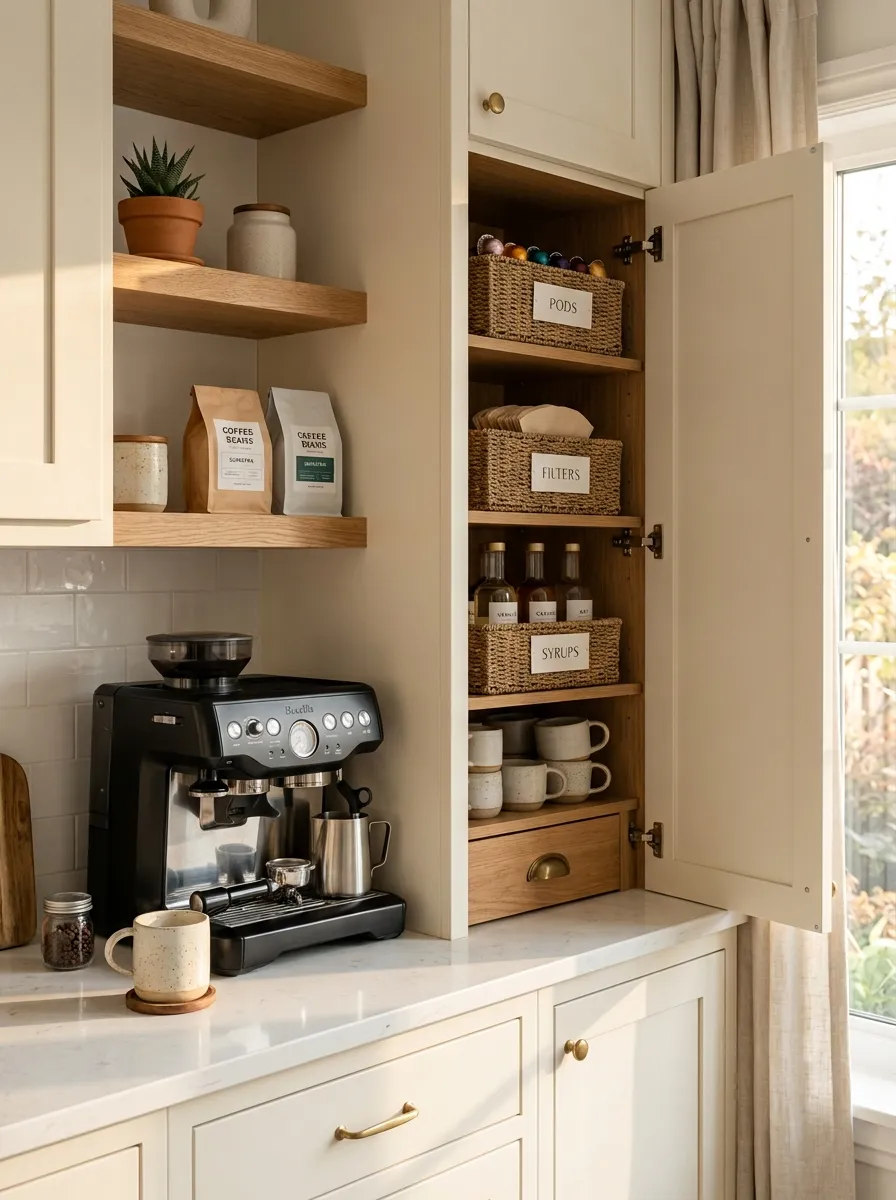
Your coffee station should store the coffee you’re using, not your entire backup supply.
Keep extra filters, pods, napkins, syrups, and unopened coffee bags in labeled bins inside a nearby cabinet or pantry. Labels stop you from digging through containers every time you need something.
Use broad labels instead of tiny categories:
- Coffee
- Filters
- Accessories
- Extras
That keeps the system flexible when your coffee routine changes.
Tip: Store backup supplies below the working station whenever possible. The items you need every morning should always win the easiest-access spot.
Make a Tiny Apartment Coffee Station on One Shelf
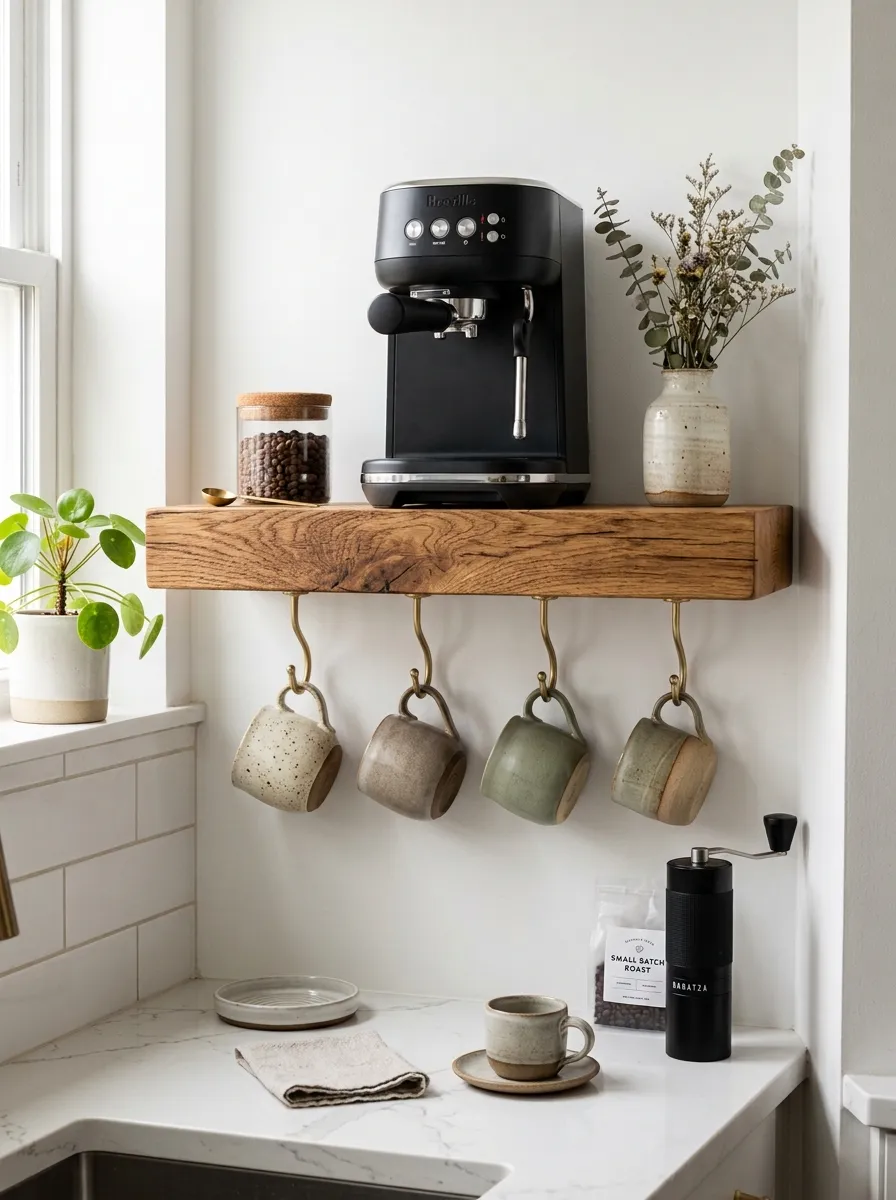
A tiny kitchen doesn’t need to miss out on a coffee corner.
Use one sturdy shelf as the entire station. Put the coffee maker in the center, then keep only the smallest daily accessories beside it. Hang mugs underneath if the shelf allows it.
Small-space formula:
- One shelf
- One machine
- One coffee container
- Two or three mugs
- One hanging storage area
That’s enough.
The mistake is trying to recreate a large kitchen coffee bar in a tiny space. Scale the station down instead of squeezing more things into it.
Use a Vintage Tray for a More Collected Look
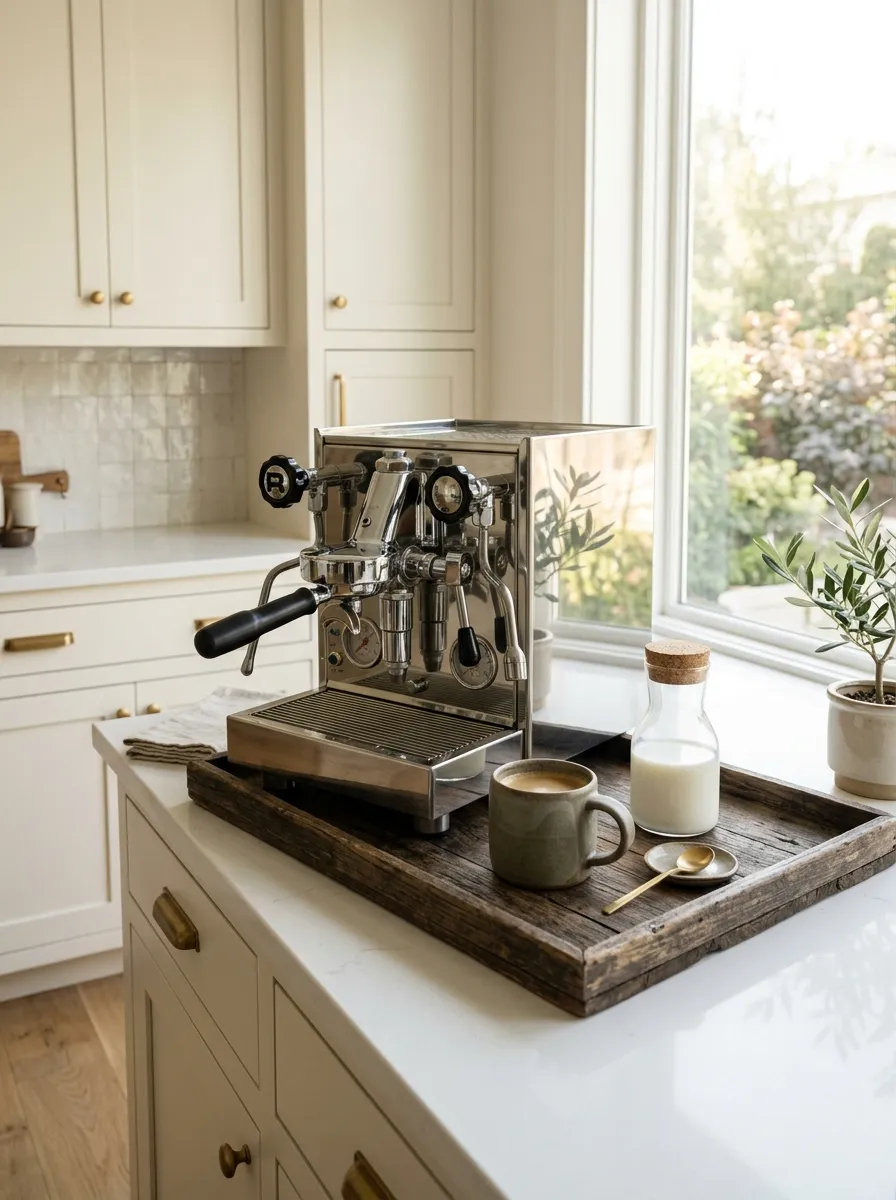
A vintage tray can make a basic coffee maker feel like part of the room instead of a kitchen appliance sitting alone.
Look for a tray with some visual weight. Wood, aged metal, or another material that works with your kitchen is enough.
Keep the arrangement restrained.
A strong vintage setup needs only:
- The coffee container
- A small spoon or scoop
- One or two mugs
Don’t fill the tray with decorative objects. The coffee equipment should still be the star.
Create a Dedicated Mug Display Without Making It Cluttered
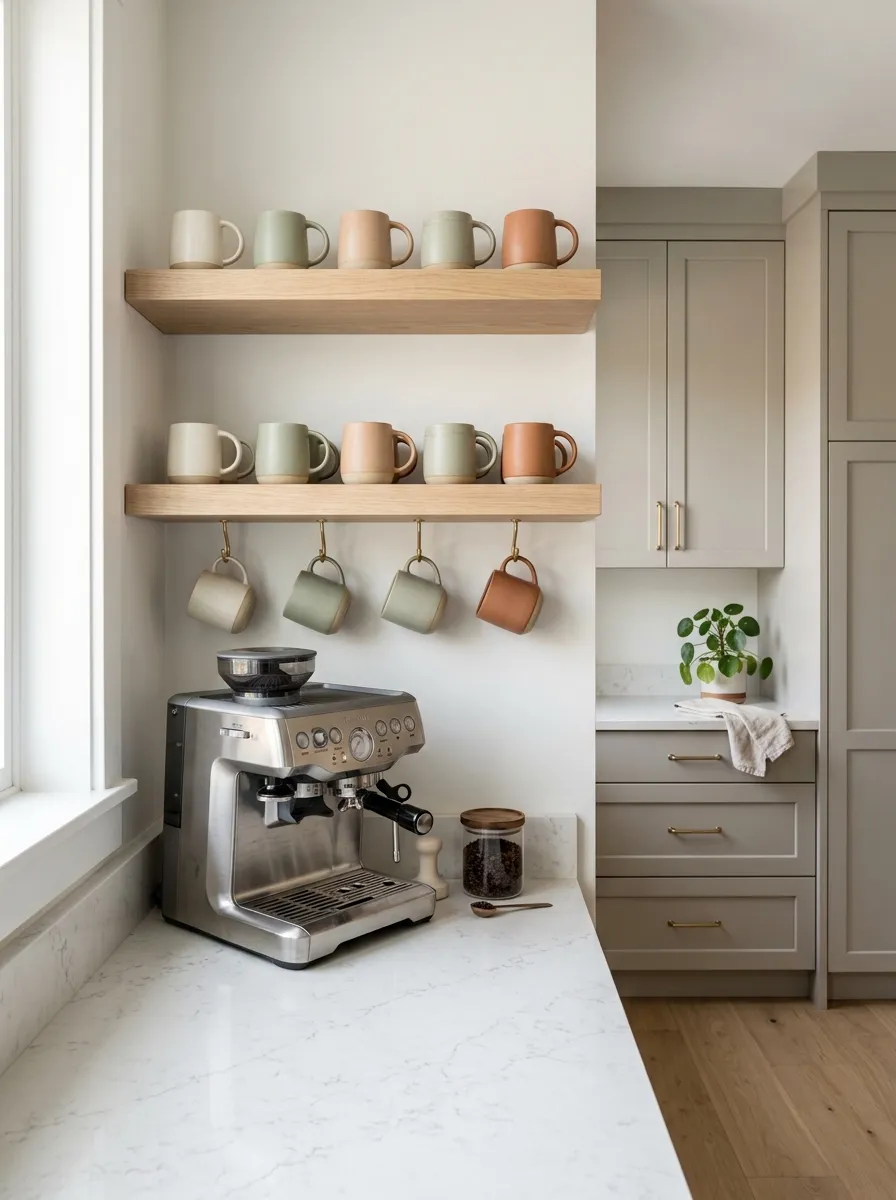
Mugs are one of the easiest coffee accessories to display because they already have visual interest.
The trick is limiting the number you show.
Hang a small group beneath a shelf or place a few on an open shelf. Keep the colors connected so the display looks intentional rather than like a random collection.
Use this filter: if you wouldn’t reach for the mug during the week, it doesn’t need to live at the station.
That one rule keeps open mug storage from becoming visual clutter.
Add a Small Drawer for Filters, Pods, and Accessories
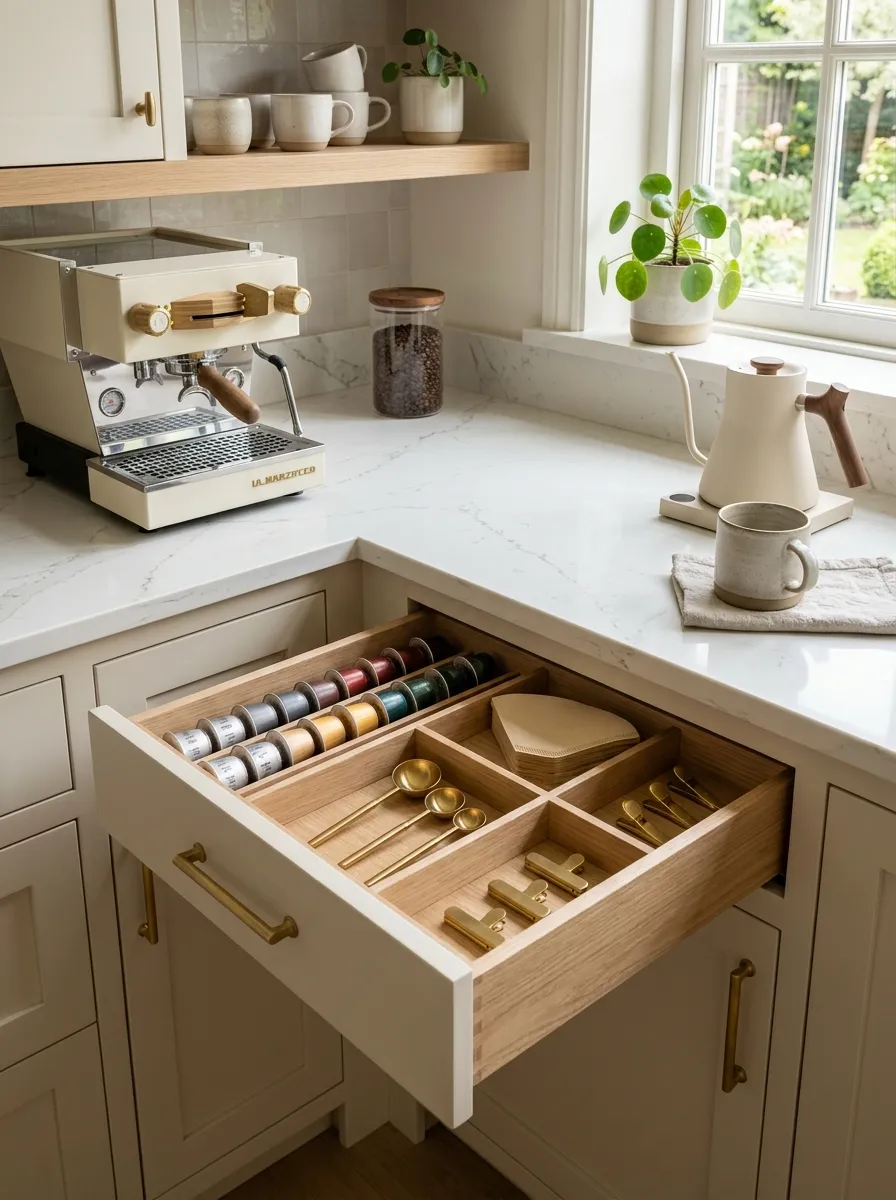
Small coffee supplies are exactly what drawers are good at.
If your station has a nearby drawer, dedicate one section to filters, pods, measuring spoons, clips, and other tiny accessories. Use simple dividers so the pieces don’t become one mixed pile.
Sort by frequency:
- Daily accessories at the front
- Less-used tools behind them
- Backup supplies somewhere else
A drawer keeps the countertop clean while still putting the essentials within easy reach.
- Daily filters or pods
- Measuring tools and clips
- Less-used accessories
Build a Coffee Station Around a Statement Coffee Maker
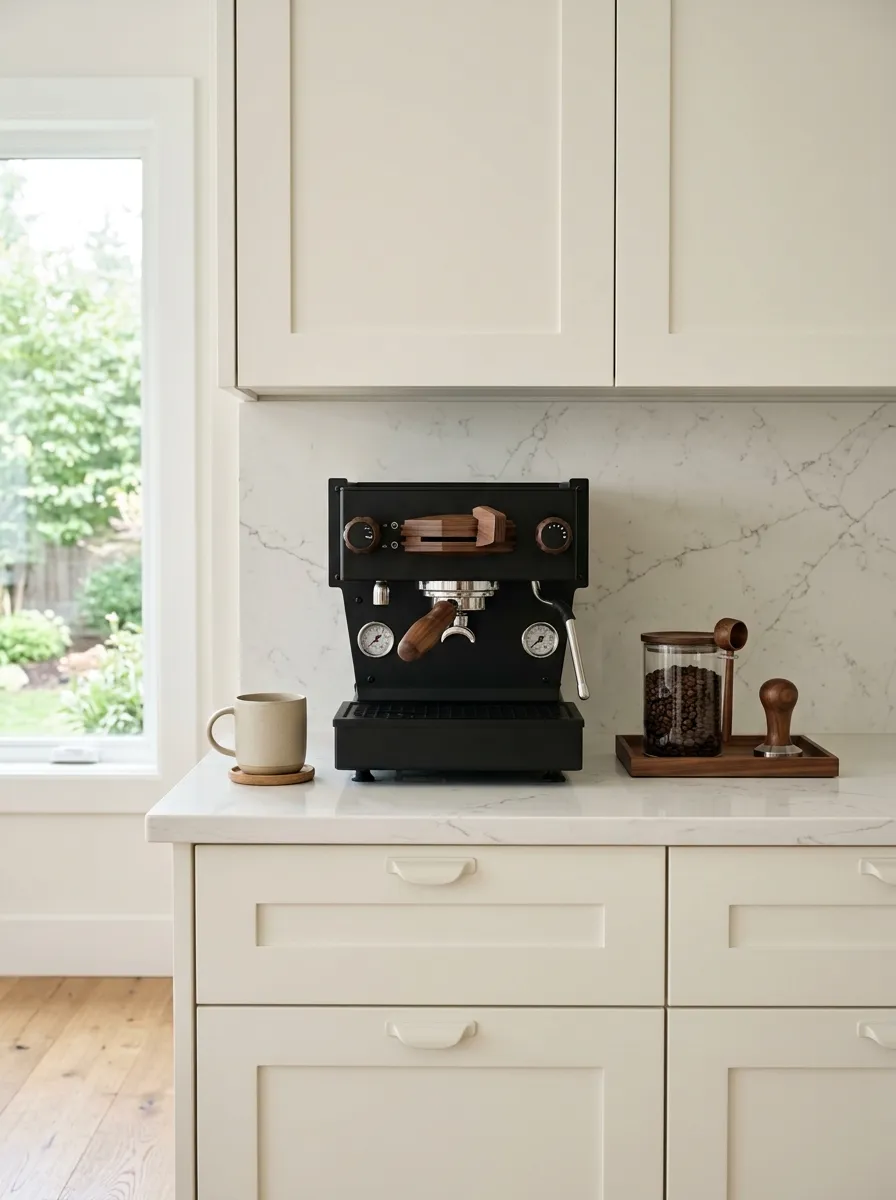
Sometimes the machine itself should lead the design.
If you have a coffee maker with a strong finish or distinctive shape, don’t bury it under accessories. Give it breathing room and use simple supporting pieces around it.
Keep the colors of the containers, tray, and mugs quiet.
Let one item carry the visual weight.
This works particularly well with machines in black, stainless steel, cream, or another strong finish. The surrounding pieces should support the machine instead of competing with it.
Keep the Counter Clear With an Under-Shelf Basket
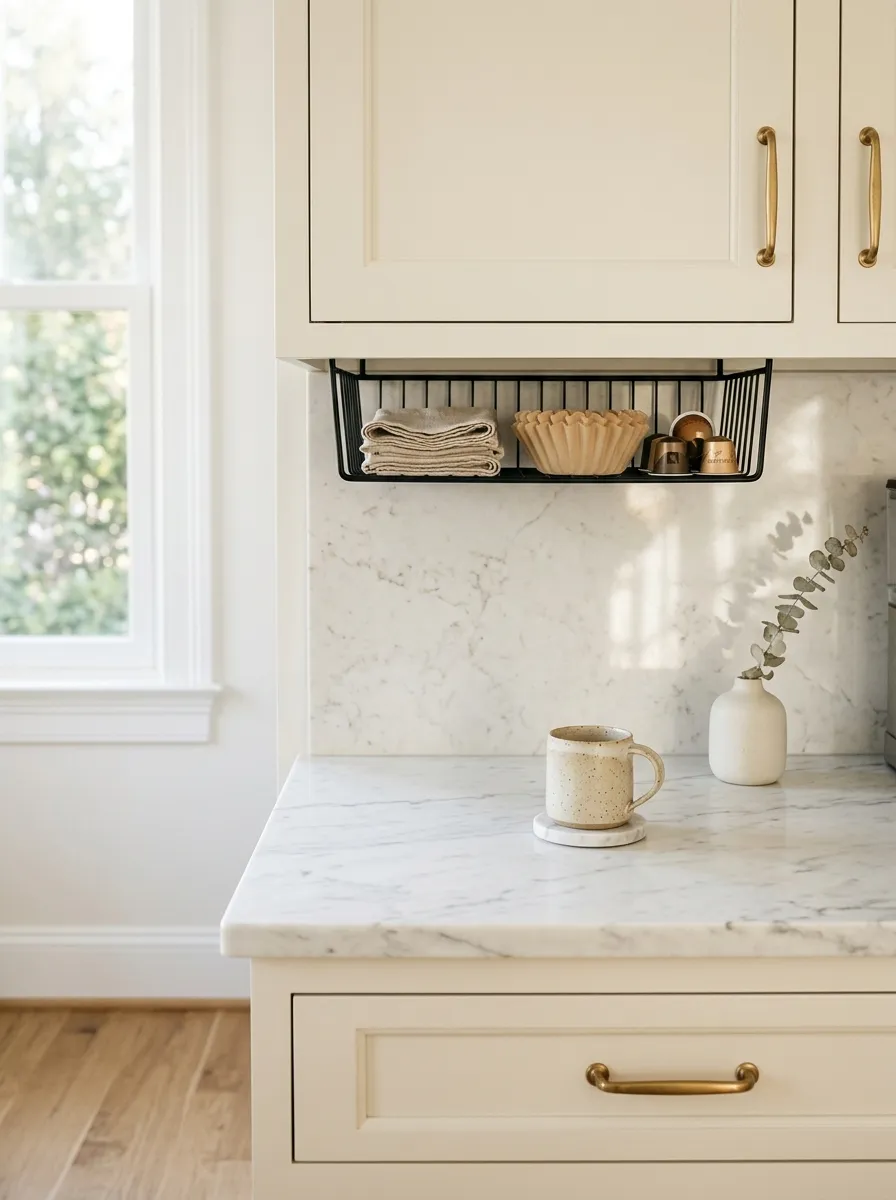
An under-shelf basket is a smart way to reclaim dead space.
Install one beneath a cabinet shelf and use it for filters, napkins, coffee pods, or other lightweight supplies. Because the basket sits below the shelf, the counter stays open.
The important part is choosing the right contents.
| Store here | Keep elsewhere |
|---|---|
| Filters | Heavy appliances |
| Napkins | Large jars |
| Coffee pods | Glass bottles |
| Small packets | Backup bulk supplies |
It’s a small storage move, but it can remove a surprising amount of visual clutter.
Create a Guest-Friendly Coffee Station With Clear Labels
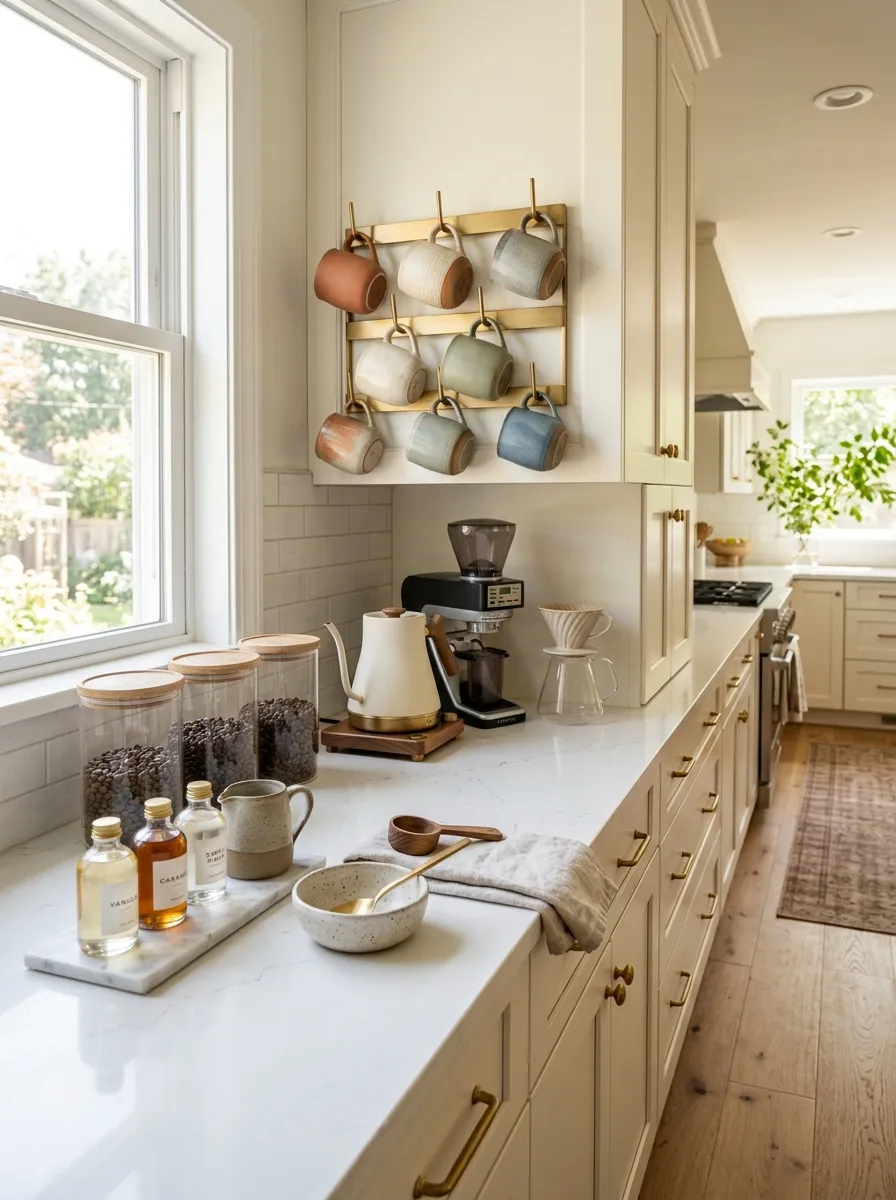
If people regularly visit your home, make the coffee station obvious enough that guests don’t need to ask where everything is.
Put coffee, mugs, sweeteners, and basic tools where they’re easy to see. Small labels help when containers aren’t obvious.
Guest setup checklist:
- Coffee clearly identified
- Mugs within reach
- Sweetener in one spot
- Spoons easy to find
- Extra supplies nearby but hidden
The goal isn’t to make the kitchen look like a café. It’s to let someone make coffee without opening every cabinet.
Clearly labeled or obvious.
Sweeteners and milk options nearby.
Spoons and filters easy to spot.
Use Vertical Storage for a Narrow Coffee Corner
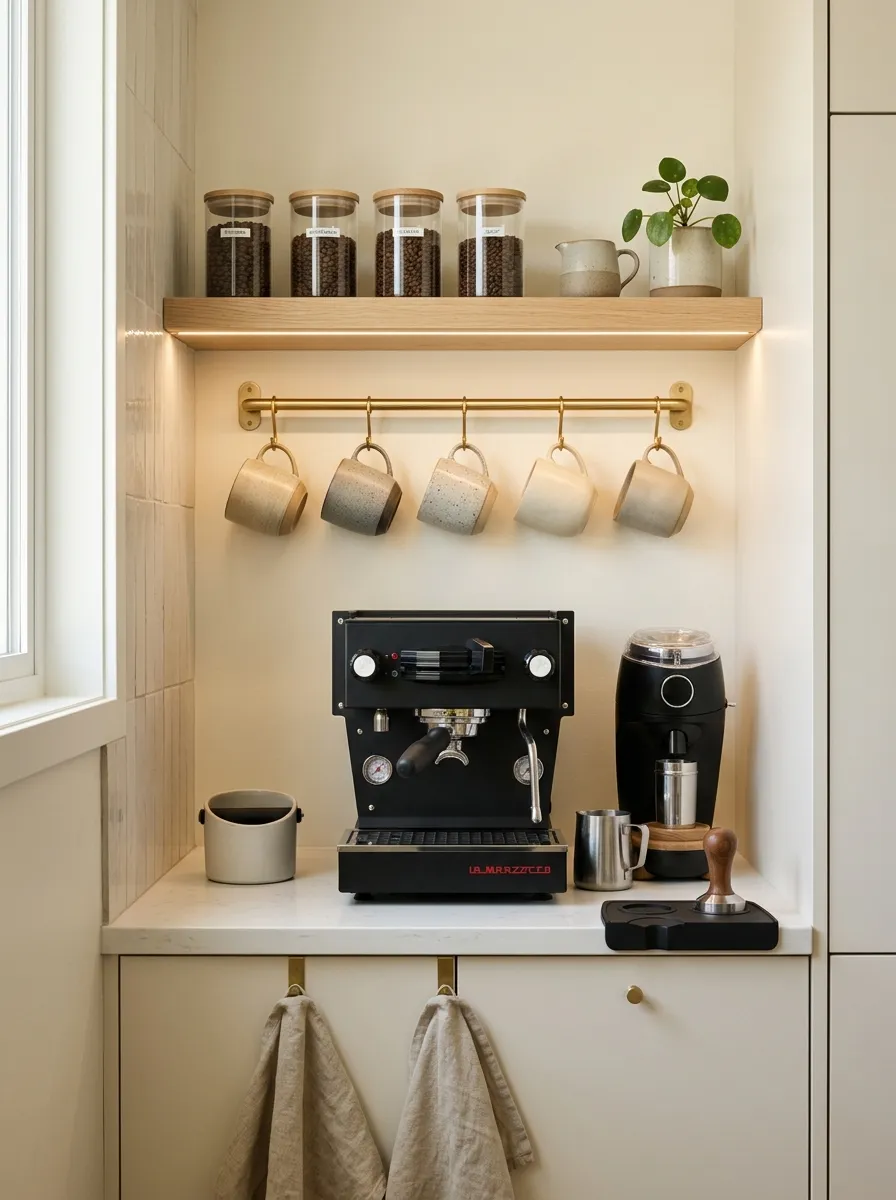
A narrow coffee corner doesn’t need more counter width. It needs better use of height.
Stack storage above the machine with a shelf, wall rack, hooks, or a slim cabinet. Keep the footprint small while moving secondary supplies upward.
Think in layers:
Counter: machine
Wall: mugs and tools
Shelf: coffee containers
Cabinet: backup supplies
Make a Seasonal Coffee Station Without Rebuilding Everything
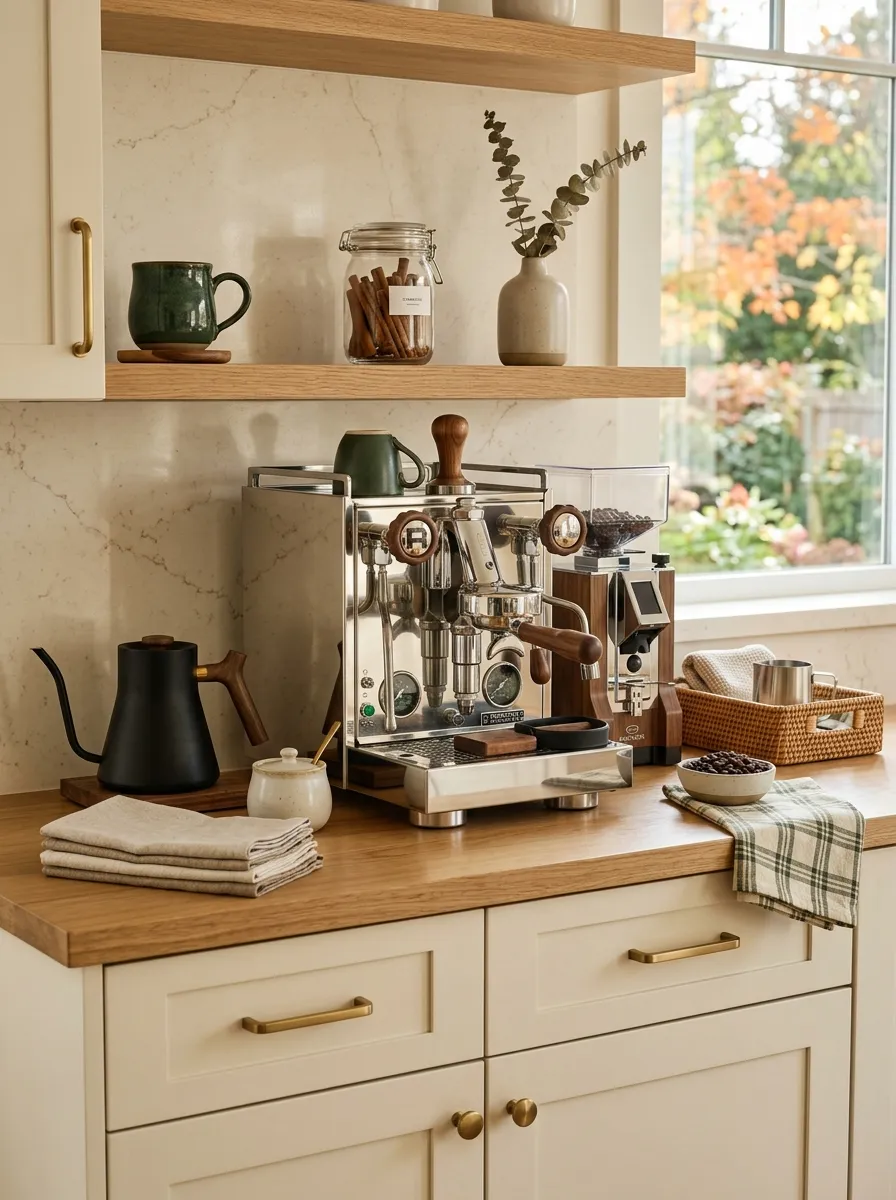
You don’t need a completely different coffee station for every season.
Keep the functional pieces the same and change one or two small details. A seasonal mug, napkin, small jar, or coffee flavor is enough to shift the look.
Keep permanent:
- Machine
- Main tray
- Storage containers
- Mug hooks
- Everyday tools
Change occasionally:
- One mug
- One small accent
- Seasonal coffee
- Napkins
This keeps the station fresh without creating another pile of seasonal kitchen clutter.
Tip: Store seasonal pieces in the same cabinet where you keep backup coffee supplies. You’ll always know where to find them.
Finish the Station With One Practical Styling Layer
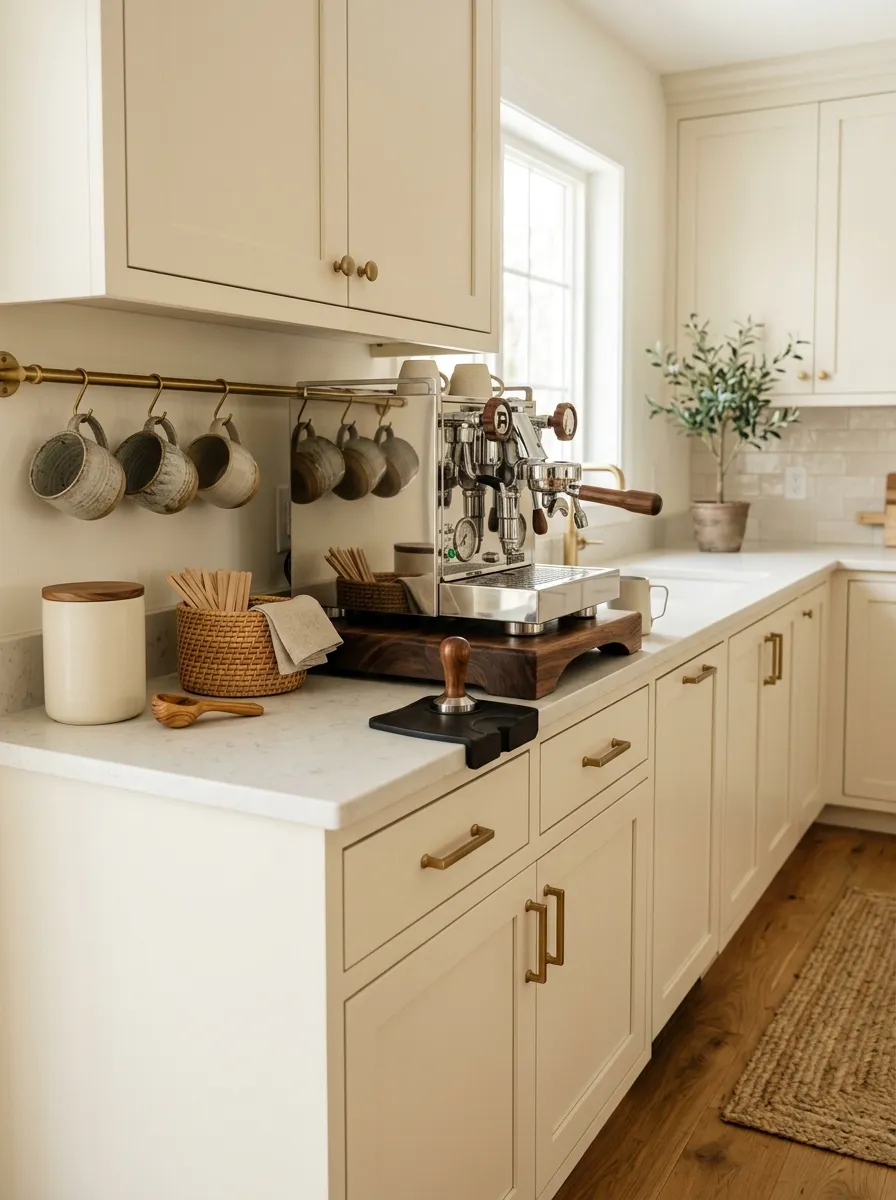
The final layer should do a job.
Add a tray, wood board, small riser, or organized container that visually ties the station together while making it easier to use. Don’t add something simply because an empty corner feels uncomfortable.
A good coffee station has a clear hierarchy.
The Best Coffee Station Is the One You’ll Actually Use
A good coffee station doesn’t need a huge counter, expensive accessories, or a wall full of decorations. It needs a clear layout and a place for the things you actually reach for.
Start with the machine. Then add your everyday coffee, mugs, and one or two useful tools. Move backup supplies out of sight. Use vertical space when the counter is tight, and let one material or finish connect the station to the rest of your kitchen.
Most importantly, don’t fill empty space just because it’s there.
Your coffee station ideas should make the morning routine easier first and prettier second. That’s what makes the setup worth keeping.
Save this list for the next time you’re ready to reorganize your coffee corner, and come back when you need a practical starting point.